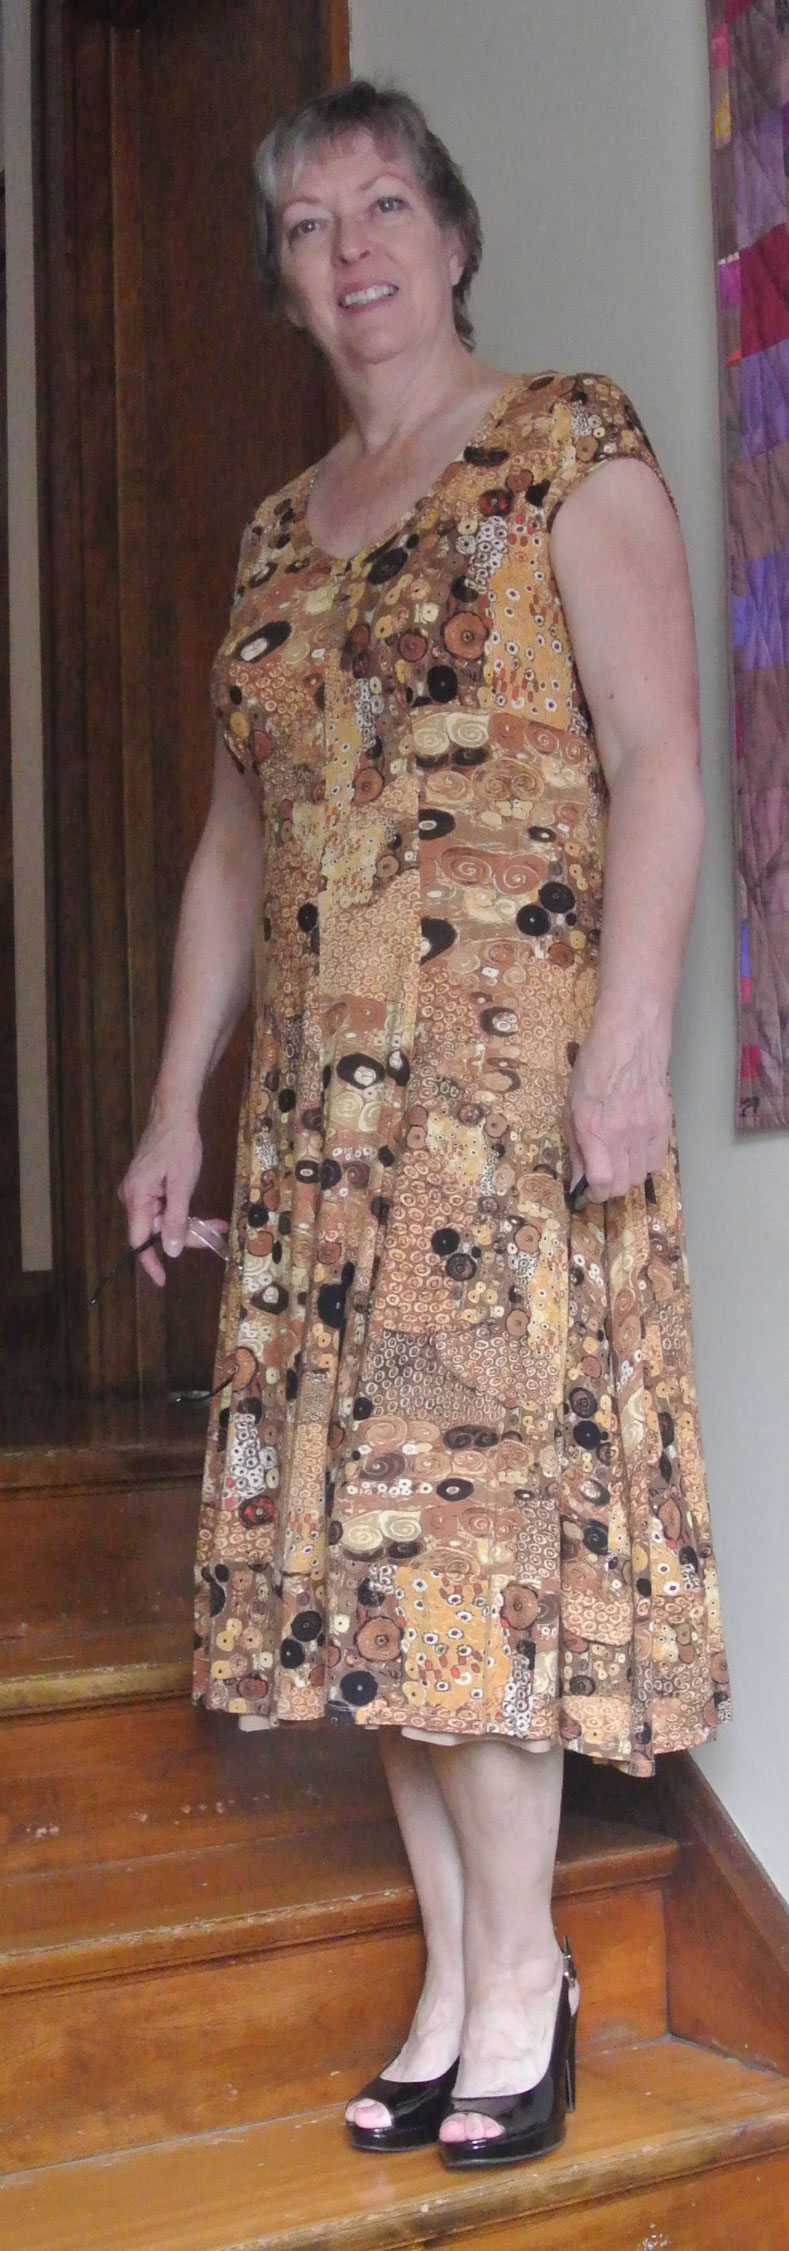
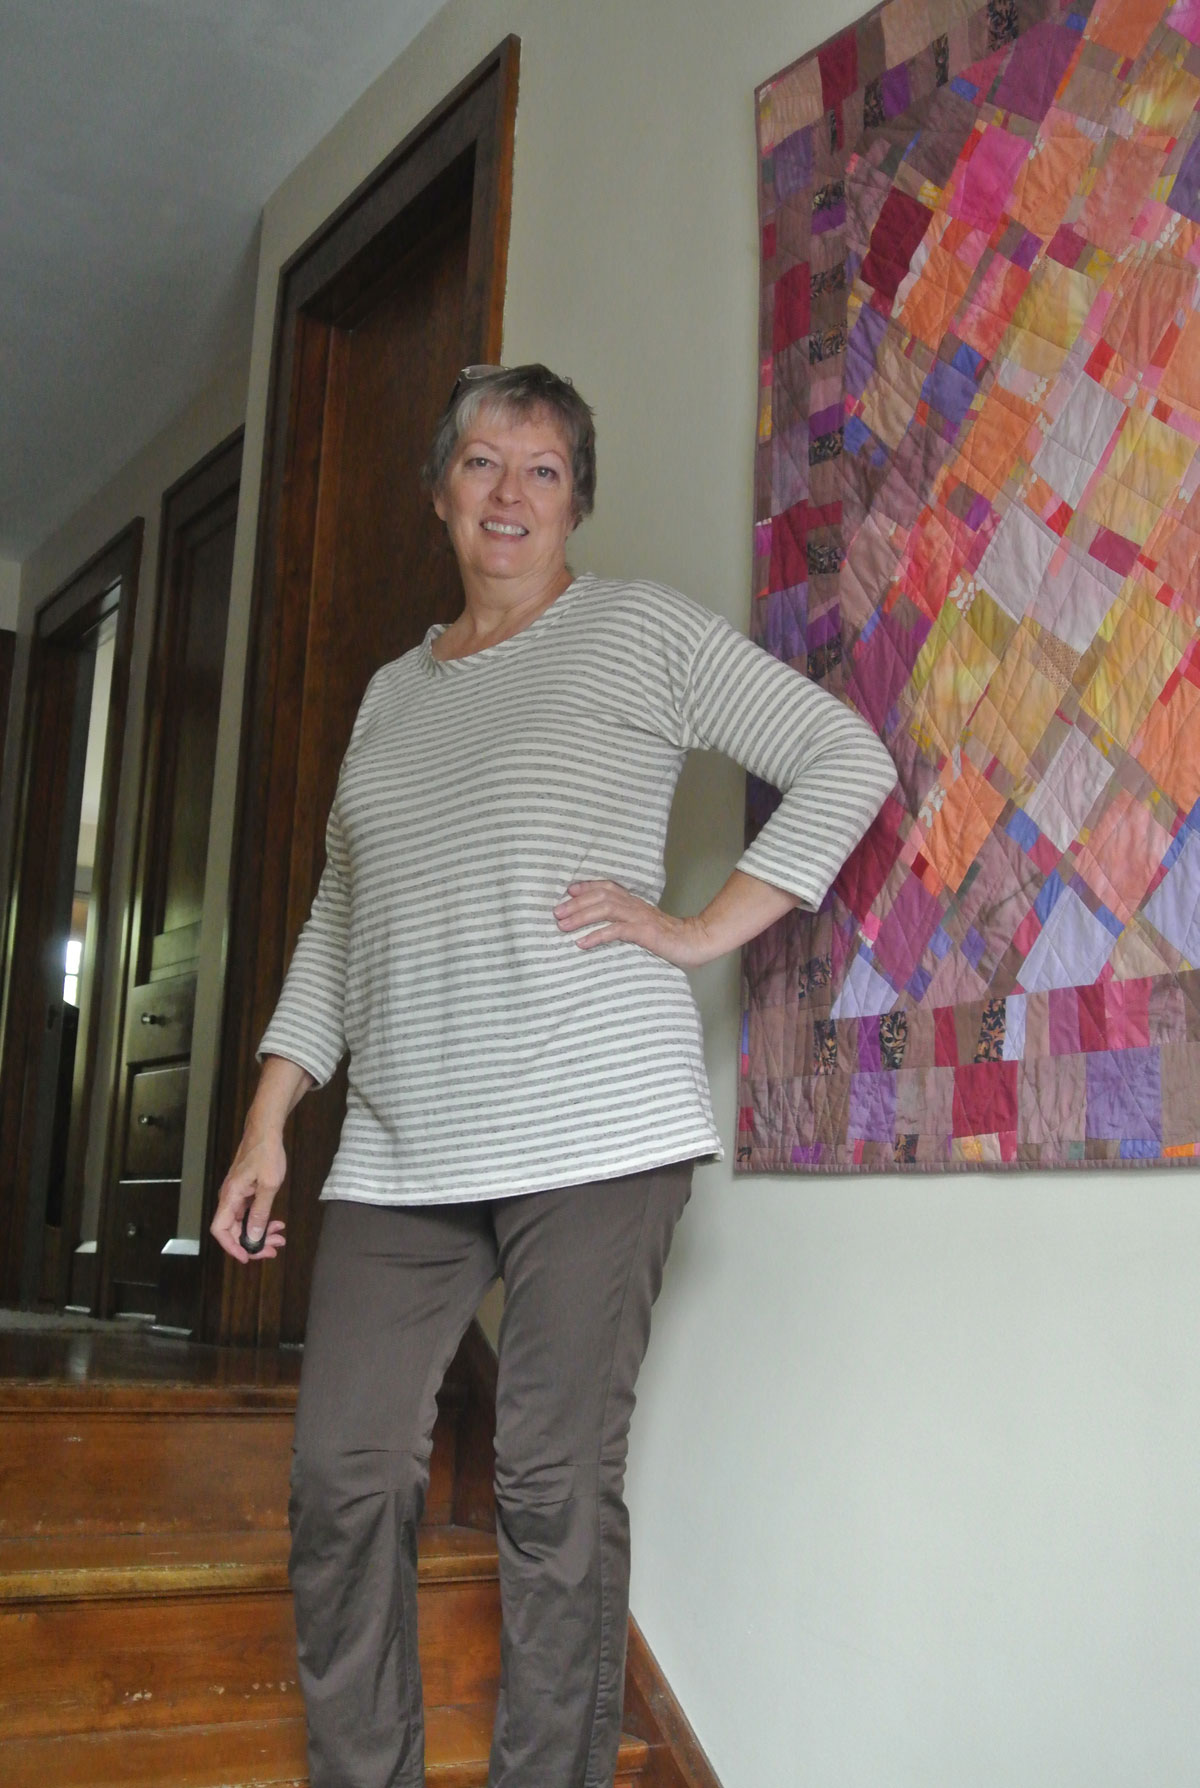
 I’ve been feeling like I look o*l*d lately, and I don’t like it. This aging process—for me, anyway—is a depressing exercise in futility. My hair includes lots of salt’n’pepper around my face, and I don’t think it’s flattering. So I thought maybe if I make some brighter clothes, instead of all the muted colors and black, maybe I’d feel/look younger.
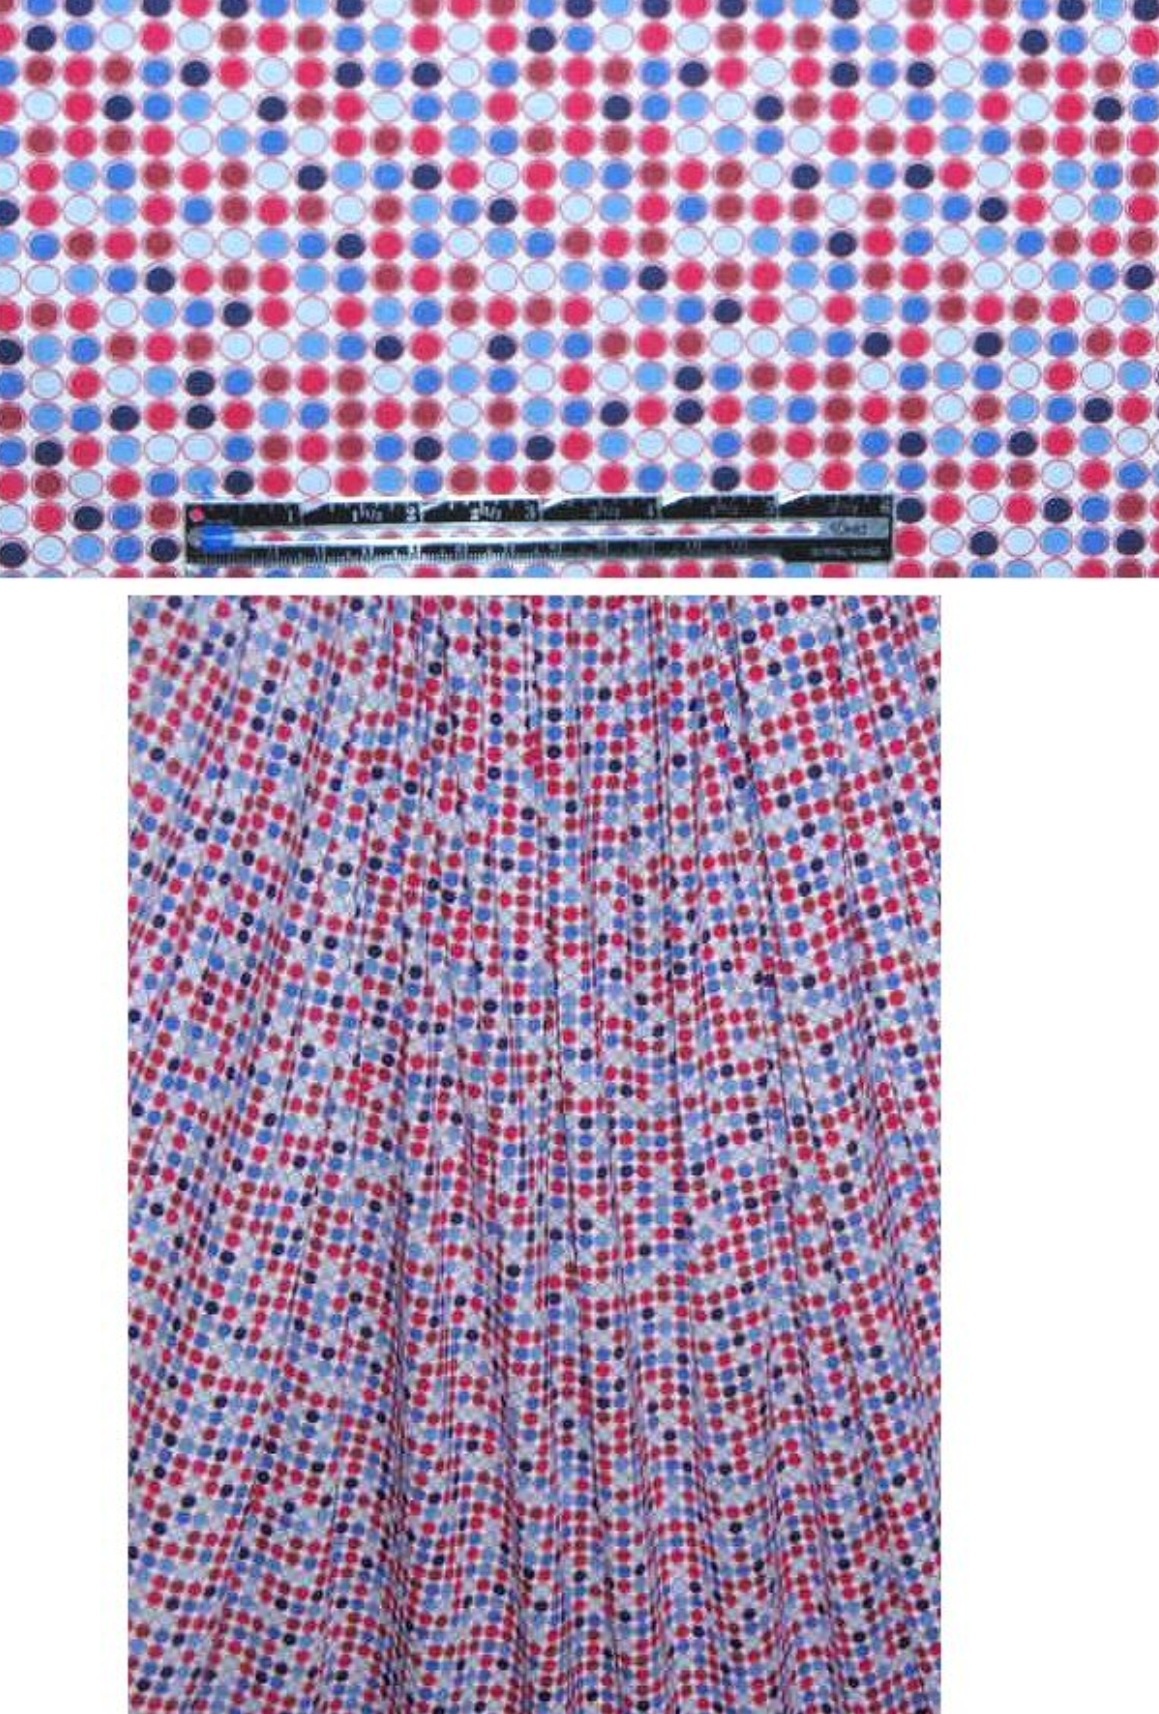
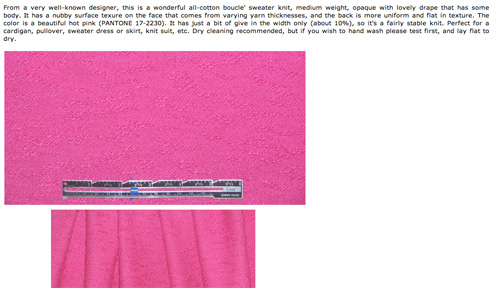 I saw this piece of Nanette Lepore cotton bouclé knit on Emma One Sock’s ever-tempting and wonderfully organized site and thought it would be a fun color with which to test out my new anti-aging theory.
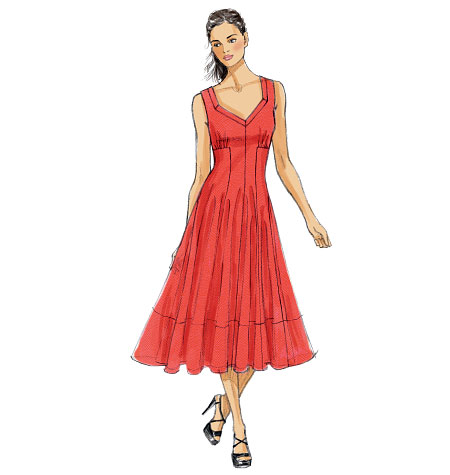
My goal was to make another Hemlock Tee, cutting the bottoms a little longer, and the back longer than the front, and curve the hems at the side seams. I wanted to try a technique I’d dreamed about on Katherine Tilton’s long slim skirt. I recently purchased some Soft Stretch Fusible Tricot from Sarah Veblen’s online store. I [rotary] cut some ½” strips going the width of the interfacing, so they were 20″ wide—manageable for fusing.
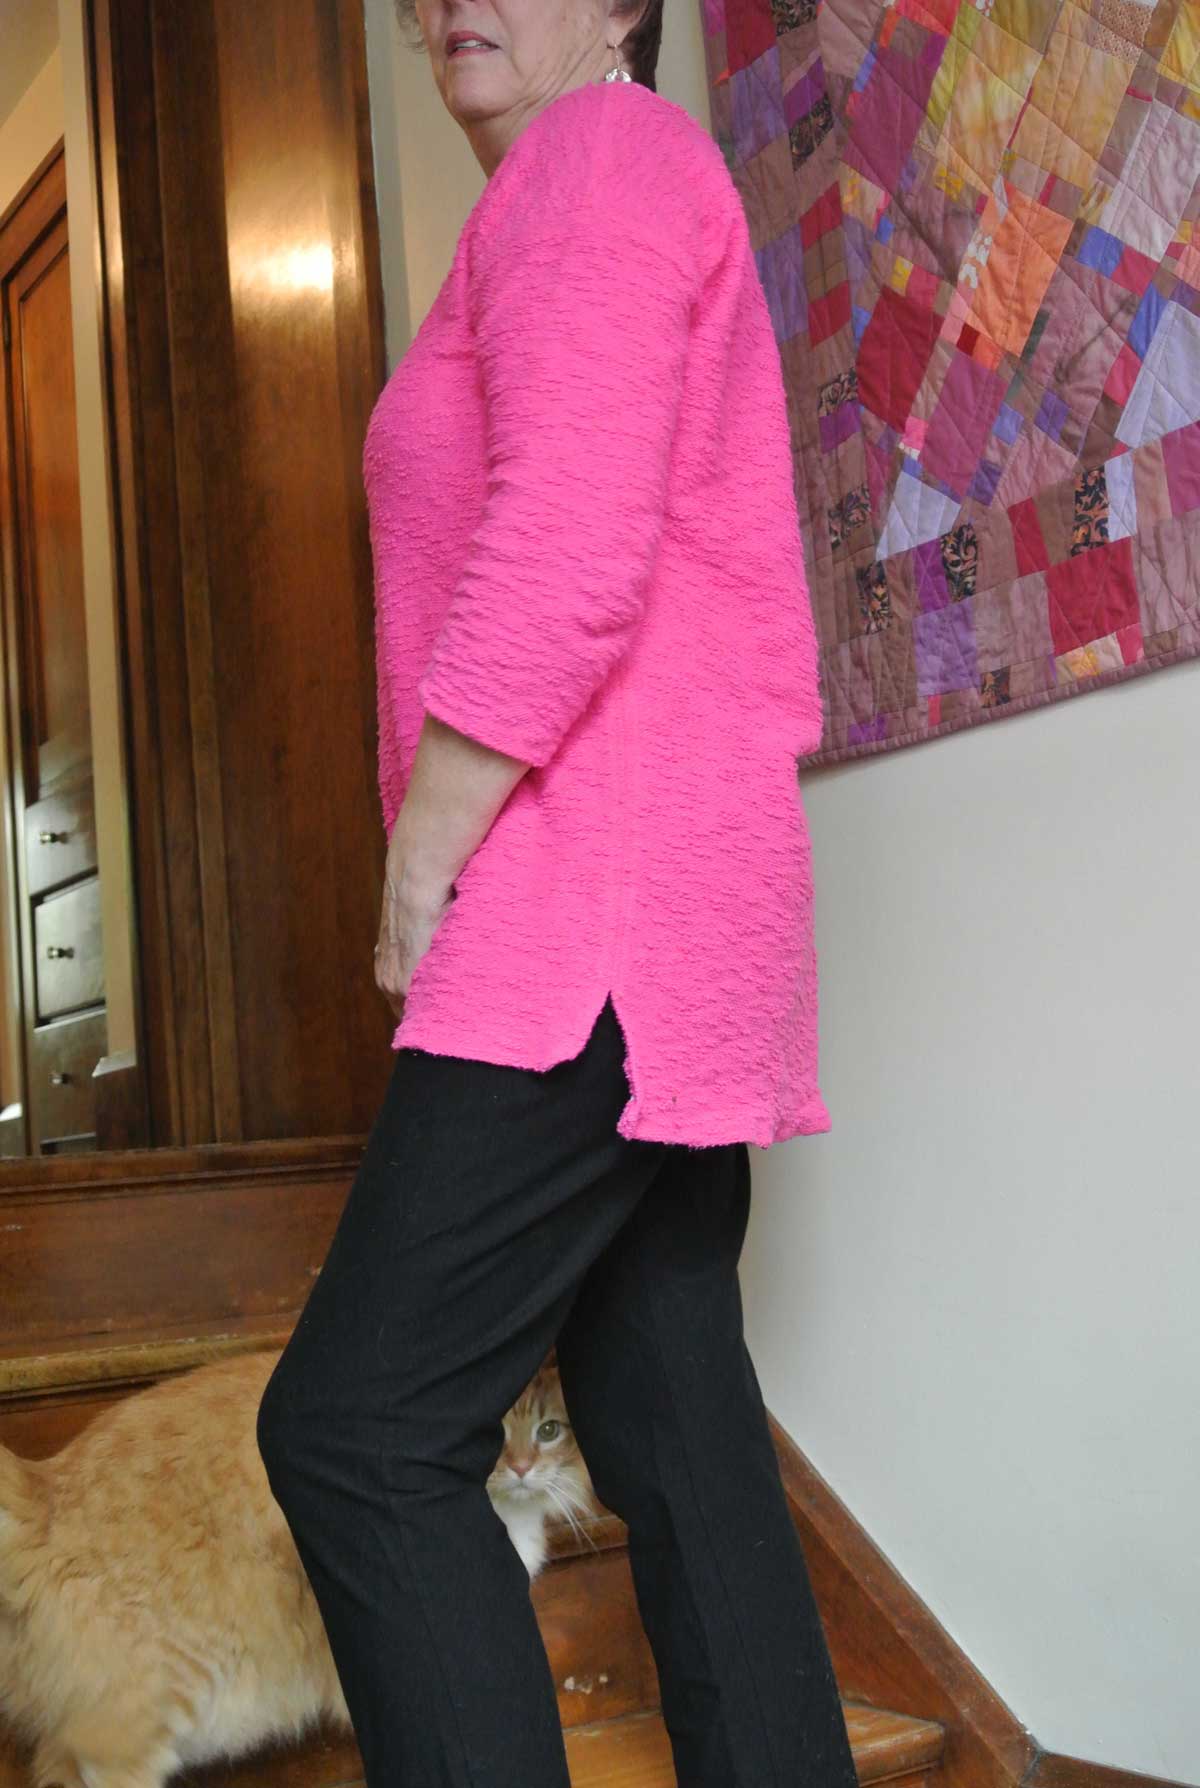
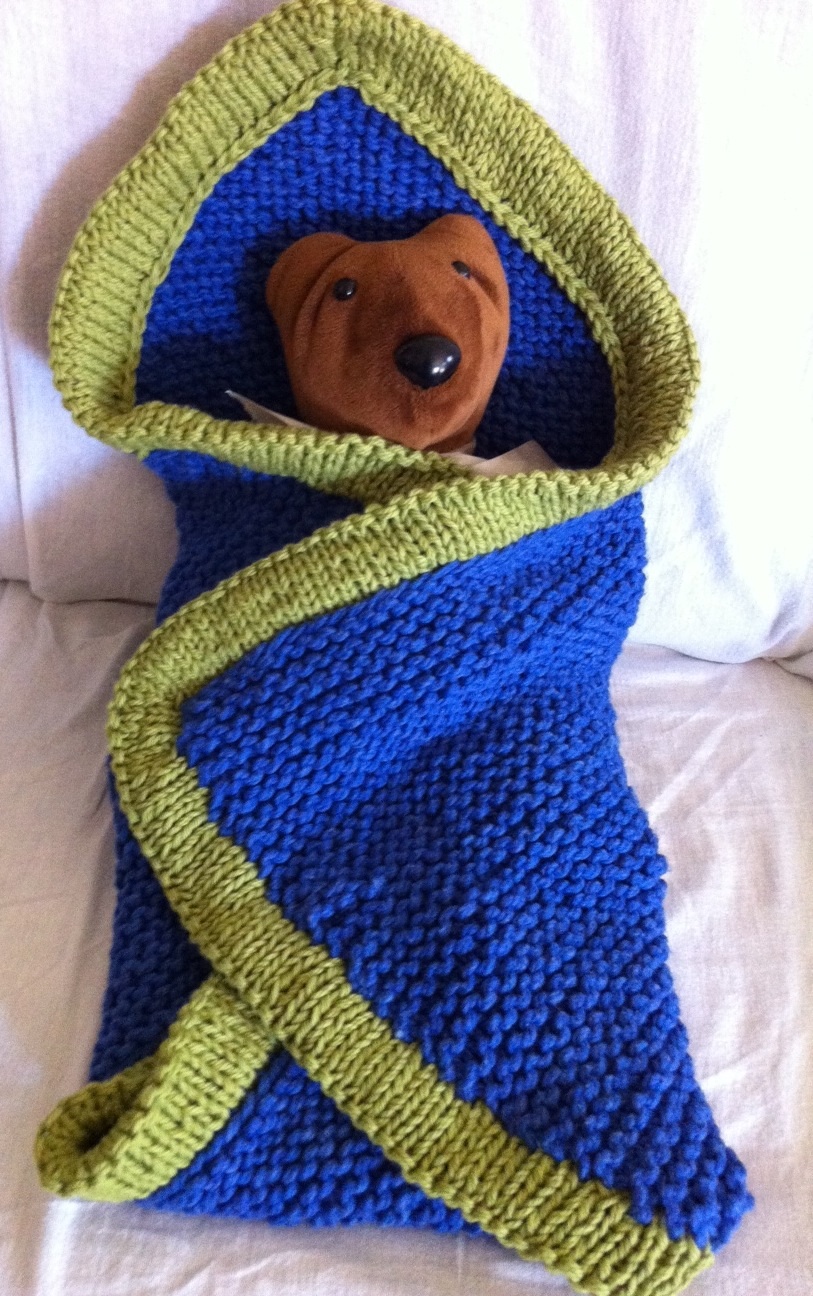
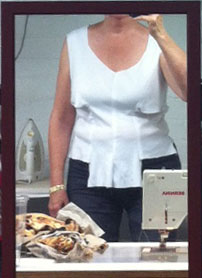
Photo-bombed by Rudi!
After all the fusing was done, I seamed the shoulders and top-stitched at ⅜” (note that the seam allowances on this pattern are ½”, not ⅝”). Then I sewed the sleeve to the shoulder—double stitched seam, no top-stitching and not yet sewing the underarm sleeve seam. Then I sewed just the side seams, starting about 1″ below the point at which the sleeve seam would begin, and stopping about ½” above the curves. This was a single-stitched seam, pressed open.  Then I put in my double needle and, from the right side, stitched all the way around the front and then the back (two separate passes: 1. front; 2. back), beginning and ending just under the sleeve at the point I started the stitching for the side seam and including the curves and hems.
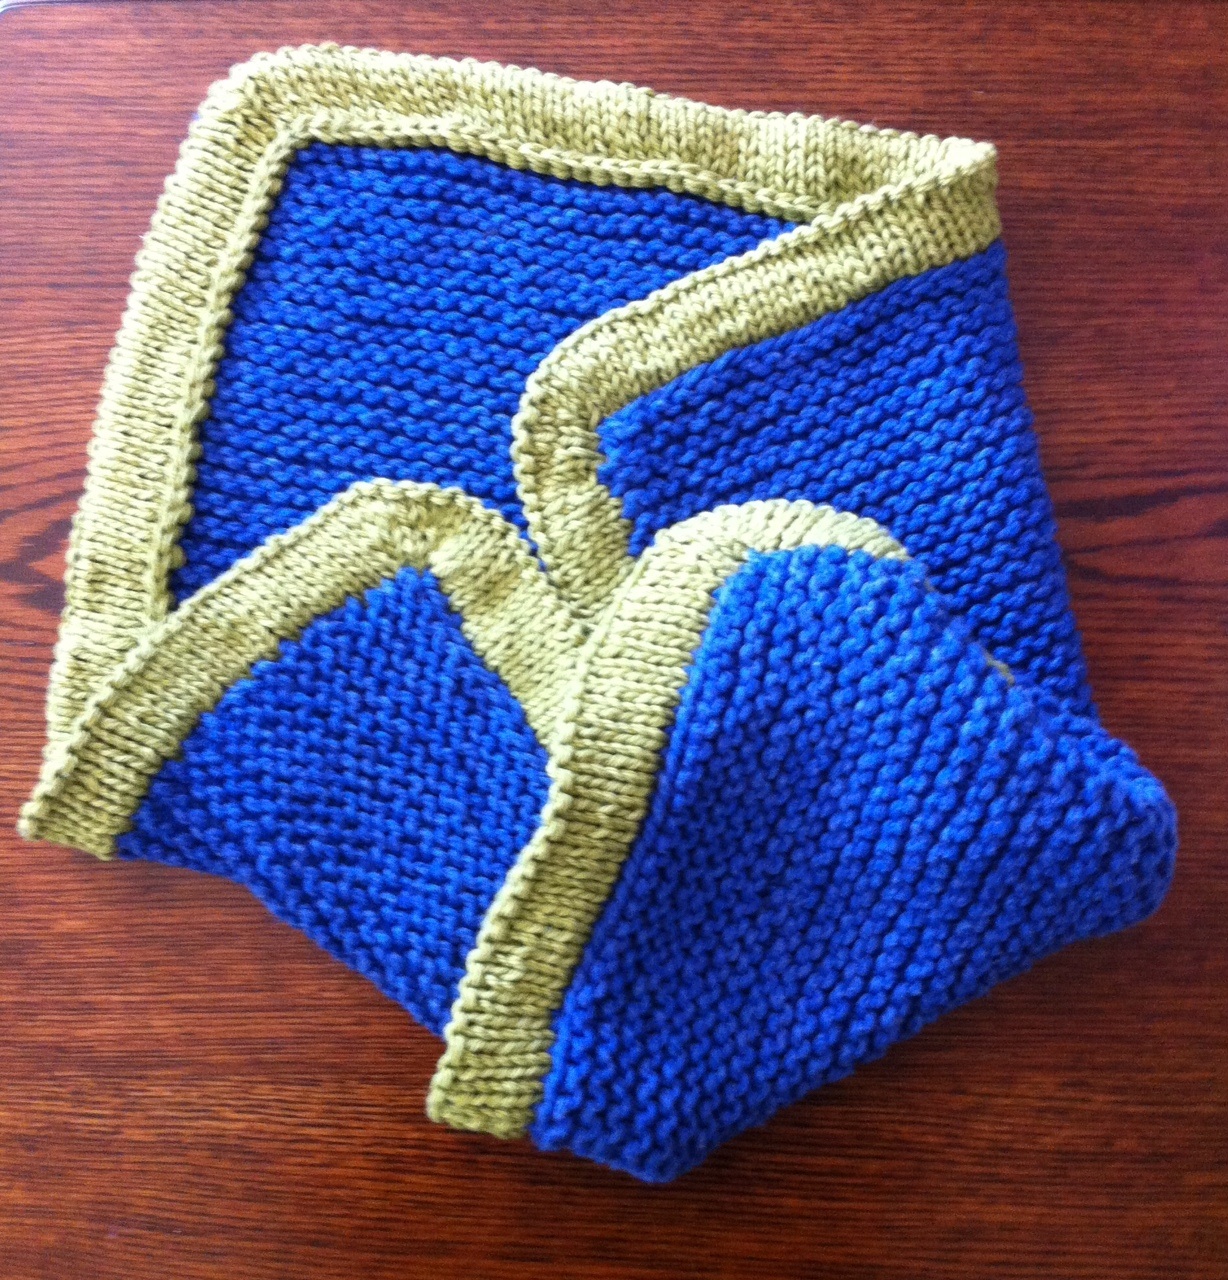
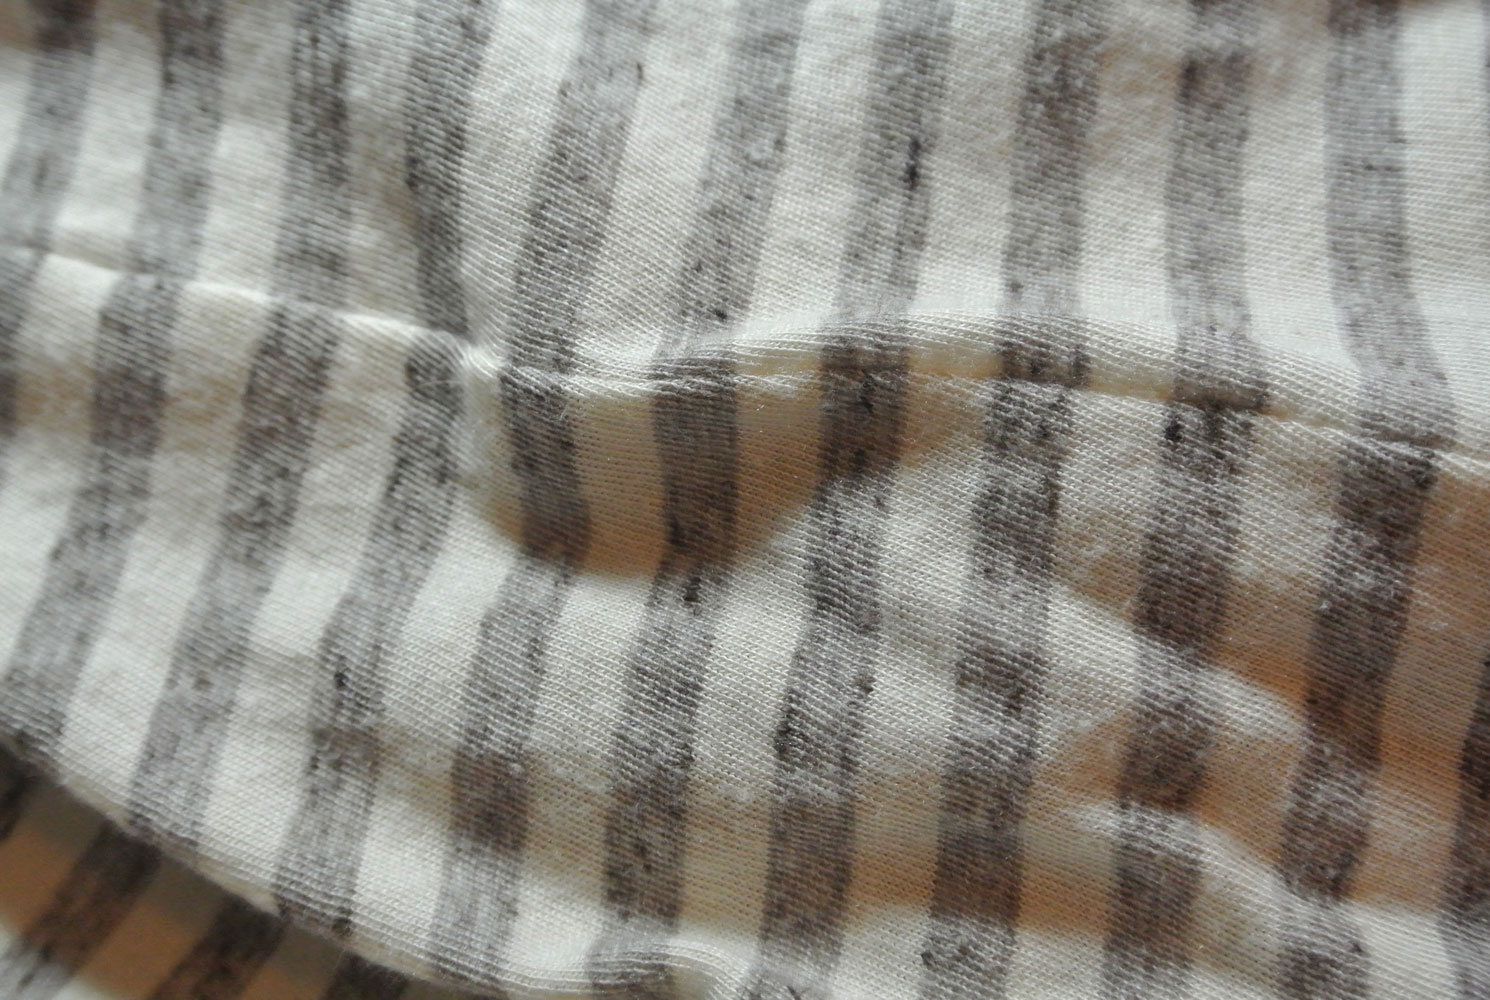
Look at that smooth seam. Look how the fabric opens cleanly for the stitching on the curves. To me, that’s the way to finish a hem such as this. (I want to go back and add a bar tack on each side to give that seam opening a little more stability, but other than that, I’m thrilled with the result.)
This exercise, while the rotary cutting and fusing took time, gave me a beautiful, stable hem. In my humble opinion.
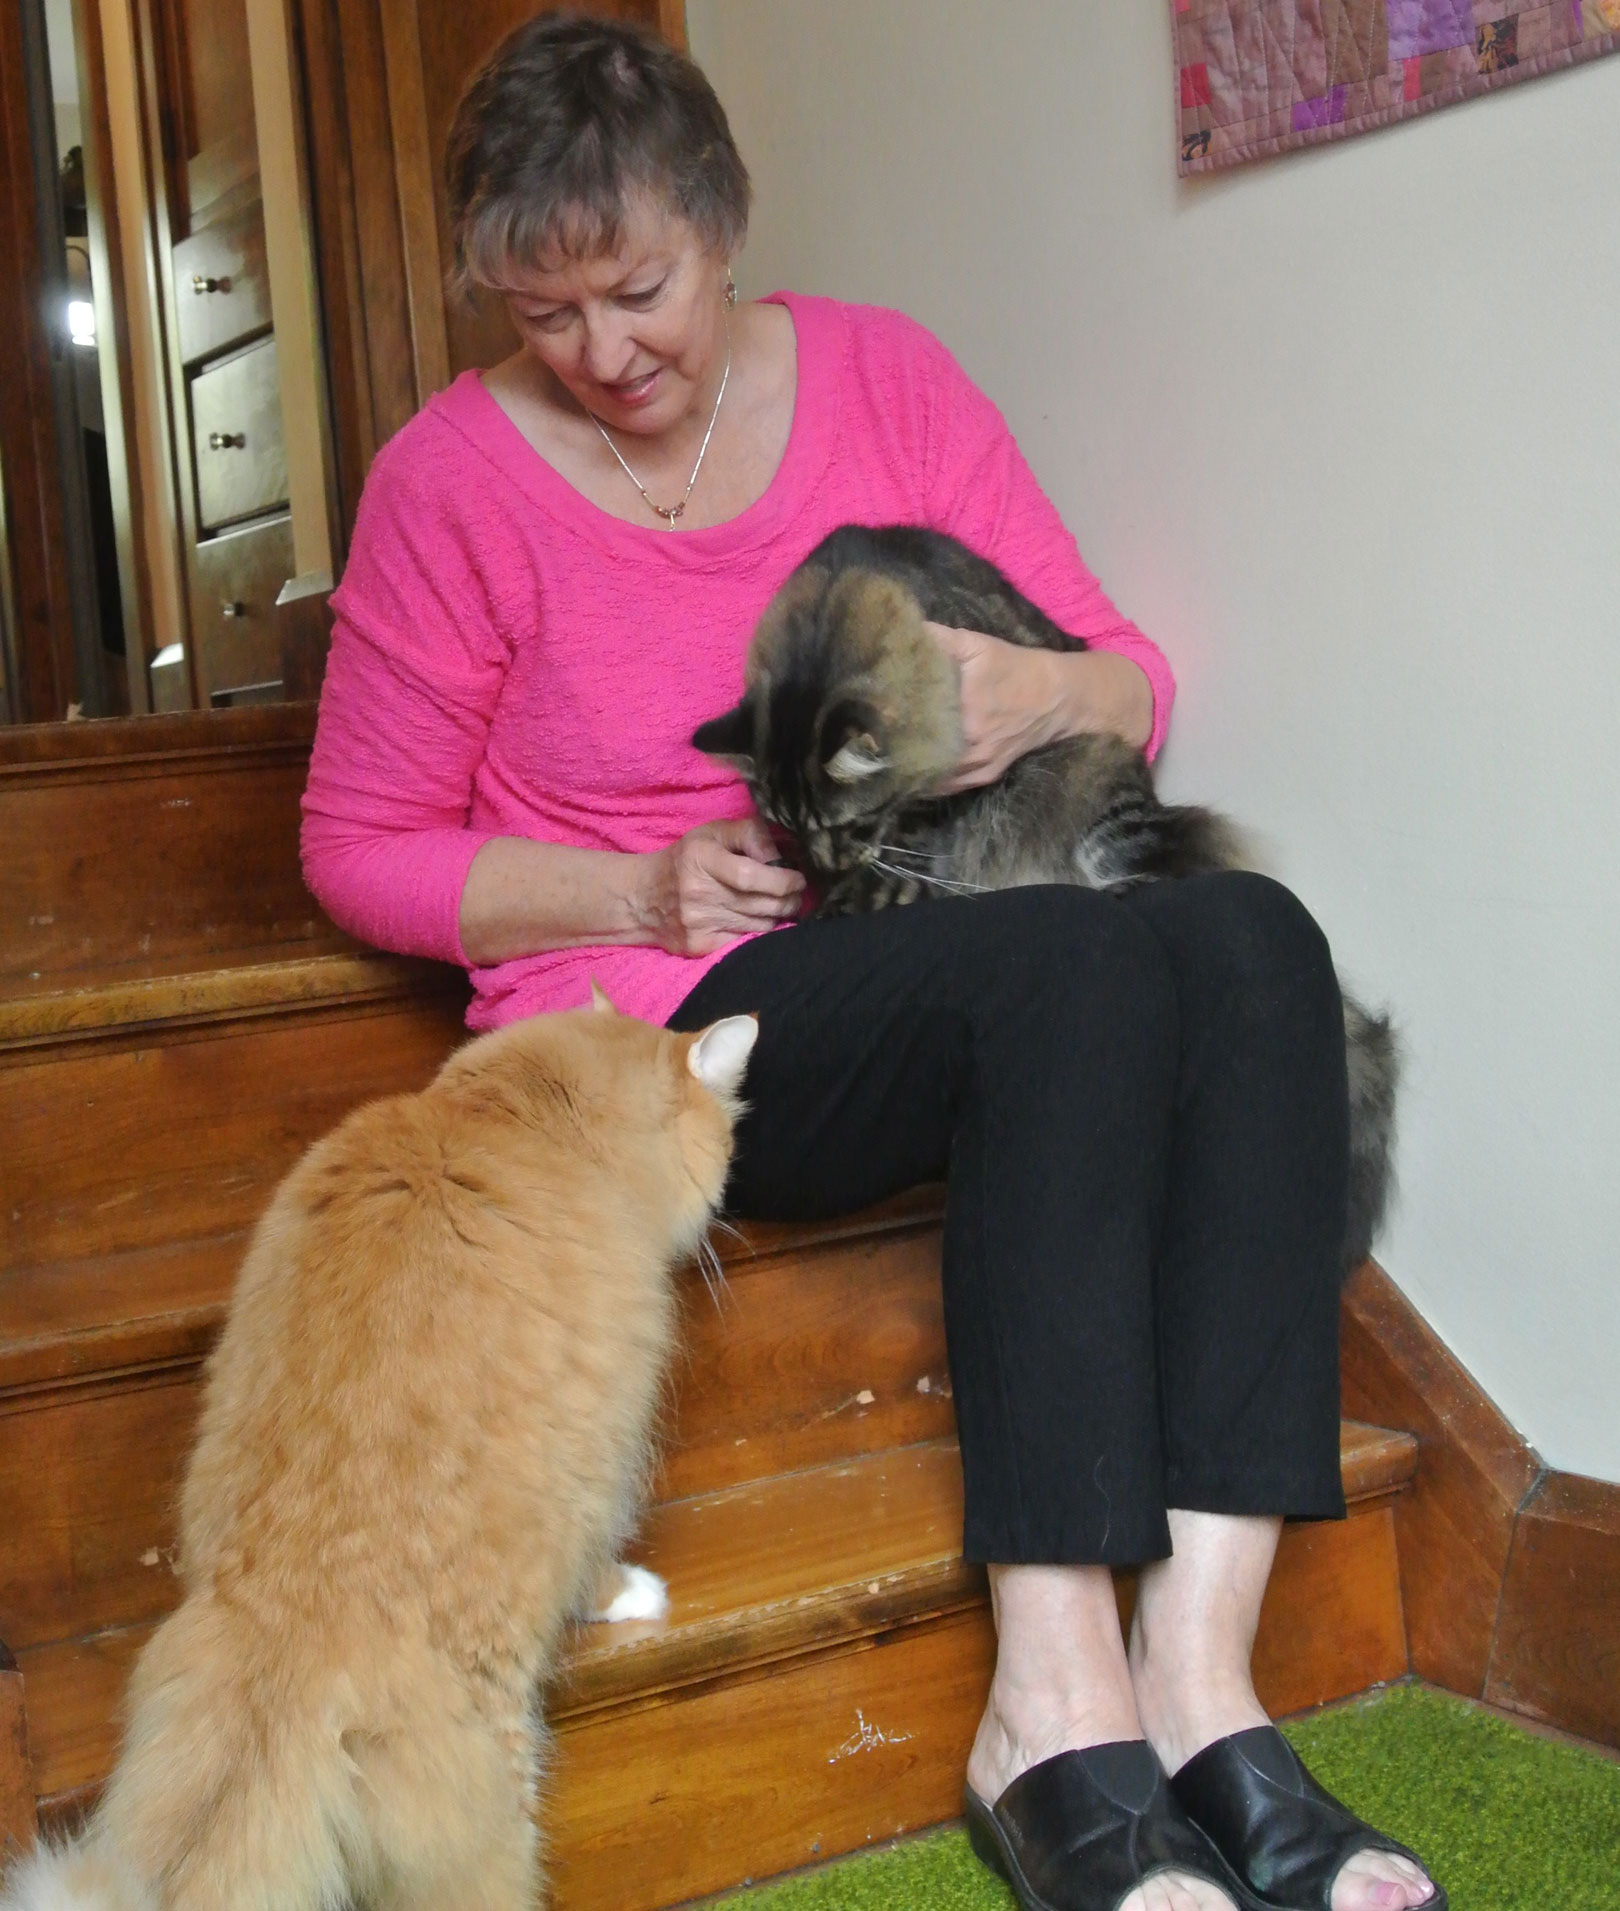
The boys wanted to get in on the photo session.
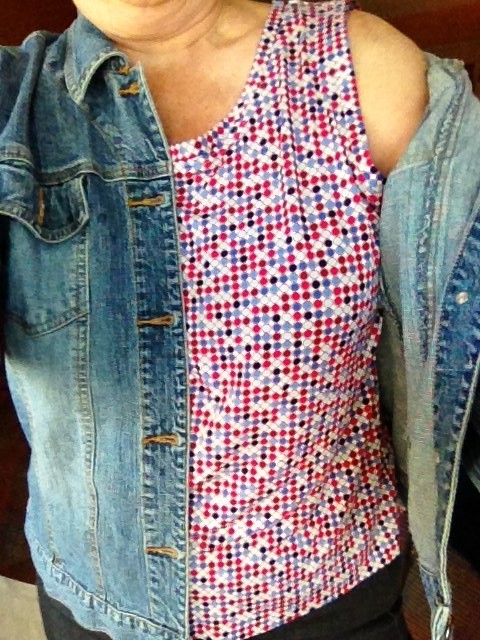
Sewed the sleeve seams in a double-stitched seam, trimmed, pressed seam allowance to the back, pressed up a ½” hem on the sleeve and top-stitched. Voila! All done!
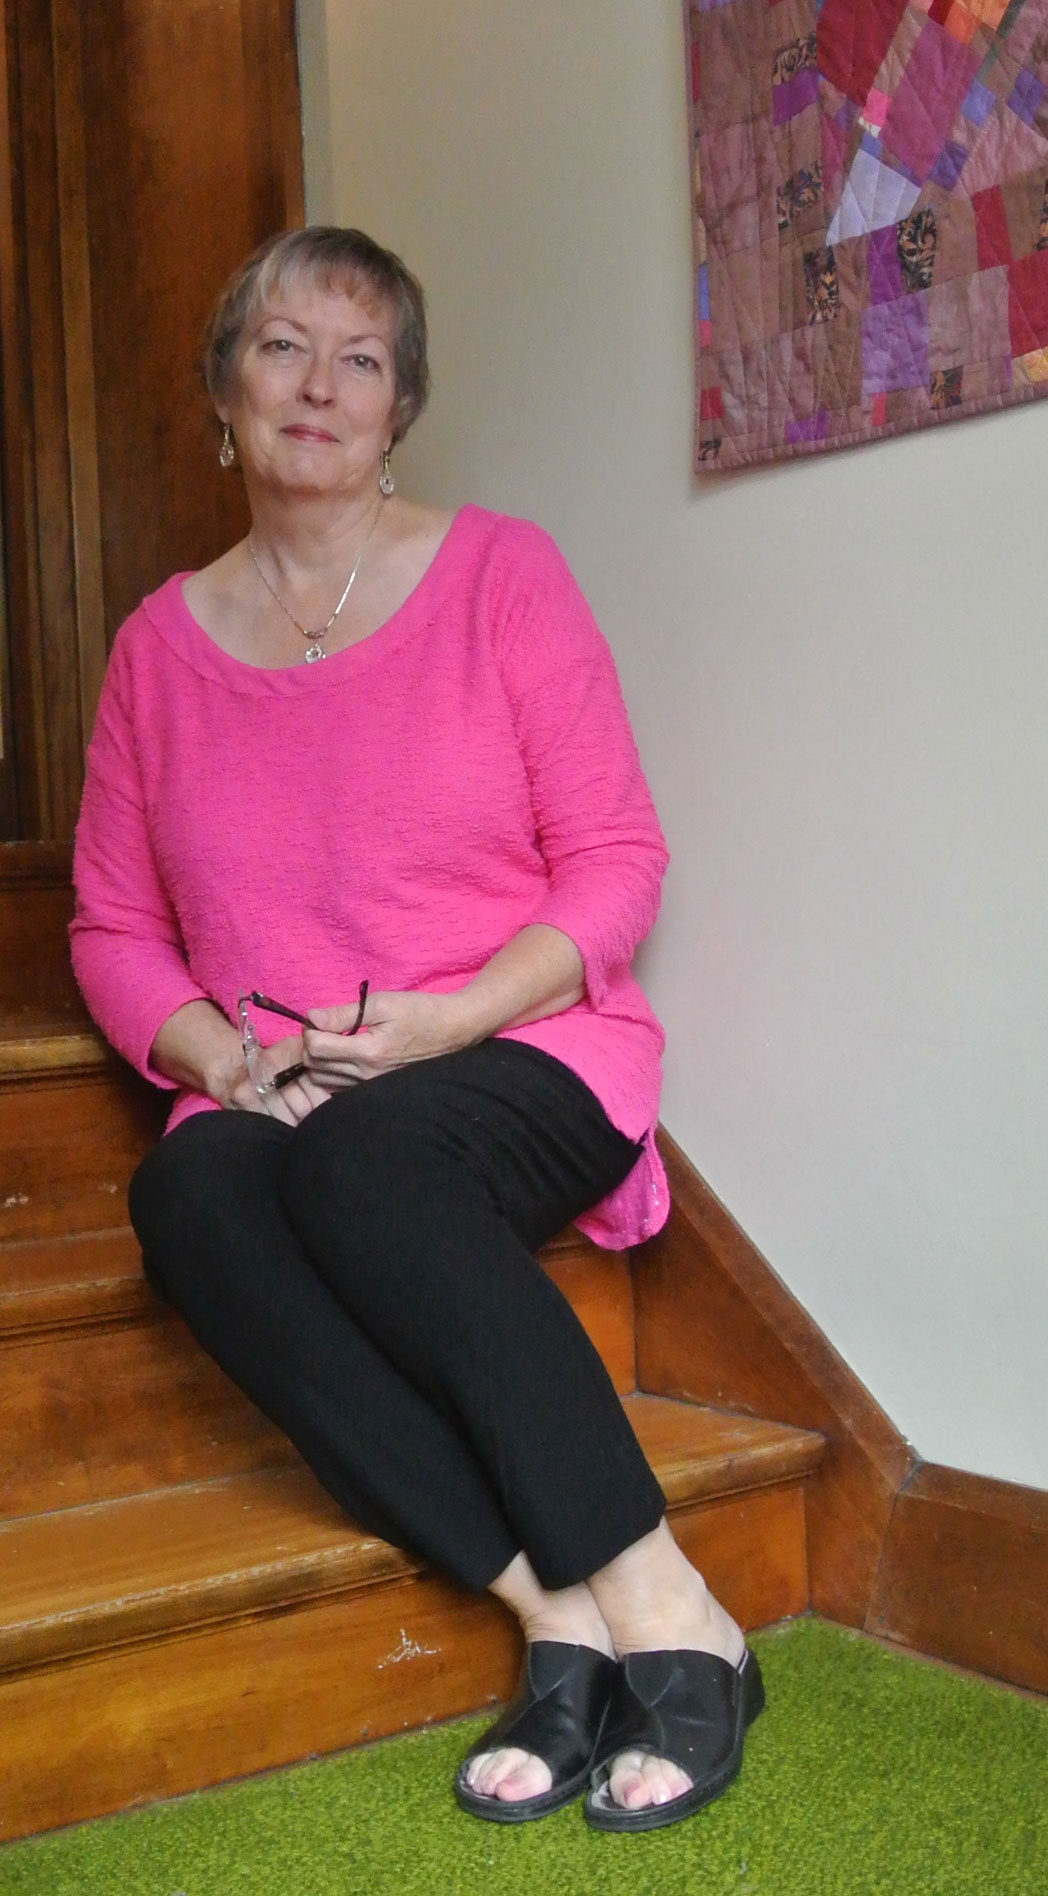
Well, that’s the end of the construction part of this top. The Jazzman was working at his workbench in the basement, around the corner from my sewing room. I slipped the top on and walked out to show him. He said, “It’s bright.” I told him that was what I wanted. I thought I looked old and drained lately with all my gray hair, and that maybe the brighter colors would help me look nicer, brighter, younger, less drained. His response? “Well, you could just color your hair and save all that money on new clothes.”
Hmmm. He’s such a
(And if you know me well and have much experience reading the posts on my other blog, you know that I took that to mean that he hates the color of my hair and thinks all my sewing for the past 6+ months has been for naught. Oh, the angst of the Little Adoptee! So annoying!)
So what do you think? A) Would you wear this color in the fall? (Note that when I work, it’s from home, so I hardly ever go out of the house.) And B) Do you think colors such as this unseasonal hot pink make one look brighter? (Well, it’s not unseasonal in the Southern Hemisphere. Maybe I should just go down there for a couple of months.)
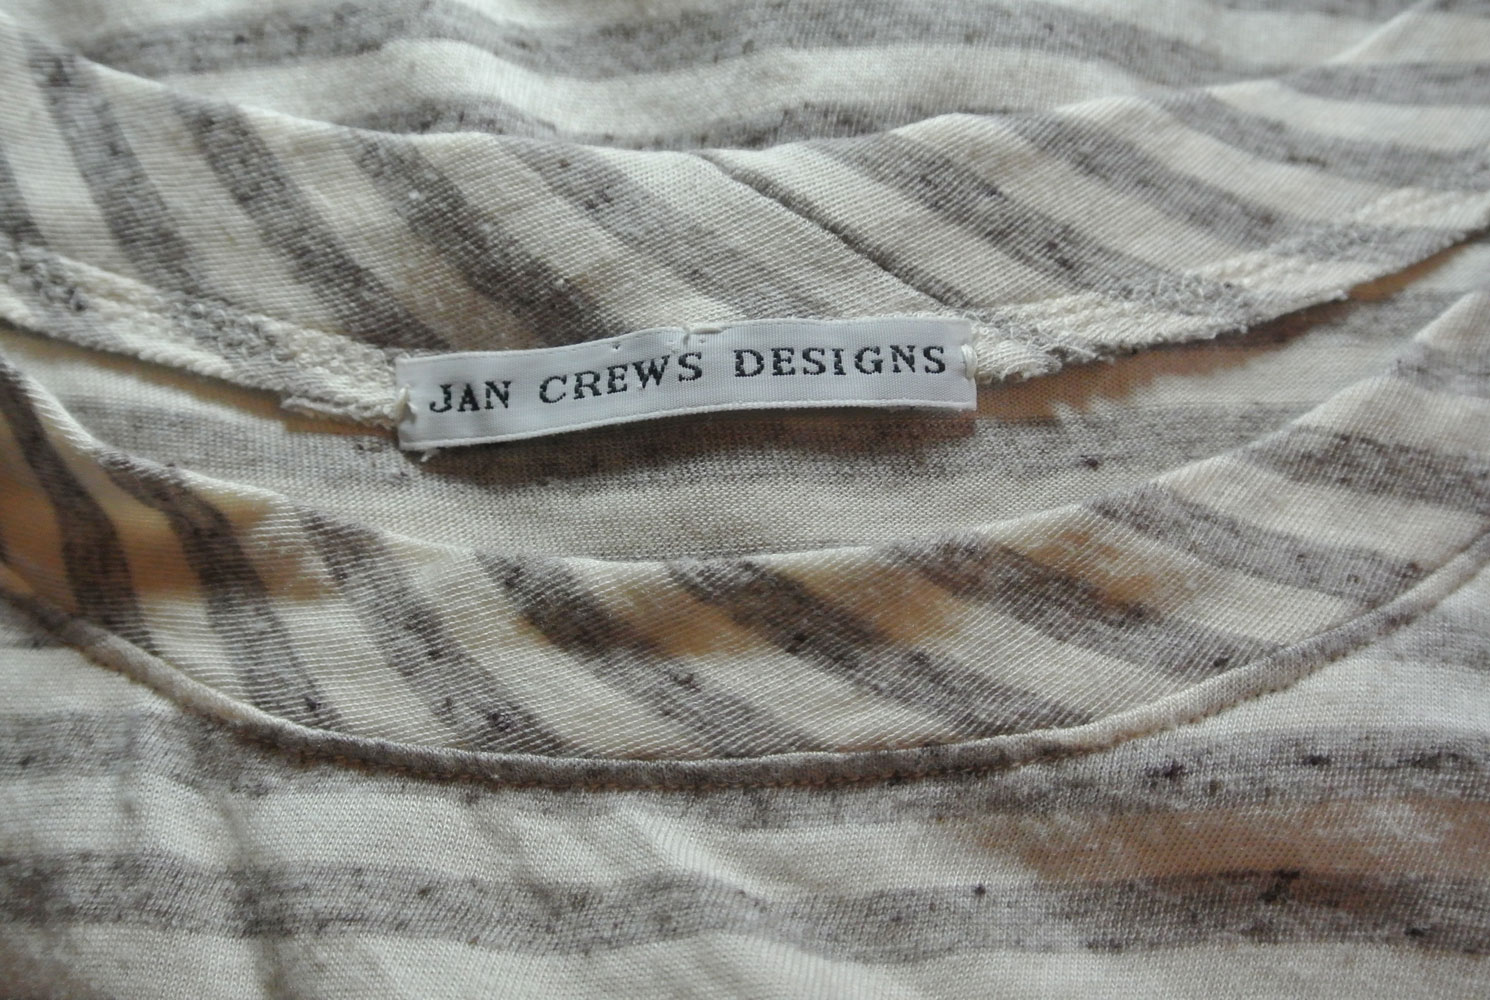
A note re the Nanette Lepore fabric. I’m a fan of Nanette, who is a native of Youngstown. The Jazzman is sorta distantly related to her, as everyone in Youngstown is related to everyone else. His closest cousin’s wife, Michelle, is Nanette’s sister. I frequently moan to Michelle about Nanette’s limiting her range of sizes at 12. Grabbing this fabric from EOS was my own little way of having a piece of Nanette Lepore’s line in my closet.
I’d love to hear what you think about the color.