


 When I was in Santa Barbara in February, I picked up a bolt end that Marcy Tilton had on her clearance table. It was a cocoa-and-turquoise stripe—good colors for me—in a touchably soft cotton jersey. Ever since I finished the cocoa pants just prior to our vacation trip to France, I’ve been wanting to get this top made to go with the pants. The late-June/early-July weather in Northeast Ohio has been unusually hot and humid, and my wardrobe is low on cool tops. So here’s my cool top.
Pattern Description: Marcy Tilton T-shirt, Vogue 8671, View A
Pattern Sizing: Misses 8-22, I cut a 16
Did it look like the photo/drawing on the pattern envelope once you were done sewing with it? Basically
Were the instructions easy to follow? Yes, except for one omission that hampered me (see below).
What did you particularly like or dislike about the pattern? Easy, fast, flattering. I like the little bit of assymetricality.
Fabric Used: Cotton jersey stripe from MarcyTilton.com.
Pattern alterations or any design changes you made: I couldn’t figure out exactly what the pattern directions wanted me to do with the neck and front, so I just kinda played it by ear.
When Vogue copyeditors got their hands on the instructions for the neck finish, something got lost in the translation.
On the neck opening, you are instructed to pin the neckline band to the inside of the neck opening, right side of the band to wrong side of the neckline opening. The instructions say to stitch in place, then trim close to the stitching, and that the raw edge will be the neckline treatment. However, the illustration indicates a double needle is used (note depiction of zig-zag on wrong side and two topstitch lines on the right side). I didn’t notice the discrepancy between the written instructions and the illustration until I had already sewn the band onto the neck.
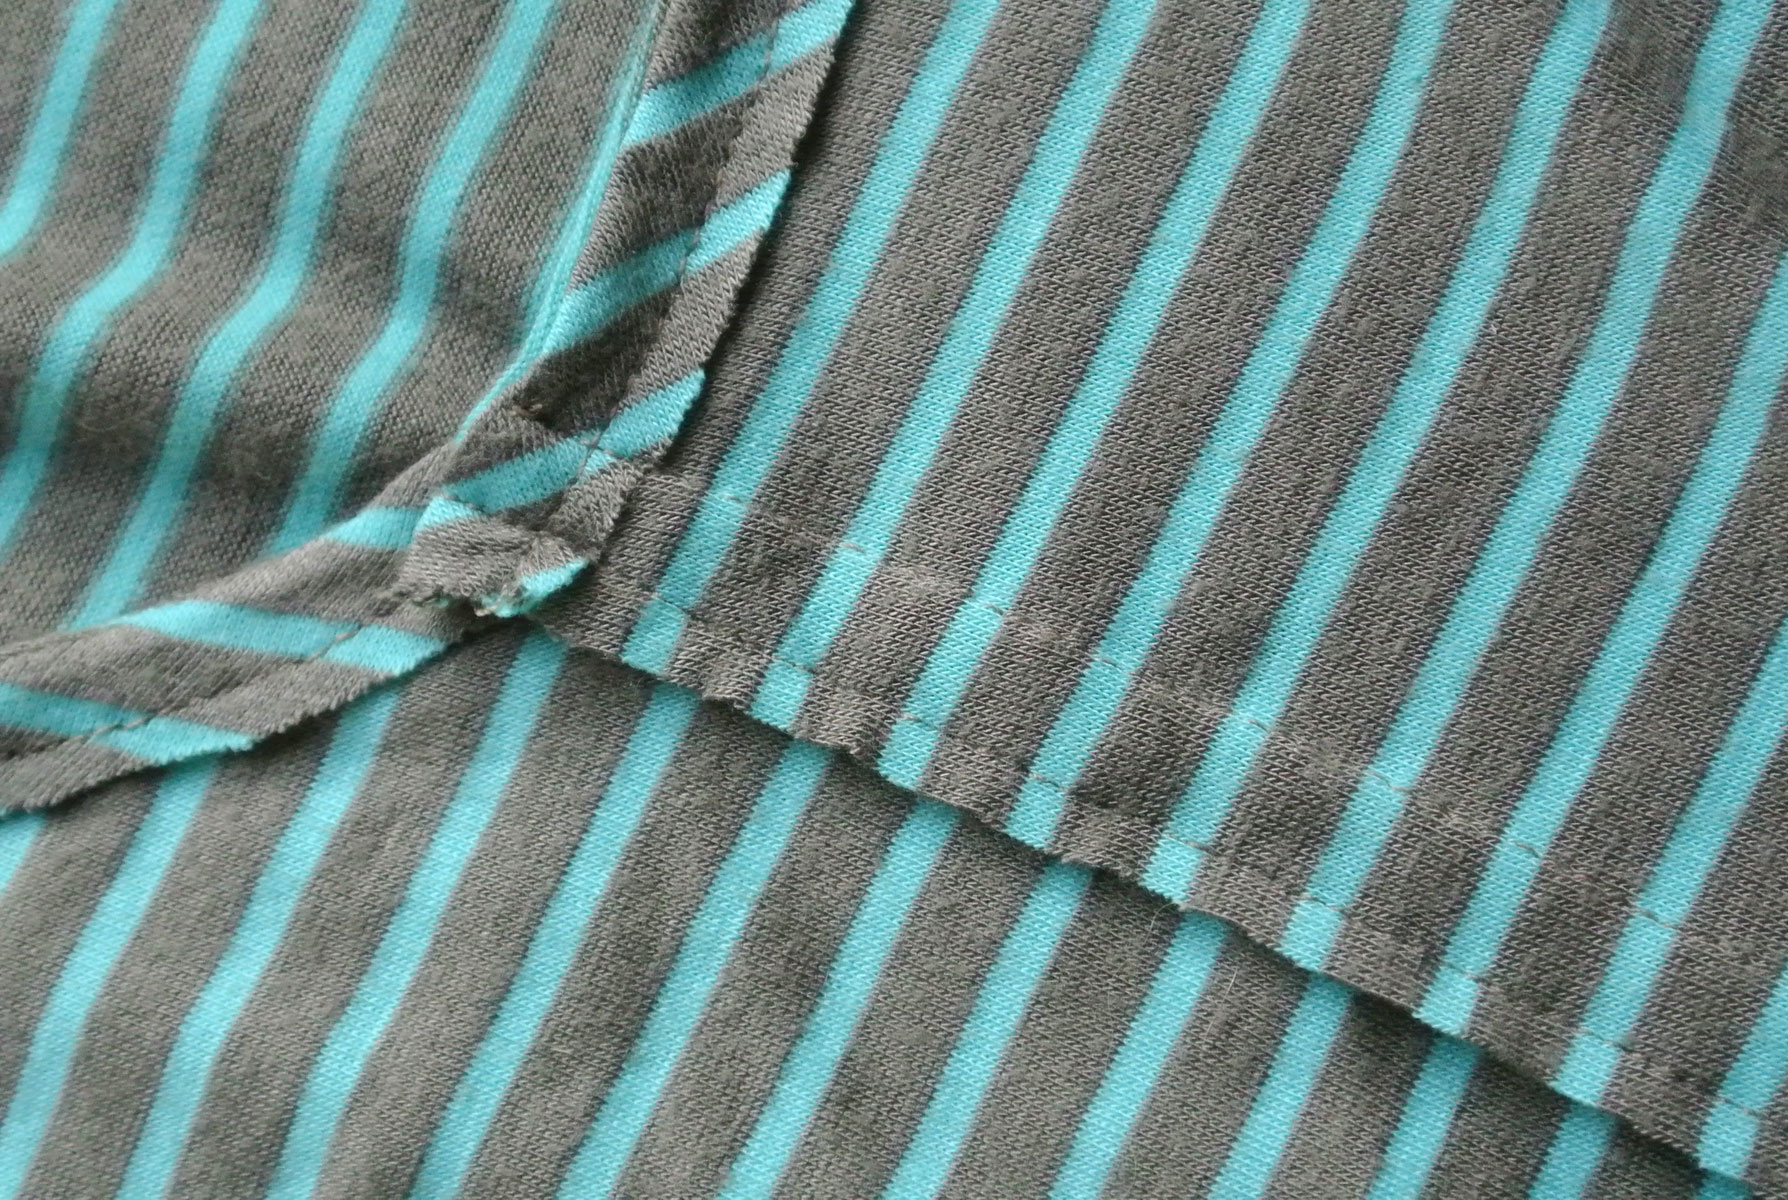
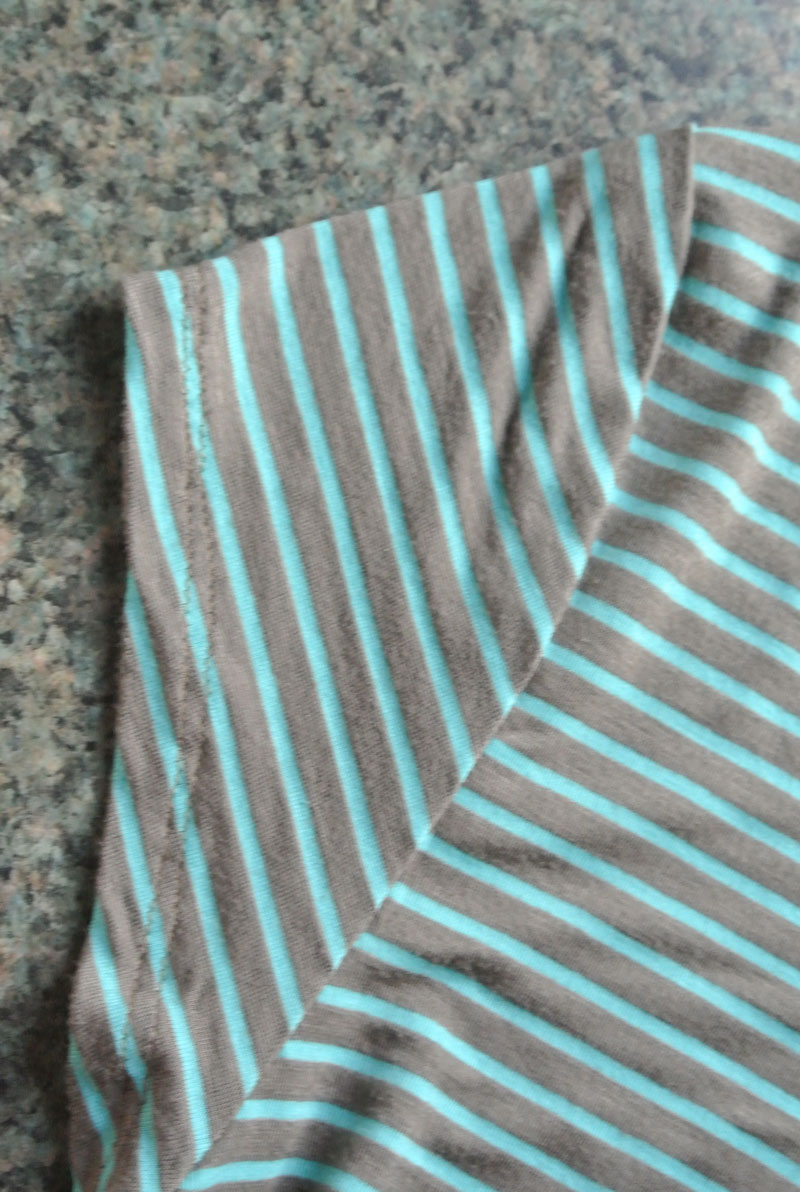
My solution: I stitched the band to the inside about 3/8″ from the edge, then trimmed and folded to the outside, pressed, and topstitched about 1/4″ from the edge. I finished by trimming the band fairly close to the topstitching. Because I’m working with a knit, it won’t ravel, and it looks pretty nice. (Going back after finishing and reading a couple of reviews on PatternReview, my method also prevents the potential problem that Madcap on PR mentioned: If you staystitch the neck edges first, then apply the band in the manner shown in the instructions and illustration, you’re going to have to go back and remove the row of staystitching to avoid have three lines of stitching—two straight and one not-so!)
 I overthought the side front seam. On my fifth reading, I realize it was perfectly correct, but at the time of construction, my brain wasn’t following. So I wanted to make it look as much as possible like what I had done on the neck opening.
My solution: I sewed that seam with a single needle, wrong sides together. I sewed with the right side on top, favoring the left side (meaning I could see about 1/16″ of the left side extending out from under the right side as I was sewing) to ensure I didn’t have to trim the right side and didn’t have any of the right side peeking out when I was done. I pressed the seam allowance flat, then pressed it to the right and topstitched about 1/4″ from the seam. I’m satisfied with the look, and it matches the neck.
 One more change—because I was working with a 1-yard piece, I didn’t have enough fabric for the long sleeves.
My solution: I measured the length of my favorite RTW cap sleeve at the shoulder and at the underarm seam. I drafted a new pattern piece using the pattern sleeve piece. At the shoulder seam marking, I measured down the RTW length plus 5/8″ seam allowance for the top seam allowance and 5/8″ hem allowance. At the underarm (side) seam, I measured down the 5/8″ seam allowance plus whatever my RTW measurement was plus the 5/8″ hem allowance. After sewing the side seam, I turned up the hem 5/8″ and topstitched. Ditto with the garment hem, just folded and topstitched. (At this point in the construction, I was rushing to finish and didn’t take the time to change to double needle. #lazy)
Would you sew it again? Would you recommend it to others? Yes and Yes. Next time I’ll try following the instructions for the neck and front seam and the hems. :-/
Conclusion: I like the asymmetrical neckline. It’s a nice variation to standard round necklines. The fit of the shirt is nice and curvy – not boxy. Flattering. When I get rid of my five post-vacation pounds, it’ll look even better!
Here’s your reward for reading all the way through: We spend the 4th of July weekend every year at an old cottage at Madison Shores on Lake Erie, about 40 miles east of Cleveland. The weather wasn’t great this year, but Sunday evening we were rewarded with the best sunset I’ve ever witnessed in four years of weeks at the Lake. Enjoy!

I enjoyed reading this review of Marci’s pattern 8601! I may dig it out and give it a try.
Great picture at the end; thanks for the treat!
Thanks, JoAnne. Would love to see your shirt when finished.