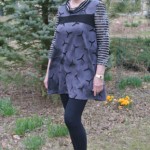
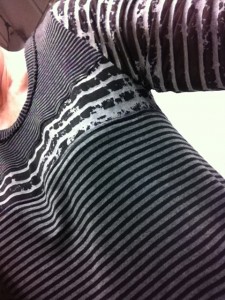
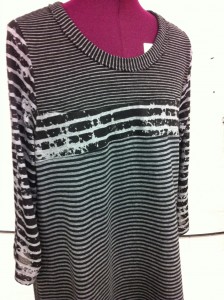
 Have you noticed all the stripes in ready-to-wear these days? Every time I click on a website or open a magazine, I see a plethora of stripes, with lots of variations in placement and alignment.
I picked up this soft little gray and pale aqua stripe while in Santa Barbara at Design Outside the Lines. It’s out of stock now, but look at all the other sweet stripes Marcy has ready for your sewing pleasure.
As I’ve probably mentioned here before, I’m a tad busty. I always have a hard time getting darts to aim properly, even with an FBA, so I am in love with Vogue’s “Custom Fit” patterns. (Several other companies carry them also, and Silhouette Patterns carries an entire line of patterns where you can choose your cup size.)
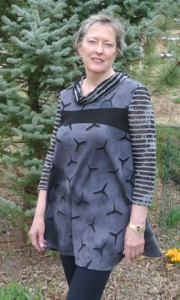
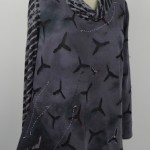
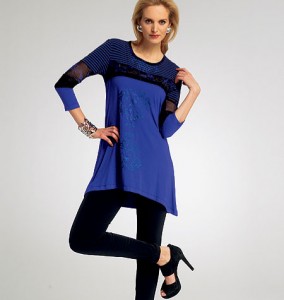
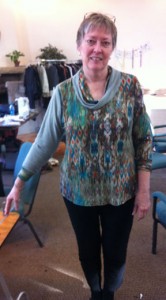
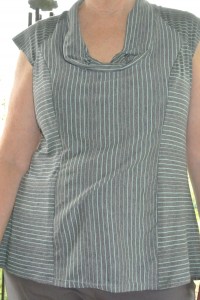 When I saw Vogue 8831, this cowl-neck princess seam top, I quickly ordered it, thinking it would be great for the stripe fabric. I set out to make a mixed horizontal/vertical top.
<Note to self> The next time you ask DBF to take a picture of a top, don’t have him point up at your bustiness. Not attractive!<Note off>
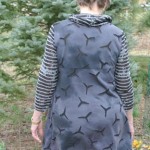
My goal was to have the stripes on the center panels run vertically, while the side fronts and side backs ran horizontally. But I had to interrupt my cutting to go tend to some then-urgent issue, and when I got back, I was less focused. Oops. 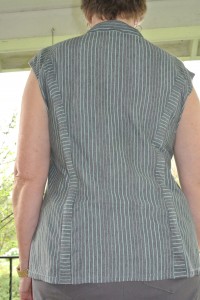 Once I started the assembly, I realized—to my HORROR—that only the side fronts were horizontal and all other pieces were vertical. As you know, the stretch runs horizontally, so I had robbed myself of the comfort of the stretch that is the reason we wear knits!
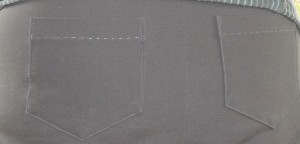
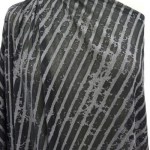
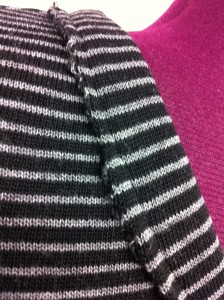
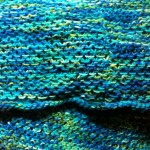
How could I save this? I felt I needed to build in a little give, so I cut narrow strips of the fabric with the stripes running horizontally. Then instead of seaming left and right backs to the center back, I seamed these strips in between the pieces, as a little extra bit of comfort. (Click on the photo to the left for a close-up view.) When all was said and done, I had given myself a little too much comfort, and had to take in the side seam/armhole for an extra 5/8″ at the armhole, gradually tapering out to the original seamline about 4″ down.
One other adjustment was to the cowl. I didn’t really have enough fabric for this top, so the cowl collar had to be cut about half its designed depth. When I put the top on, I was showing a little too much cleavage for my comfort. And the knit is so soft that the collar just flopped. Major décolleté! Since designers are doing so much pleating and tucking lately, I just made two little box pleats in the edge of the collar in front, stitched them down, and now I’m comfortable. It’s not a brilliant solution, but it’s a solution. And a learning exercise.
I have one more piece of a similar striped knit in a cocoa and pale aqua. I’ll make another little T to go with the cocoa pants when they’re done.
I don’t think France will be warm enough to wear this top, but summer’s a-coming!


