One of my former musical theatre students is getting married in August, and I felt honored to be included on the bridal shower guest list. The shower was held this past Saturday afternoon on a lovely backyard patio, during an unfortunate heat wave in northeast Ohio. The bride-to-be (BTB) is the darlingest young woman, who exudes warmth and joy at all times. I first saw her perform in a concert performance of “The Music Man” at YSU when we came back from the pandemic lockdown in 2021-22. To see her on a stage, experience her stage presence, hear her sing and watch her dance—well, it’s just a very joyous experience. Her smile could light the entire world.
I was pretty sure there would be quite a few gifts at the shower, quite a few family friends in attendance, along with her musical theatre girlfriends. I didn’t want to just choose something off her registry. I thought of making her a bag, but that wouldn’t be enough, in my mind. Aha! I would make a bright little bag to echo her personality, into which I could tuck a check for her to use as she wished. The bag would be easy to put together in the limited time I had between arriving home from our cruise to Alaska, getting Jas off on a road trip with his pickleball pal, and preparing all week to accompany an ensemble number in the finale of the weeklong theatre camp at YSU. All this had to happen before Saturday’s shower. The timing was further complicated by the shower venue being over an hour’s drive away. Ah, but I had a Nora Roberts audio book I was enjoying, so bring on the road trip!
 I had culled a lot of items from my fabric stash over the winter and spring, donating a lot of beautiful pieces of fabric to the Ohio State University Extension office for Mahoning County, located near the fairgrounds. (Many of those fabrics were collected during the pandemic to use for mask-making.) The Extension office collects sewing-related donations during about three weeks in April each year, then holds a two-day sale in early May. Shoppers can make a donation and take their goodies (my goodies!) home with them. All the monies donated go to support the Mahoning County 4-H programs. It’s a Win-Win all around!
Anyway, my stash was much smaller than it was during the summer of 2024, but—trust me—I still have enough fabric to make bags for another five years!
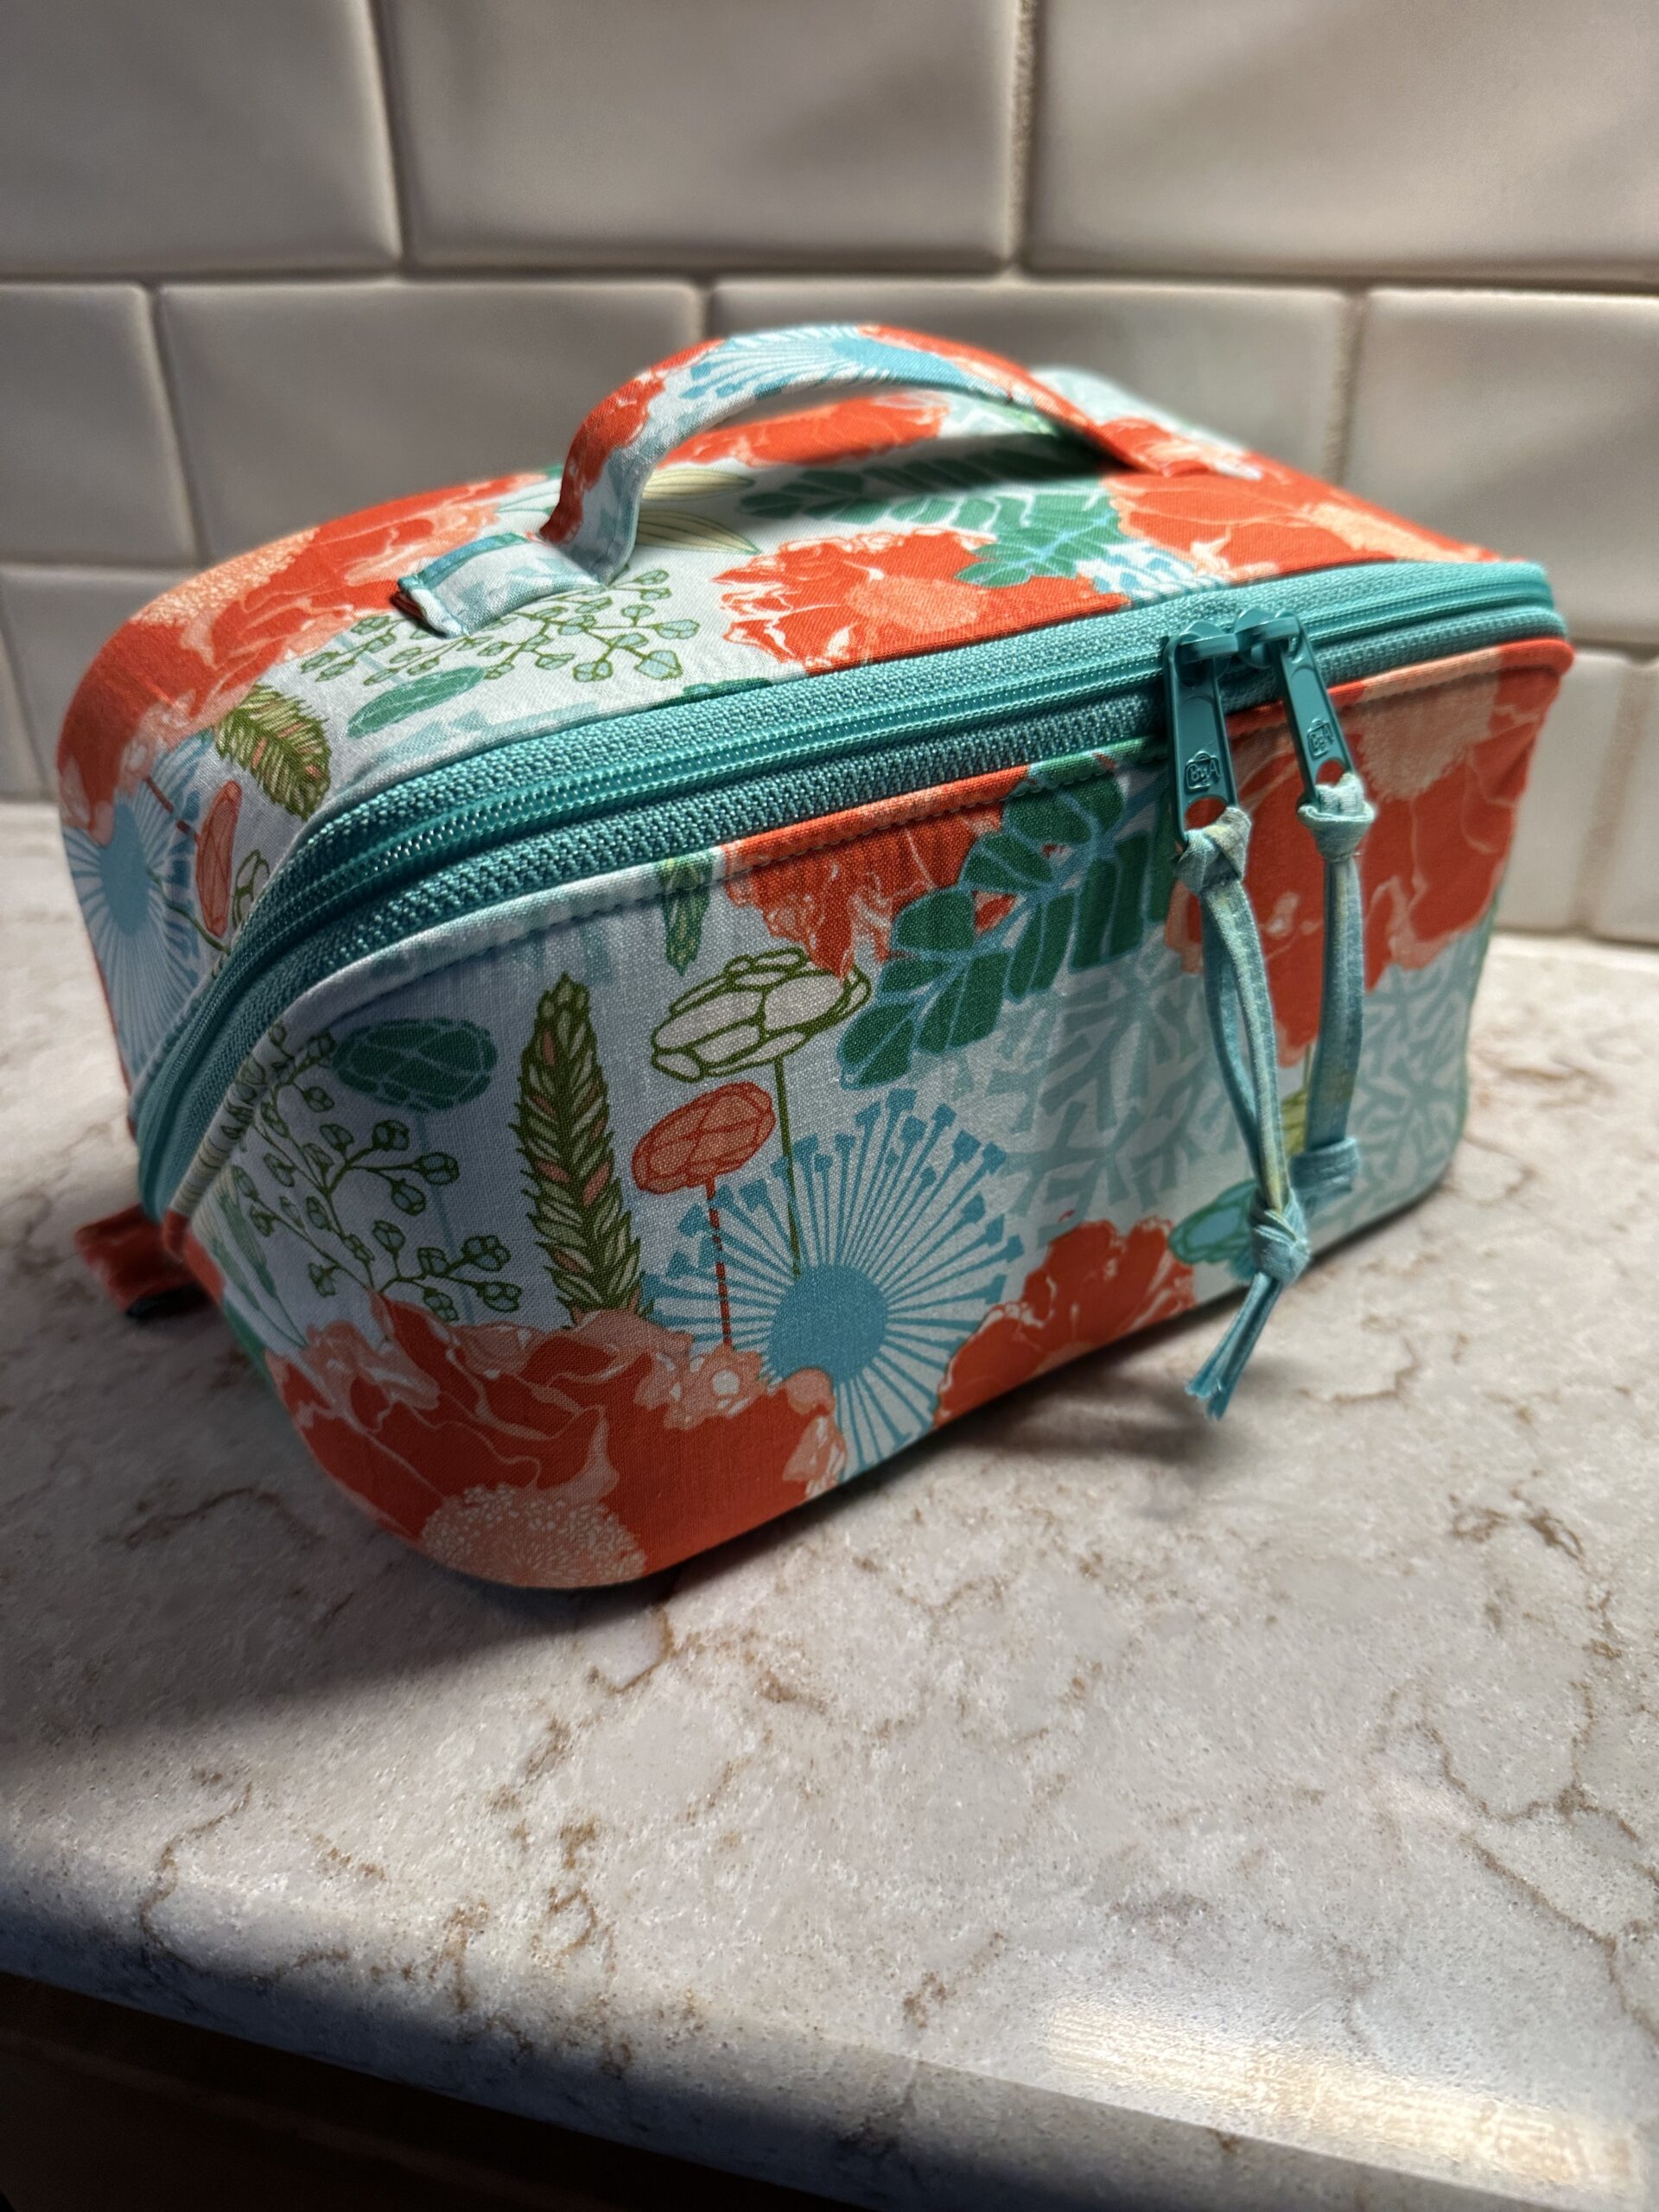
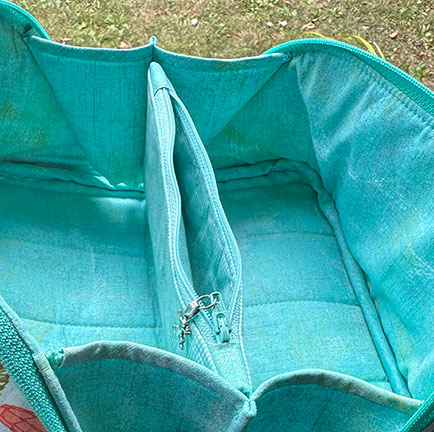
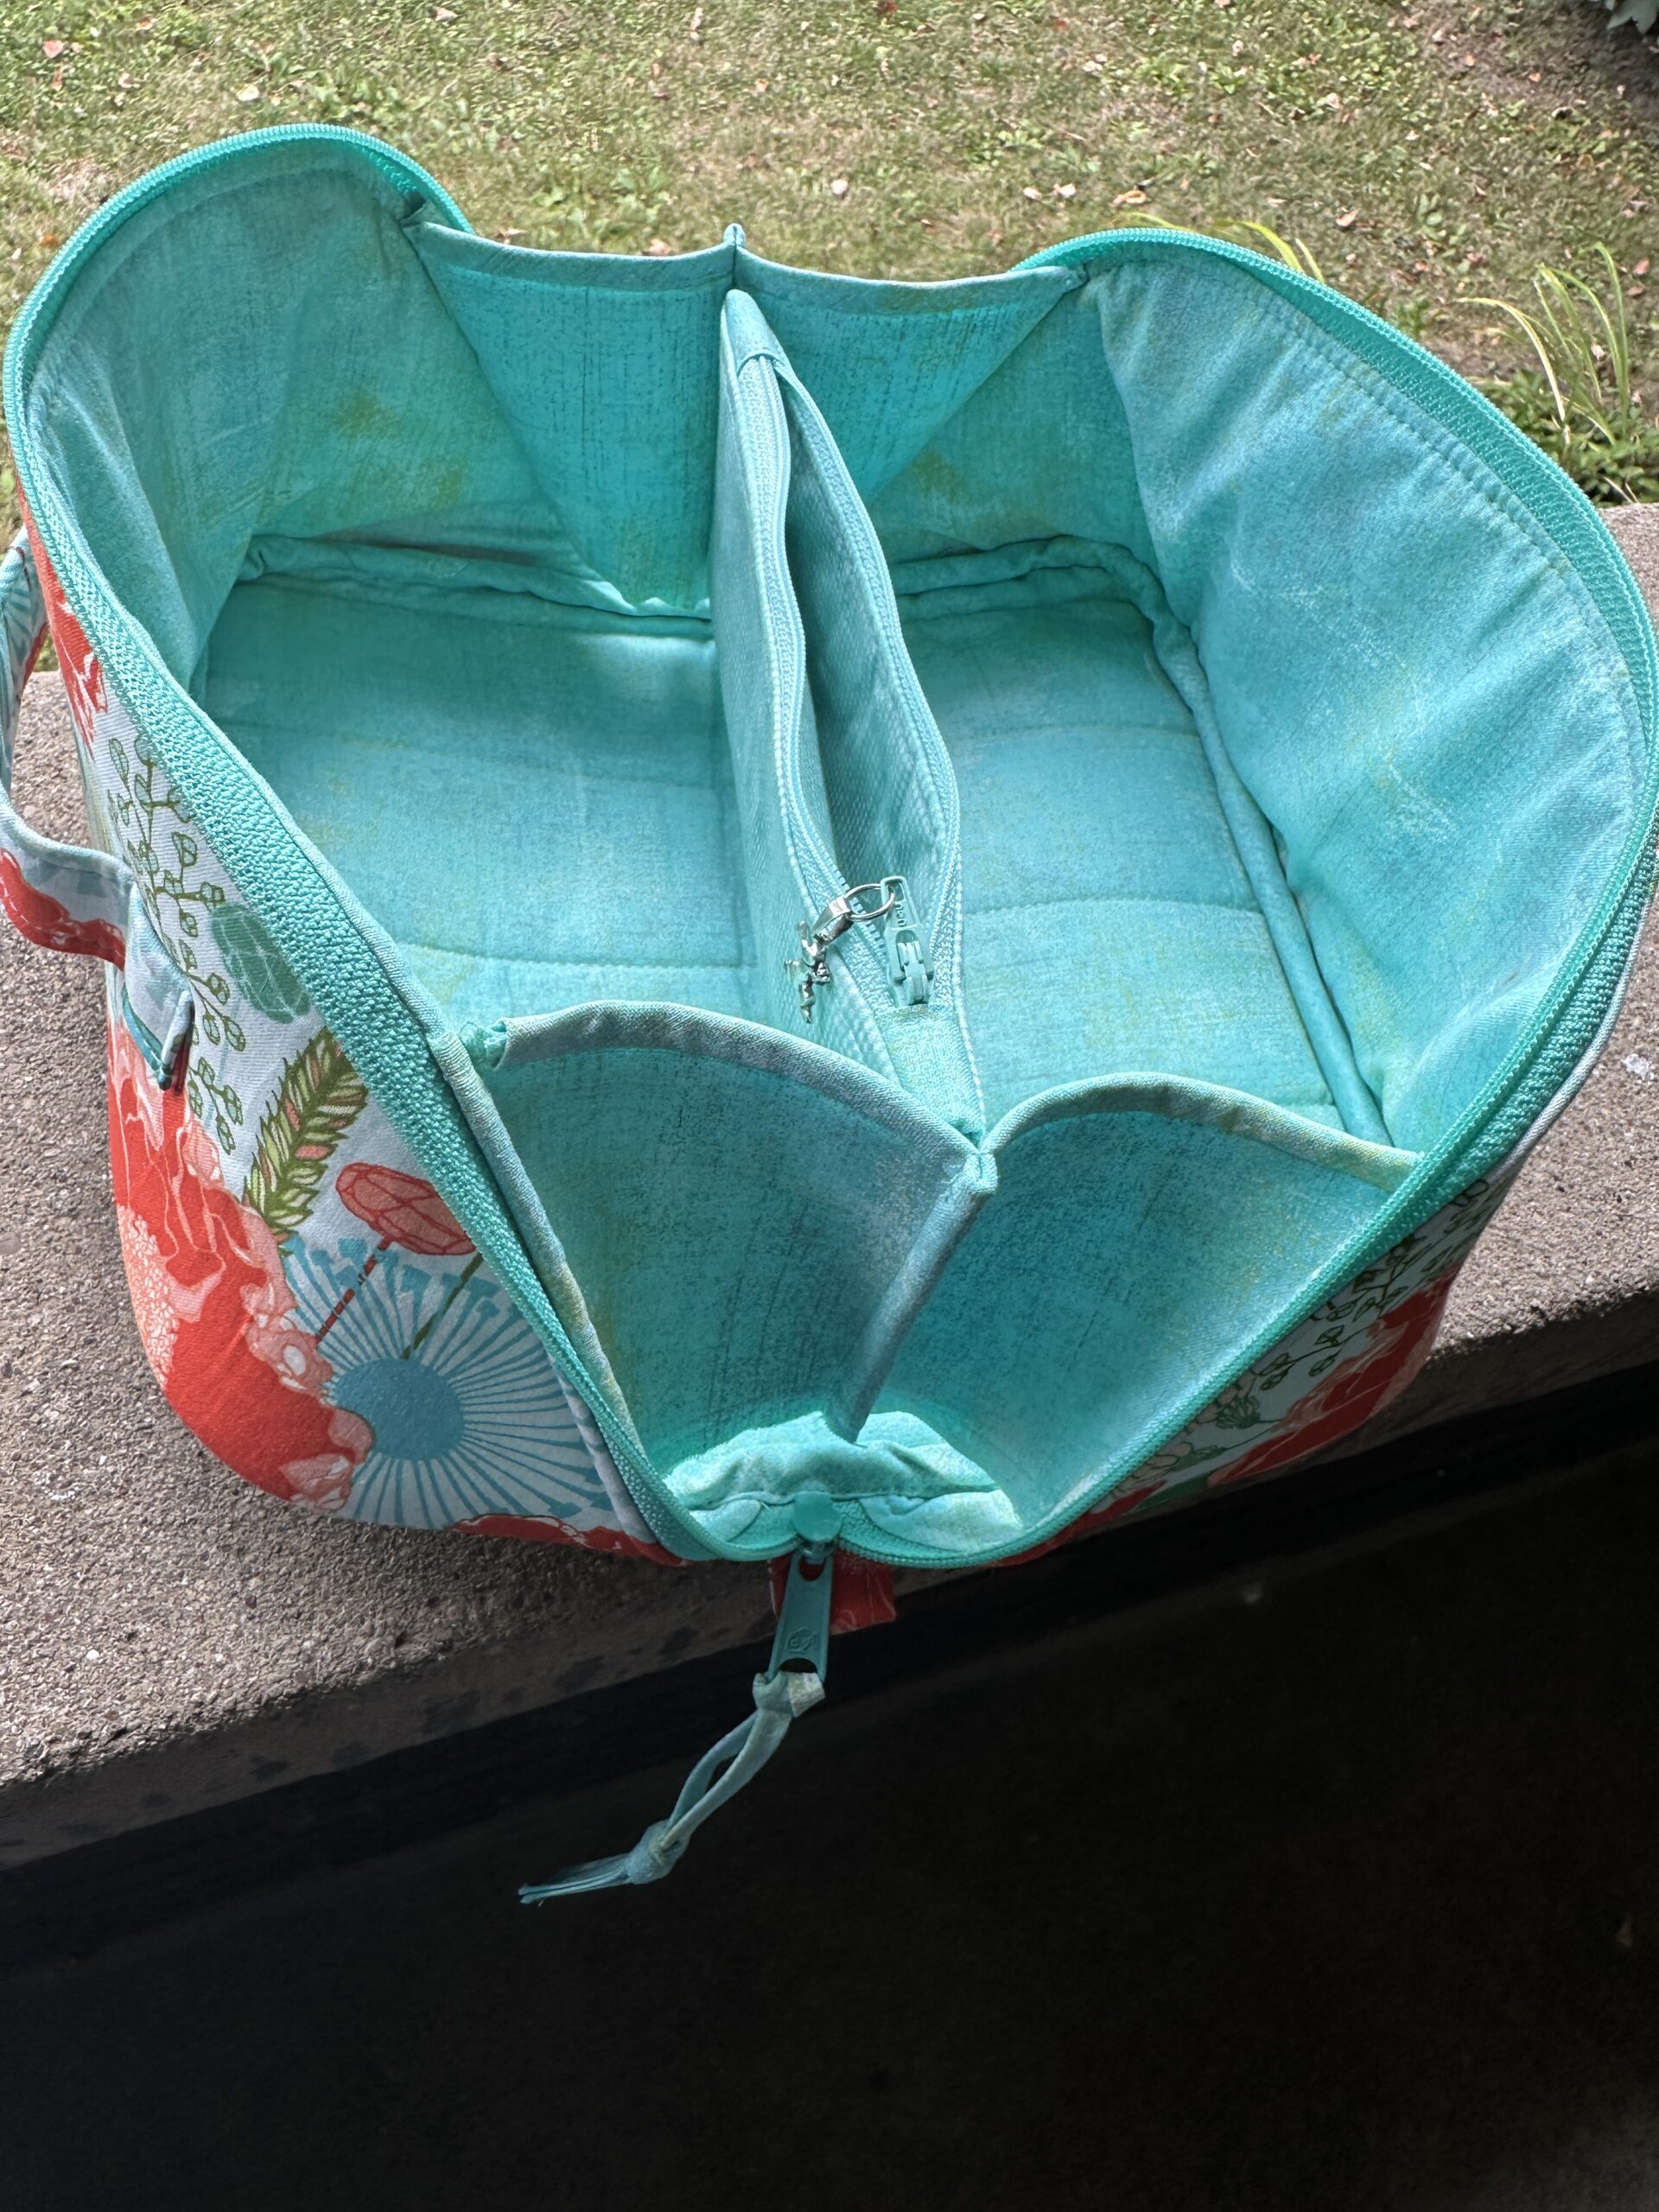
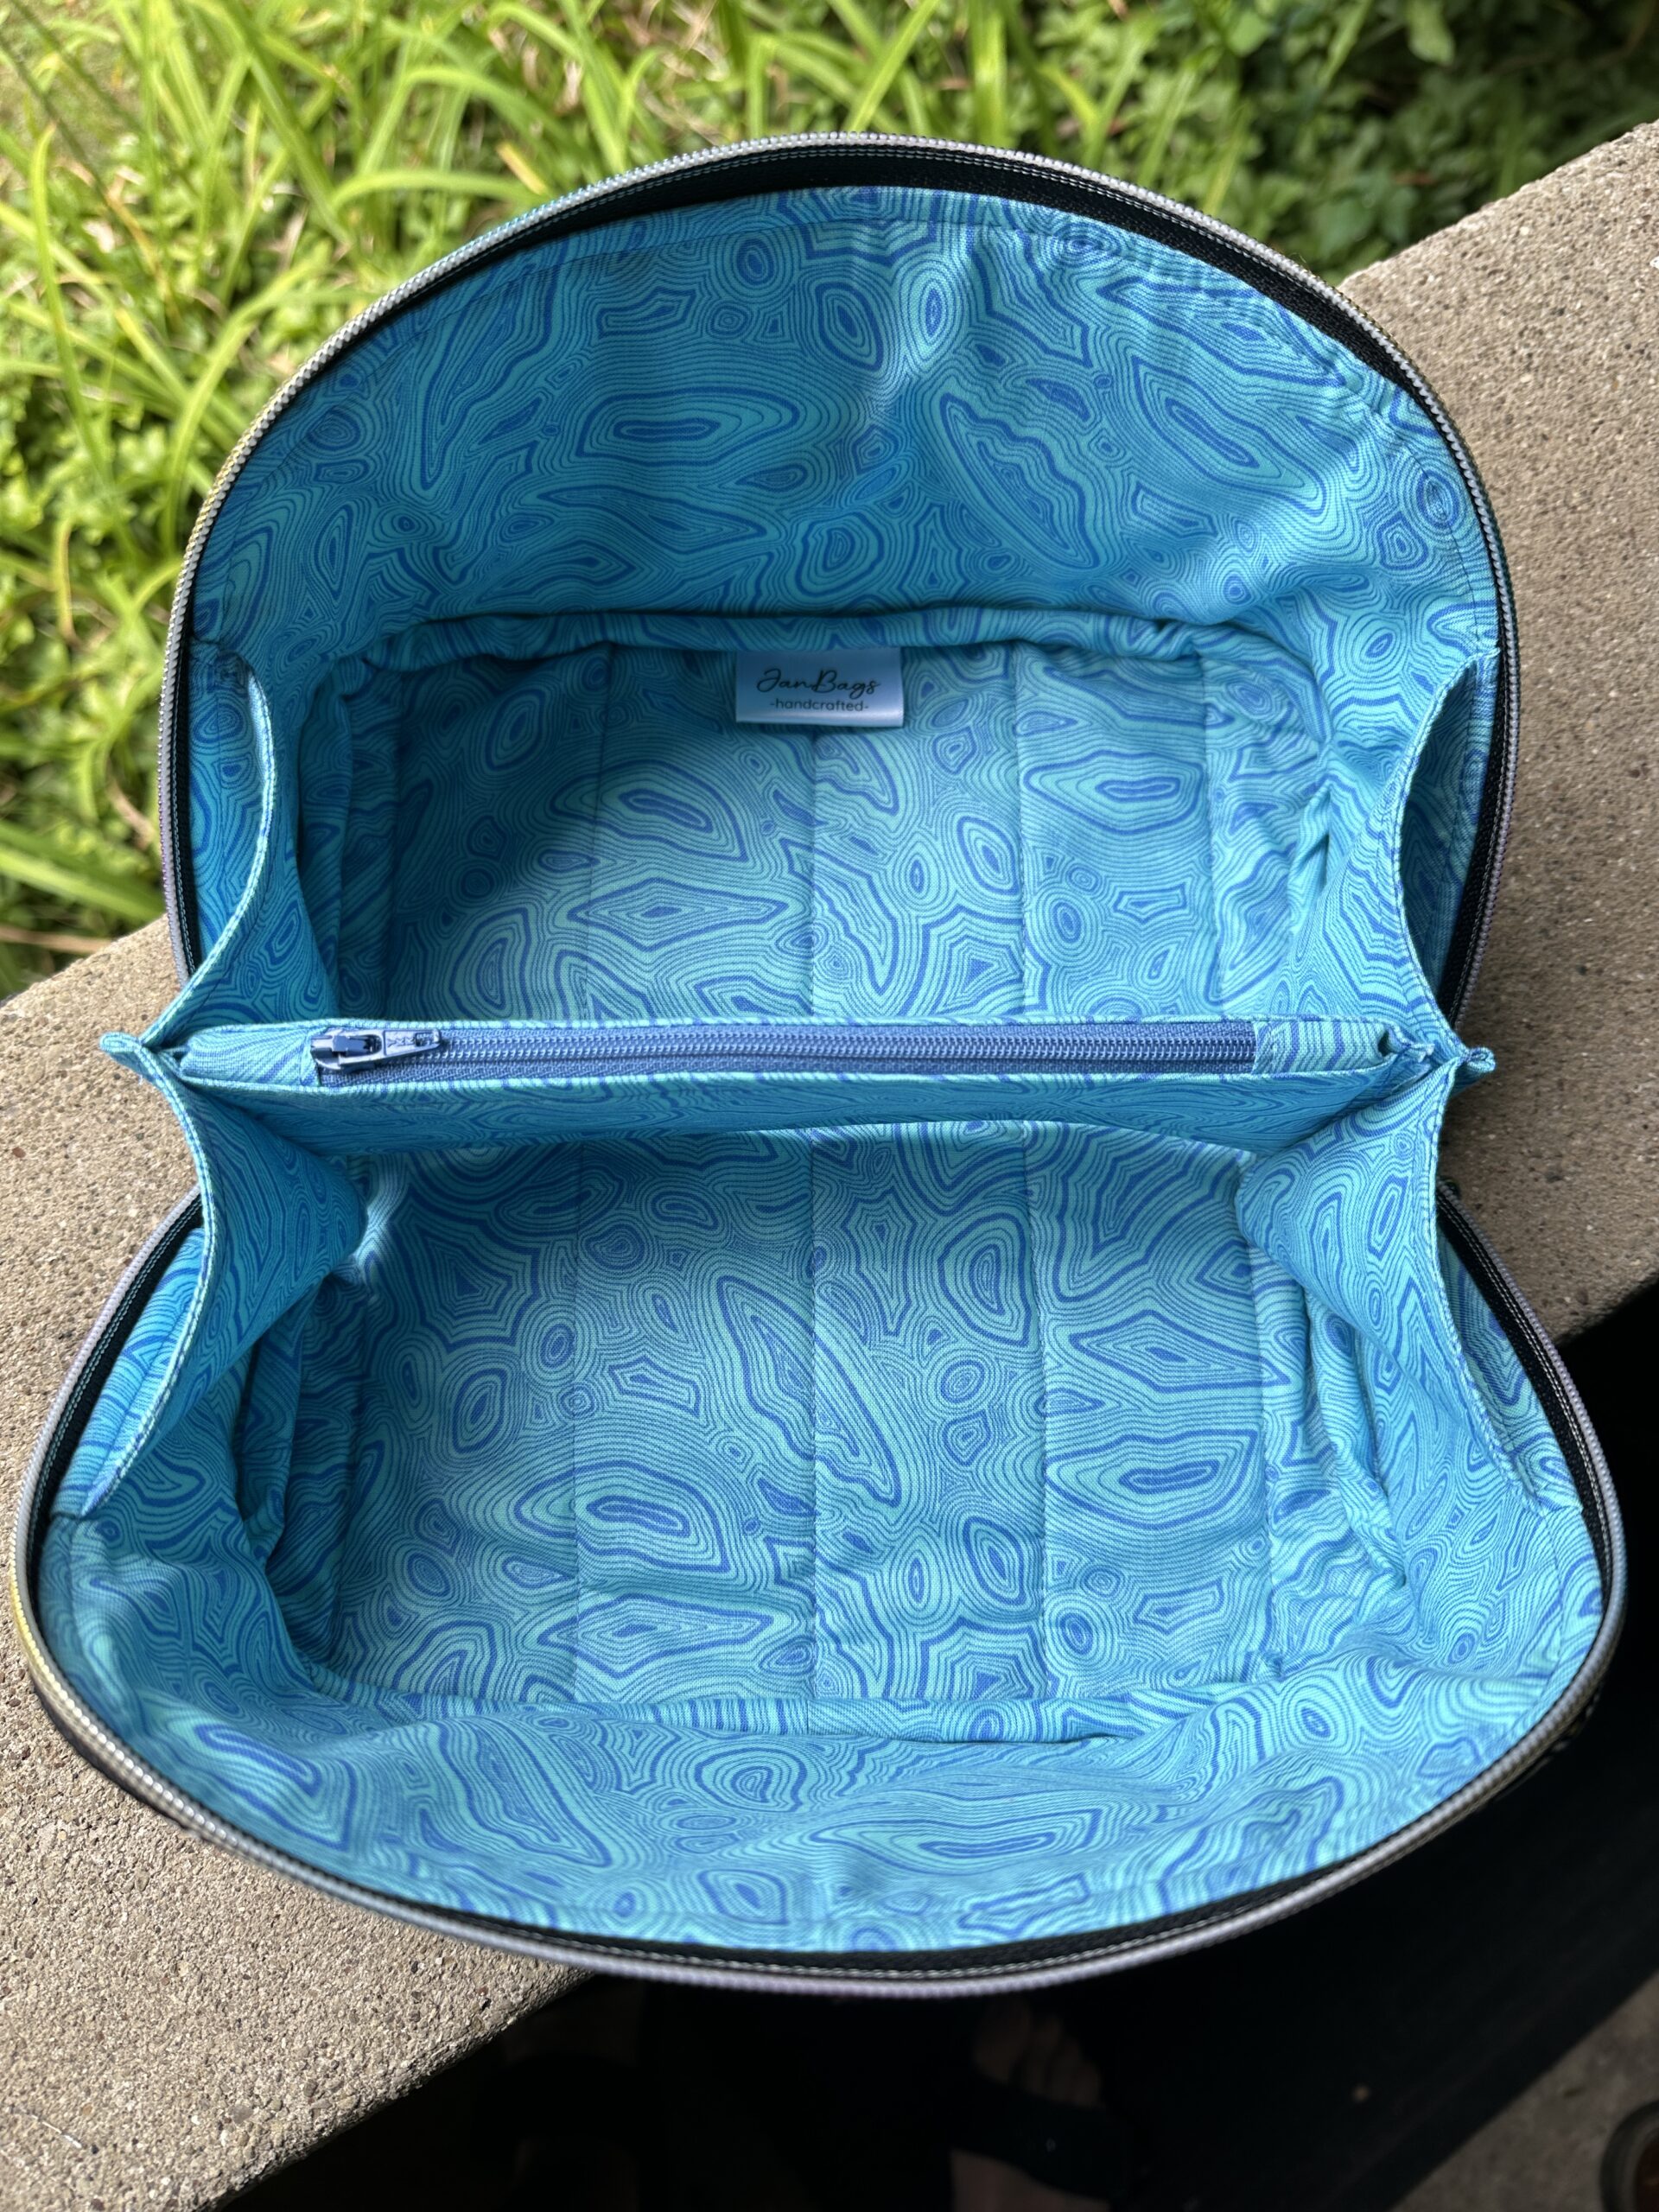
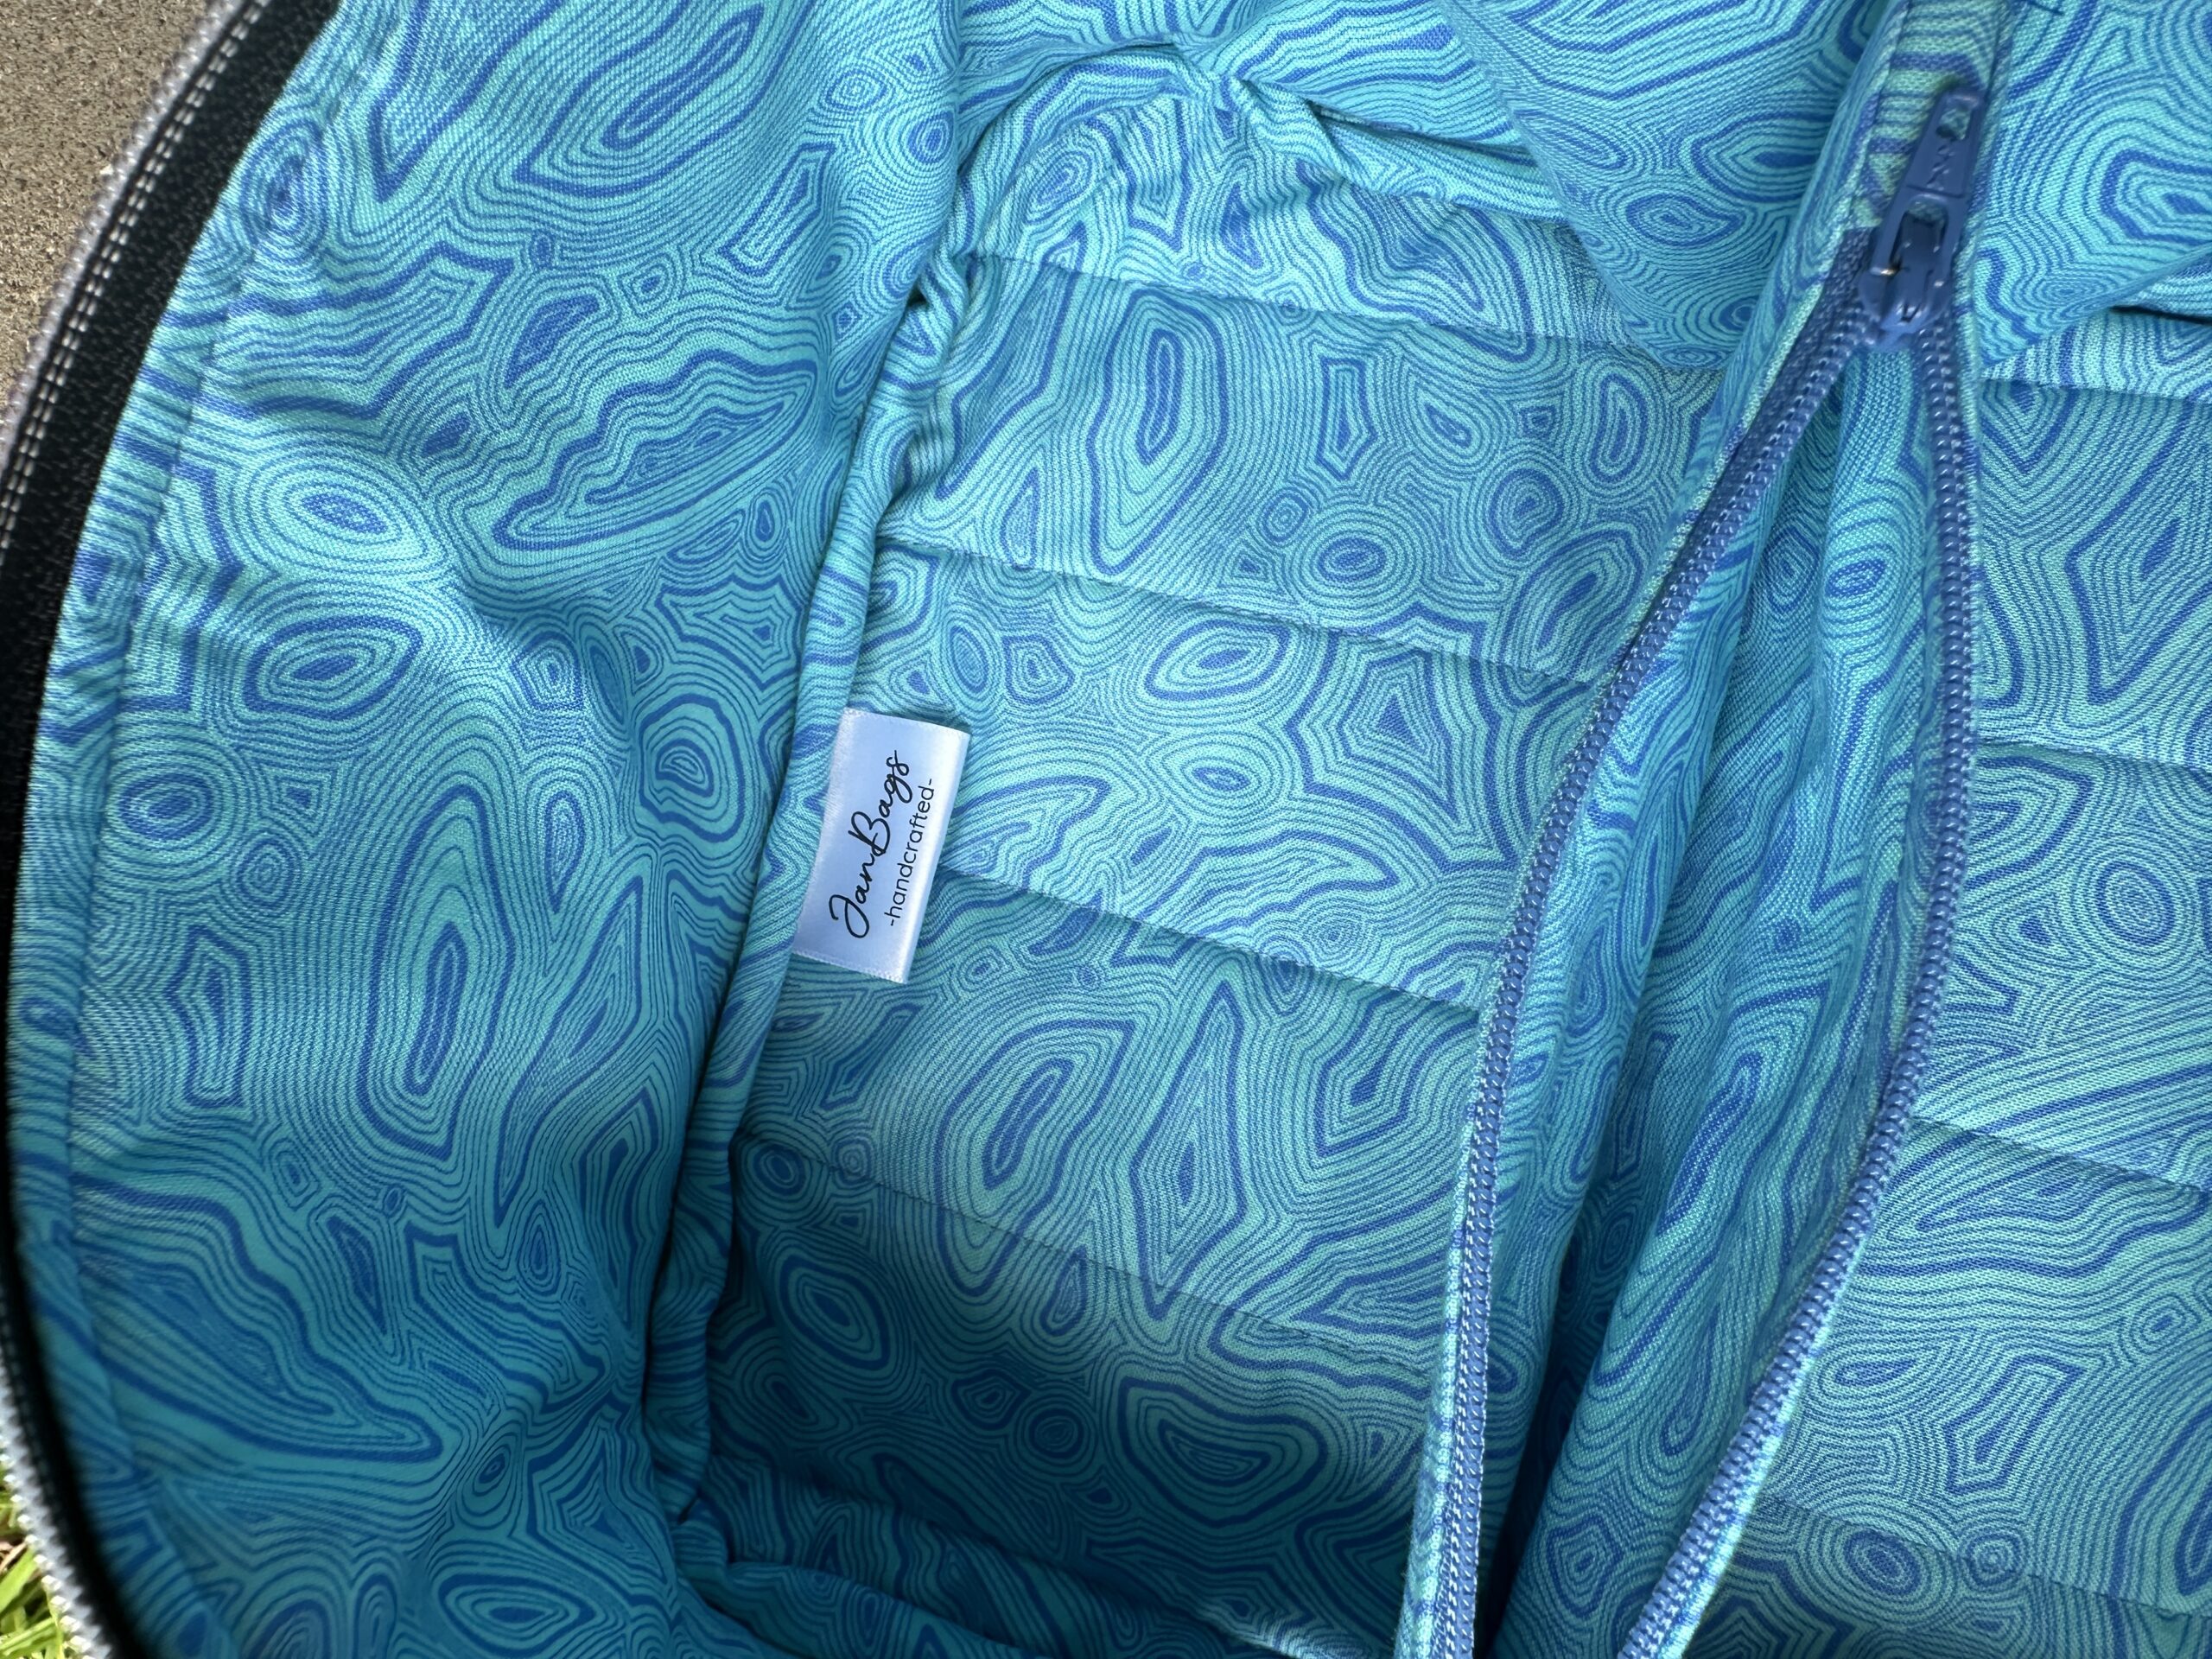
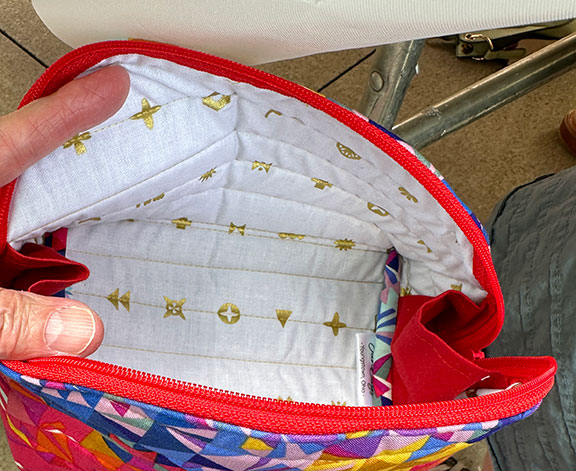
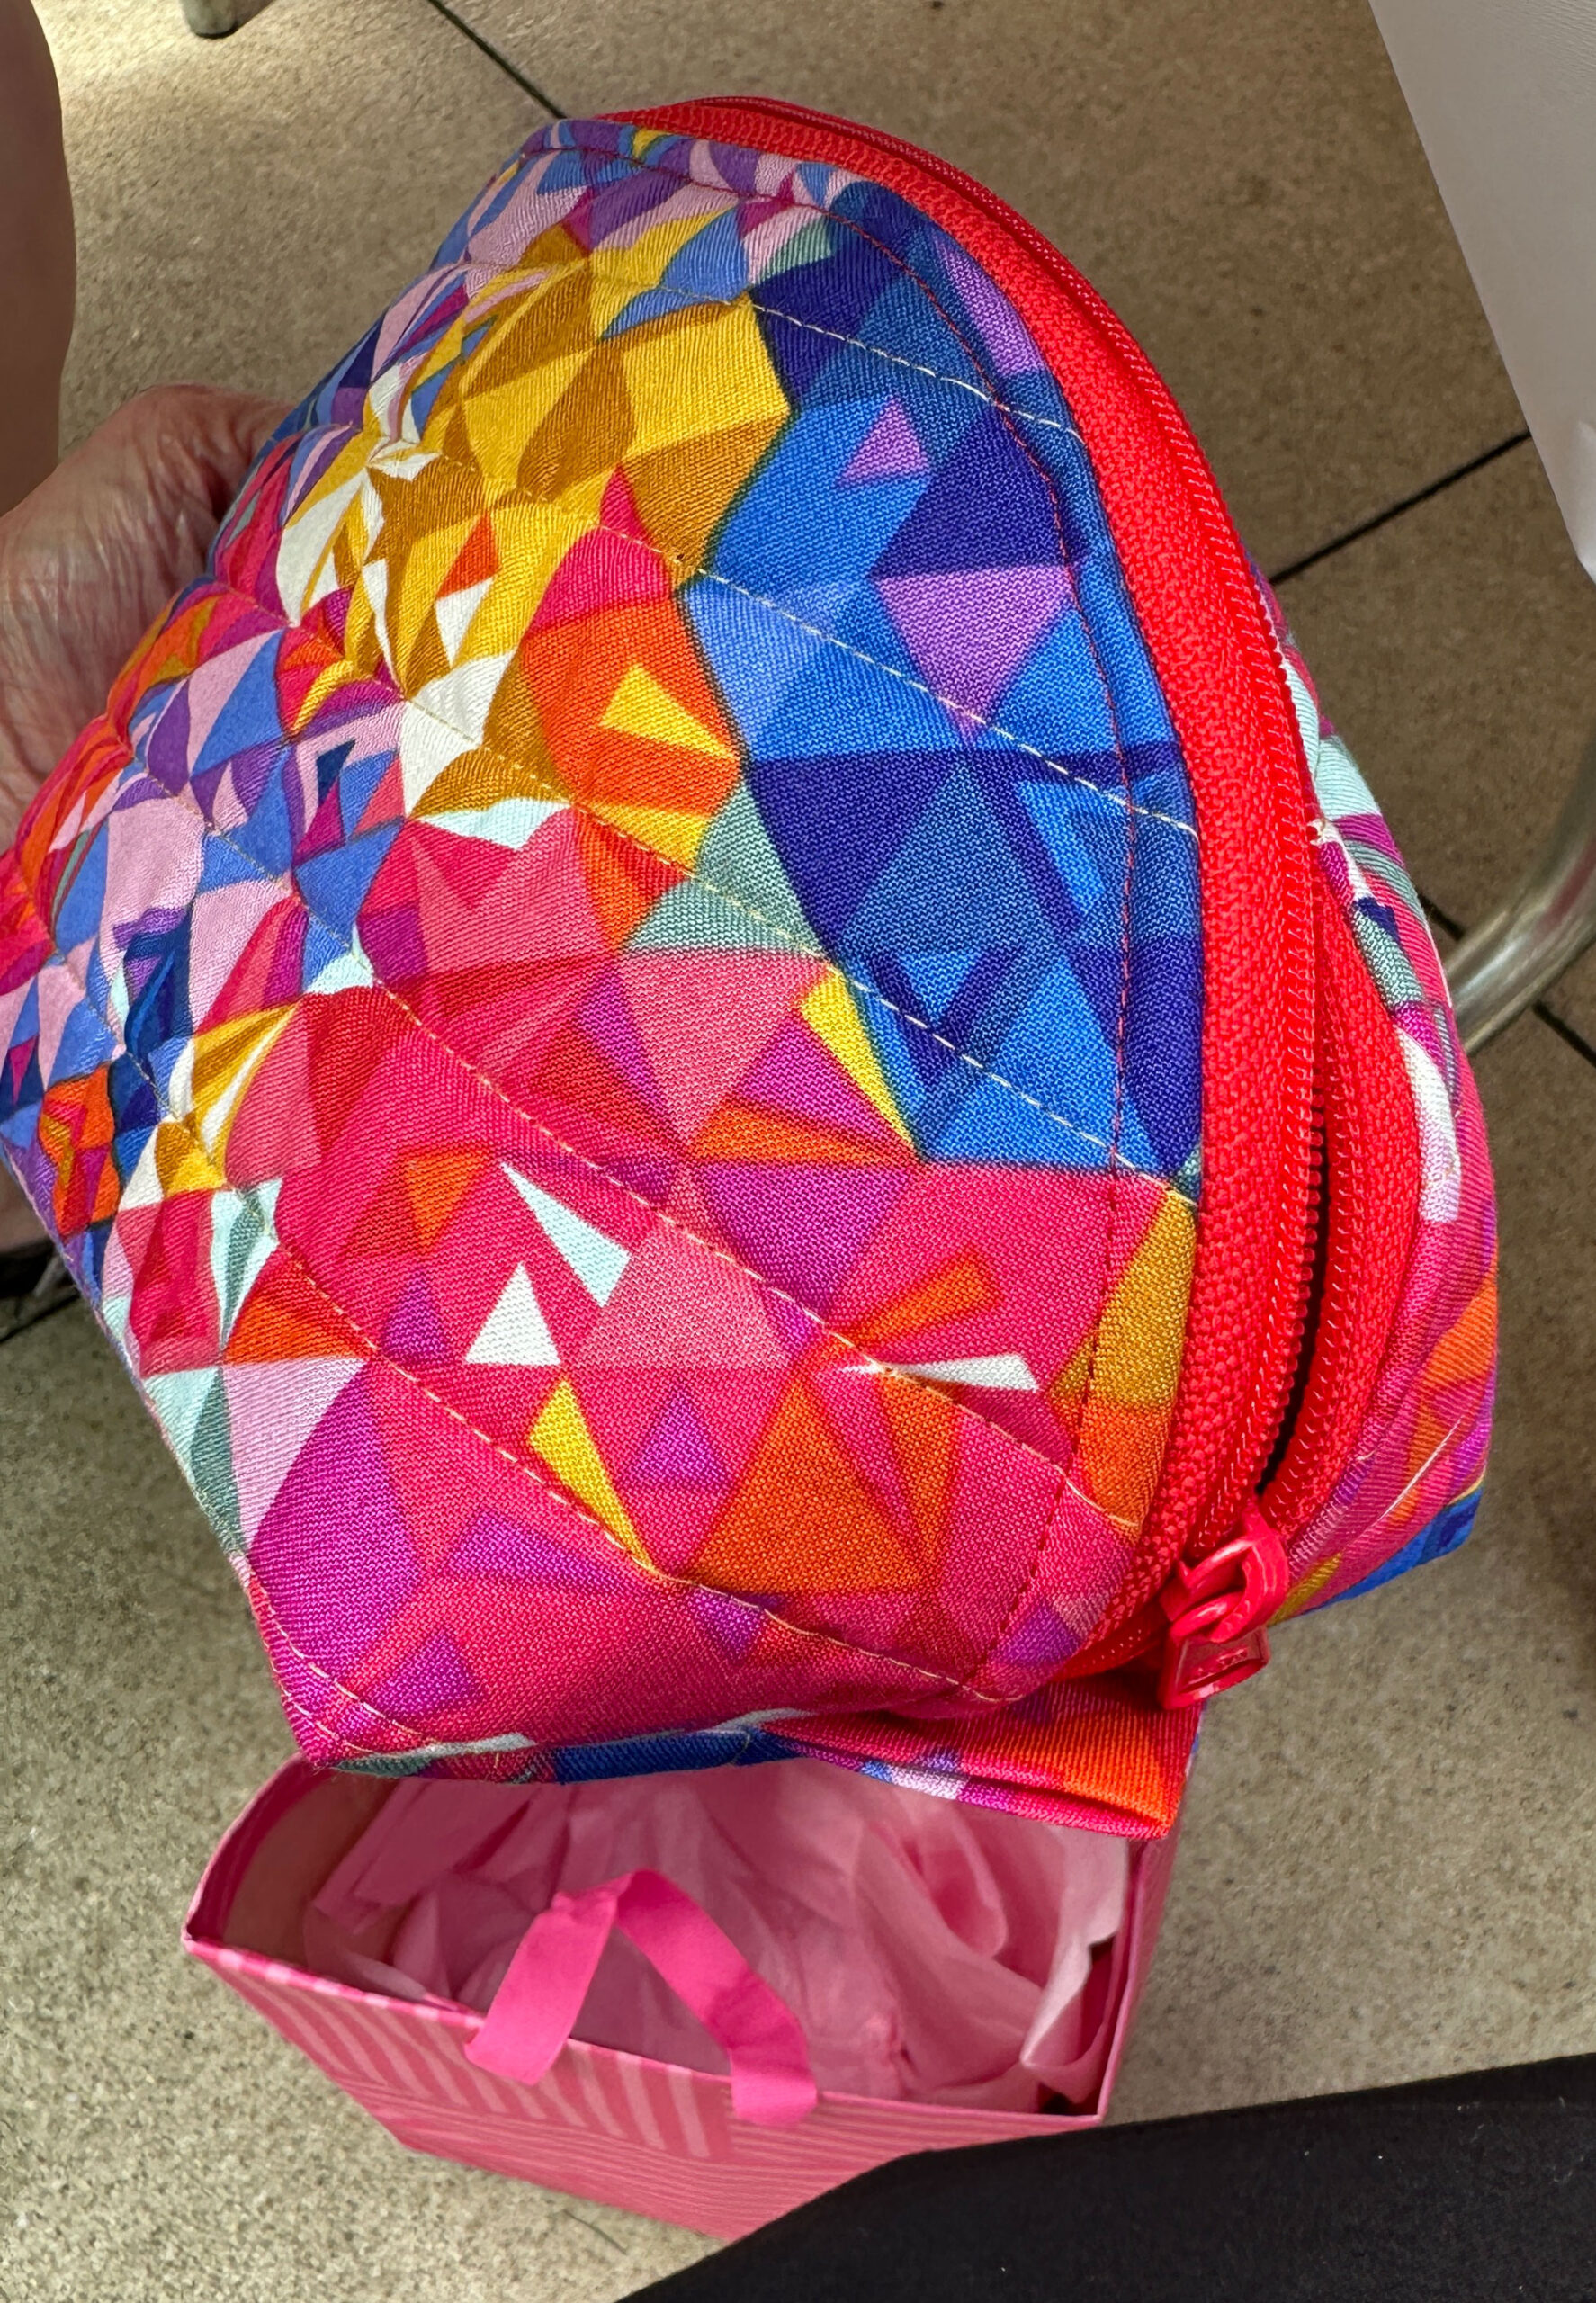
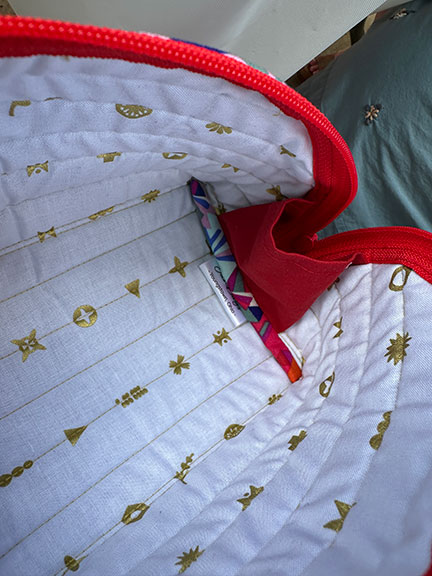 I found a bright quilting cotton in colors I liked for the BTB, and a nice white-with-gold-accents print from the same fabric line for the lining. I prefer to use light colors for linings so whatever you drop into the bag doesn’t fall into a black hole. And I had a couple of bag zippers with double pulls to choose from to complement the multi-colored exterior.
After going back and forth with the zipper colors, I settled on the Atom Red. I dug out some Soft & Stable foam stabilizer, which is used to make the bags have more body, and got started. I sandwiched the exterior
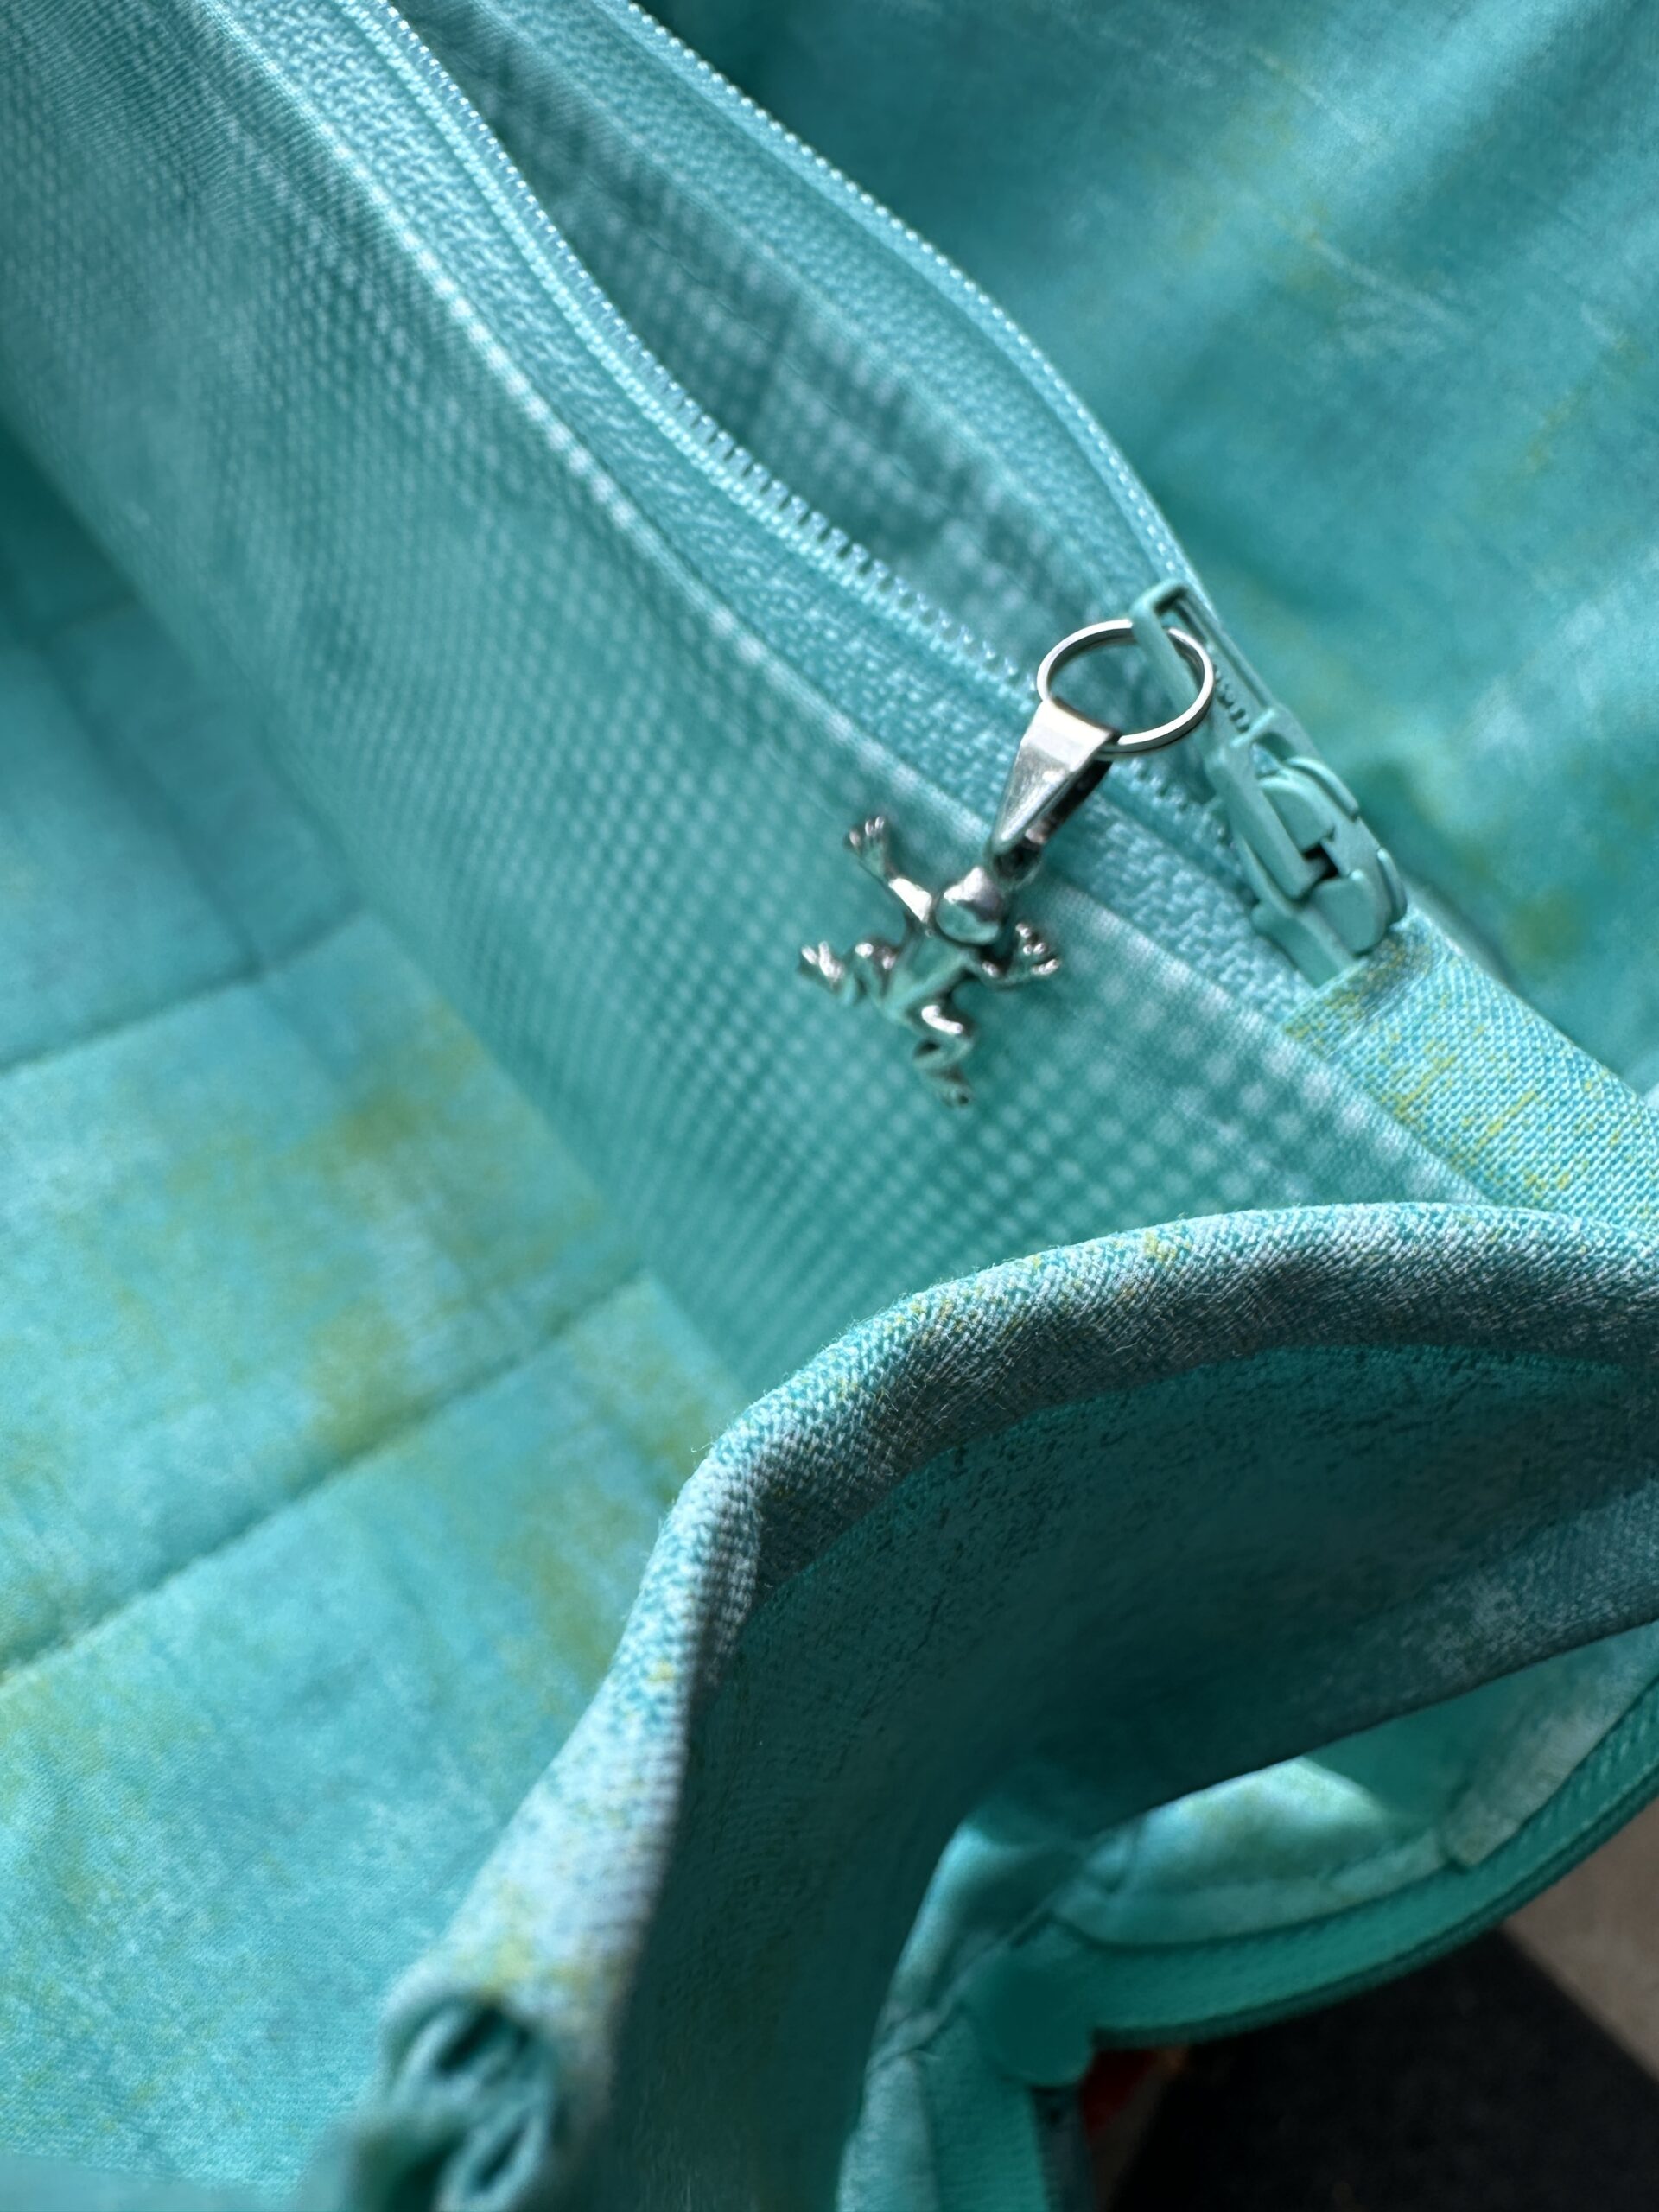
and the lining to the Soft & Stable and quilted them together, then cut out the main body piece. I attached the zipper, then the grab tabs, side panels, finished the zipper edge, and sewed the side seams and the binding. Voila!
Really, for such a cute bag, it’s really a sweetie pie to construct, going together in a heartbeat. I think I’m going to start making some more of these with a twofold purpose: to further decrease the stash, and to have on hand in case someone asks if I have a bag to sell.
I penned a note to the BTB, wrote out a check so she could get more things they need for their apartment or use to supplement their honeymoon fund, tucked the card inside the bag, grabbed my purse, and started driving.
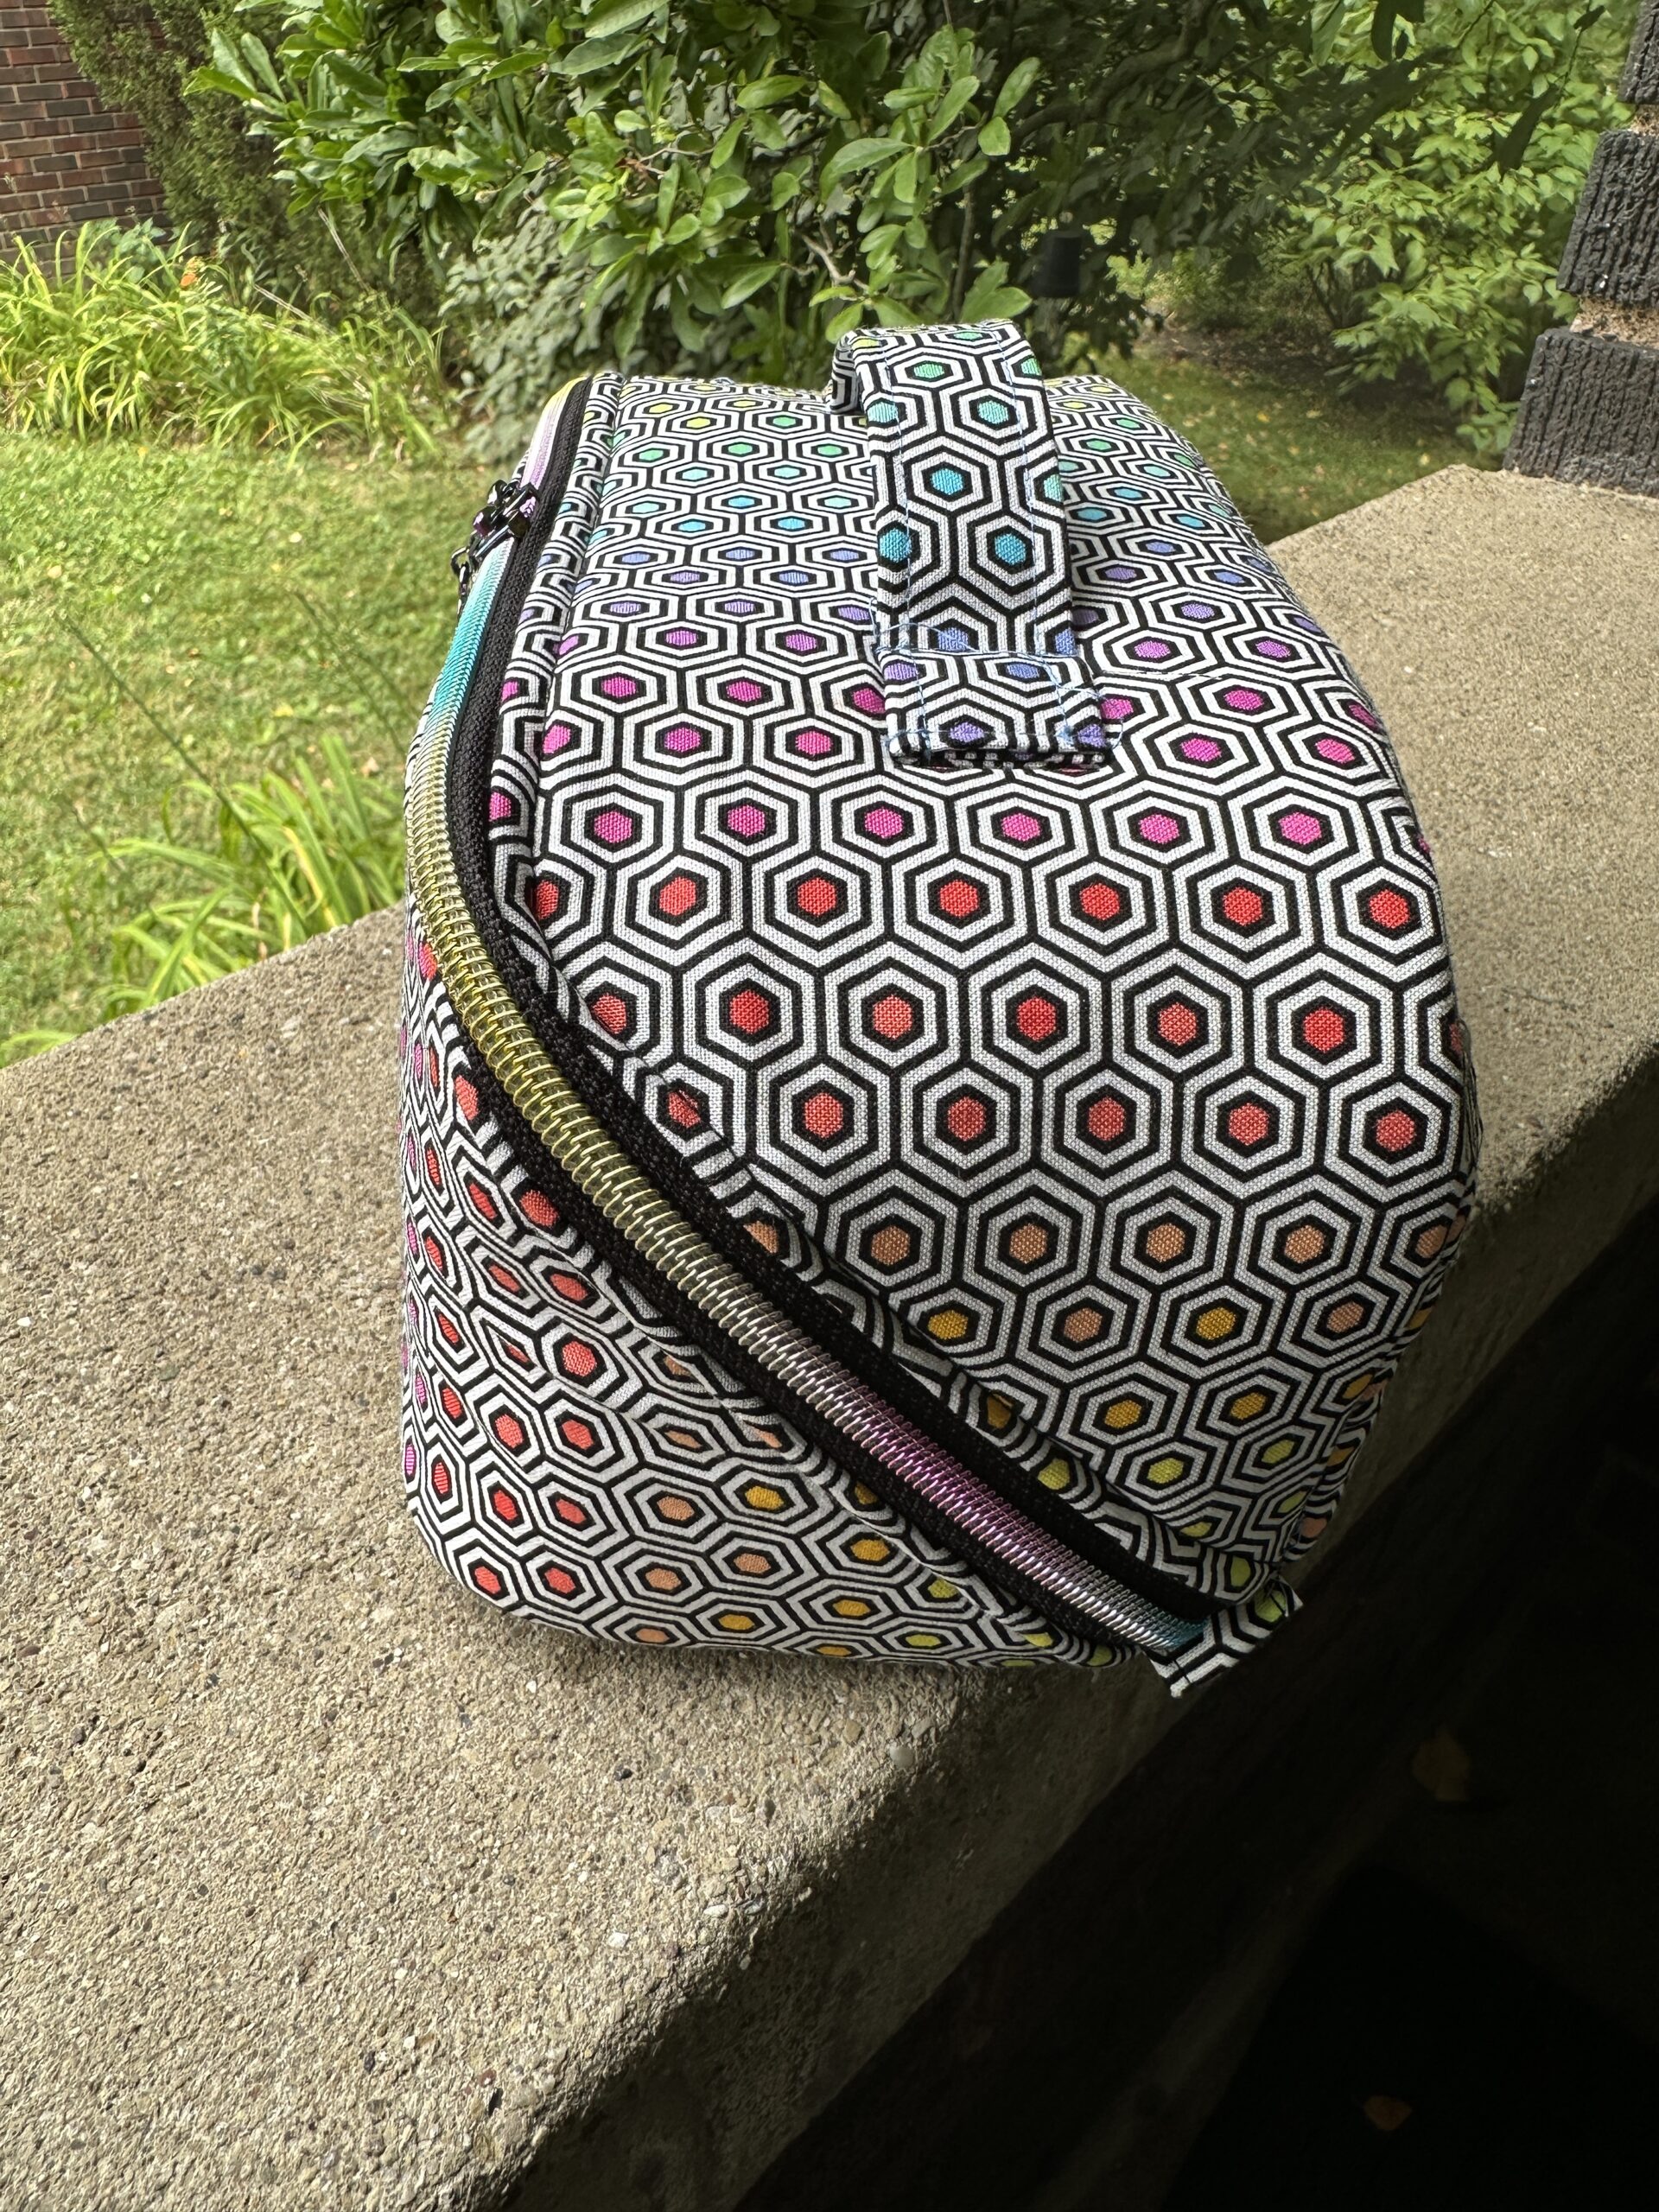
 But the one thing I forgot to do, which I realized about two hours later, was to take photos of the bag so I could post it here and on social media. During the gift opening, I figured out where in the stack of 60 or more gifts my little pink gift bag was located, and asked the bridesmade who was charged with delivering the gifts to sneak it back to me so I could photograph it. And that’s how you’re getting to see pictures on this post!
The details:
–The pattern, Clam Up Zippered Pouches, in five sizes, is designed by Annie Unrein and sold on her ByAnnie.com website and at many local quilt stores (LQS).
–The bag zippers are available on ByAnnie.com.
–Annie always encourages online shoppers to first visit their local quilt stores (LQS) before buying online. She supports the local shop owners who support her. My LQS is Village Quilts in Canfield, Ohio.
–The exterior and interior fabrics are designed by Alison Glass for Andover Fabrics.
–The finished bag was sprayed generously, inside and out, with 3M’s Scotchgard™ Fabric Water Shield.
I wish I could tell you exactly what collection these fabrics came from. I spent a very long time today searching Etsy and eBay and favorite online stores to find some of this fabric. Alas, I cannot find it anywhere. So you’ll just have to be creative and dig into your own stash! Or Google “Alison Glass Andover’ to see more of the designer’s bright and cheery fabrics. But do buy the Clam Up pattern and make one. Or make one in every size and then nest them within each other, from XL down to XS. You’ll find a million uses for these handy little bags.
I hope you have fun with this!