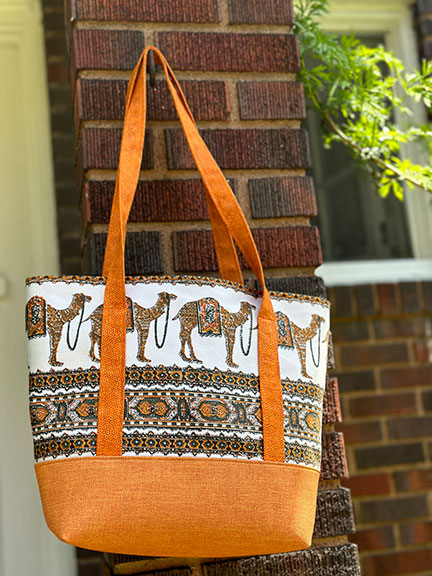
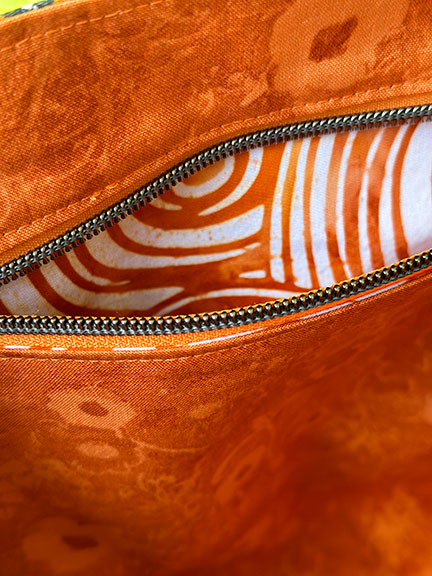
I love wearing twin sets, although in clothing, a twin set means a matching tank top and cardigan. This is my bag version of a twin set, both using a black Richloom vinyl (Pattern: Sunrise; Color: Onyx) and a canvas print that I love.love.love. (Rifle Paper Co.; Print: Bon Voyage.) Link to the fabric collection. Travel and I are dear friends, but you already knew that.
<Sidenote On>
If you really love this print and would like an item using it, here are some goodies you might like. Rifle Paper Co.
<Sidenote Off>
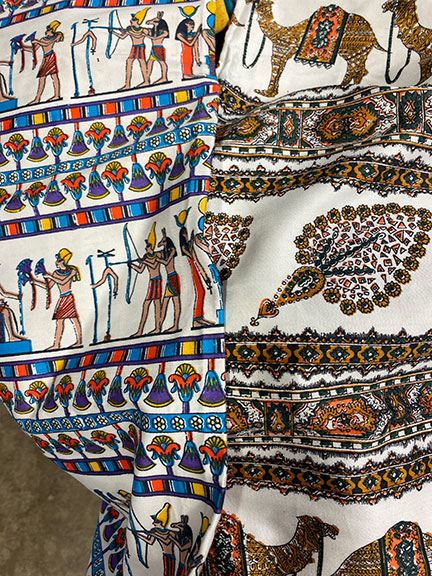
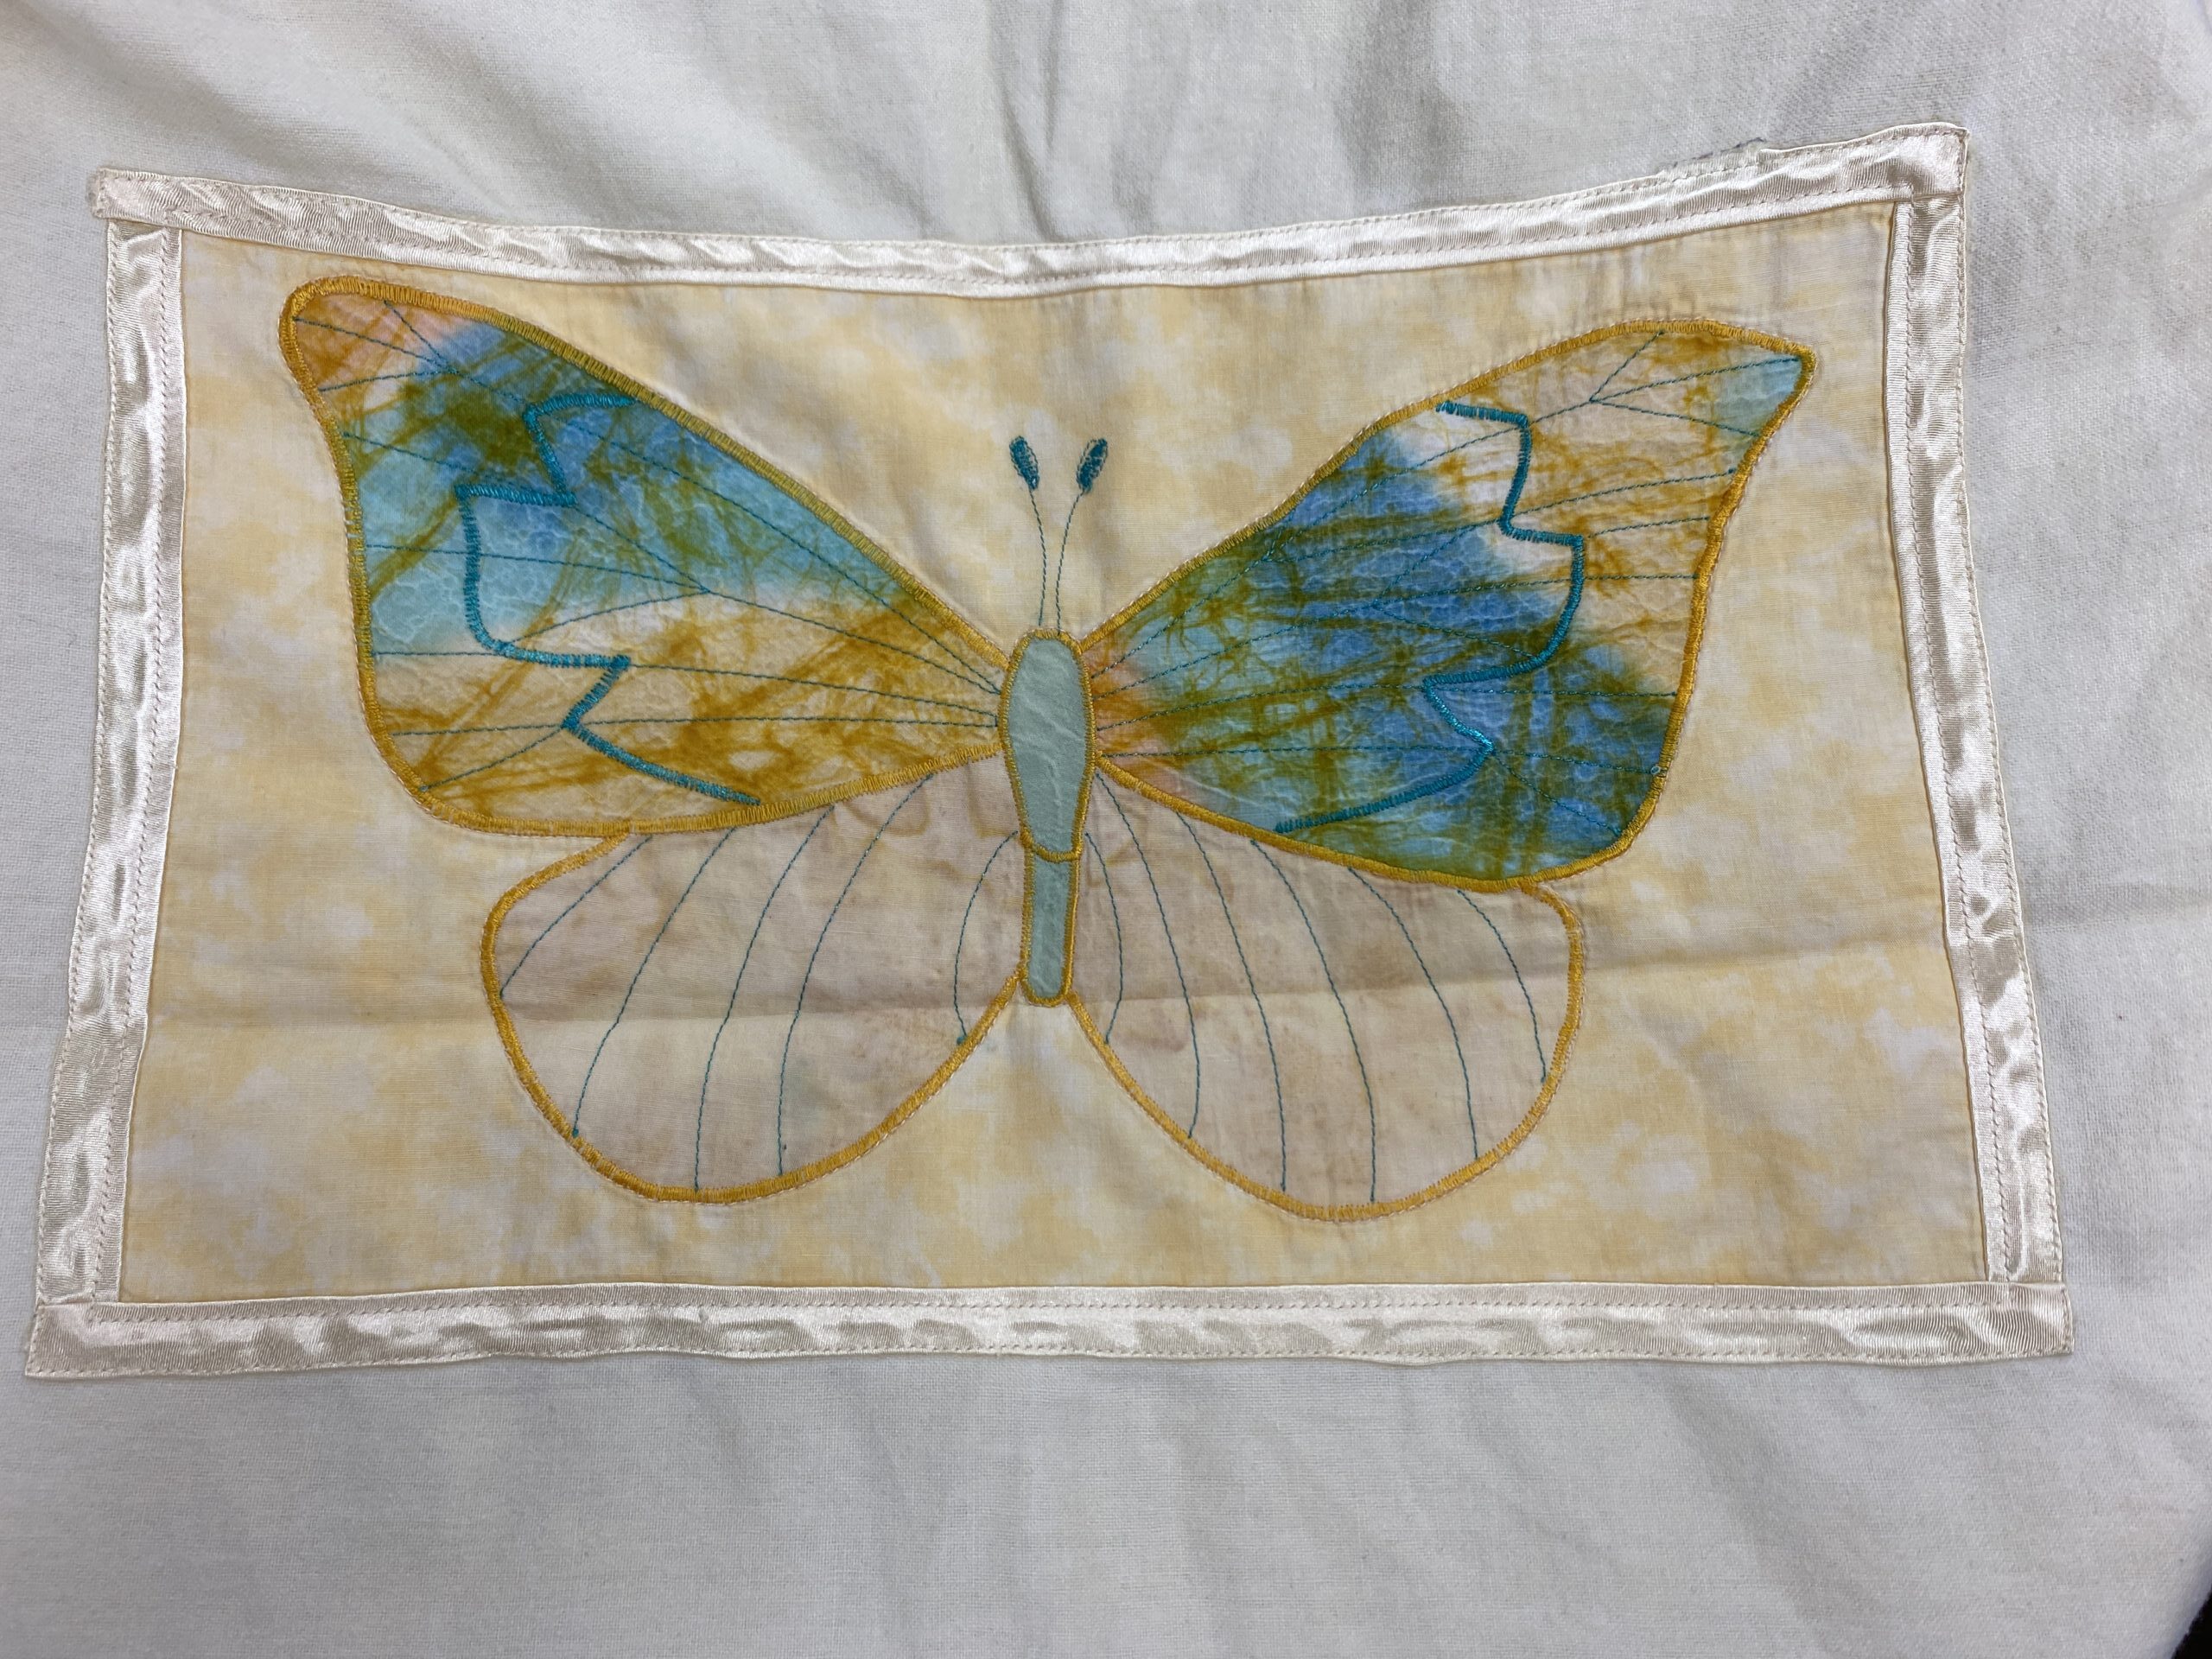
The back story is twofold: I’ve been struggling for a very long time (one year? two years?) to get some bags made for my cousin Ken’s wife, Diane, out of vintage fabric. As I understand it, the fabric was purchased in Egypt or India on a trip with Diane’s dad, who is now deceased. It was purchased a Very Long Time ago—thirty years? forty years? Yes, I’m short on the details here. Sorry. Anyway, I’ve had about six weeks off this summer and wanted to try very hard to get three more bags made before school starts again on August 28.
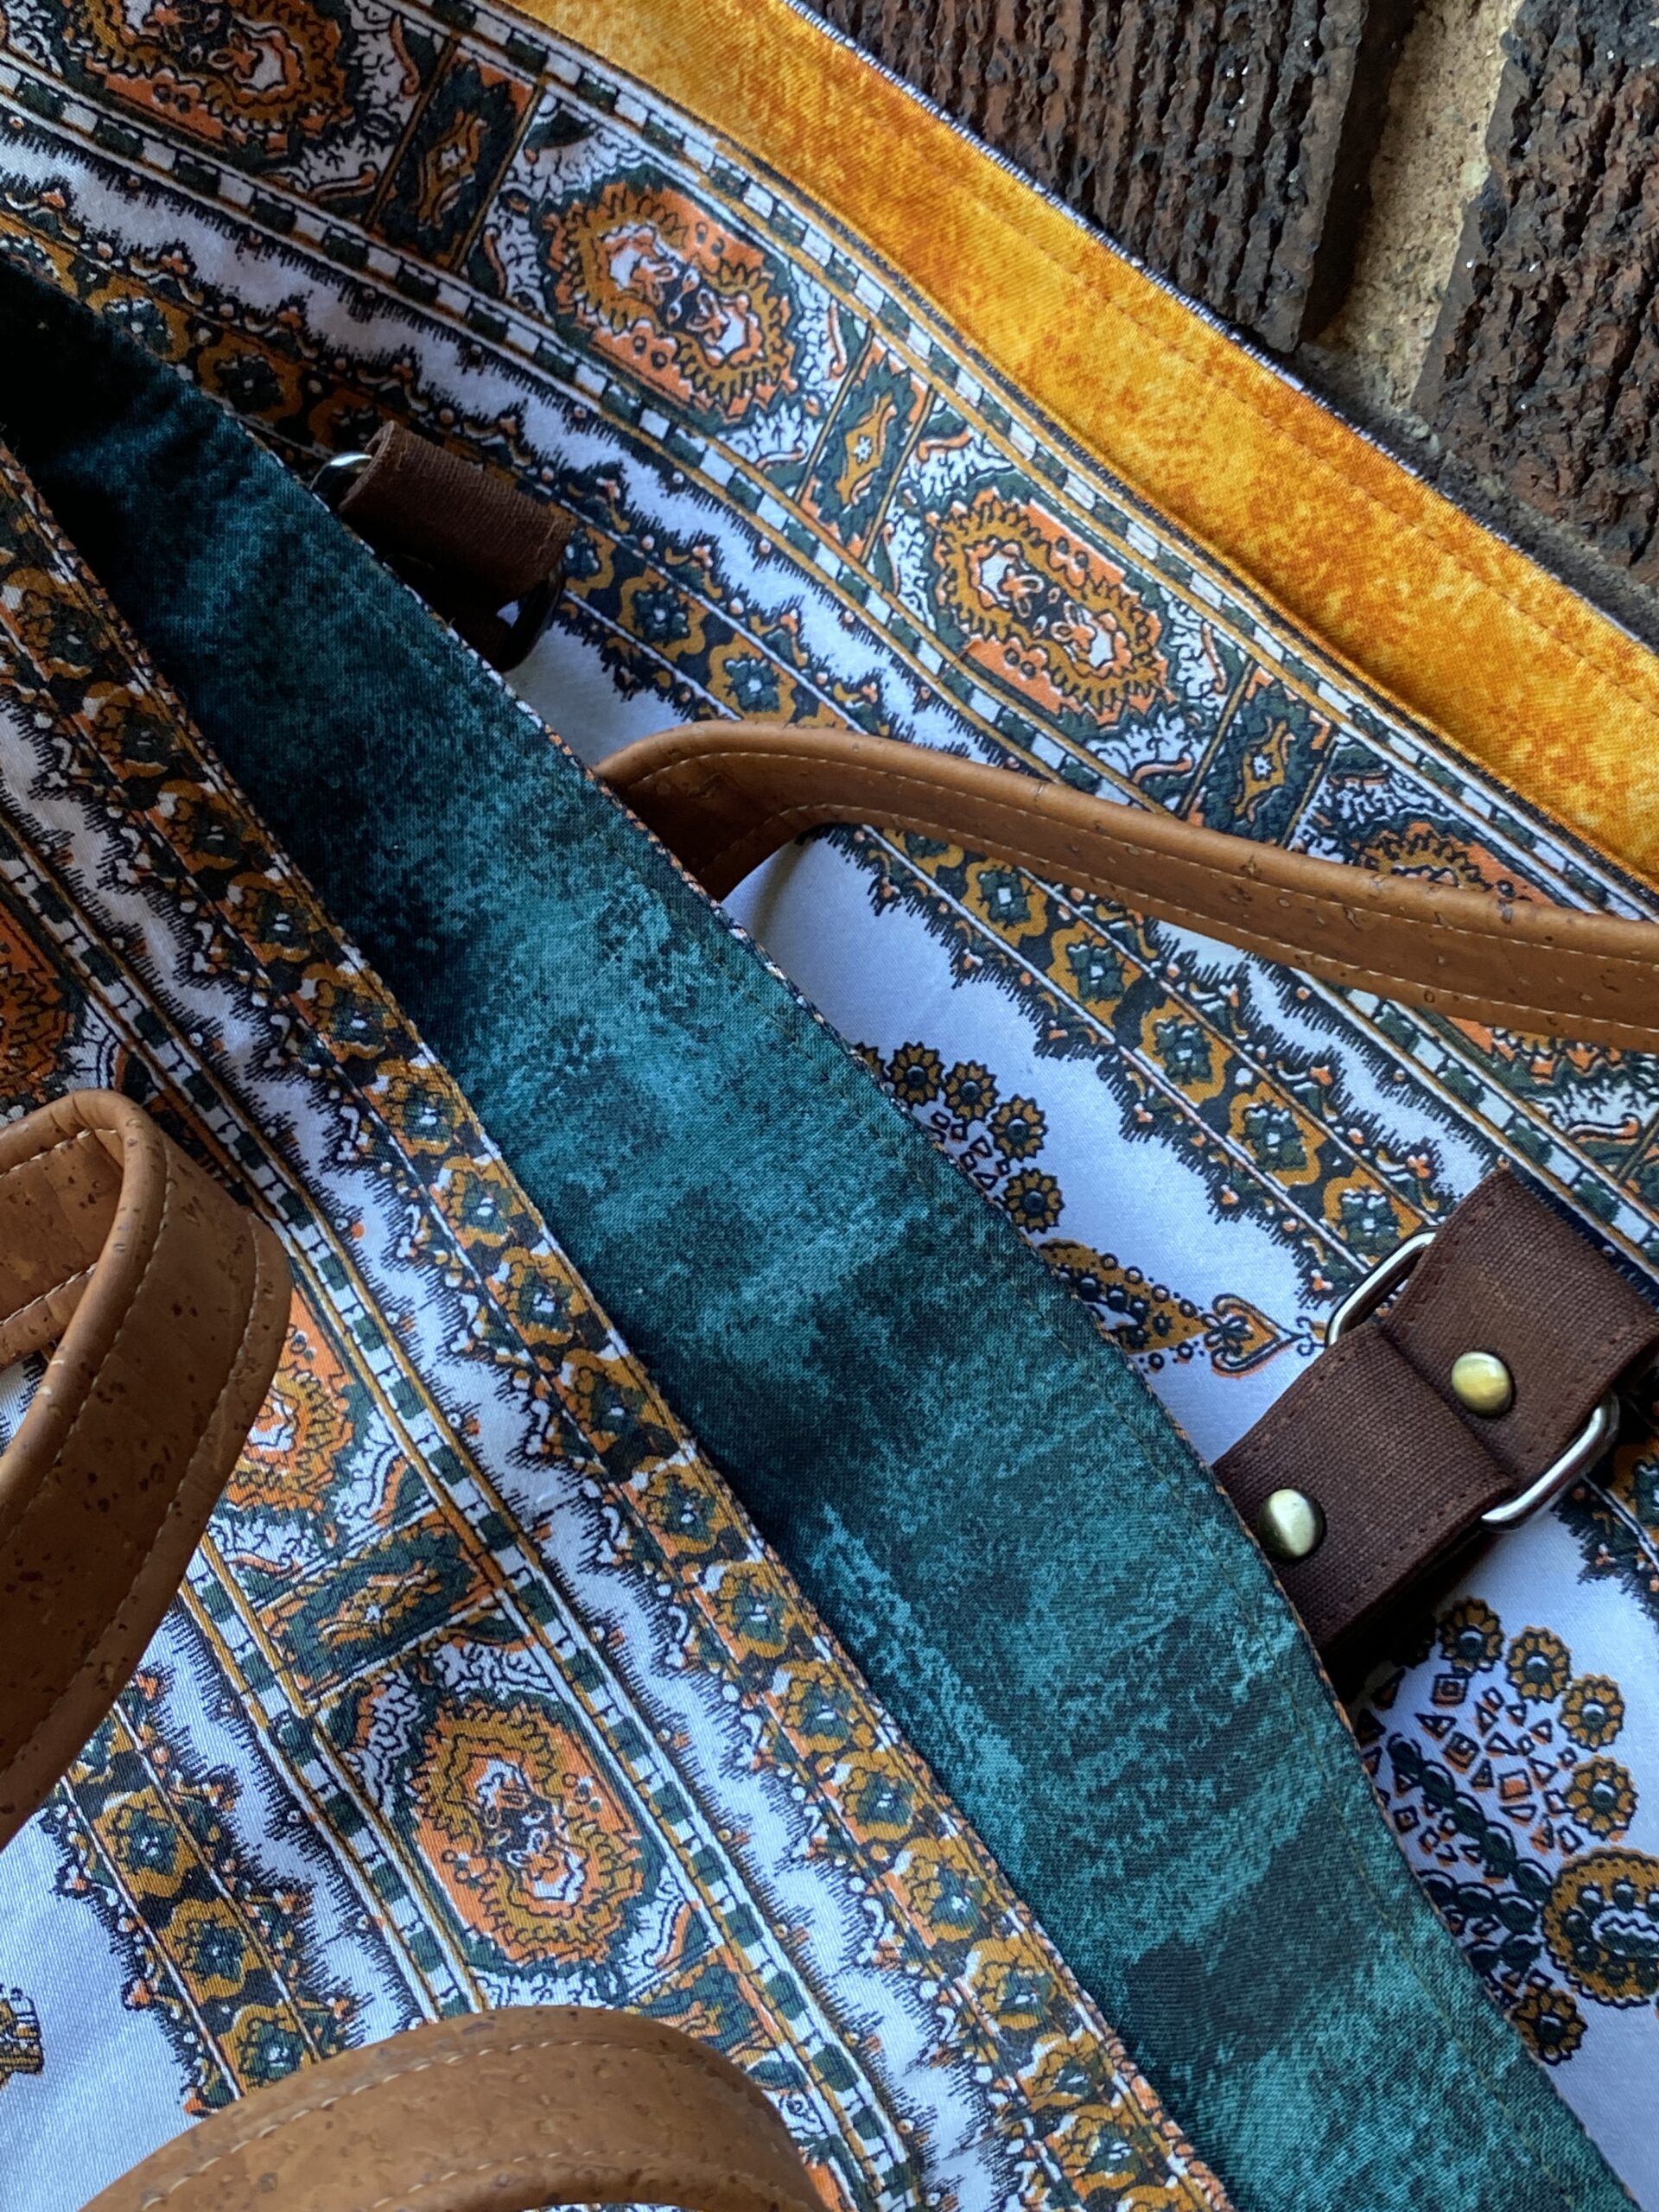
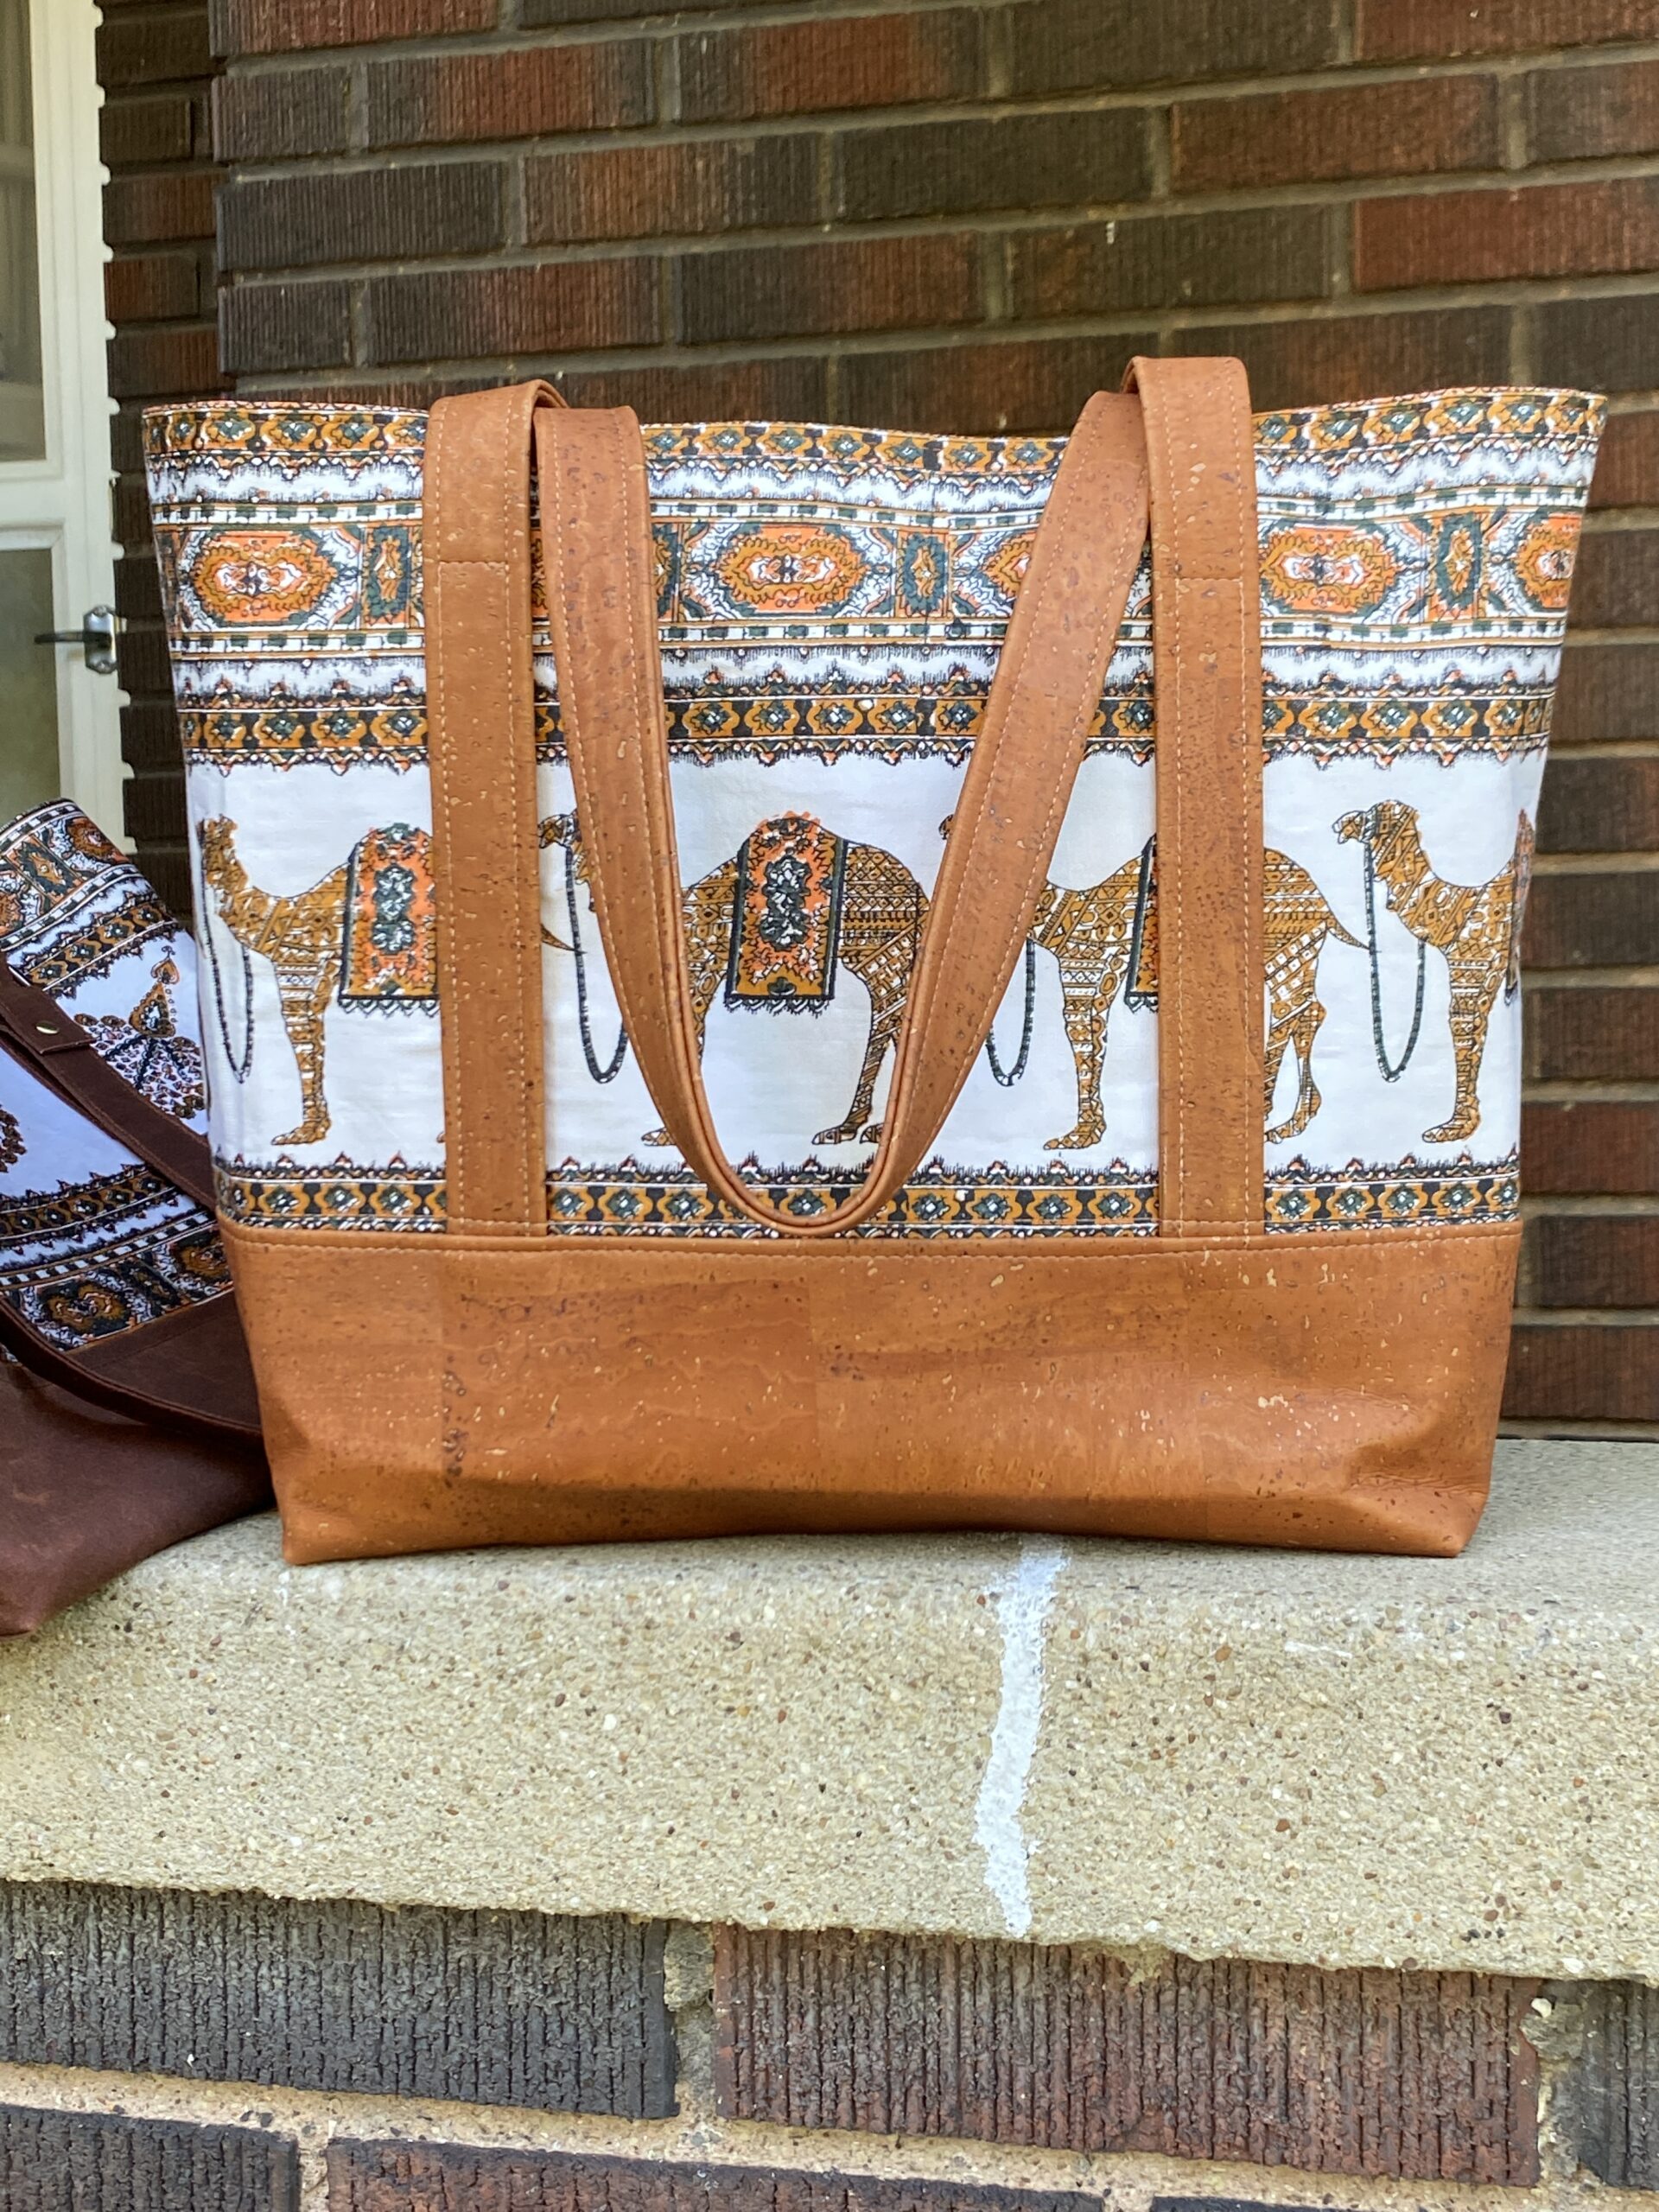
There were two fabrics that Diane gave me. Out of the first fabric, I made tote bags.
(Tote Bag Blog Post #1)
(Tote Bag Blog Post #2)
Ever since I started mulling obsessing over this project, I thought I wanted to make crossbody bags for these women. I love the hands-free nature of crossbody bags. But there are so many patterns—good patterns— on the market, I wanted to make sure I have the perfect one before cutting into this precious fabric.
But here’s the thing about perfection: it’s vastly overrated. And as I look around me at the bags women carry every time I’m out in a store, I notice most of the bags are solid colors. A lot of people would not be drawn to a bag they’re going to carry every day in a print rather than a solid.
Diane sent me a sweet note after I sent her the third bag. She said she likes to keep a bag of bags around to toss into her car when she gots on a trip, whether a long road trip or just to the store, and that was how she would use that tote bag: to tote around extra, useful bags.
And suddenly it hit me. Why not make her a useful bag. This will be the topic of the next post, in a few weeks.
But back to the Hillside crossbody bag, above. The tiny Groom crossbody bag that I carried every day suffered a broken zipper that I refused to figure out how to fix. So I wanted to replace it with a crossbody bag that was a little larger that I would love every time I picked it up to go somewhere: school, shopping, and for vacation. I had bought a yard of the Bon Voyage fabric several months ago, and knew this was something I would love every single day.
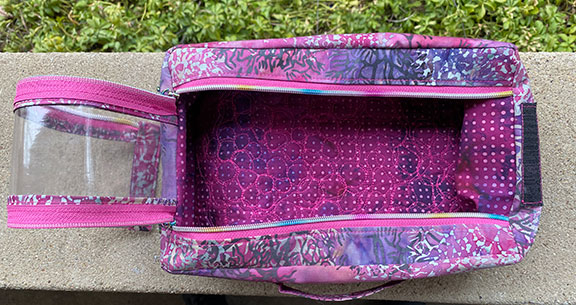
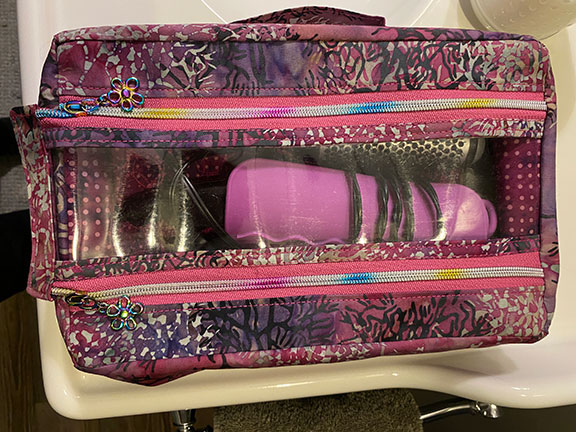
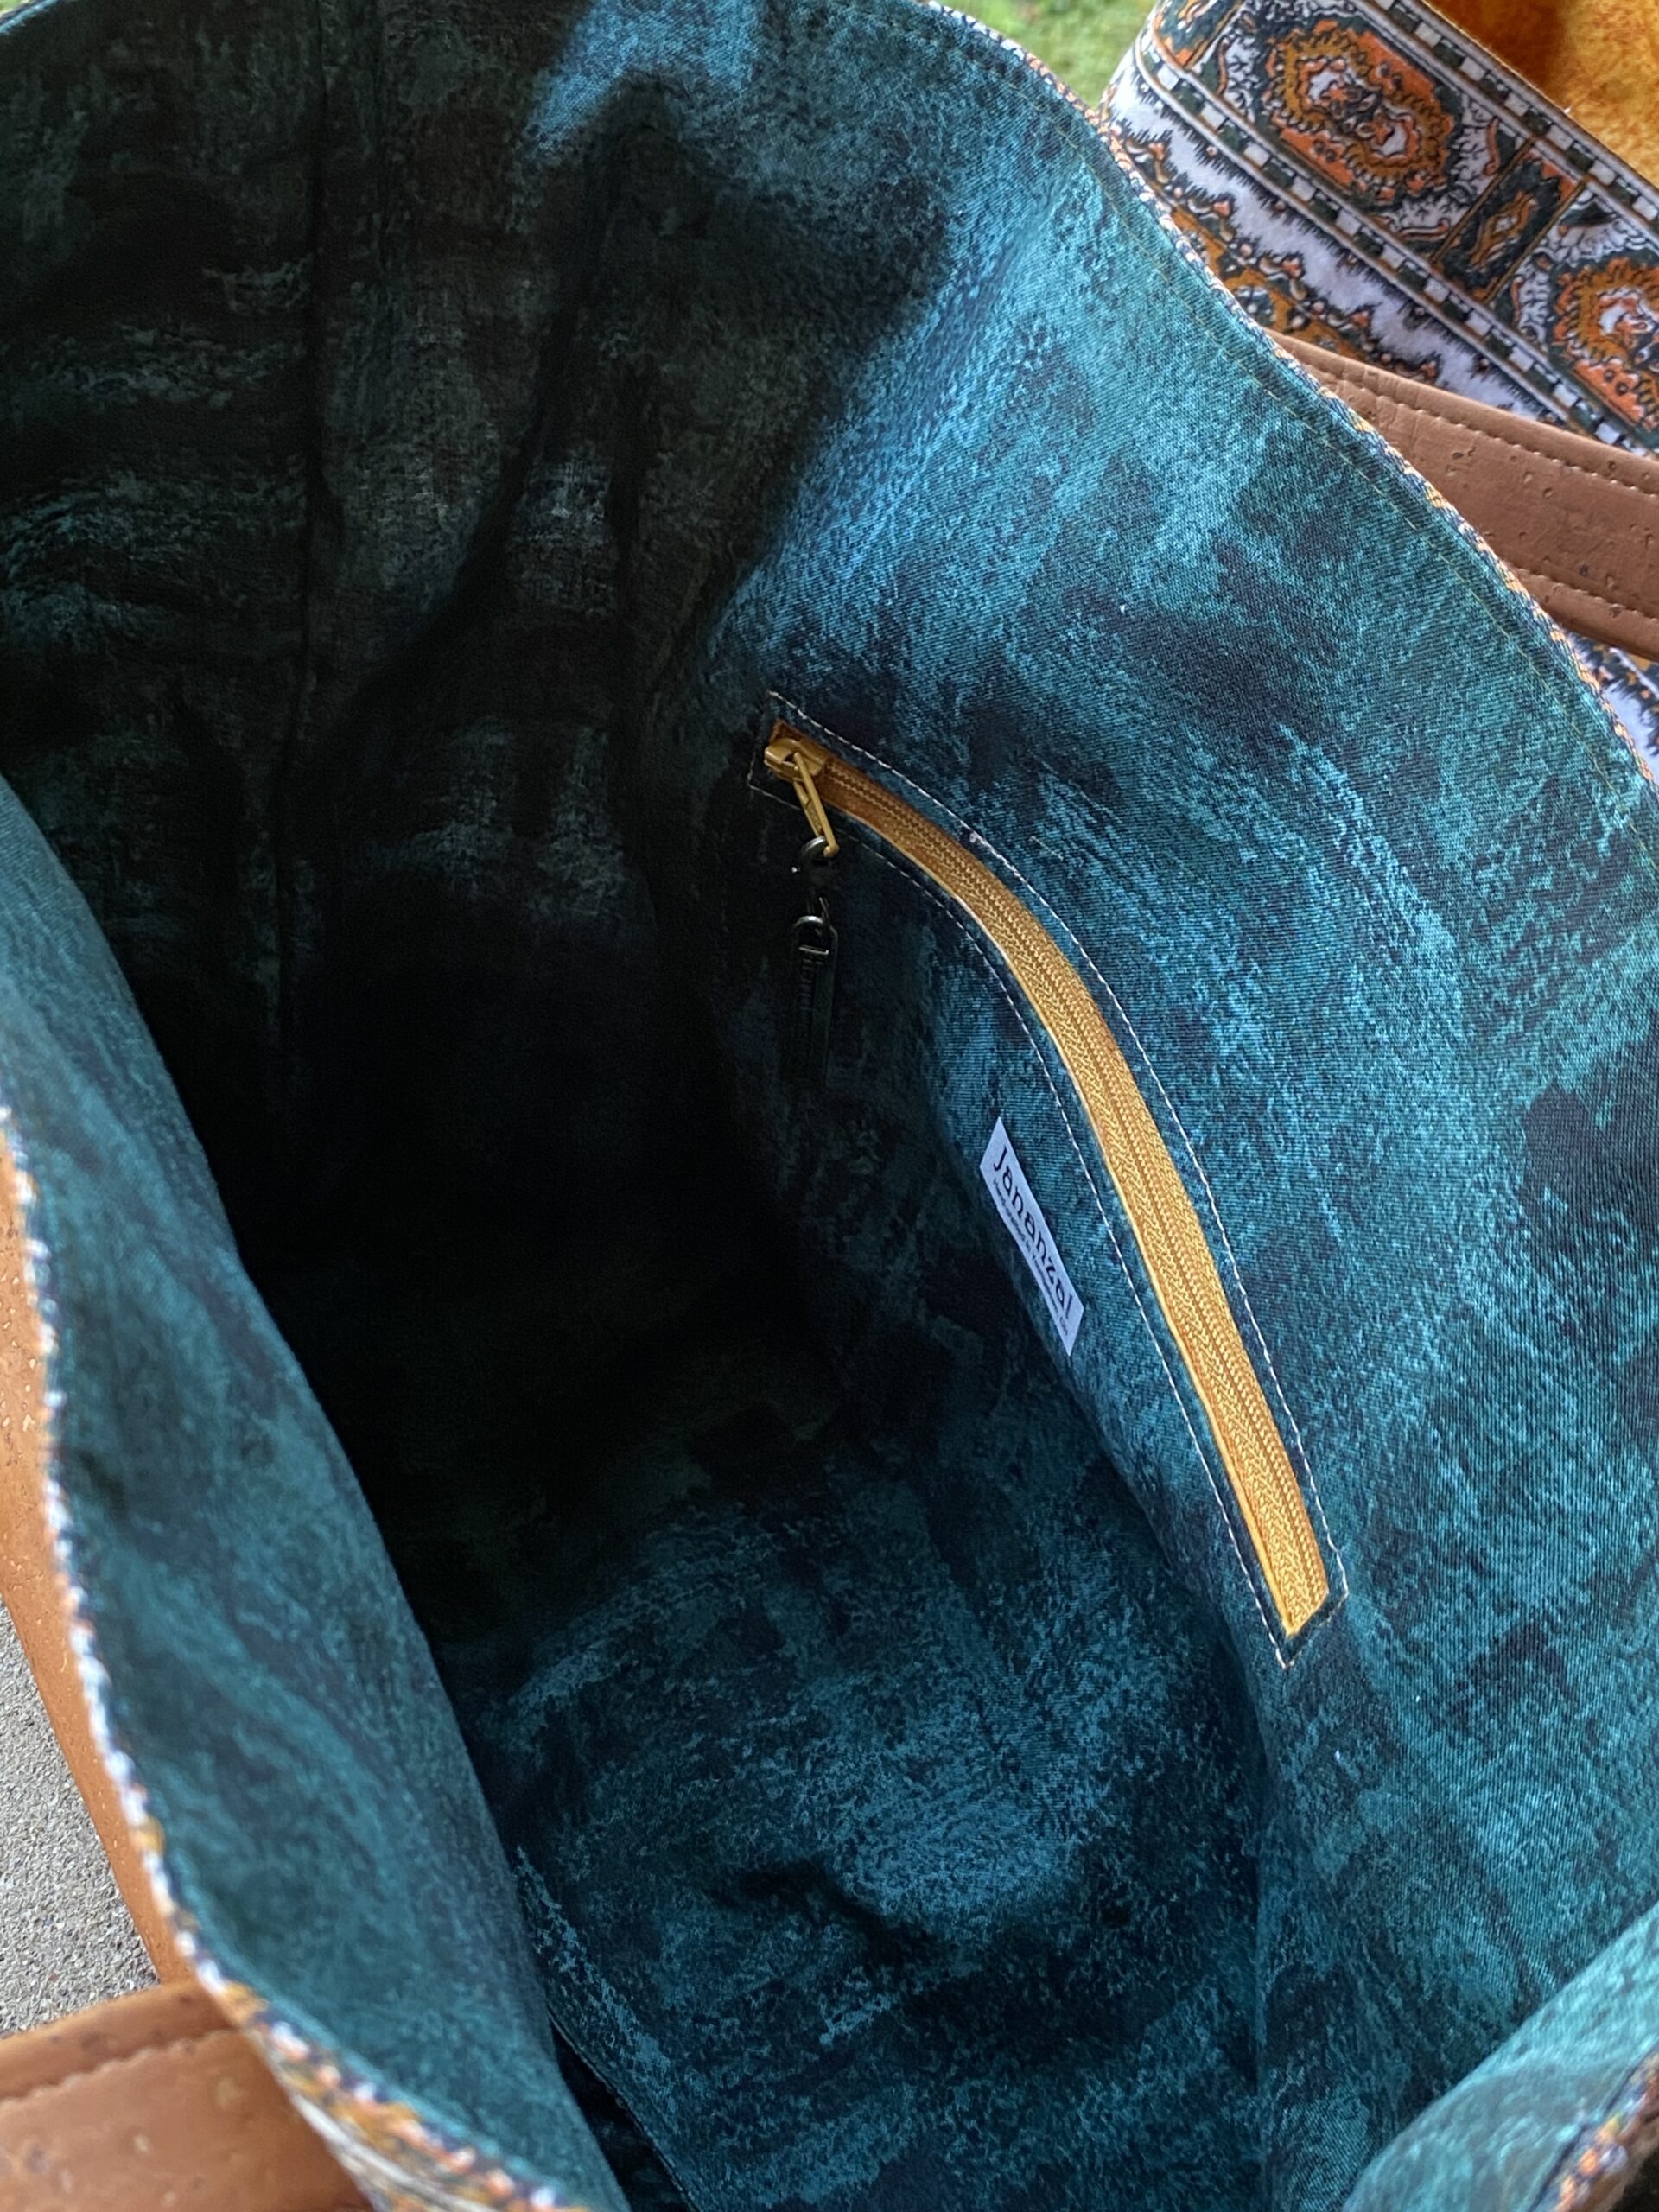
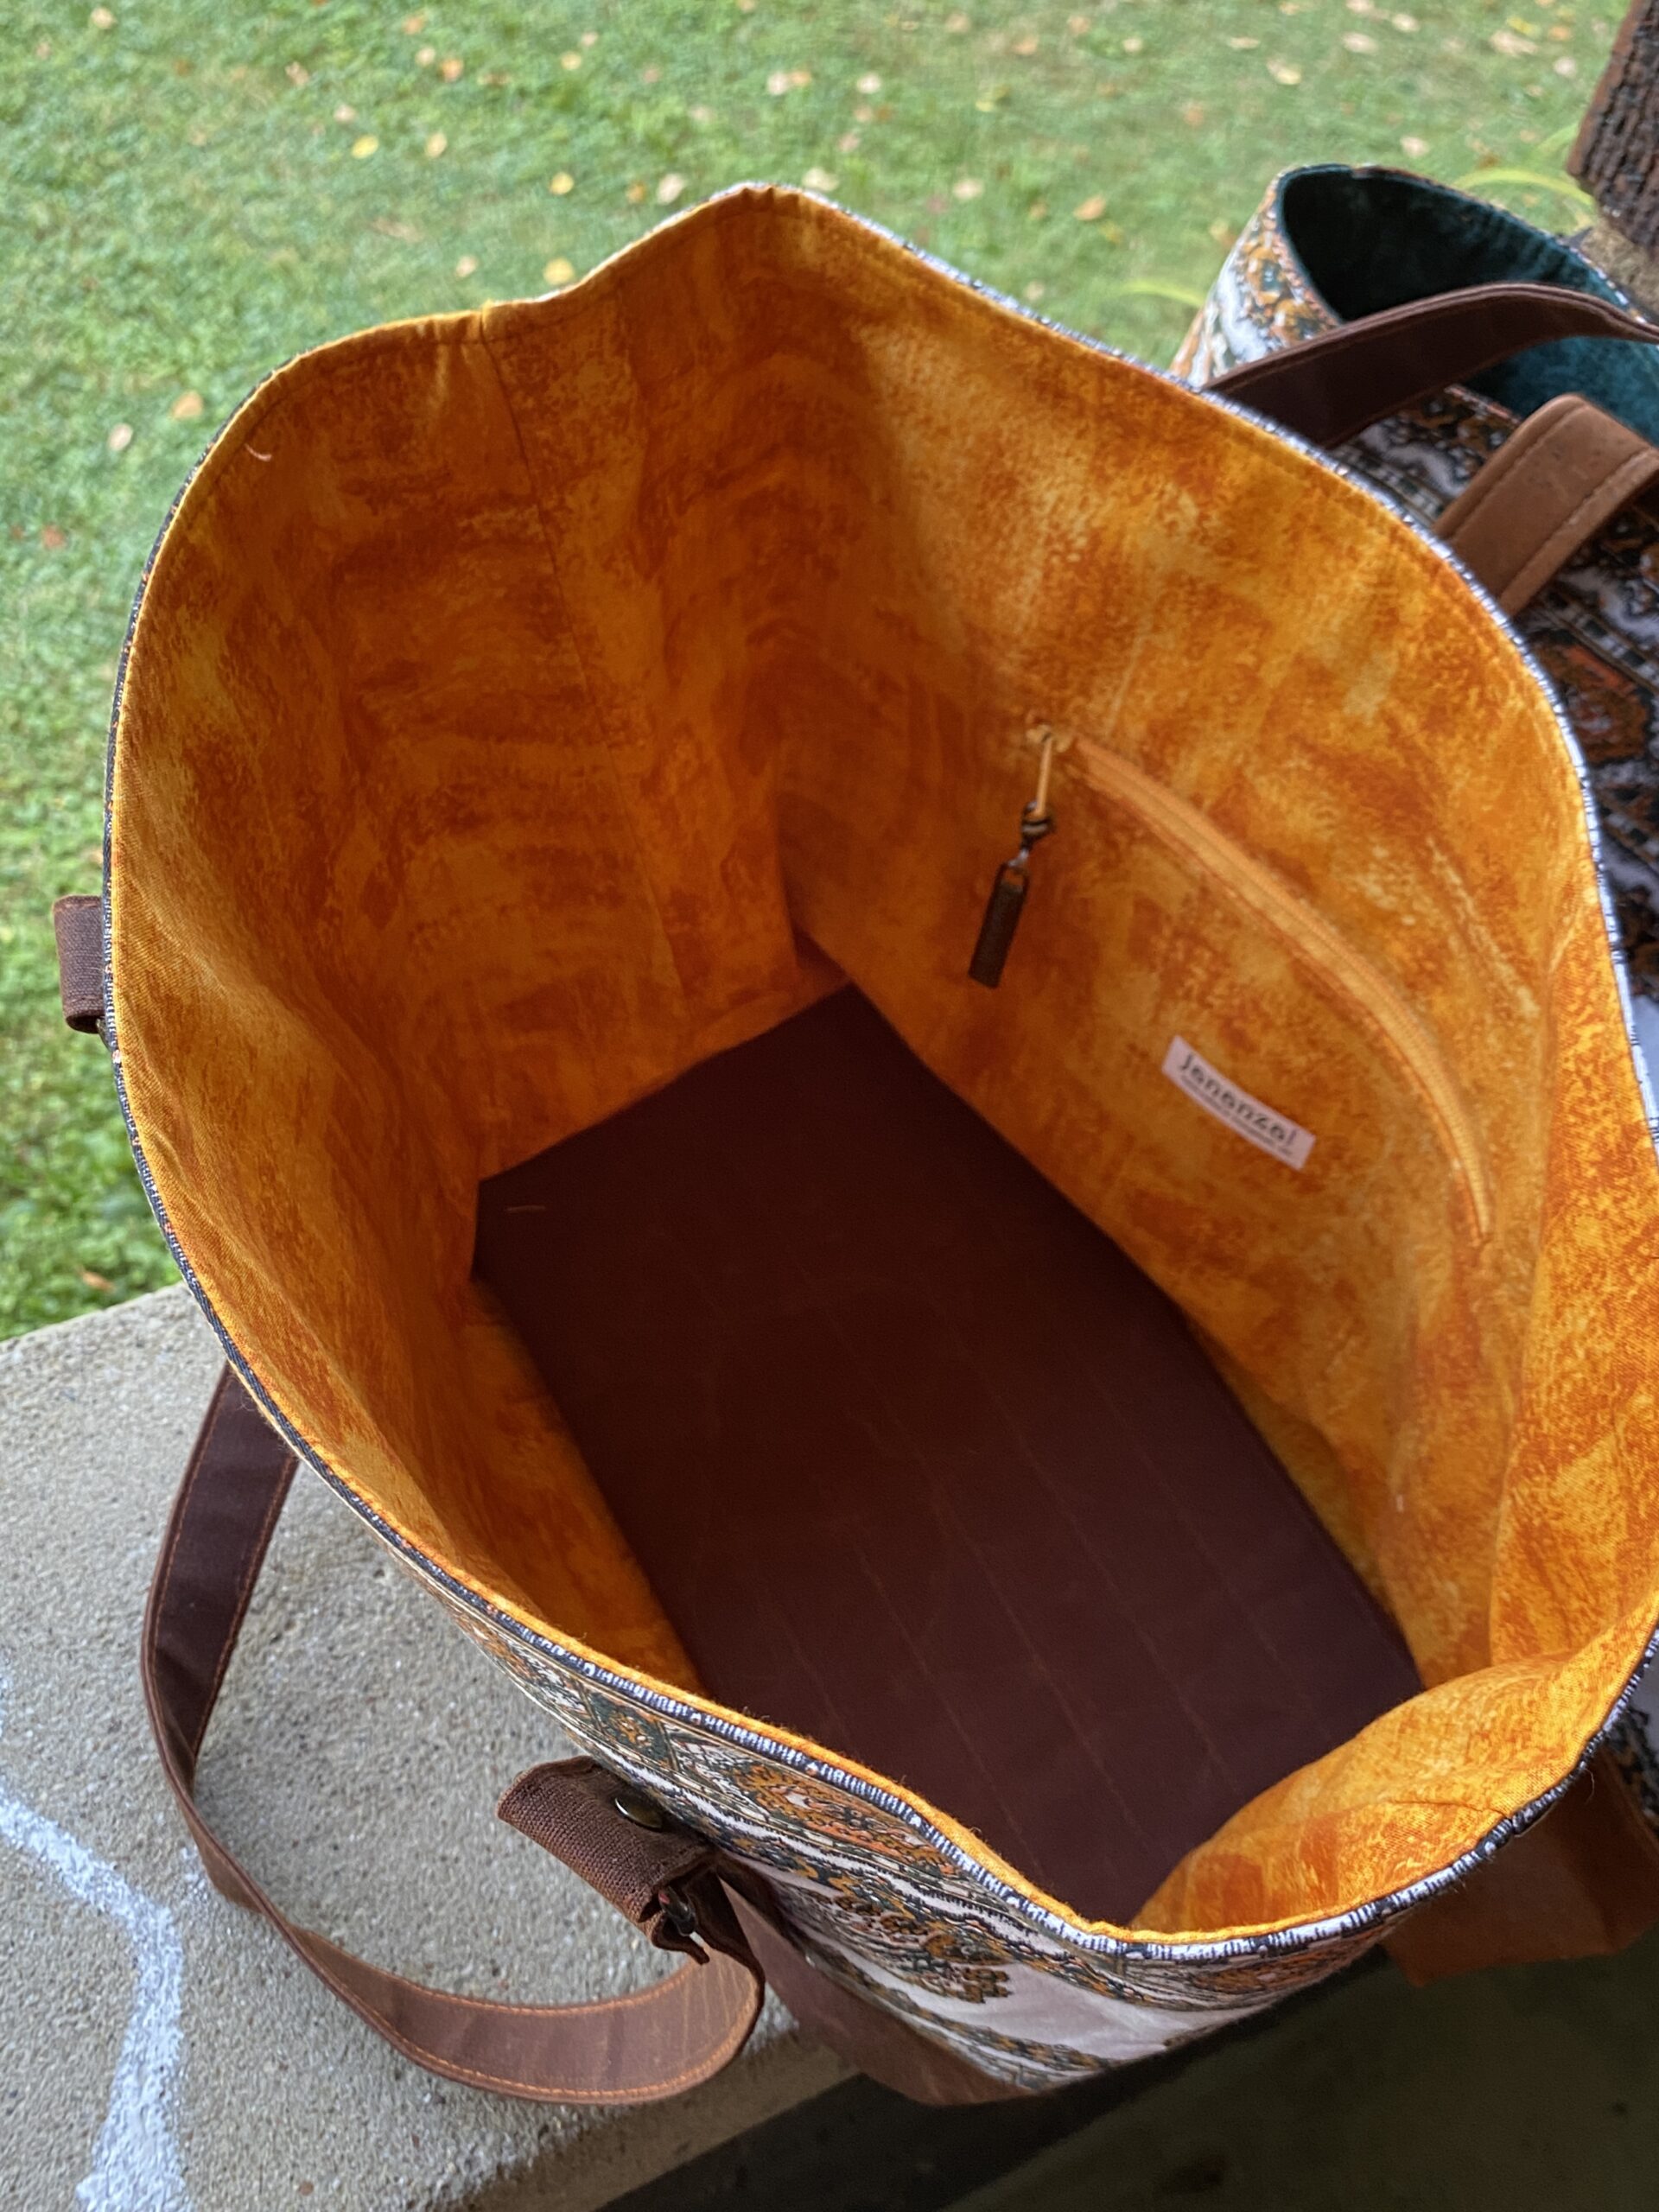
 The pattern shows exterior front and back slip pockets (full depth open pockets that sit close to the bag which you can just slip things into). One of these has a magnetic snap to hold it closed. The second is divided in half by a vertical seam. The interior also has a divided slip pocket. But I feel more secure with zipper pockets, especially to have on the exterior to hold, for example, my phone.
So I hacked the pattern and replaced the exterior divided slip pocket with a zipper pocket. I also added a zipper to the interior pocket, making it double duty. It sort acts like a divider in the bag interior.
 To cut to the chase, what would I do differently?
(1) The most frequently-bought magnetic snaps (the male/female type) come in two sizes: ½” and ¾”. I grabbed a ½” to use on the front slip pocket. Wrong! I should have used the ¾” one, as it is stronger. The slip pocket doesn’t stay closed well and it bugs me. Taking that finished bag apart to switch out that snap is simply not going to happen. I’m choosing my battles. Next time, I’ll use the ¾”.
(2) The interior zip pocket is awkward. Next time I will use the back lining piece and put an inset pocket there, making the other a divided slip pocket, as designed. One simple interior hack rather than this awkward one.
(3) The vinyl I used, which is designed by my nextdoor neighbor, in her textile designer position with Richloom Fabrics. Most of her vinyls are a heavier weight. This one is softer; it’s absolutely a lovely weight, but just softer and more pliable. This bag would have benefited from having a more substantial weight fabric.
Lesson learned.
End of the story of Twin #1 and the second half of the twofold story:
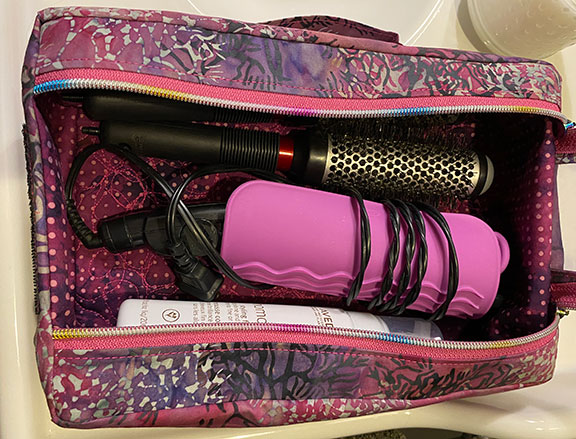
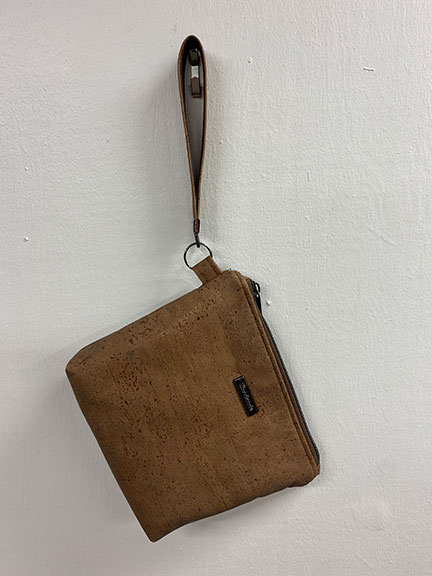
The second Twin to pop out was a response to the whole debacle of another broken zipper, this one in the little (purchased) zippered pouch in which I’ve been carrying cash (bills, not change) and cards for several years. That zipper got mucked up and I couldn’t unzip it to pull out bills for tips or whatever. I looked for a replacement pouch, which was documented here. It was not the solution for me, but my daughter-in-law said it was perfect for her uses, and happily took it off my hands. Aren’t I lucky that those are her favorite colors?!
 I turned to Sotak Patterns, which is run by Svetlana Sotak, a bag designer based in Germany, selling her patterns and handmade items on Etsy. It seemed to me her Lisbon Pouch would be more to my liking.
 I am now using both the crossbody bag and the little pouch every day. The pouch—not exactly as I envisioned. I haven’t carried change with me for years. Now I put coins in the front zipper and bills in the top zipper, and it works fine. Just yesterday I went to Aldi and “bought” a shopping cart for the first time, because I actually had a quarter available.
 What might I have done differently on this sweet little pouch? The main thing was the zippers. Svetlana uses metal zippers, which are difficult to cut, and a great way to ruin fabric scissors. I didn’t pull out my jewelry-making snips to cut it—shame on me. Anyway, Svetlana’s zipper techniques are a little different that what I usually do. Next time I will use a zipper with nylon teeth, and not have that oopsie that is visible on the front zipper.
 Otherwise, I do love this little pouch, and can see it sticking with my for a long time to come.
So what did I do with the cards I carried in the old pouch? I cleaned out my purse drawer and found a Perlina card case that I bought at Nordstrom a thousand years ago, probably when I had an employee discount. It has room for twelve or sixteen cards. The IDs and debit cards go on one “page” (#4), infrequently used cards (Sam’s, Shell Oil) on page 3, and frequently used credit cards on pages 1 & 2.
My time is now freed up to quickly make up the bags for Diane (stay tuned) and to practice for my first Zombie Prom rehearsals in two weeks.