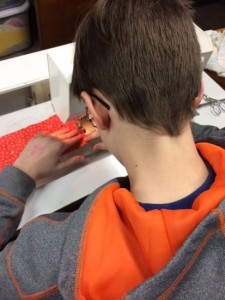
 Last Sunday when my son popped by for a minute with my grandkids in tow, my grandson said, “Grandma, can I come over next weekend and sew a wallet? I made a wallet for myself out of paper but it’s falling apart.”
The most special thing to me about this exchange is that he didn’t say—to his mom or his dad or his grandma—”can you buy me a wallet?” He said, “I want to make a wallet.” Such an activity was within his realm of possibilities!
In preparation, I started searching the internet and came upon Allisa Jacobs’ blog and her tutorial for “Father’s Day Men’s Wallet.” It looked like it might just meet Boston’s needs.
I had the pleasure of hosting the grands tonight. Their mom texted me this afternoon to remind me, to tell me what time she’d drop them off, and to let me know that Boston wanted to make a wallet tonight. I told her I wasn’t sure we’d be able to get it all done tonight, as there were many steps in the project. Not only did we get it done, but we also had time to cook some supper in the middle there.
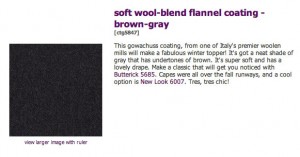 The first order of business was to find fabric. I had some leftover soft wool flannel from my Marcy Tilton coat (whose construction, I just realized, I never blogged – oops). He thought that would be nice.
 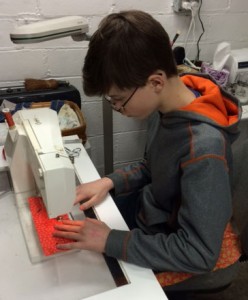 Then I took him to a stash container that I knew held some good 100% cotton quilting fabrics that would be a good weight for the inside. I knew there were prints of bricks and abstracts and other things I thought a 12½-year-old boy might like. But the thing that caught his eye was a salmon polka dot. That was what he had to have. Next we looked a threads. He found a soft orange that went well with the salmon. For the topstitching on the outside, he saw several variegated Sulky threads that he liked. I showed him a single row of stitching, then I showed him a double-needle topstitching treatment, and he loved it.
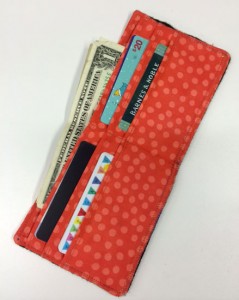
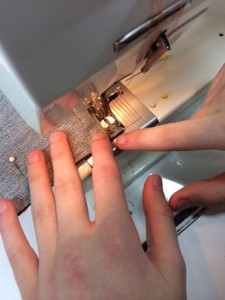 On to cutting and construction. The boy has been using a rotary cutter since he was six. I held the ruler, he operated the cutter. No fingers were sacrificed. We cut the flannel, then started to lay out the cotton, which had been folded for about five years. “Grandma, can I iron that? I like to iron.” A man after my own heart! He meticulously removed all the folds, then we cut the inside and the pocket. I showed him how the pockets would work, we counted his gift cards—from Barnes & Noble, Amazon.com, iTunes, and Handel’s Ice Cream, the local favorite—and I showed him how we could add an extra pocket that wasn’t in the pattern. We cut, then he folded and pressed the pockets. He did the edgestitching on the pocket folds, machine-basted the pockets together, sewed the seam down the middle to create the card pockets. He fused the interfacing, figured out how to lay the right sides together (and why), and sewed around the edge, leaving the opening for turning.
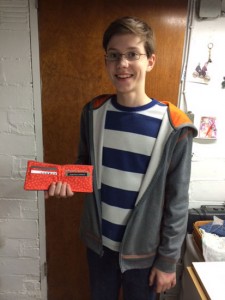 “Where’s the chopstick,” he asked, when it was time to turn the wallet. The boy knows how I do things and what my favorite tools are.
We pressed, I hand-sewed the opening closed, he pressed some more. All that was left was the topstitching. The way he was sitting on the easy chair, I sensed he might be feeling a little uneasy about the topstitching. “Would you like me to do it, or do you want to?”, I asked. “Maybe you could do it, Grandma.” So I did. Then he pressed some more. (Look at that cutie pie. Look at those dimples and that sweet face. Can you understand how he has me wrapped around his heart?!)
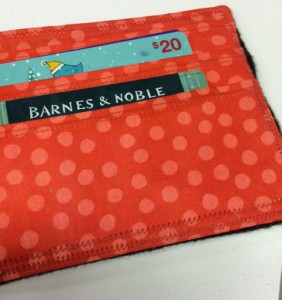
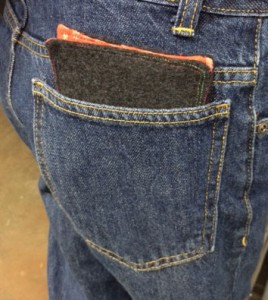 When he went to load it with all his gift cards, I realized the second pocket that we had added was too deep for the cards. They would get lost. I said, “Next time we make this …” and showed him how we could topstitch across the pocket before basting them all together so the card pockets would be identical depths.
 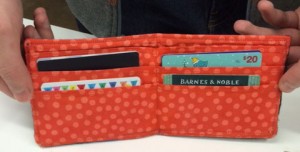 Then I realized I could probably hand-sew it after the fact so they’d be equal depths. We measured the first pocket, then measured down the same distance on the second pocket. While he pulled the first pocket down, I grabbed a needle and thread and sewed a line across as much of the pocket as I could. I held my hand down inside so I wouldn’t go through to the outside. Gotta be able to get those bills into the money pocket! (No, it doesn’t stick up out of his back pocket like that. But we wanted you to be able to see it.)
And, about two hours after we started, we were finished. He carefully put the cards in place, then lined up his bills and tucked them in. He tucked it into his hip pocket and, as a last step in the process, took his old paper wallet and threw it in the trashcan.
I’m still smiling!
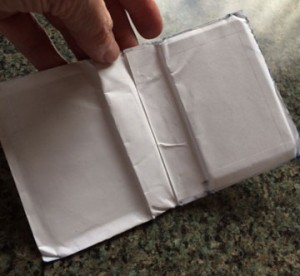
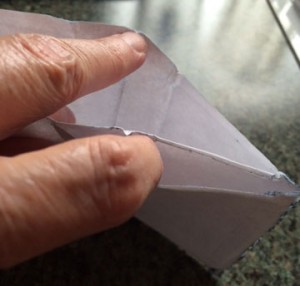
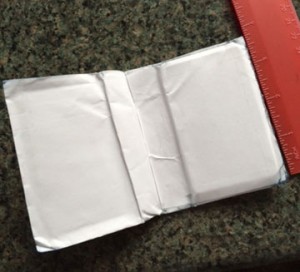
P.S. Pics of the original wallet. That’s an engineer-in-training, if I ever saw one!


I also enjoy projects with the “grands” as you called them. It always tickles me how competent they are… this was a great project!
Oh my, love seeing your grandson’s work & wallet! What a neat experience for you two to share it.
Really appreciate you sharing my tutorial & love your feedback & tips. I’ll have to add those in 🙂
My son enjoys sewing, mostly hand stitches on embroidery hoops for now, but I think it’s such a valuable & rewarding activity for boys.
Best! Allisa
Allisa, lovely to hear from you. I’m enjoying exploring your Etsy site. You do beautiful work.
The best of times, spending time with the precious “grands” and as a special bonus.. teaching them something you love and seeing them love it too!
Just found your website after looking a Marcy Tilton’s. Very nice!
I can get a little spooked at night when alone. We keep a lot of our windows uncovered (due to the “view”) Luckily my husband doesn’t have to travel much for work anymore.
What is a website or I should say what is MY website?
Patricia – nice to hear from you.
Is your question that WordPress gave you a field to specify your website when you commented? That’s in case you’re a blogger or Etsy seller or otherwise have a web page you wish to direct readers to. I always specify jancrews.com when presented with that question, although I have another blog and an Etsy site (with which I have NOT been successful.)
Thanks for asking – there are no dumb questions in this new world. 🙂