


 You probably know how I love trying new bag patterns, and how I love a bargain. Well, let me start this off by saying that I receive too many email newsletters (i.e. “come-ons”) from fabric stores. One that I have liked over the years is Connecting Threads. They’re located in Vancouver, Washington, and they have a beautiful, color-filled catalog that they occasionally send to my home for me to dream over. The trouble began when they had a sale. In their weekly newsletter, they offered me a kit to make a nice-looking bag for fifteen or twenty percent off the regular price. Okay, so they didn’t offer it just to me, but I heard them calling my name.
 I answered the call and ordered the kit, which included all the fabric I would need and the pattern. The bag is called the “Surprise Bag.” Why? Because, according to the pattern description, the designer was “surprised by how much it holds.” As I’m writing this post, I’ve looked back at the pattern instructions and I notice, on page 2, a disclaimer by the Connecting Threads owners: “these patterns have not been independently tested by Connecting Threads.” First error. If any of their bag-making customers or staff members had tried making this bag before it was added to the catalog and website, I’m pretty sure it would never have made the cut.
Before I move forward, let me remind you that I’ve made a lot of bags in my sewing lifetime. I may have made over a hundred bags. I’ve seen very good patterns. I’ve seen so-so patterns. I’ve never seen a pattern this odd.
 Now one of the main tenets by which I live is “be kind.” And I hesitate to denigrate all the work the designer, “Sewing Sue,” put into this bag. I’m sure she spent many hours designing the bag, making test versions, and documenting her work for the instruction sheet. But this bag is a major fail as it is written. It took me many hours of stitching and ripping, during the time in which I was having serious problems with my Bernina 330, to arrive at a finished bag. If I had not spent $30 or so on this bag kit, I probably would have thrown it in the trashcan. More than once.
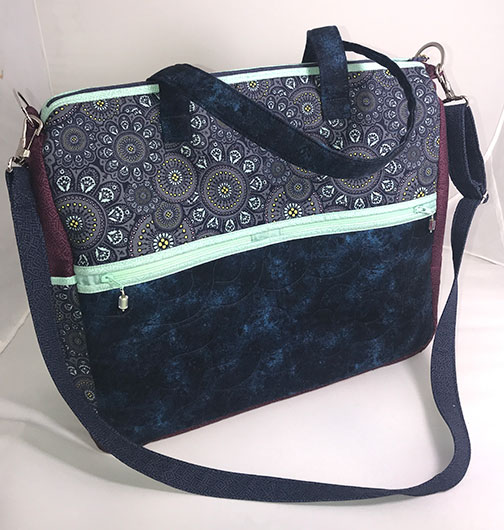
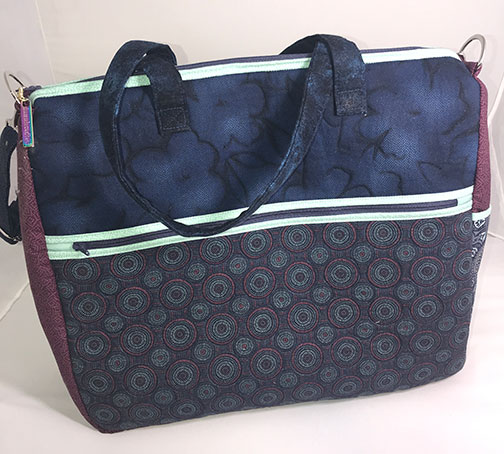
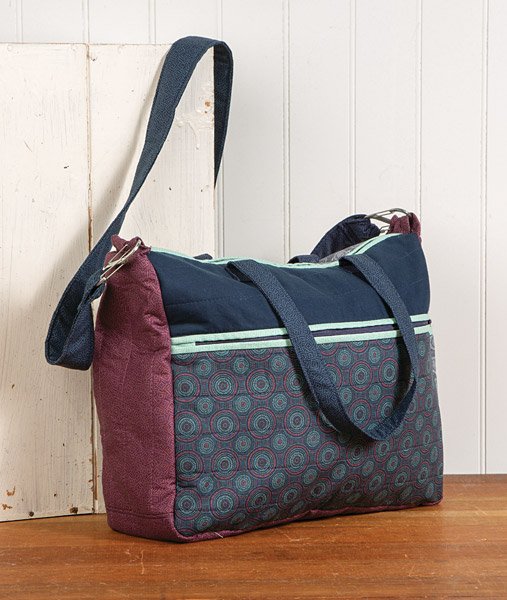
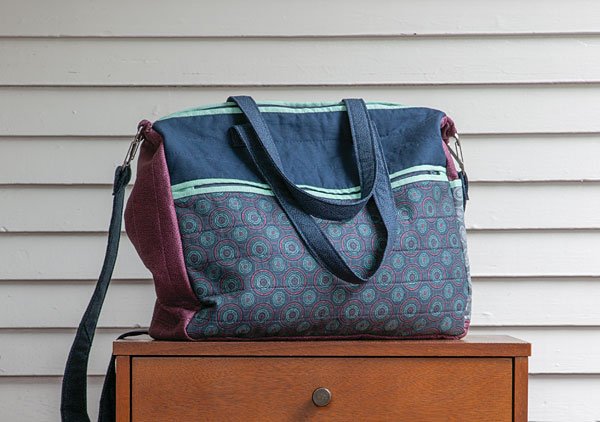
See the two photos in the previous paragraph? So how beautifully that first bag is standing? That’s the photo I saw before purchasing the bag kit. See how, in the second photo, the bag is slouching. It’s the kind of bag to which Grandma would call out, “Stand up straight!” That’s your first clue. A bag that is properly interfaced and reinforced should not slouch like that. At least this type of bag. A bag that’s designed to be slouchy? Slouch all you want. Skimp on the interfacing. That’s okay. This is not okay. Compare those two photos from Connecting Threads’ website to the first two photos of my finished bag. Please tell me you can recognize the difference.
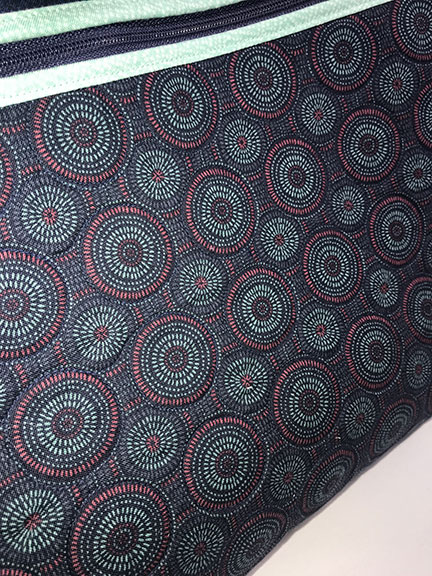
Notice how I quilted the lower front exterior piece to the fleece. You don’t want to know how long that took!
As I began cutting out the pattern pieces, I made sure to interface each one, in addition to the fleece that I fused to the pieces that called for fleece.That’s the first Big Deal.
My second “What the Hell?” moment came when I made the zippered pockets on the outside. As I followed the designer’s zipper insertion instructions, I had to sew and rip several times before I said to myself, “This will not do.” I scratched my head, thought back to numerous (at least a hundred) zippers that I’ve installed, and made it work.

Another bit of quilting, this time on upper front.
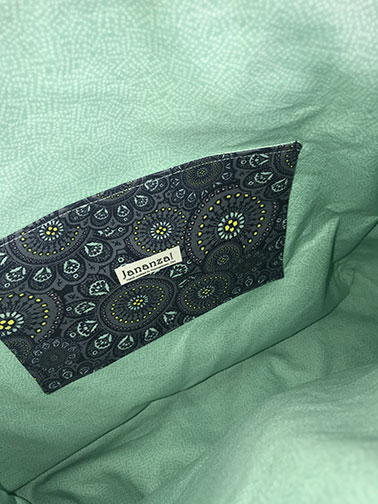
An interior slip pocket. My phone will fit there or in one of the small exterior zippered pockets.
For the past few days, as I’ve been doing my mental wrangling with this bag, I wondered what I would do with it. Would I put it on my Etsy shop to hopefully sell? Would I just post it on Facebook for my friends to see and tell them the first person to make a $30 gift to their favorite charity could own the bag?
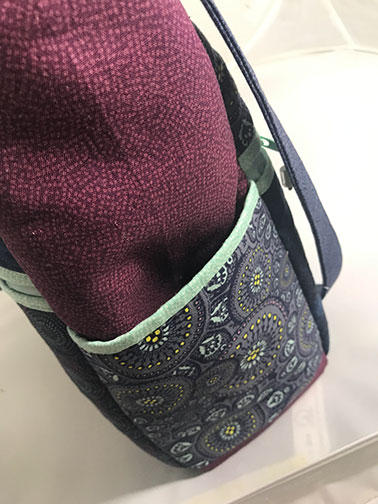
The side pocket. It’s just large enough for a water bottle.
I traveled, really from yesterday morning to last night, from a despondency (Why did I waste so much time with this damned bag?) to Wow! (Look at this great new bag that’s going to ease my life.) Sorry, all of my Facebook friends who thought they were going to get a great new bag for the price of charity. It’s M*I*N*E!!!
P.S. Disclaimer: If I were choosing the fabric for this bag, would I have chosen this collection of fabrics? No, probably not. (Definitely not, when considering the “hand” of this collection.) I’d love to see a similar bag in a couple of companion batiks, even those batiks I brought back from Bali last year. But this was a learning exercise, so it is what it is. And what it was was a very painful learning exercise. But I survived. Oh, and let me repeat, “It’s M*I*N*E!”
Edited 9/13/2019, after using this bag to carry all my collaborative pianist “equipment” in it for almost a month. I LOVE the size, shape, and capacity of this bag. I still can’t recommend anyone use this pattern, but if you’re a wannabe bag pattern designer, figure out how to make this bag without the wonky side pieces, with more logical zipper instructions, and with all the extra interfacing and foam I used in mine, and you’ll have a winner.