


 Two weeks after returning from vacation and spending lots of time editing photos and writing my vacation travelogue, I just realized I never wrote a post about the last bag I made before vacation.
. . .
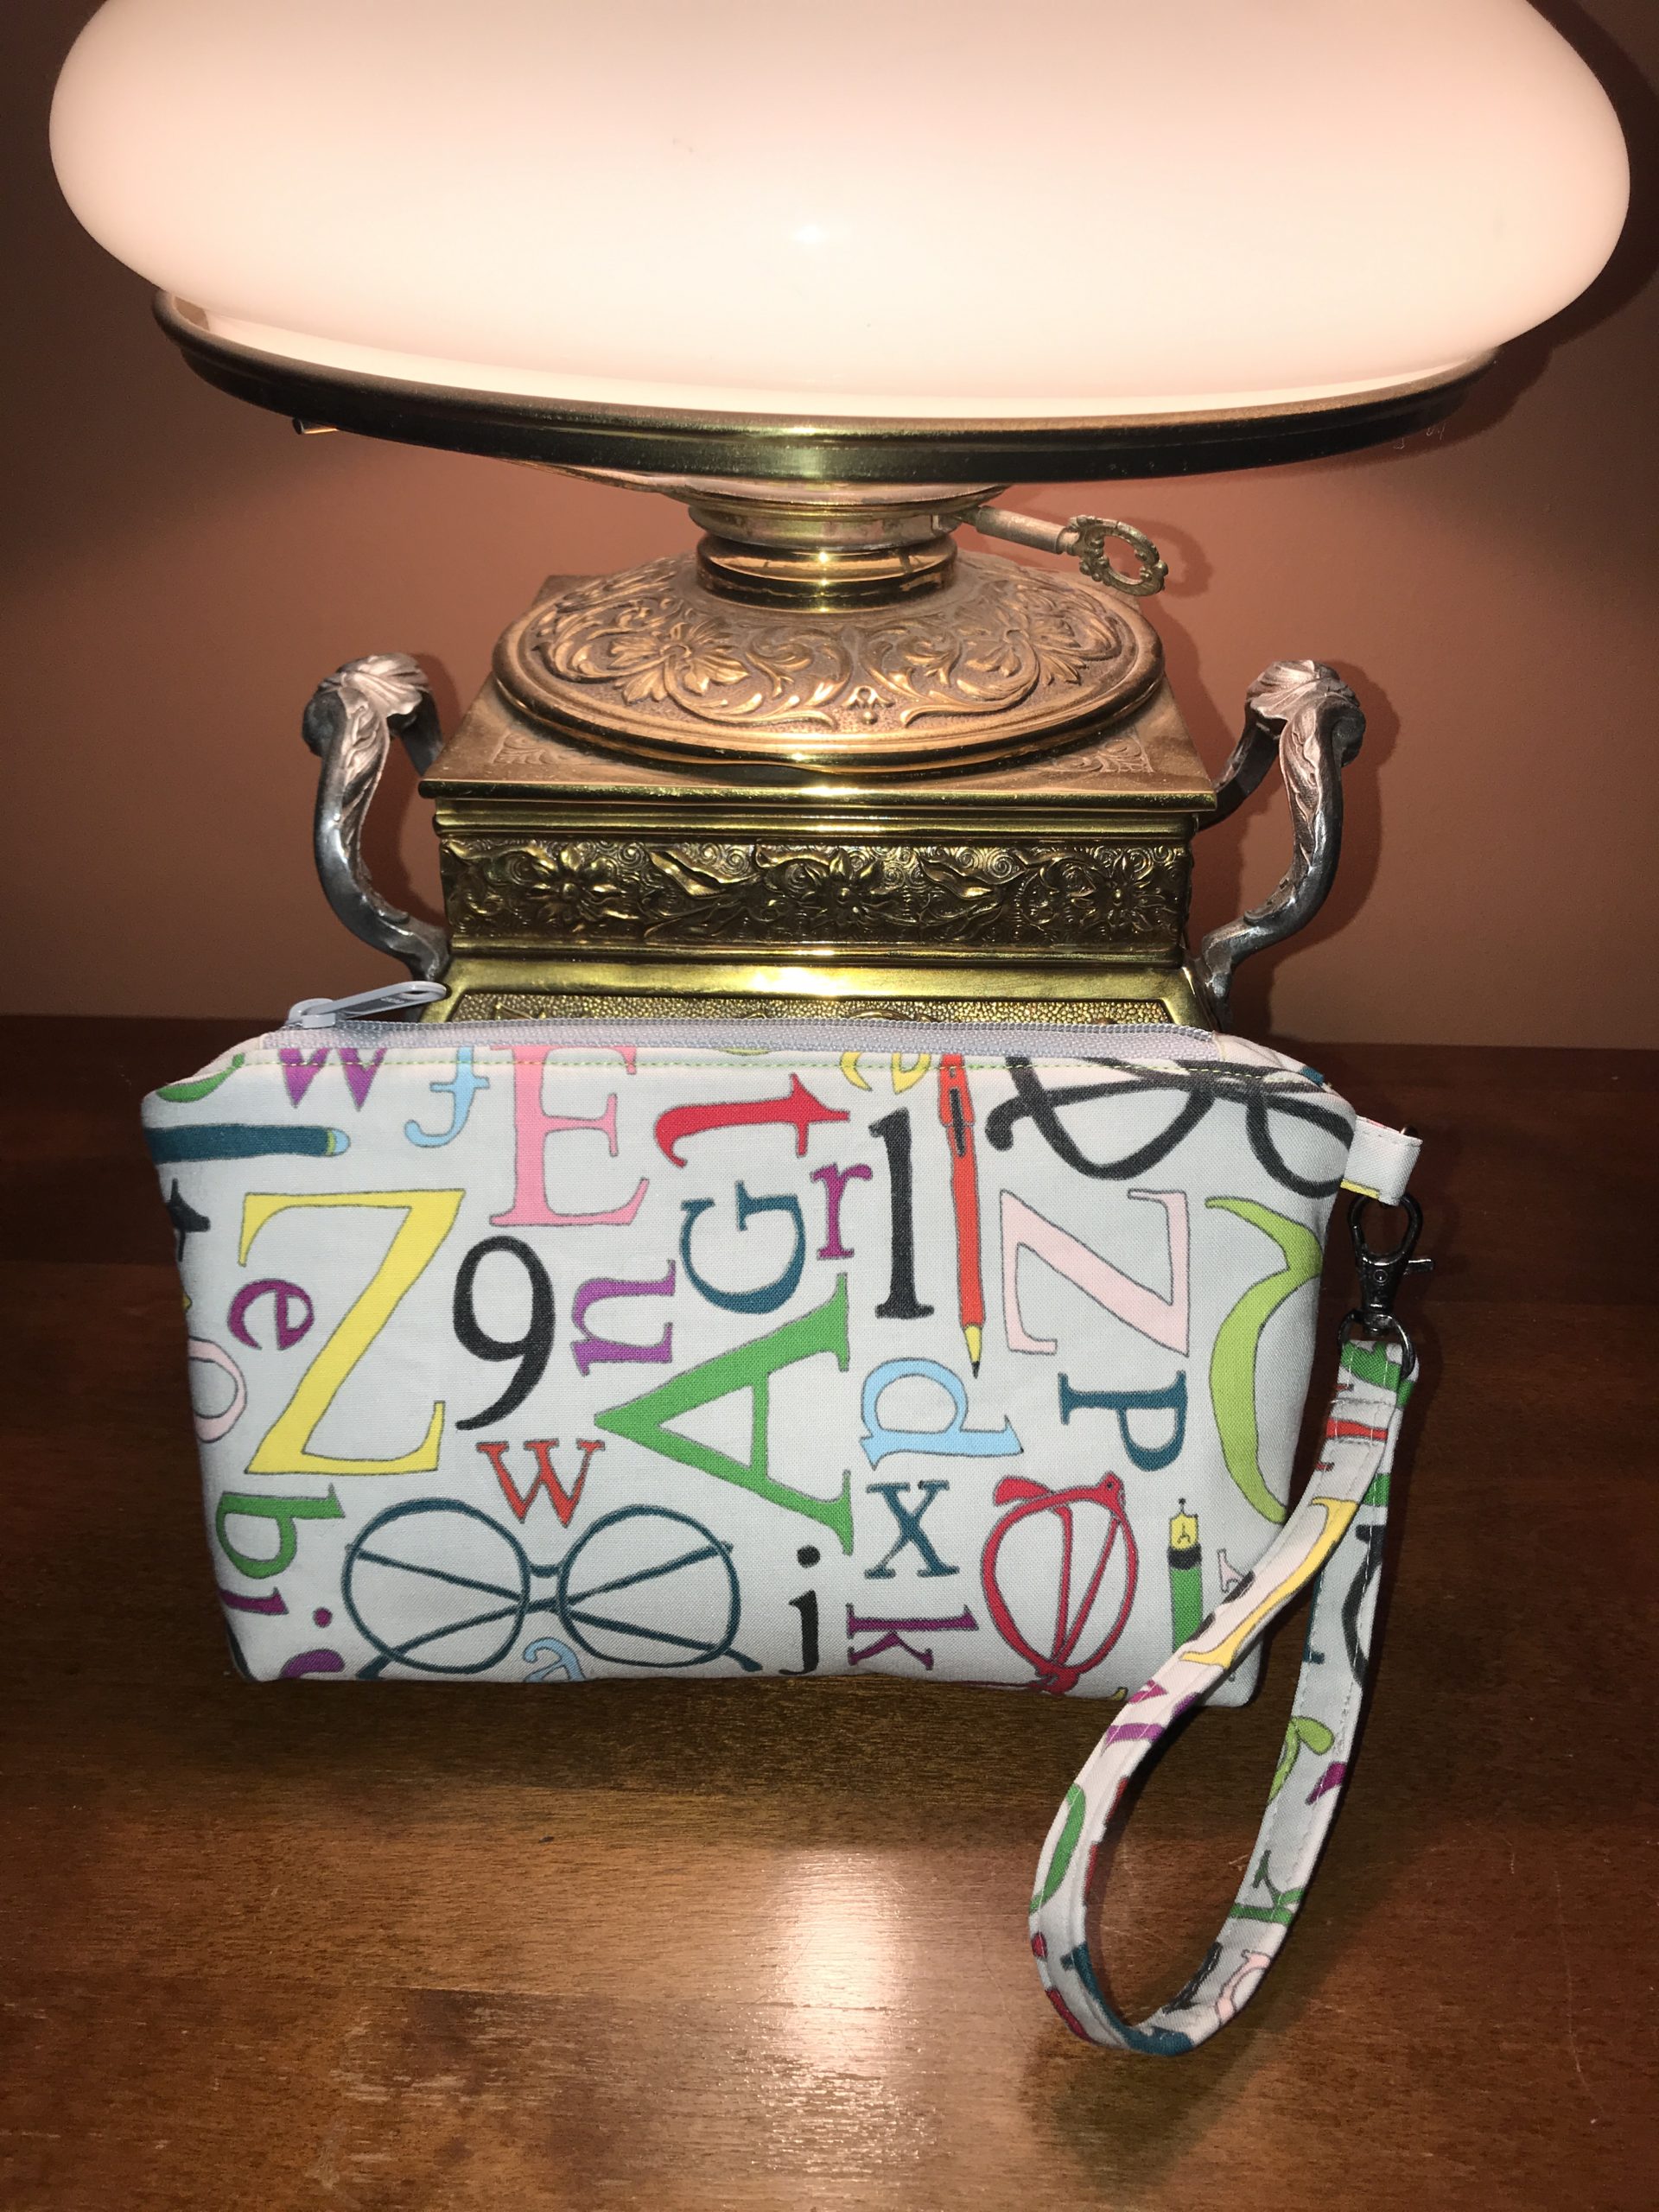
I actually started the fabric preparation to make another Sew Sweetness Paladin bag (that pattern I love to hate). As I started fusing the first exterior piece to the interfacing, I realized, to my horror, that the fabric was actually directional and I had cut it upside down. (Look at the black eyeglasses frames at the bottom of the first picture. Imagine those glasses at the top of the bag, upside down. Nope. I cannot let that happen.)
![]() I didn’t want a bag with upside-down print, and I didn’t want to throw away a perfectly good piece of fabric. I began racking my brain for the best solution. The bottom of the side pattern piece has the corners cut out—that’s the part you sew diagonally to get the boxed corners. (See the picture with this paragraph.)
I didn’t want a bag with upside-down print, and I didn’t want to throw away a perfectly good piece of fabric. I began racking my brain for the best solution. The bottom of the side pattern piece has the corners cut out—that’s the part you sew diagonally to get the boxed corners. (See the picture with this paragraph.)

 <Sidebar On> Paladin has boxed corners—meaning that after you sew the sides and the bottom, you pinch the corners flat and sew a diagonal seam across the corner, giving the bag some depth instead of having a flat bag. The traditional way to give a bag depth so it can easily hold more items is to make a separate piece for the bottom and the sides. Boxing the bottom gives you the depth without the extra work. Look at the two frog bag pictures and you can see the diagonal boxing seam. Notice how nicely the bag stands up because of that seam. (This is the Bellevue Pouch from Sew Sweetness, with the construction blogged here. The Bellevue has much deeper boxed corners than the Palladin. But a box is a box. 😉)
<Sidebar Off>
 So how could I save this fabric and get the print right-side up? I started by cutting off the bottom. Then I again had a simple rectangle that could become a slightly smaller bag.
 I dug into my brain, remembering the first zippered pouch I made years ago, and replicated that. Sandwich the zipper between the exterior fabric and the lining fabric. Sew the first side of the zipper, then the other side. Sew up the sides, remembering to leave an opening to turn the bag (and remembering to open the zipper before sewing the sides). Voila! A bag is made.
A dear friend of my son’s has serendipitously become a cyber friend of mine. This woman loves bright linings in bags so that one can actually find things in the bottom of a bag. When I posted a photo of the finished bag on Instagram, she immediately said “I want that!” So I packed it up and ran to the post office. This sweet small bag was flying to California as I was flying to Mexico.
Sometimes the stars align.
The details:
Exterior fabric: The Wordplay collection by Sarah Fielke for Windham Fabrics. It’s been in my stash for probably four years, but there’s some—as of this writing—at the designer’s website and some on Etsy. 9You could also try FabShopHop’s excellent fabric search feature to find it. There are several color-coordinated word prints in the same Windham collection that I like a lot. (See here.) This print comes in a black background, a gray background, and a black and white print. Windham also makes 108” wide quilt backing in the same print.
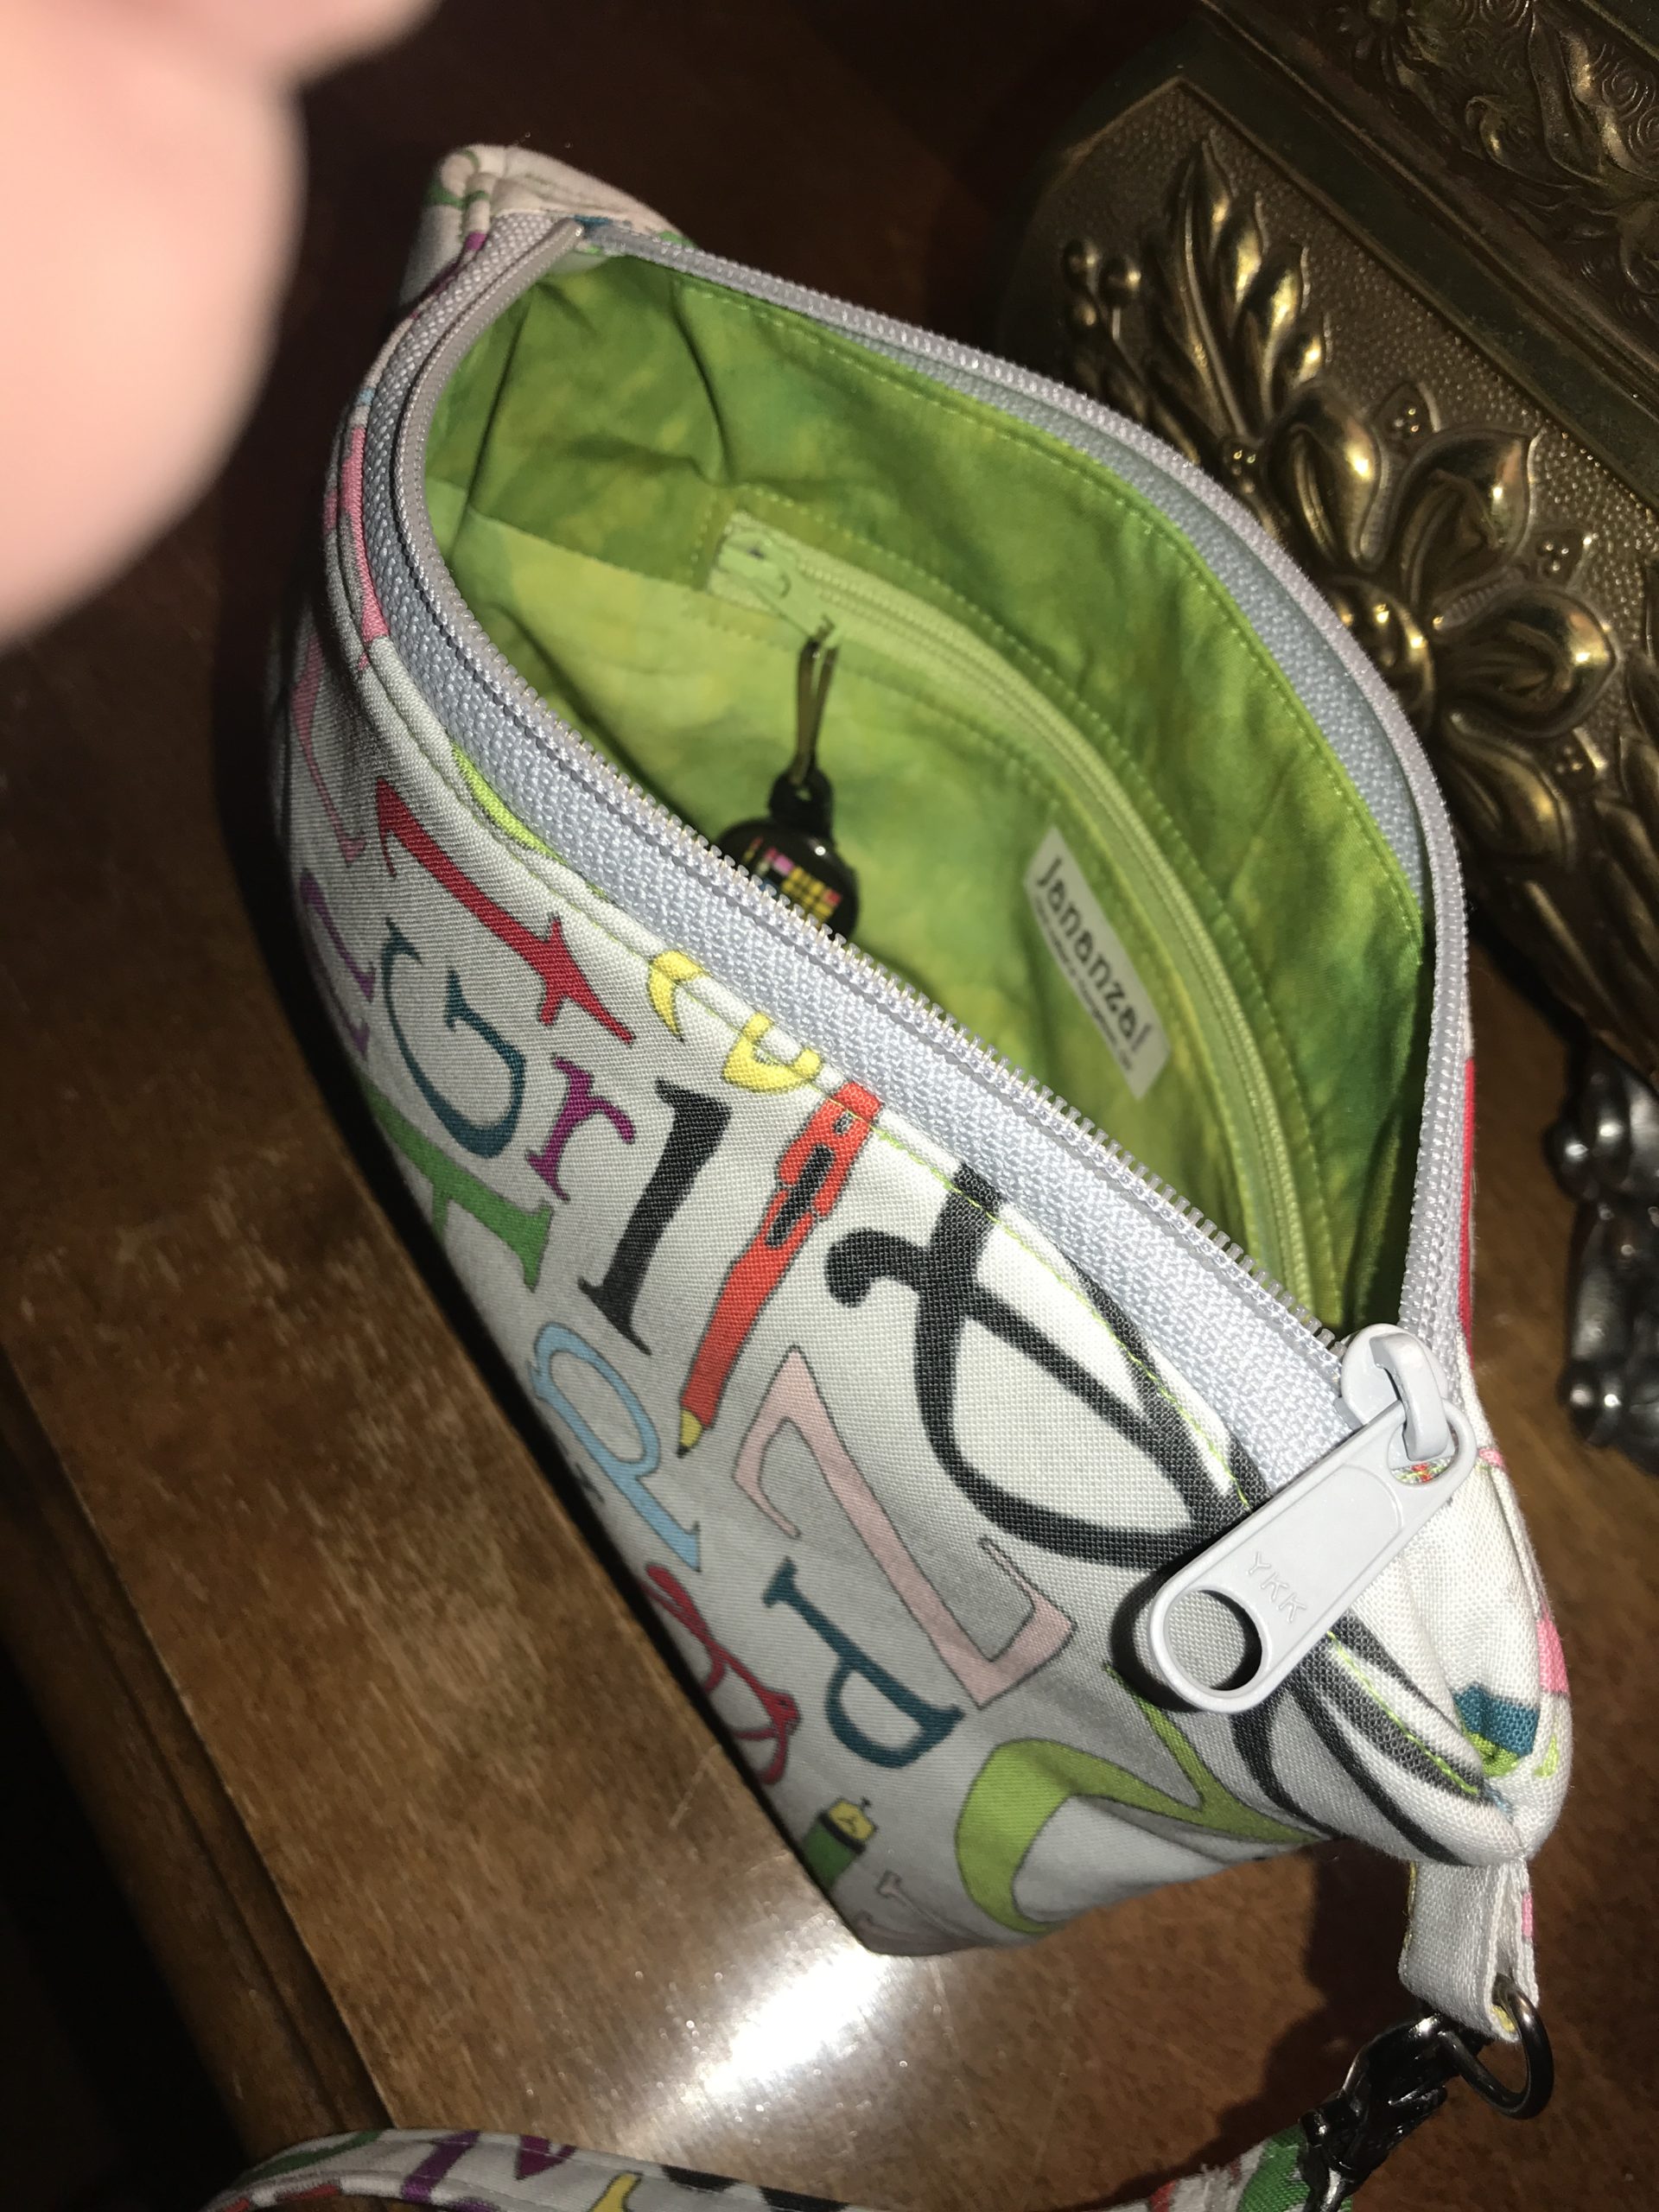
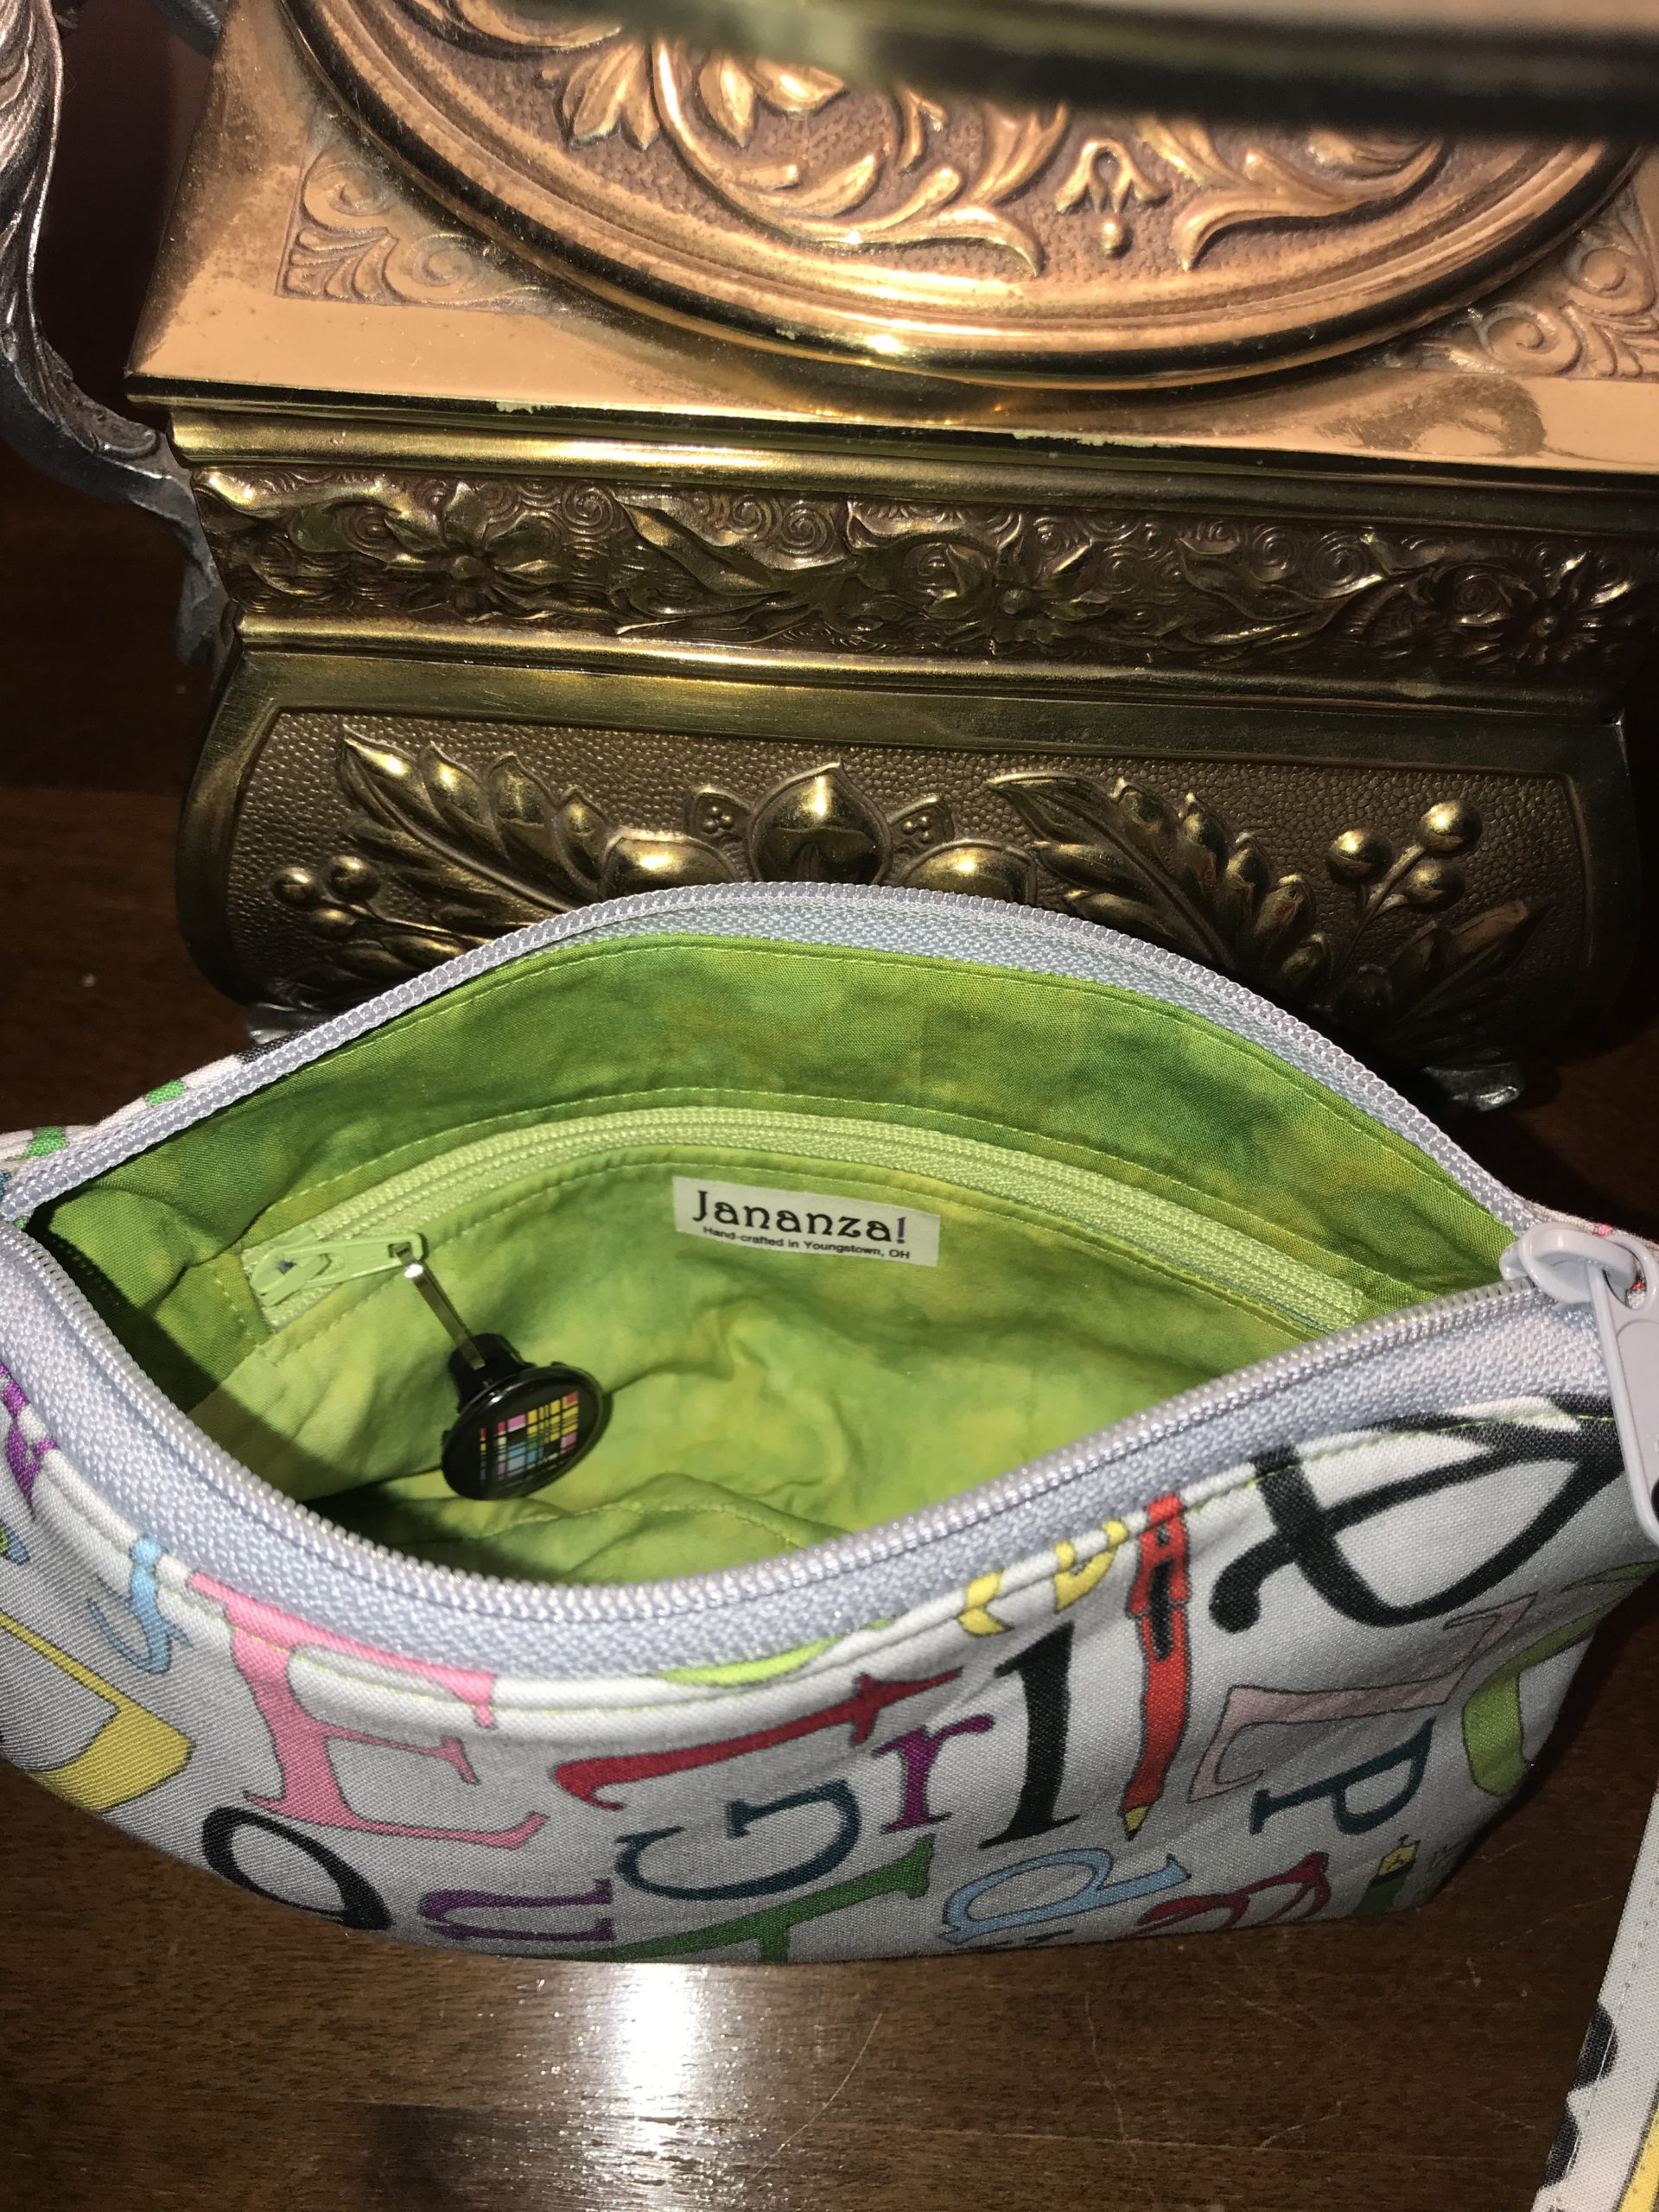
Lining fabric: A hand-dyed cotton in a green I love. I picked it up somewhere in my long history of hoarding fabrics. Love that dye job!
Zipper: YKK #4.5 purse zipper from Zipit on Etsy. She ships quickly from Wisconsin. She also stocks the charm on the interior zipper pull in a variety of prints.
Pattern: I highly recommend Sara Lawson’s Sew Sweetness bag patterns. The Paladin Pouch pattern can be purchased with a companion video. Buy it! I predict that if you try to make the Paladin without the video assistance, you will throw it in the trash can before finishing it. The Bellevue Pouch is part of the 12-pattern Minikins Season 1 bundle. The $80 price tag is very reasonable when you see the bags that comprise the bundle. All easy and quick makes with a minimum of hardware to purchase.
The bag’s new owner texted me yesterday to say how much she loves the bag. She said the gray background has the ability to appear as different colors in different lights. She and her partner refer to it as the “magic bag” because of this color morphing. That made me smile.