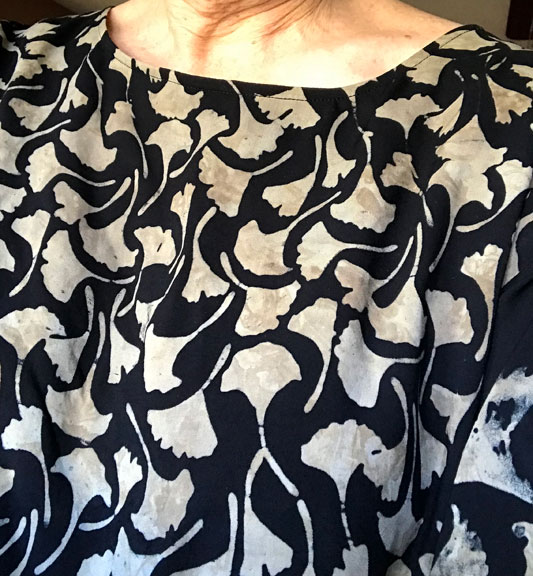
I wasn’t completely sold on the Sidewinder pattern that I made up for the Sew Sweetness Secret Santa exchange, but I had already cut the pattern out in another fabric, so went ahead and made it up, then made it up again. The third make was in a music-themed fabric, as I am a working musician. I thought I’d give it to one of the music professors I work with at Youngstown State University.
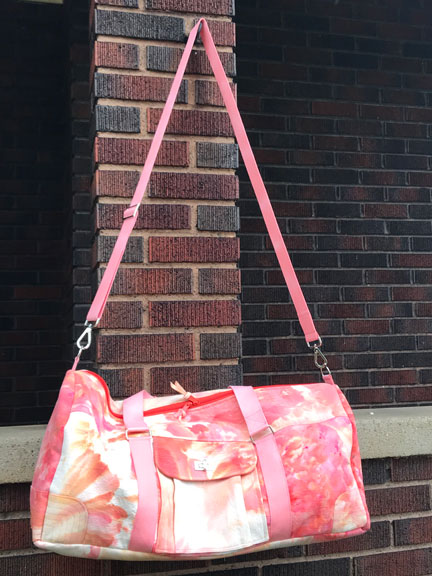
But when it was all finished, on the morning I was taking my new half-sister (whom I discovered two-and-a-half years ago via Ancestry.com) to the Cleveland Orchestra and Chorus Christmas concert, I knew I would carry it as a clutch bag to the concert and that I wasn’t giving it to anybody! It would be mine.mine.mine.
 So here are the two Sidewinders I made, both in size Large.
The Sidewinder pattern is part of the package of patterns called Minikins that designer Sara Lawson has created.
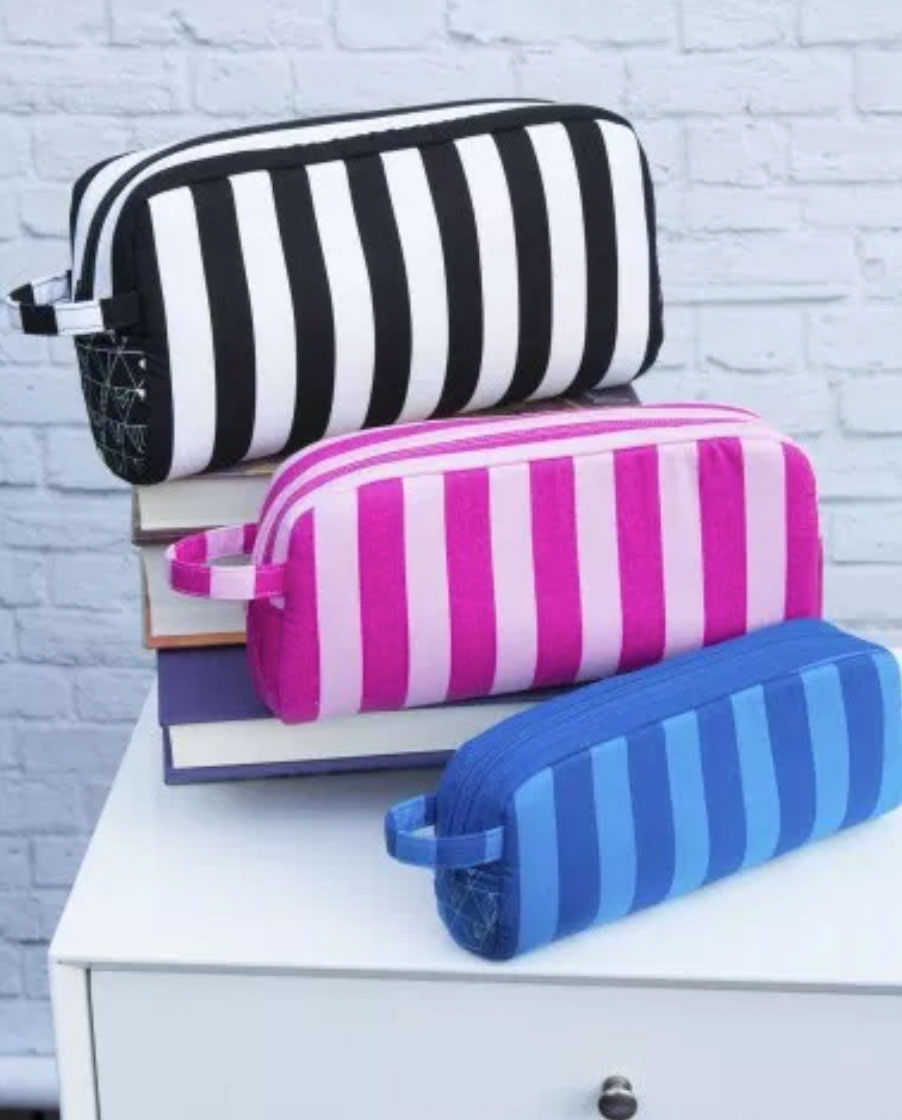
Sew Sweetness Sidewinder Bag in three sizes
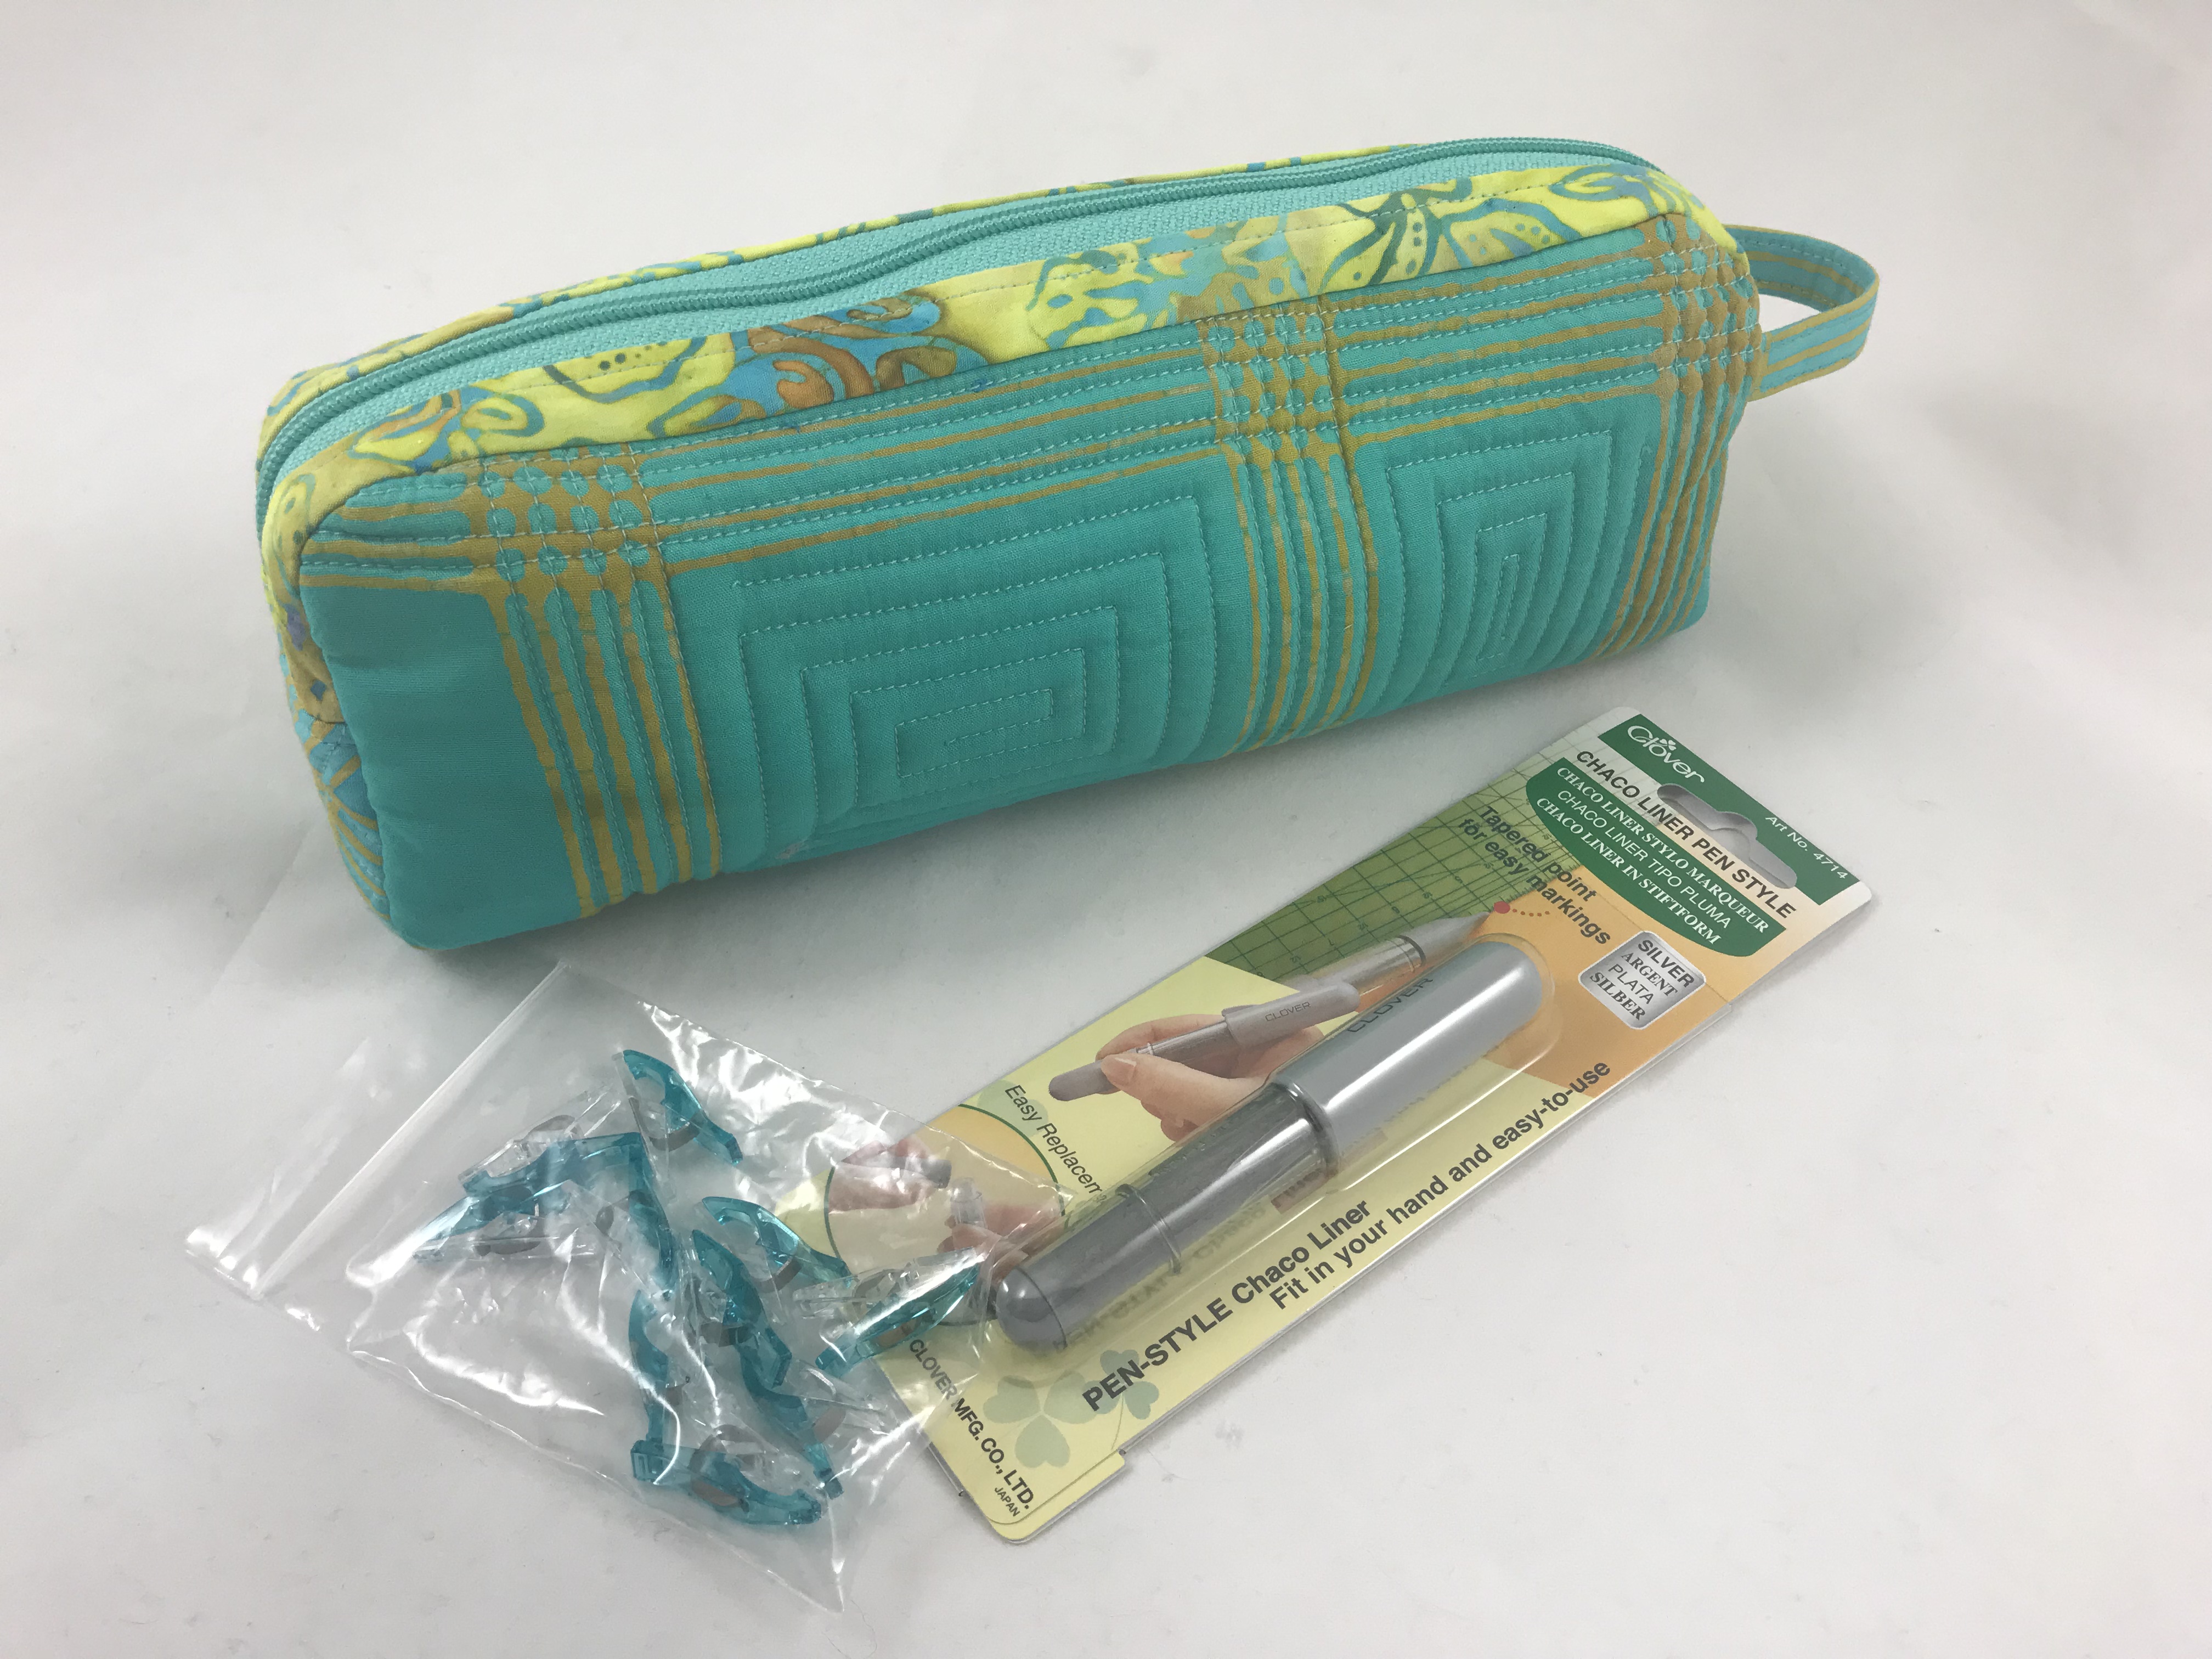
I have a confession to make: I did not watch the video for the Sidewinder. I just dove in. I’m an experienced bagmaker, having made dozens of bags from a small change purse to a large carry-on tote bag. How hard could this small bag be, right? Egotistical me! The challenge with this bag is the straight edges that have to meet up with curved edges. I had problems with bag #1. I still had problems with bag #2. By the time I got to #3, I realized I needed to make little ⅛” snips all along both the straight and curved edges where they would meet. Voila! My seam ripper received very little attention on bag #3.
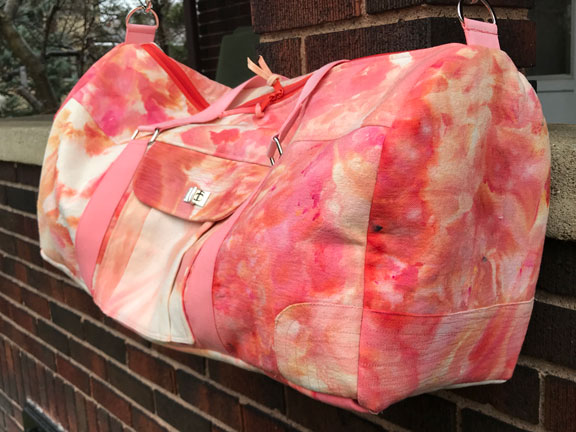
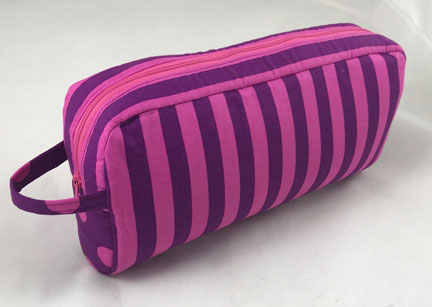 Bag #2, in Tula Pink Pom Poms and Stripes, color Foxglove. This was made pretty much straight to the pattern. I used foam with the exterior stripe fabric, and did not quilt the foam interfacing to the exterior fabric. I believe this foam was fusible, but I don’t think it fused very well to the fabric. I would say that was probably my error in the fusing process. The more I turned the bag inside and out while sewing, the less it stuck to the fabric. I used the Pom Pom print for the exterior end panels and the handle/strap. I love the interplay of the stripes and poms. The lining was the Pom Pom fabric. Next week this bag will go on consignment to Three Sheep Gallery and Workshop on Market Street in Youngstown, where I hope it will find a new home with someone who thinks it’s wonderful. (Let the record show I do think it’s wonderful, I just don’t need to add it to my extensive collection of me-made bags. I need to pull in a little money to help pay for the twenty-seven new windows I just had installed on the 2nd and 3rd floors of my circa 1927 home.)
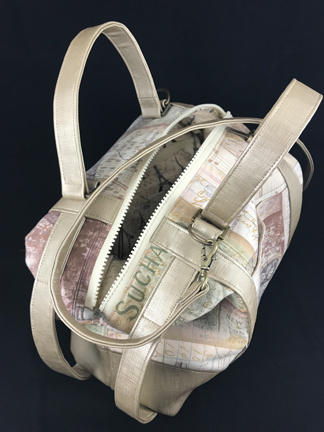
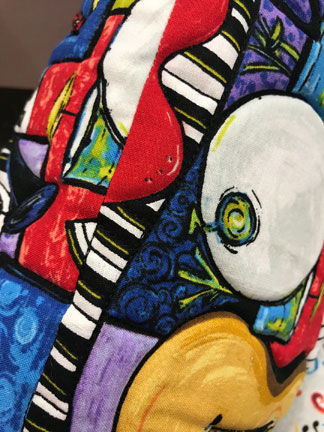
Now #3, the music fabric bag. Both the exterior and the lining fabrics are from Exclusively Quilters’ “That Funky Jazz” fabric line. I can’t find either of these fabrics in stock anywhere that is searchable online. So sad.
What did I do right with this bag?
 First, I took my time. I realized (after cutting the exterior side panel piece) that I was using a directional print. I cut another piece of the fabric and created a center bottom seam so I would have both sides directionally correct. (If you look closely at the picture accompanying this paragraph, you can see the center bottom seam.) 🙂 Happy sewist.
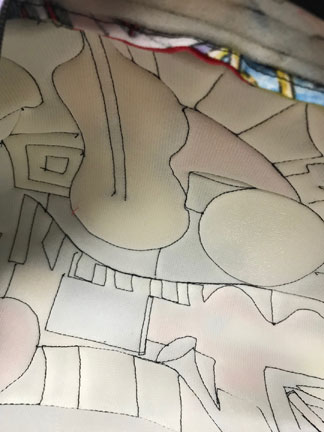 I carefully outline-quilted the foam to the exterior. I had as much fun looking at the wrong side of that quilting as I did the right side. How cool is that photo? Happy sewist to the 2nd degree.
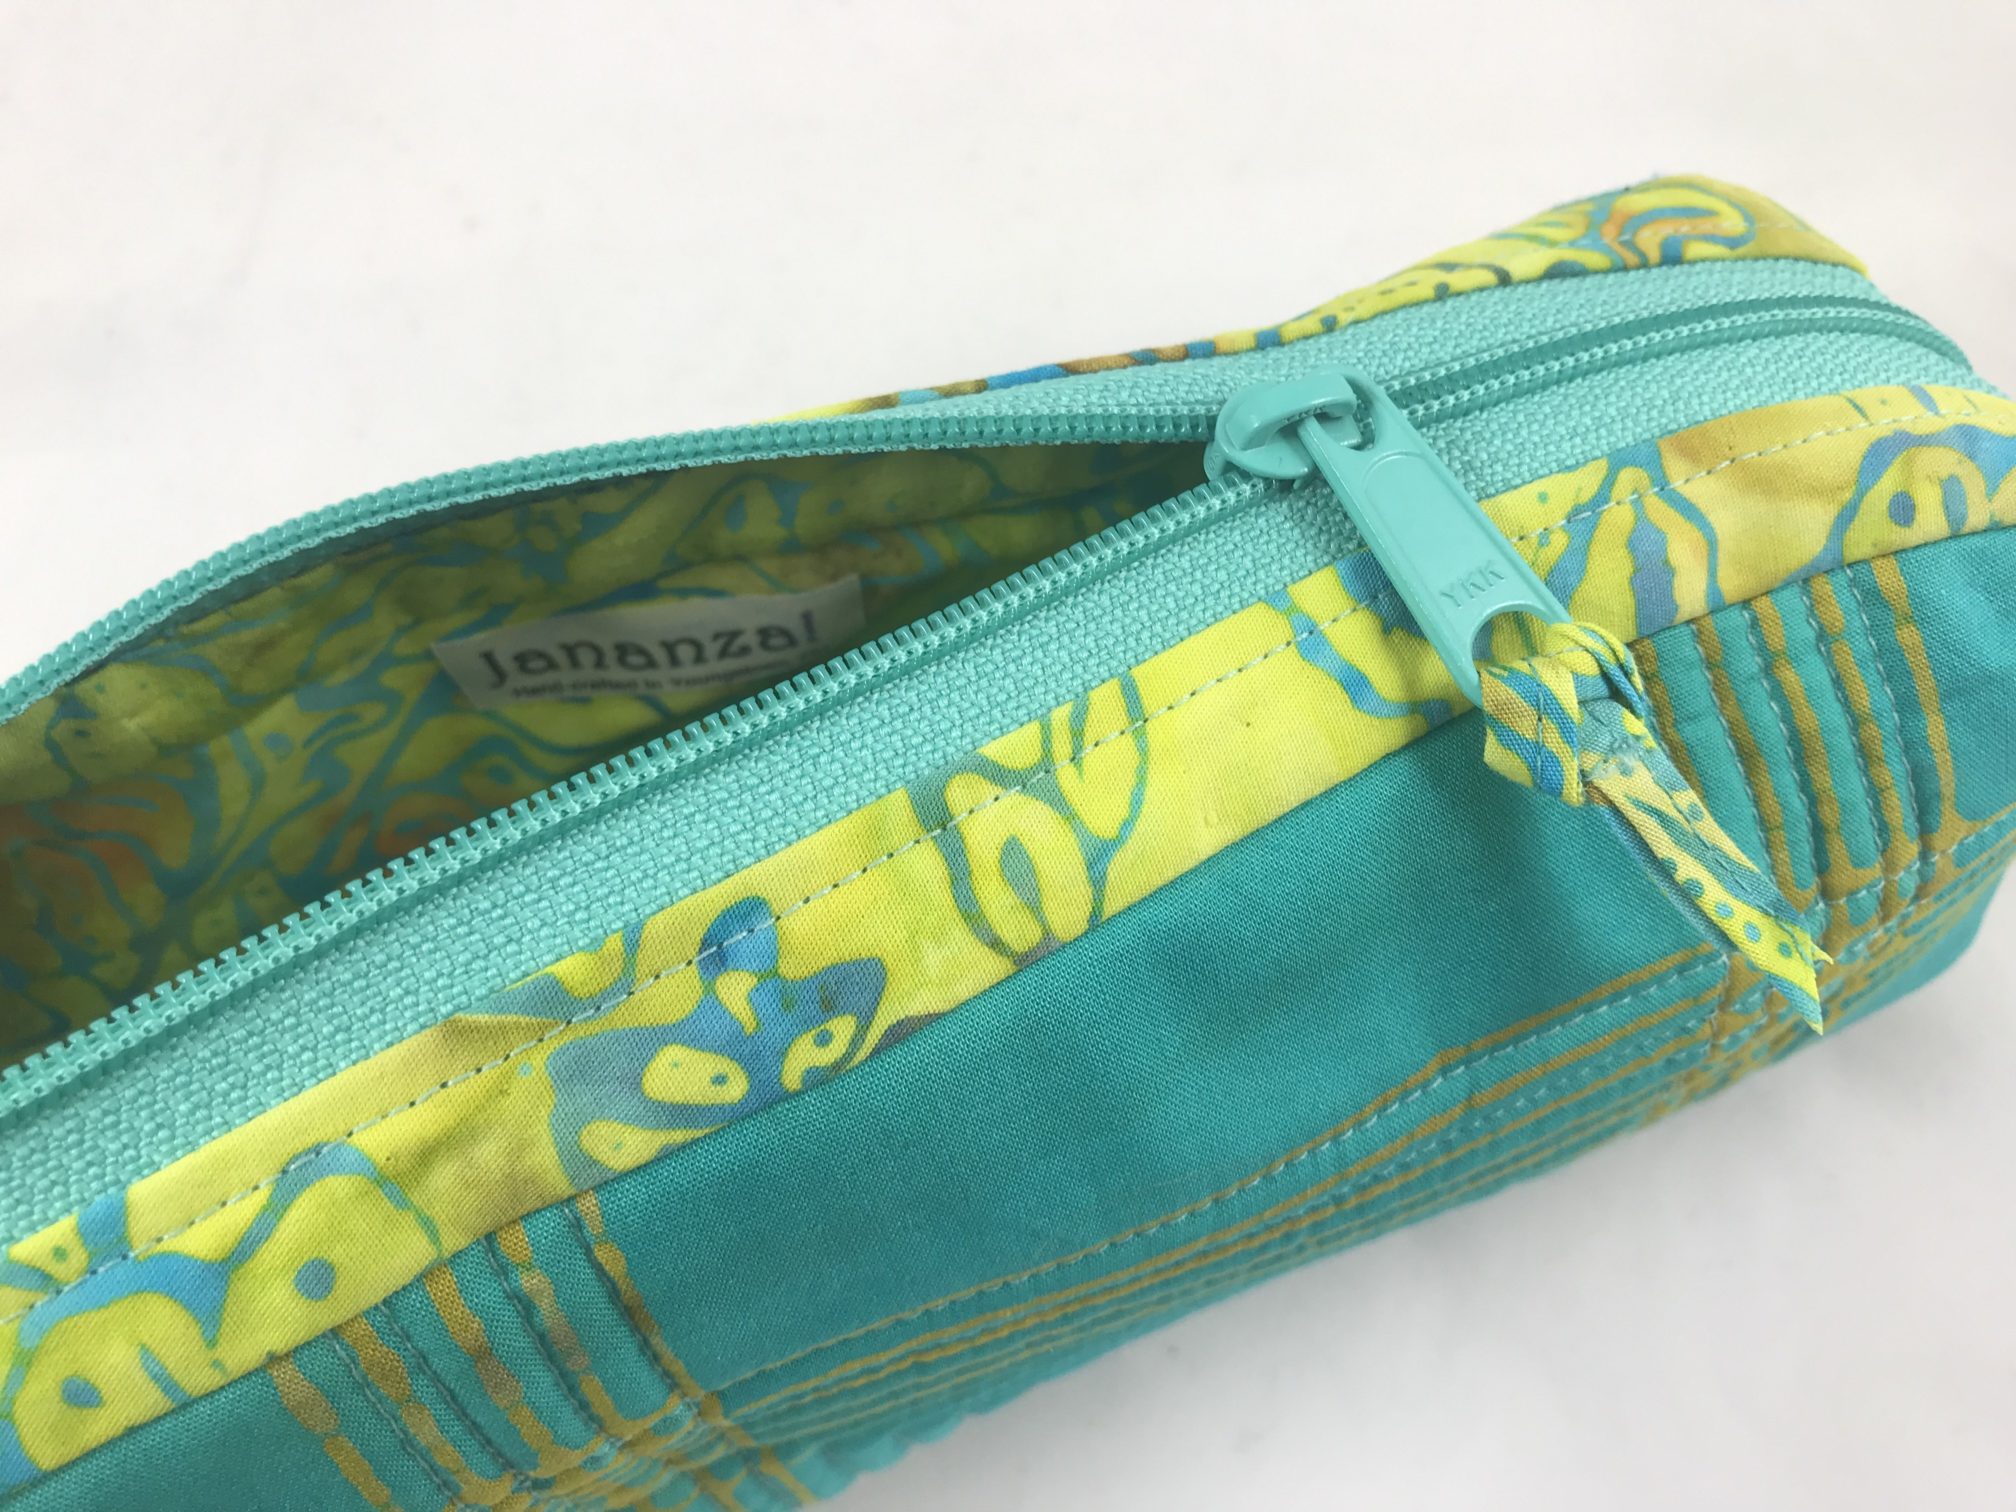
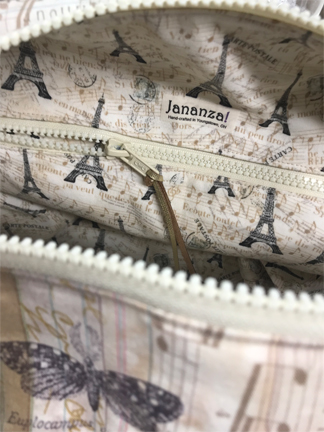
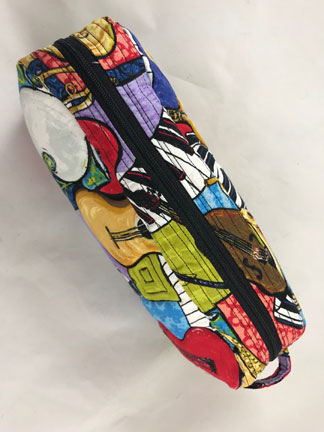 As I was creating the zipper panel, I realized that I had inadvertently cut these panels so the keyboard made a continuous line spanning the zipper. Super cool. Happy sewist to the 3rd degree.
I snipped all around the zipper panel and the side panels and carefully secured the two sides together with pins and clips before sewing. I only had to rip two 1″ areas and I was very happy with how it came out—no puckers.
I do think I need to add a zipper pull onto the zipper tab. It’s a #3 zipper—the size zipper you would put into a dress or slacks. The tab isn’t easy to grab when you have to reach under the handle/strap to grab it. If I wire-wrap a bead or charm to the tab, it will be easier to unzip.
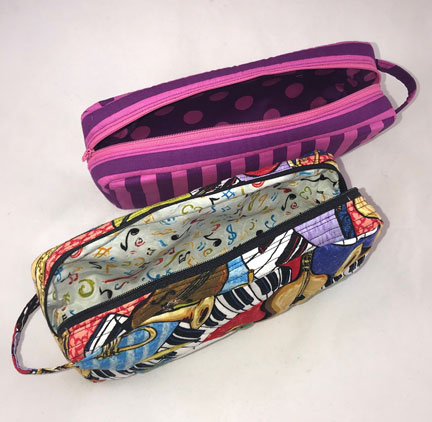 Both bags are treated with Scotchgard™ inside and out. Both are beautifully finished. The stripe/dot bag makes me happy, but the music bag makes me positively giddy.
If you decided to buy the Minikins pack of patterns and make the Sidewinder (or any of the bags in the pack), do make the time to watch the videos. I’ll be doing that on all the other bags I make from the Minikins and Minikins 2 packs.
Last night when I got home from Cleveland, my partner and I headed to our favorite local restaurant to sit at the bar and eat pasta. I kept pulling my bag onto my lap and looking at it. He said, “When you’re gone, who shall I give it to?” I laughed out loud, then told him exactly with whom it should live next. 😉
Thanks for visiting. Thanks for admiring. I wish you and yours very happy holidays. 🎄