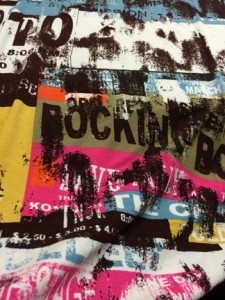
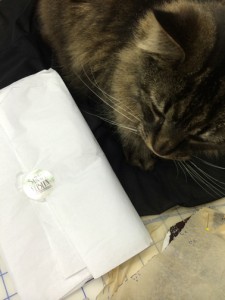
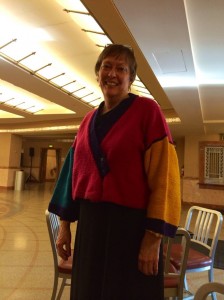
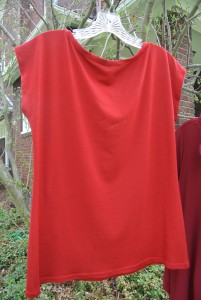
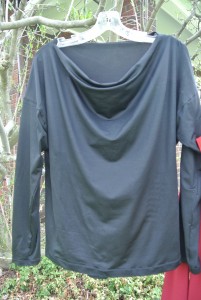
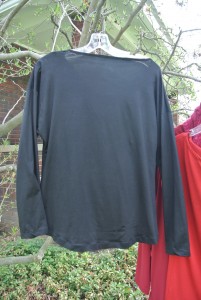
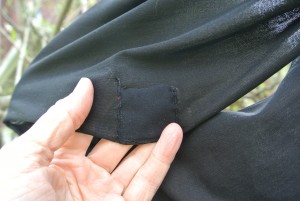
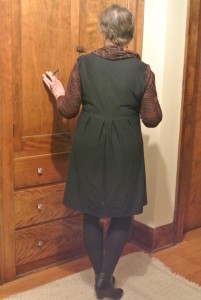
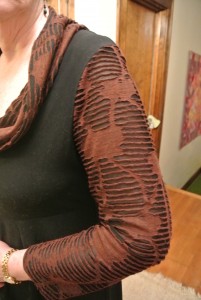
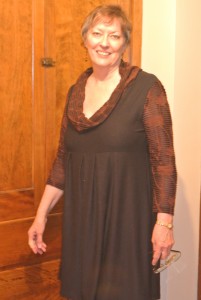
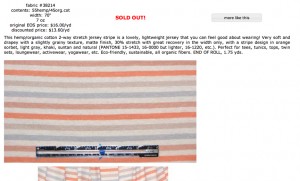
 My goal over the next few months is to destash—by sewing the pieces I love and getting rid of the ones that make me wonder what I was thinking. I picked up this piece of hemp/organic cotton knit from EmmaOneSock last September. It’s been lying on top of a box ever since, calling to me every time I walk into my sewing room. I had thought I wanted to make Grainline Studio’s Hemlock Tee. So cute, so easy, so comfortable. But when I started pawing through my patterns,
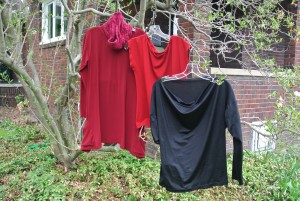
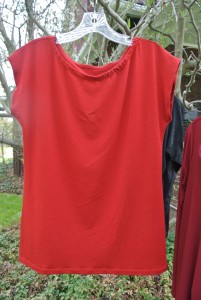
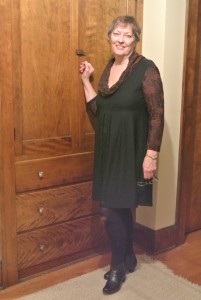
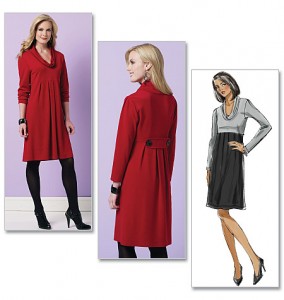
  I realized I wanted to make another of Katherine Tilton’s Butterick 5961. I’ve made three already, but each of those just not perfect. On the first, the fabric was too soft to make the neck stand up nicely. The second just feels big and boxy, and the third feels big and sloppy and looks like a sports jersey. Well, sorta.
So I decided to make one more 5961, and cut it a size smaller. I had one sleeve in last night, and only side seams and hems to go when I just gave out. After the horrible winter, now we’re having heavy pollen. My eyes were just burning and I couldn’t look at another stitch.
Rain overnight made the morning more bearable. I decided to take a walk this morning, then went right into the sewing room, knowing I’d want to wear the top as soon as it was finished.
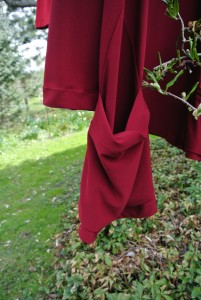
But when it was finished and I slipped it on, I still didn’t like it. It still wasn’t “just right.” And yet I’d been guarding and protecting that fabric for so long, I wanted to like it. So embellishment was the only answer.
Pattern Description: Very loose-fitting, pullover top has collar and shaped armholes. Designed for moderate stretch knits.
Pattern Sizing: B5(8-10-12-14-16), F5(16-18-20-22-24)
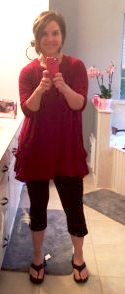
I normally cut a 16 in Katherine Tilton’s designs, but the “very loose-fitting” description and my previous experience led me to cut a 14.
Did it look like the photo/drawing on the pattern envelope once you were done sewing with it? Yes.
Were the instructions easy to follow?Yes. Really the only tricky think is the corners on the sleeves.
What did you particularly like or dislike about the pattern? To me, the sleeve detail makes it a nice departure from the standard tee shirt.
Fabric Used: Hemp/Organic Cotton Jersey from Emma One Sock.
Pattern alterations or any design changes you made:
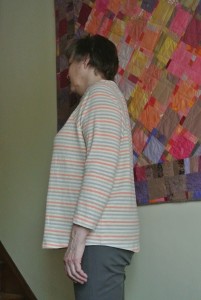
This is my fourth go-round with this pattern. The first three all seemed a little boxy. However, the fabric I used for those also had more stretch than this hemp/cotton jersey. I cut a 14 rather than a 16, but I did the sleeve seams at ⅜” rather than ⅝”.
I added 1.75″ to the length of the front and back. I’m 5’8″.
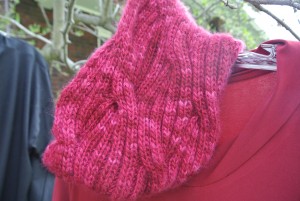
On the first top I made, the neck was too floppy. It just lies there. I tend to wear a handknit cowl with it to disguise the sleepy collar. In the third, I actually interfaced the collar. It was a little better, but still not just right. For this one, I used Marcy and Katherine’s trick of offsetting the collar and basting before sewing into the neckline. On one long side of the collar, I marked notches that were 1.5″ to the right of the existing notches. I also marked a point 1.5″ to the right of the center back seam line. I sewed the center back seam, then matched up the off-center notches, basted, and sewed in place with a double seam. After trimming and pressing, I slipped it over my head and was in love. Great improvement.
Would you sew it again? Would you recommend it to others? I won’t sew it again, as four is enough. I haven’t made the pants yet, and may try those. I would recommend it.
Conclusion: Cute easy-to-wear top will make a great addition to my spring/fall wardrobe. The hemp/cotton seems like it will be too warm for summer wear.
So how did I get from “meh” to “hey, great!”? Embellishment.
I’m a student of Diane Ericson, Marcy Tilton, and Nancy Shriber. Diane has a great line of stencils, and leads great workshops in how to add a Wow factor to your garments with ink, paint, dye, and stenciling. Marcy Tilton has a line of silkscreens.
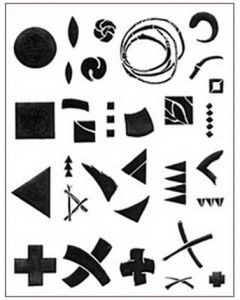 I typically use Marcy’s silkscreens, but today I wanted to use a stencil. Diane’s “Global Shapes” stencil was hanging next to my cutting table, so I grabbed it, then found silver and russet metallic Lumiere paints, gloves, brushes and sponges, and some plastic lids. Grabbing a piece of cardboard to stick in-between the front and back, I was ready to embellish.
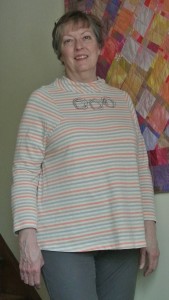
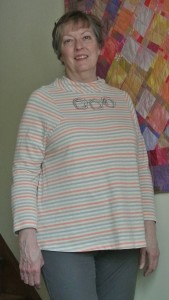
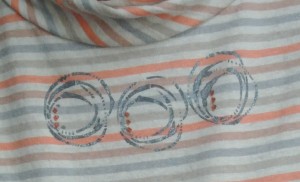 I marked the center point on the front and stamped the cool multi-line circle in silver. Then I decided it needed friends, so moved up one stripe and stamped another circle to the left of the original, then rotated the circle a little and stamped on to the right. But there was a large unadorned center in each circle group, so I poured some russet, and used three of the five en-point squares (center right in the photo) to add a little color to the center of each circle set.
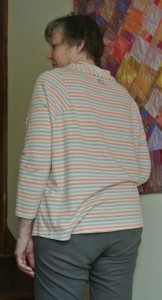
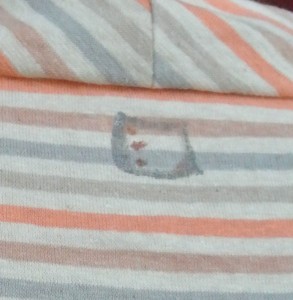 One thing I learned from Nancy Shriber that I practice with every piece of wearable art is, “You not only enter a room, you also leave.” I love putting a little something on the back of garments to surprise viewers when I turn around. I used the curved rectangle and just sponged around the edges, not through the entire rectangle. When that was dry, I stamped three more russet squares, then brushed a little with the russet in the lower righthand corner.
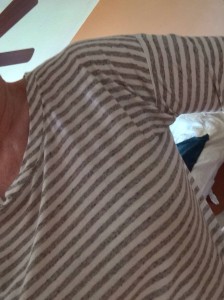
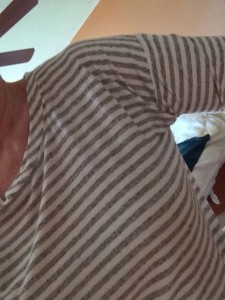
I was done, and I was in love. The striped shirt, by itself, was borrrring. The striped shirt with the metallic embellishments, but fun and—to my eye—chic.
I’ve always felt inept with stencils and paints, but today I felt very, very ept. This project, my friends, was a success!
(And—if I may brag—look at those perfectly matched seams!)
 Thursday afternoon, around four o’clock, I was


