And How Do You Feel About That?

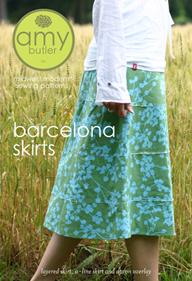
barcelona_cover_medI’m currently having my first experience with on-demand sewing. The Bernina store owner came to me one afternoon about three weeks ago, carrying a pattern and three bolts of fabric. She said, “Why don’t you make this skirt and overskirt (referred to in the pattern as an ‘apron overlay’) so we can display it at the store to help sell some of these patterns.”

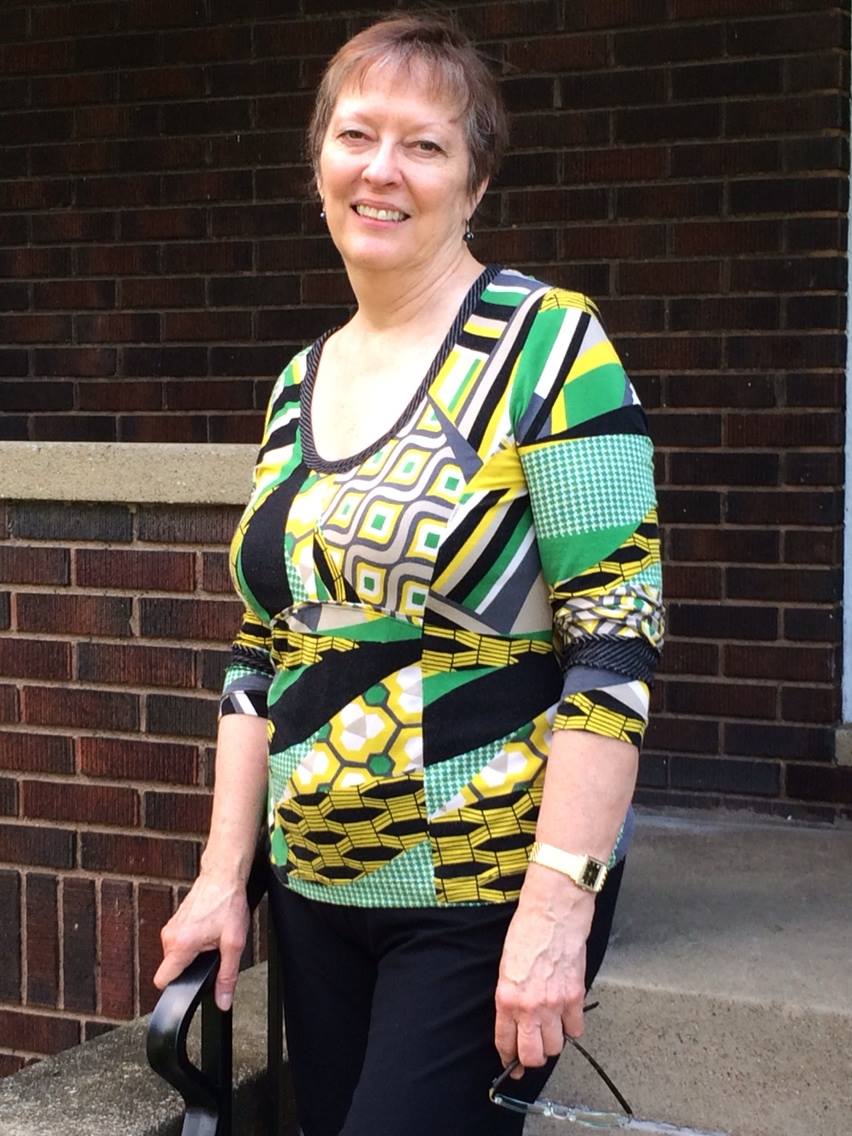
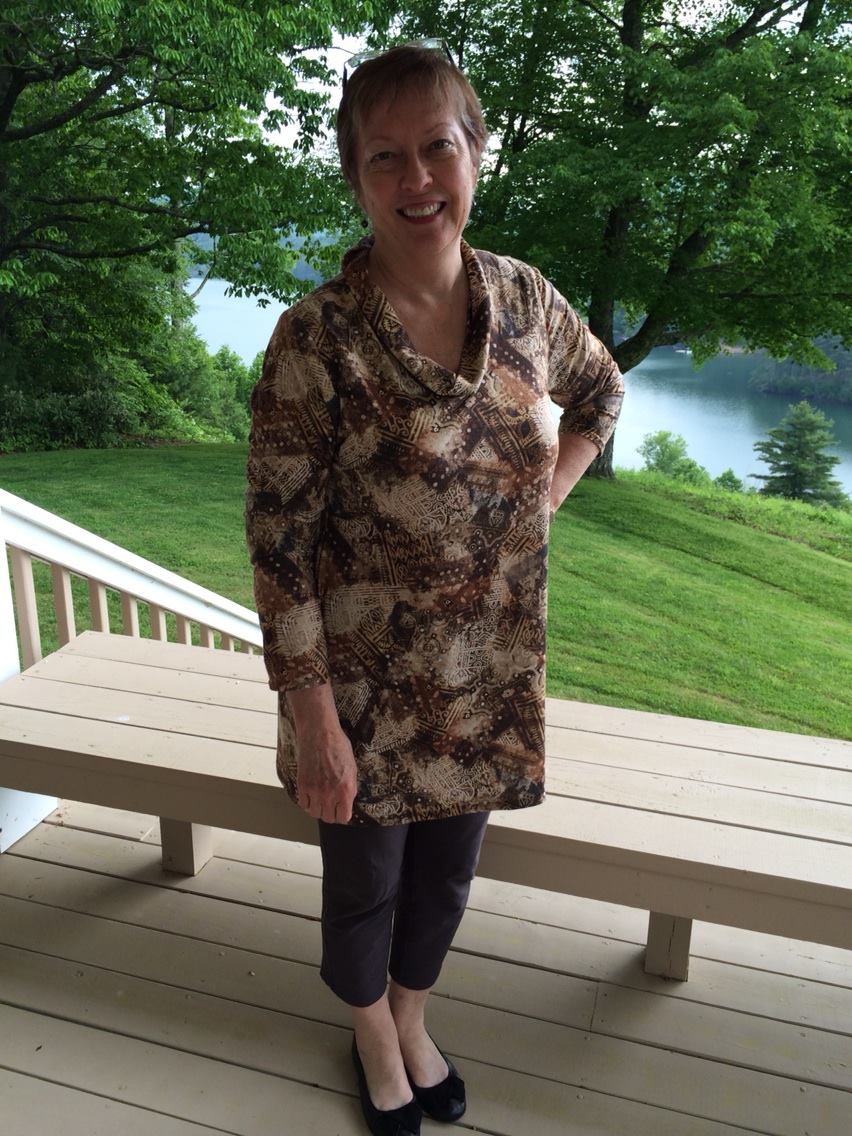
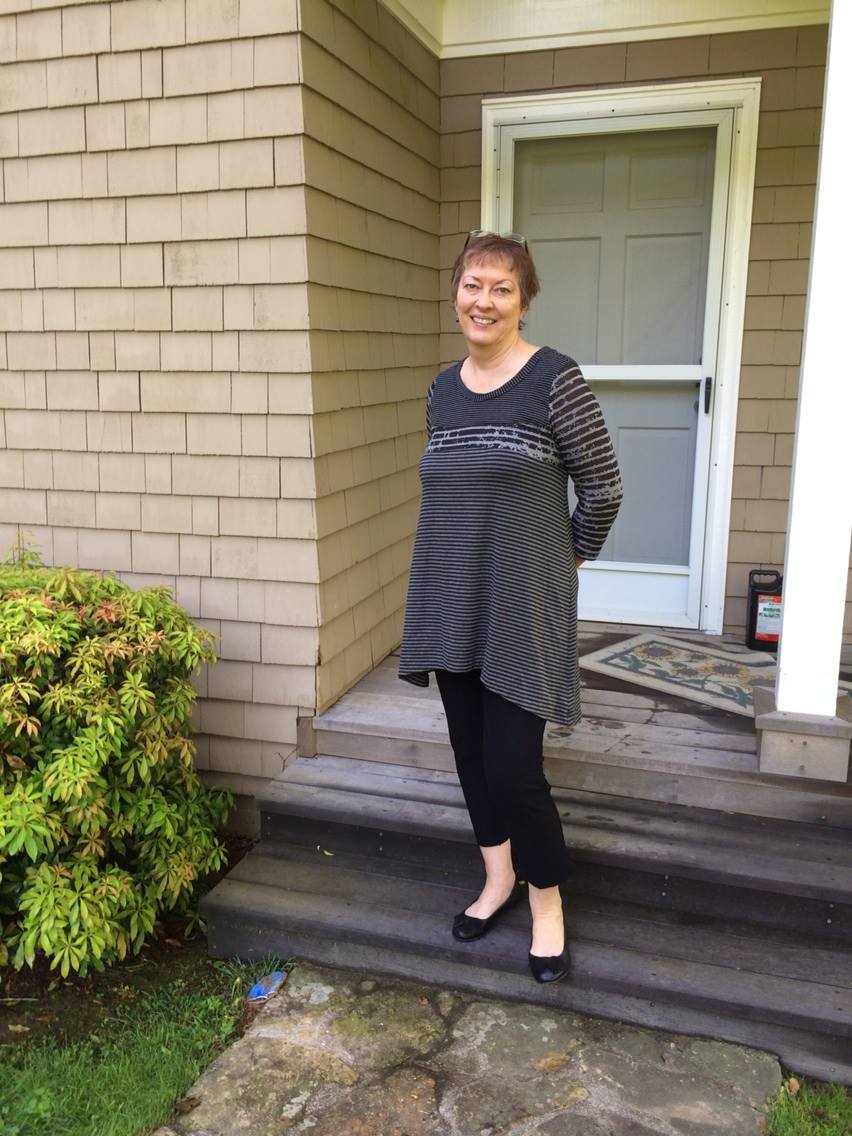
I’m not going to try to convince you that I have a definite style. My style is all over the place! But if you look at my Pinterest boards or if you’ve read a lot of my blog posts and examined the garments I’ve made for myself, you know I’m all about soft, flattering tops, leggings or slim pants, and hiding that excess ten [cough! cough!] pounds.

The fabrics I love have movement and are usually knits or silks. Think drape-y fabrics. This pattern and its recommended fabrics are nothing like that! The fabrics are quilting cottons. The skirt’s layers have frayed edges. It’s “shabby chic.” I may attempt to be chic, but shabby I ain’t!

Okay, but this project was not about me. It was not designed to be something I would want to wear. It was designed to be something to draw in store visitors who might think, “I/my daughter/my granddaughter would look cute in that. I think I’ll buy that pattern and, oh, maybe $50 worth of fabric.”

And I’m always up to a challenge.

I have finished the skirt. I have washed and dried it twice and pressed it. With its layers of frayed edges, it’s ready to go back to the store for display. The skirt overlay—designed to be worn over the skirt or over a pair of jeans (!) is 20 minutes from completion. And that’s where we come to today’s post.
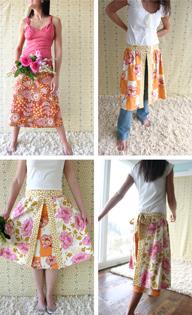
barcskirts_collageLast night I was clearing things off TiVo while pinning the overlay skirt panels to the waistband. I had sewn one edge, finished the ends, and was down to the final step of pinning the folded edge of the waistband facing to the inside for stitching. Things were not going well.

Even though the waistband was a rectangle, and the outside edge had sewn cleanly onto the gathered edge of the skirt overlay, the facing was acting like it was too small. I spent probably close to half-an-hour pushing and pinching and easing, trying to get the waistband facing to a point where I could handsew it into place before topstitching.

Let’s be clear here. The pattern says nothing about handsewing. It says nothing about basting. It says to pin the folded edge of the facing in place and then topstitch an ⅛” from the waistband seam on the front side.

Are you kidding me?!

That instruction, my friends, is a catastrophe and a lot of seam-ripping waiting to happen!

Soooo, I coaxed the facing into place, pinned to within an inch of its life, and this morning I will handsew the edge into place, after which I will topstitch it ⅛” from the edge. And then I’ll be done.

I sat on the couch, after finishing the half-hour of coaxing and pinning, and I realized I was feeling something. I just wasn’t sure of the name of that something. Depression? Sadness? Frustration? Failure?

And I realized I had felt that feeling—I think its name is frustration—many times before.

I’ve never recognized or tried to identify that feeling before. But here’s what it’s all about.

I’m quick to try new things. New techniques, new patterns, new fabrics. And I always think I’ll be successful. It never occurs to me that I might proceed with caution. It never occurs to me that the finished product will be anything other than a fabulous garment which I’ll immediately don and feel like a million bucks. So when something happens to twist my universe—something between opening out the pattern and laying it on the fabric and the final stitch and press—I am at first shocked, which is quickly followed by a feeling of sadness that I’ve put so much time, energy, and money into something that was nothing like I’d expected. (Here’s a good example of just such a colossal failure.) At times I feel like such a failure I want to completely give up on sewing and just spend my days reading books.

I think it just doesn’t fit into my view of myself: I’ve been sewing for over 50 years. How could I make that colossal an error/goof/misjudgment?

Maybe with years of experience comes the knowledge of what works and what doesn’t work. But in the case of this waistband, that’s a fabric failure or a pattern failure, over which I have no control.

I have no clever sum-it-all-up paragraph to pen (pixel?) here. And actually, I’m quite surprised I only just recognized that I have had this feeling over and over again. I never thought of myself as a slow learner, but on this issue, I guess I am.

Better [very] late than never, right?

In a couple of weeks (post much-needed vaction), I’ll write a review of this pattern. It’s actually a decent pattern. It’s cute if shabby chic is your style. It’s just not mine.

But this is not about me.

It’s in the Details!

Liberty frontOne of the things that led to my employment at the local Bernina store was the owner’s seeing me in the store wearing garments I had made. She is also a garment sewist, so she knew just by looking that quality had gone into the construction of these garments. She told me she had picked up some apparel fabrics at the Pittsburgh quilt market, and within a few days I stopped at the Twinsburg store on my way to a Cleveland rehearsal to see these fabrics. The owner was there and we talked a bit more, culminating in her asking if I’d be interested in teaching any garment construction classes at that store. (Of course I said “yes.”) Three pieces of fabric called my name, and a couple of weeks later I stopped again to pick up two of the Sewing Workshop patterns she stocks there—the Liberty Shirt and Ann’s Cardigan and Tank.

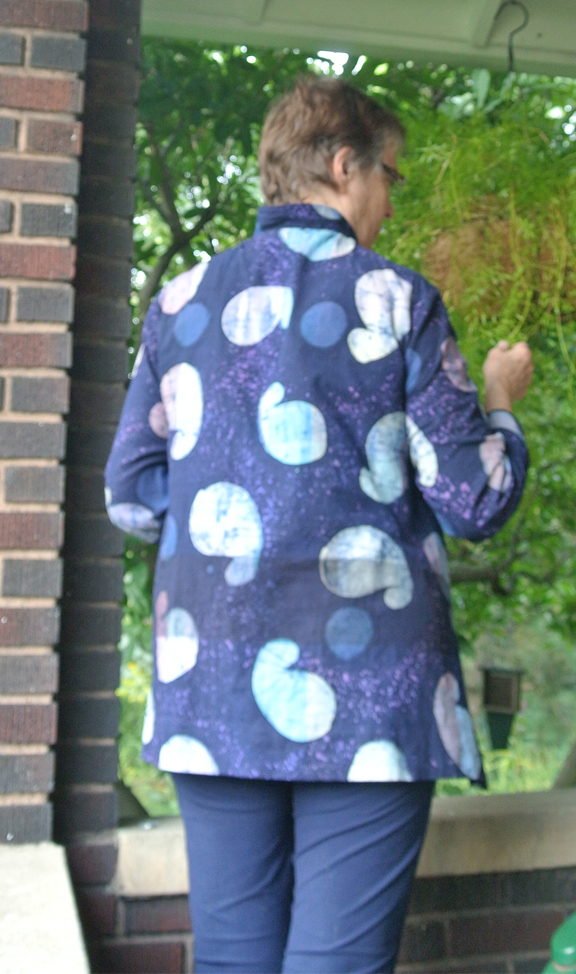
batiklibertybackWith an eye towards teaching the Liberty Shirt pattern, I made up the first piece of fabric, a batik marked “100% cotton.” It is a lightweight weave, and actually feels more like linen to me than cotton. I’ve been in love with batiks for years, and really enjoyed sewing this fabric.

One of my intentions in making the shirt was to follow the instructions as if I were just beginning to learn to sew. In other words, I read every step in the instruction sheet and didn’t think, “I know a better way to do that.”

Here’s my review, then I’ll give some more of the details afterwards:

Pattern Description: Shirt or jacket has diagonal side seams angled to the front, soft stand-up collar, and set-in sleeves with vent openings. Asymmetric front and back deep hems with mitered corners. Front topstitching detail and five-button closure.

Pattern Sizing: XS, S, M, L, XL, XXL
Based on the measurement chart, I cut a Large. I’m 5’8″ and plan to wear the shirt over skinny pants, so I added 2″ at the “Lengthen/Shorten” lines.

Did it look like the photo/drawing on the pattern envelope once you were done sewing with it? Yes.

Were the instructions easy to follow? Very detailed instructions with clear photos. Easy to follow.
However, as a former technical writer, I noted a couple of what appeared to me to be omissions. As my goal is to teach this pattern at the local Bernina store, I wanted people learning to sew to be able to follow the instructions satisfactorily.
1) Under Collar and Facings, the second step shows basting the collar edges together, but doesn’t list that action. It only says to edgestitch. (Because I was working with a stable fabric, I was able to sewing the collar in place easily without basting, but new sewists would need this instruction.)
2) Same section, after staystitching neck edges of facings, it says to fold the seam allowances in and press. It does not say to trim afterwards. With that much curve, the seam allowance is not going to lie flat inside unless trimmed.
3) Same section, next step, it says to stitch the front and back facings together. The seam allowances have been folded in and pressed, and the pictures shows sewing the facings together with the seam allowances folded in. This will not give a clean finish. I think it should have said open the seam allowances out, stitch, then press the seam open and press the seam allowance fold again. It also doesn’t instruct how to press that seam (open or to front or back).

What did you particularly like or dislike about the pattern? Love the French seams. What a wonderful shirt to teach new sewists the beauty and elegance of a French seam. And the mitered corners—another great technique for beginners to learn.

Fabric Used: Picked up by store owner from jobber. No info available on the origin of this fabric. Marked 100% cotton, a batik that feels more linen-y to me.
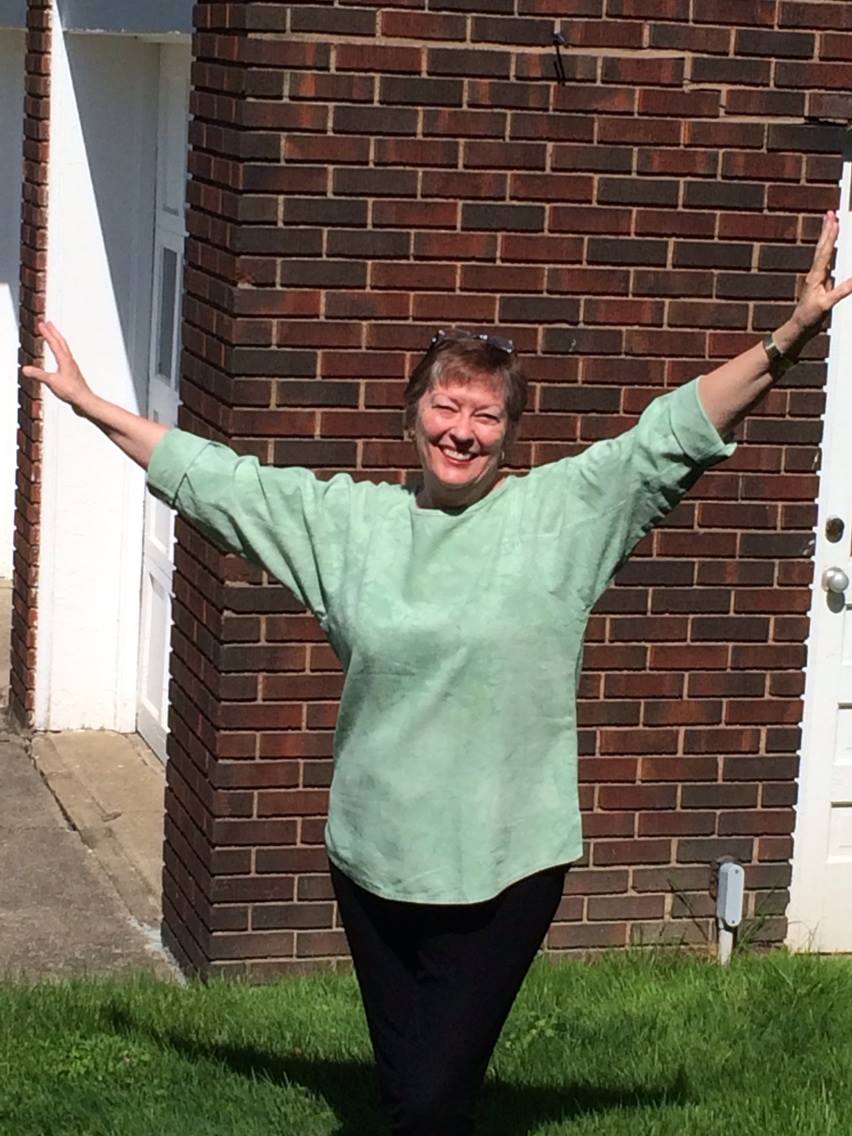
Pattern alterations or any design changes you made:
Added 2″ in length along “Shorten/Lengthen” lines.
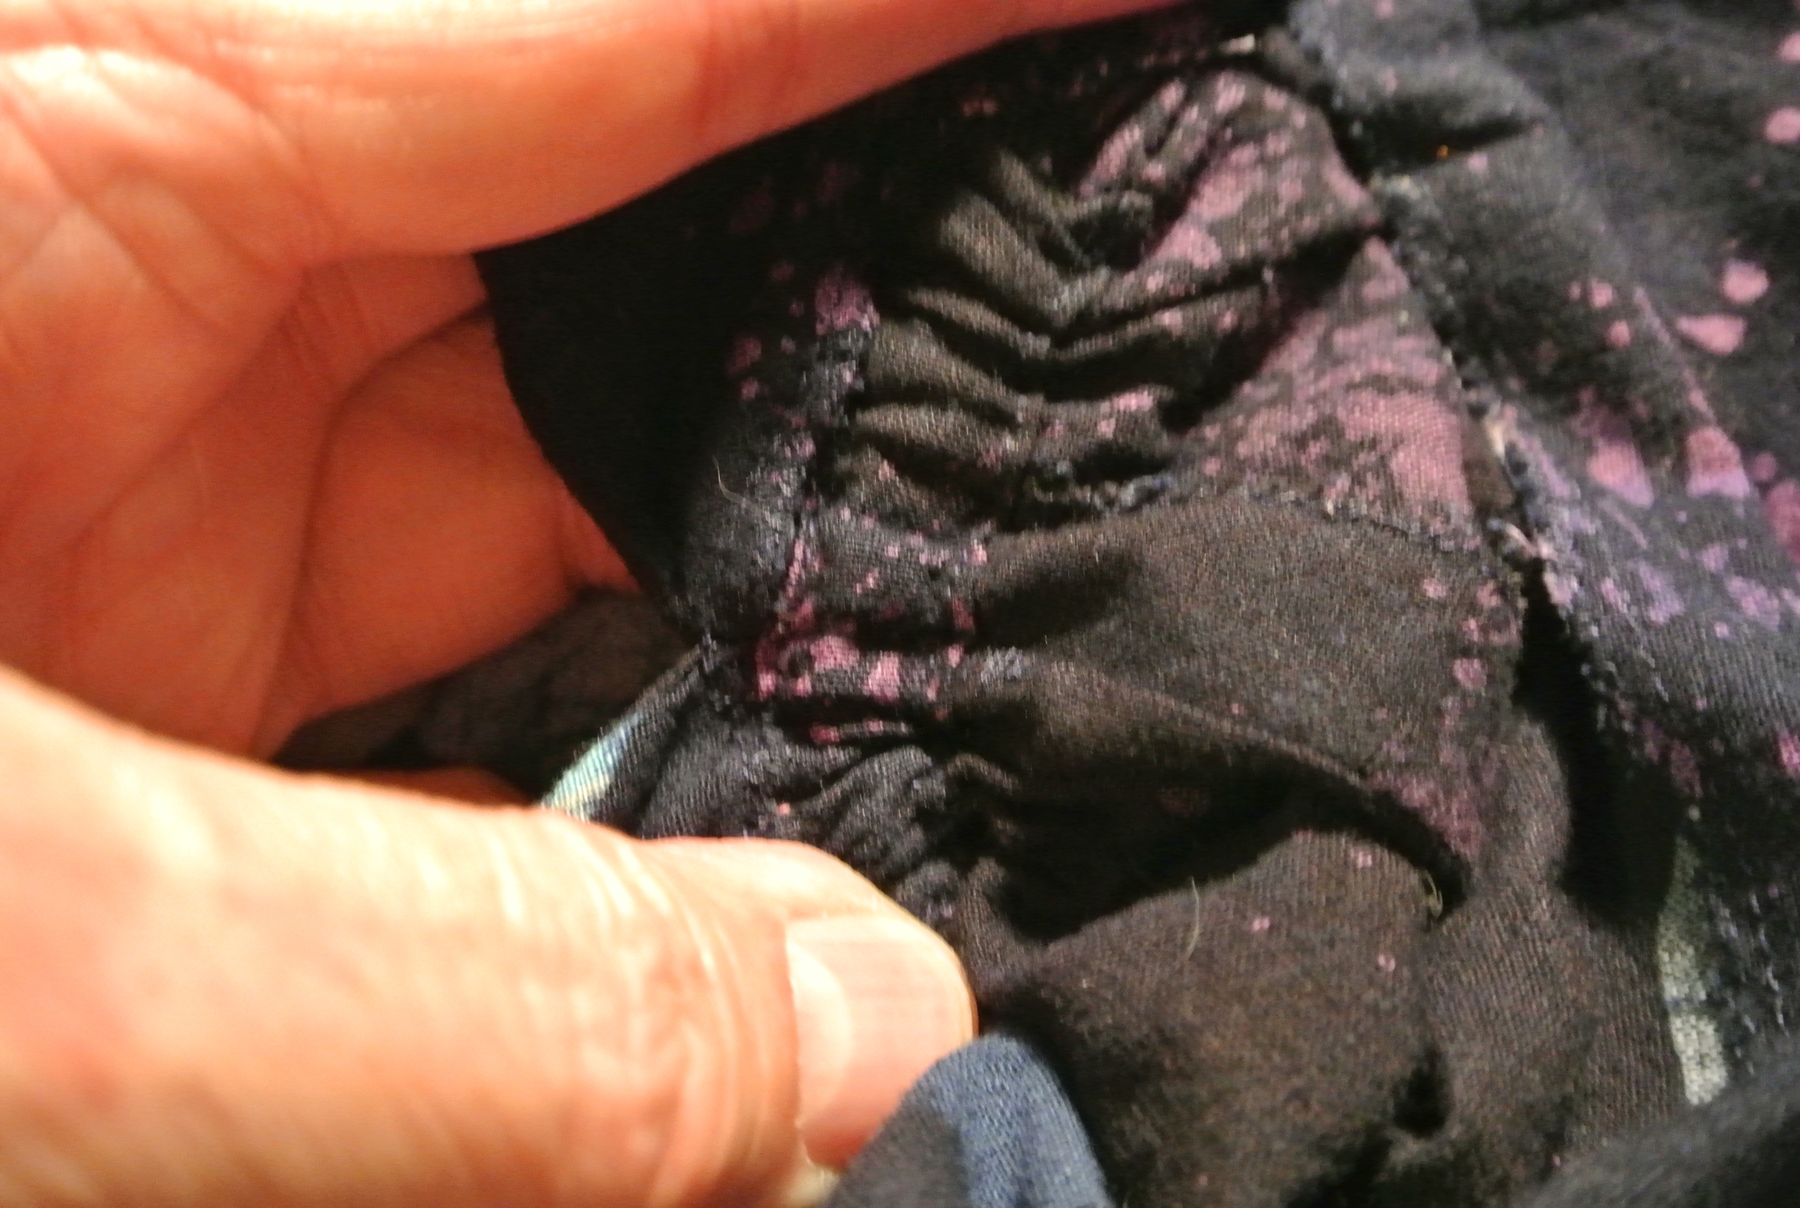
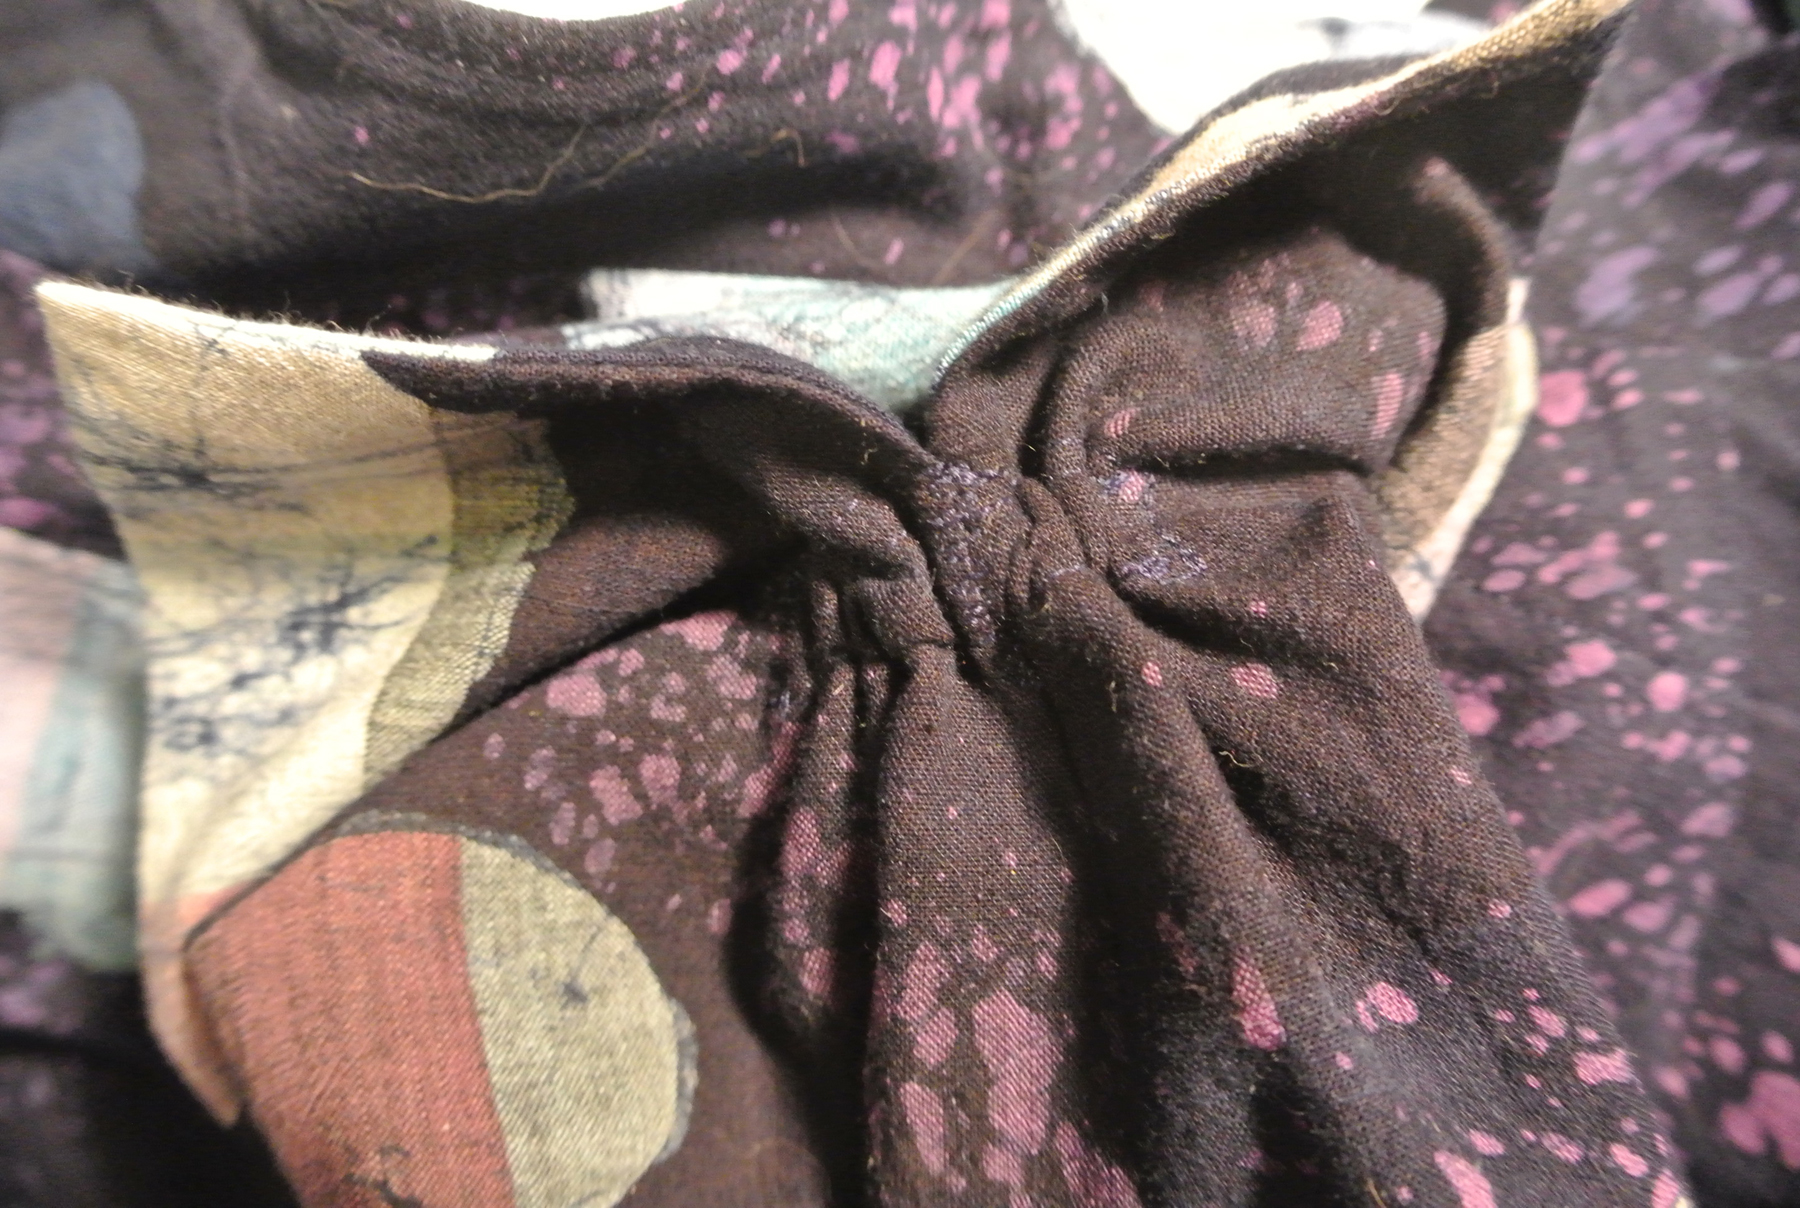
Added a 3.5″ piece of self ½”-wide binding to the inside of the sleeve, along the hemline, centered on the seam. Inserted ¼” elastic to pull in the sleeves somewhat.
Added patch pocket to right front as first wearing will be on vacation. 🙂
I strongly suggested basting the hems and facings in place before topstitching. This is not mentioned. I sewed the back hem without basting and—as a result—took the time to hand baste the front and facings from the inside along the very edge. Loved the beautiful straight topstitching lines that resulted. (Should take the back out and redo, but not gonna do it!)

Would you sew it again? Would you recommend it to others? Yes and yes. Will be sewing many more of these in preparation for teaching.

Conclusion: Crisp, clean, neat – great with dress slacks or jeans, in many different fabrics. I’m interested to see the suggestion to make it in a knit as a t-shirt. Hmmm ….


When I started, I set the timer on my phone so I could have an idea of how long this shirt takes to construct. When I stopped last night, I had about 4.5 hours on the timer. All that was left to do was topstitch the facing and hems, set in the sleeves, and sew the buttonholes and buttons. Snip snap, right?

Oh, you’re so wrong. I was in the sewing room all day today, finishing at 5:00. When I went to make the buttonholes on my Bernina, the test/programming buttonhole with the automatic foot went in perfectly. But then when I ran the second test to make sure it remembered, it wouldn’t reverse after the first side. Tried again. Nope. Tried with regular buttonhole foot (#3) and when I pressed the Reverse button to start the second leg, it wouldn’t reverse. I’ve had the machine since 1996, and this has never happened before.

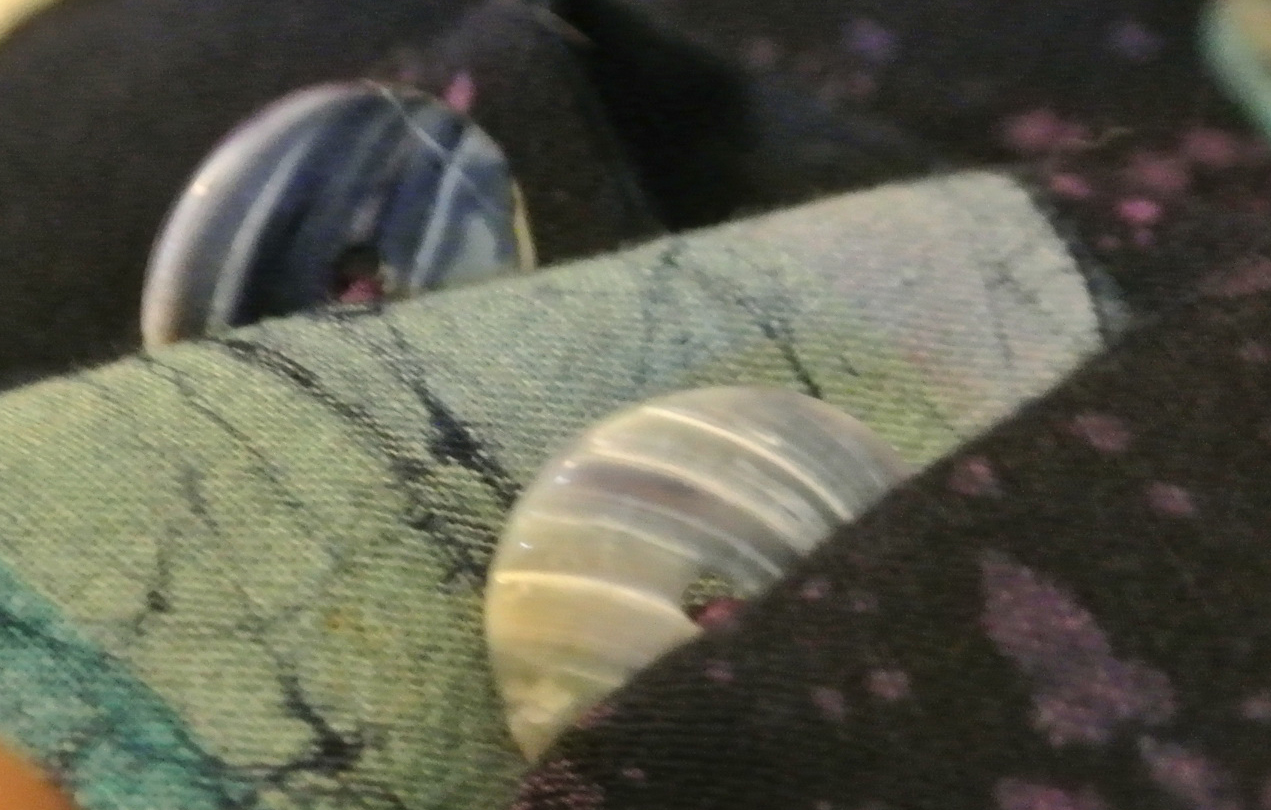
libertybuttonbackI had to pull out my Viking Husqvarna Designer 1 and relearn how to do buttonholes with it. That entire debacle easily ate up 1.5-2 hours and caused great annoyance.

I dug through my stash to find buttons and I love these. I had no idea where they came from, but they’re shell with a blue cast to them. Look at the button backs—very cool!

Inside of sleeve elastic insertion.

Inside of sleeve elastic insertion.

The sleeves are somewhat full. I tend to like to shove my sleeves midway up my forearm, and these are not tight enough to do that.
Outside of sleeve elastic insertion.

Outside of sleeve elastic insertion.

So I added a 3-4″ strip of ½” self binding to the inside of the sleeve seam, parallel to the hem. I will always wear it with the sleeve hems folded up just enough so the stitching doesn’t show, and then push up at will.

The final touch was to add a patch pocket to the right front with the one little scrap I had left. This new shirt is going to visit California next week and I want to be able to stash a Kleenex or an airline ticket in the pocket.

Patch pocket

Patch pocket

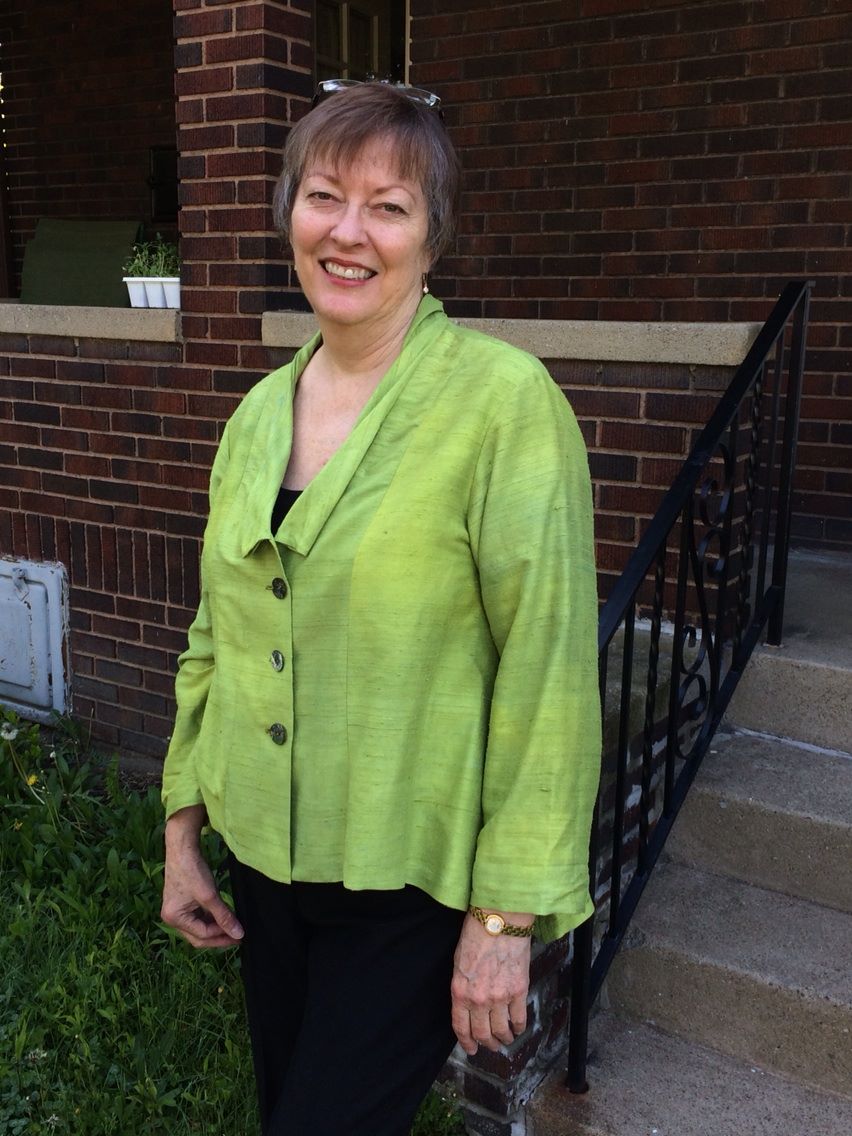
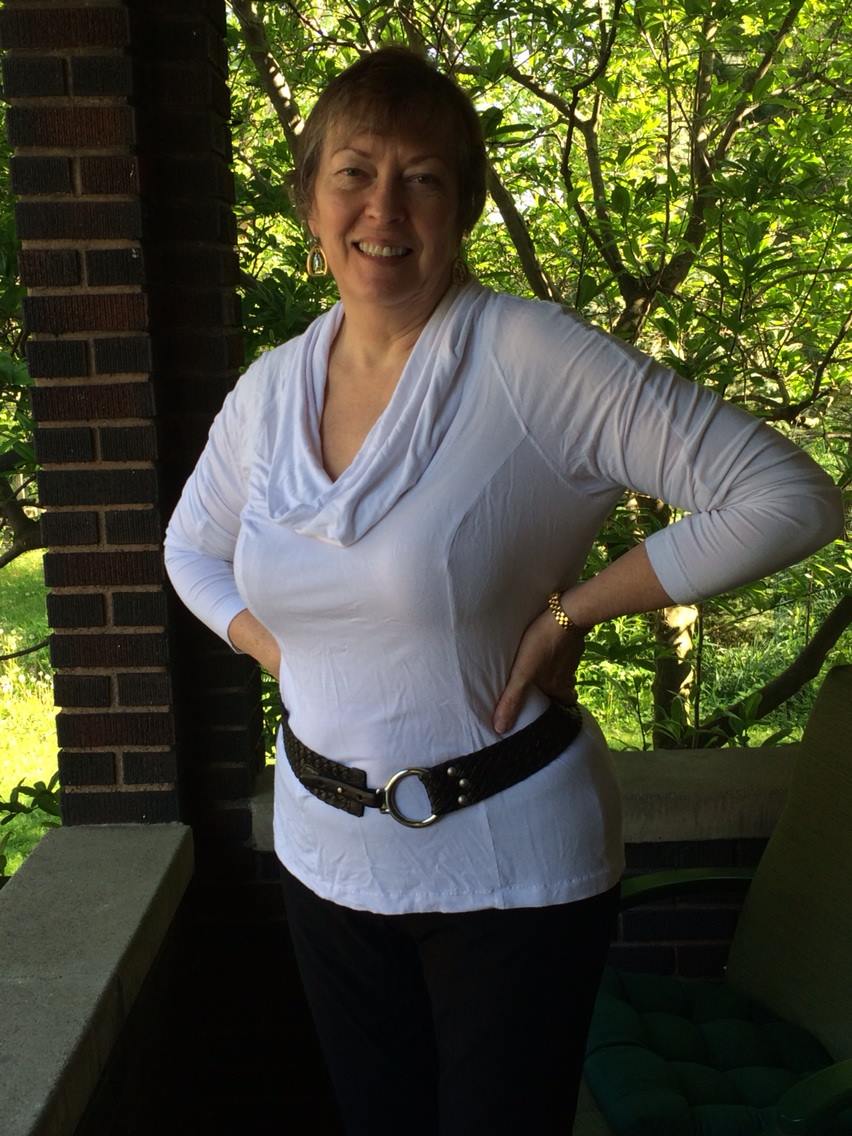
The final impediment to a quick finish was the photo shoot. I loaned the camera to the Spousal Equivalent when he went to a family party a month ago. Let’s just say it came back with some things out of order. Like: where is my remote?!! where is my tripod?!! So probably 20 minutes of the shoot was spent figuring out how to balance the camera in a coffee cup and lean it against the porch column. The back is not exactly in focus, but I think you get the idea.

If not, wait until I make the next iteration of this shirt, which I definitely will do.

(Top is worn with Eileen Fisher Washable Stretch Crepe Slim Ankle Pant with Yoke Waistband and Naot Afrodita sandals.)

Summery Scarf

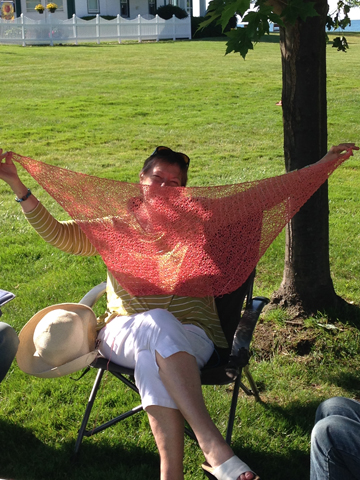
coralscarfCatching up on some older projects that haven’t made it to a blog post yet ….

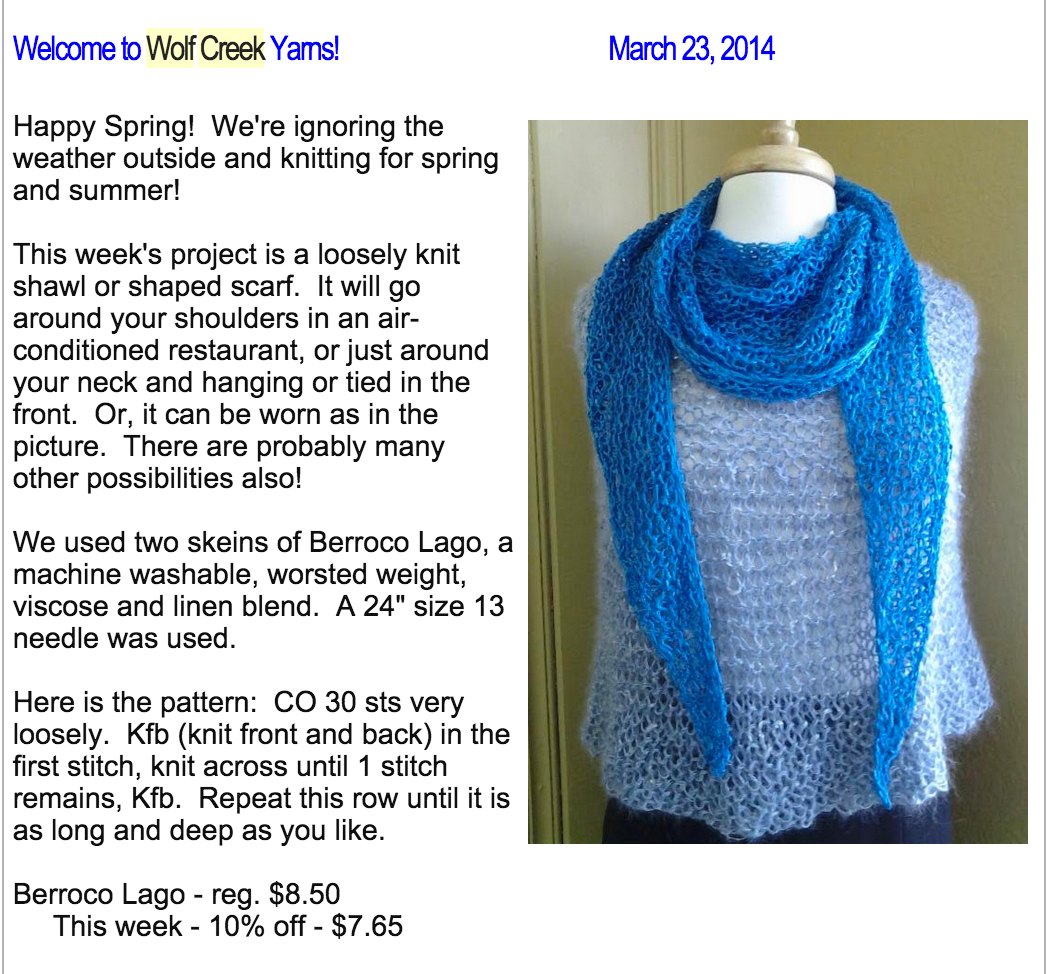
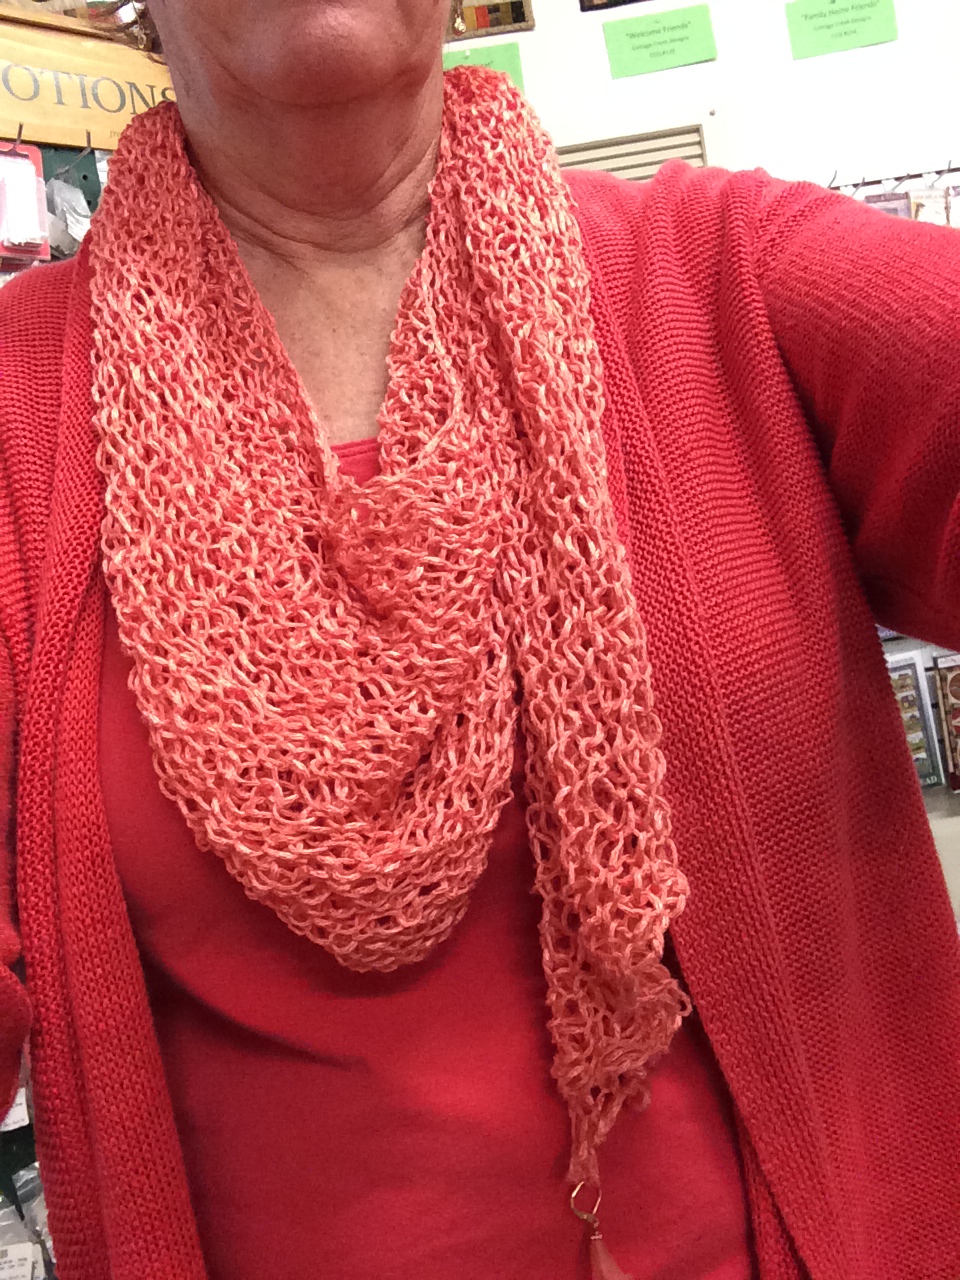
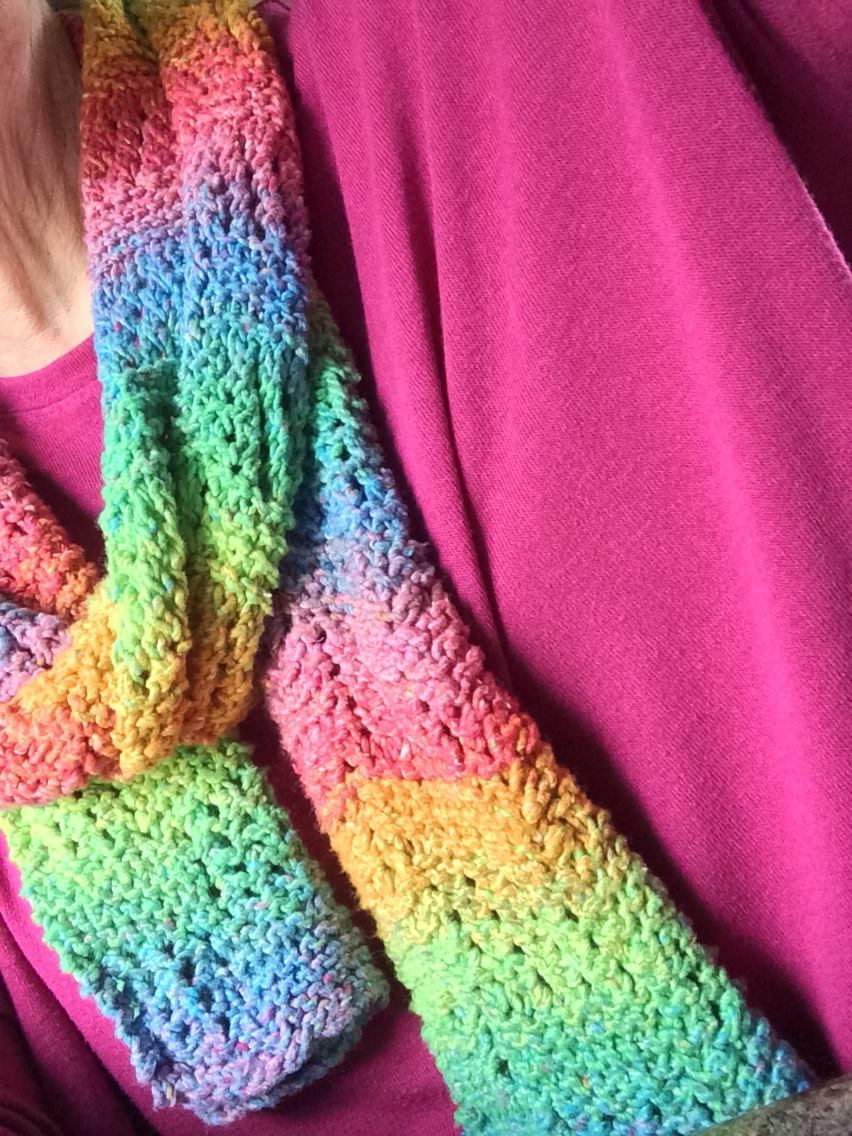
One of Wolf Creek Yarn’s weekly newsletters in March grabbed my attention. In Northeast Ohio, we were still in the depths of a brutal winter, but the scarf shown in the newsletter sang to me of spring. The scarf is made of Berroco Lago yarn, a rayon/linen blend that gives the wearer accessory options for warm-weather outfits.

Wolf CreekI made a road trip over to Grove City to visit Wolf Creek for the first time, where I bought two skeins each of the colors Papaya and Passion Flower.

IMG_7167It’s an easy and fairly mindless knitting project. Cast on very loosely 30 stitches, then increase one stitch in the first and last stitches in every row until you have about 10 yards left, then cast off very loosely.So long as you don’t forget to do the increases, you’re good!

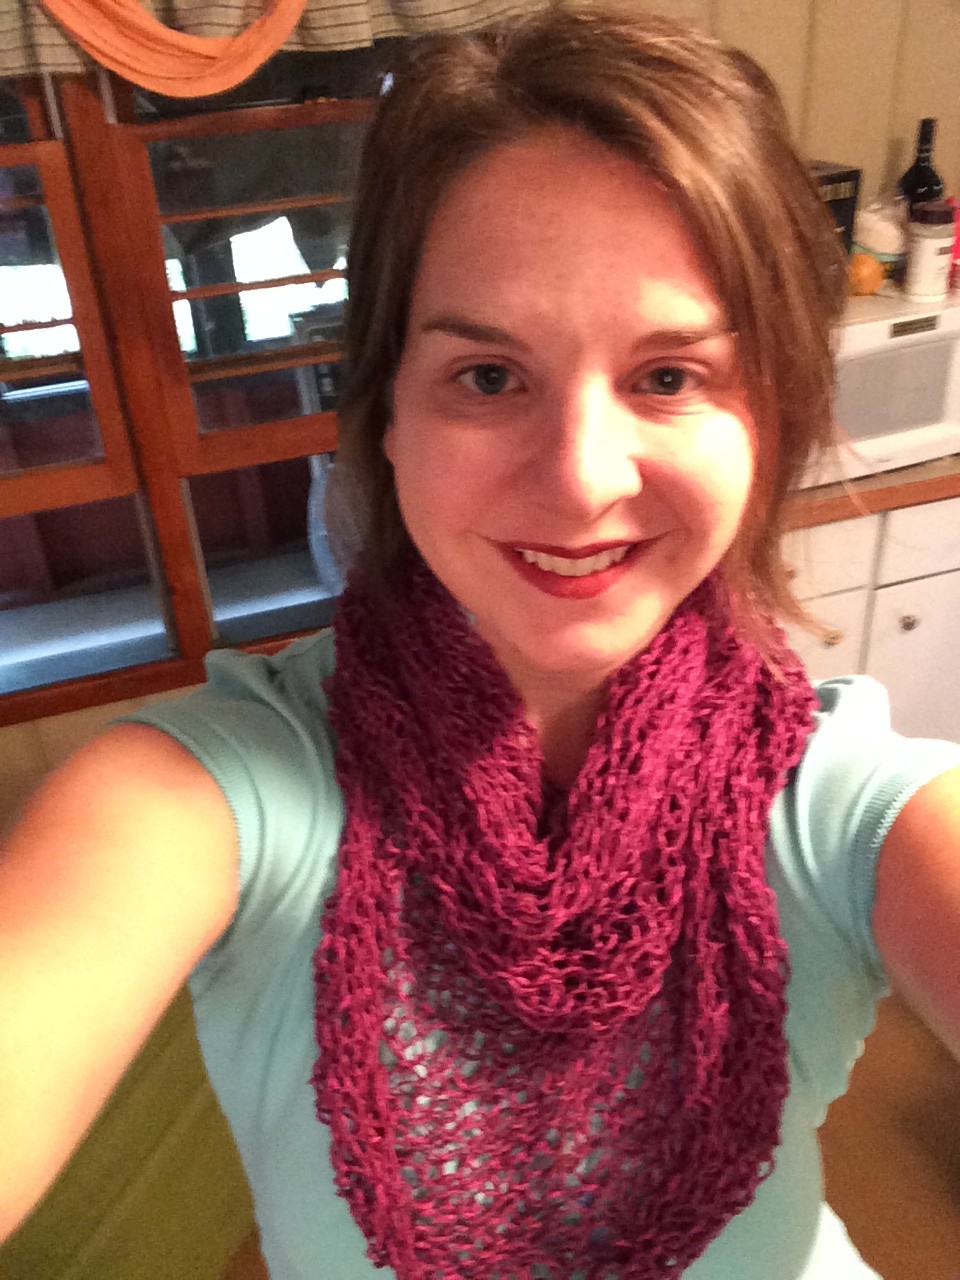
IMG_0780I kept the Papaya scarf for myself and have worn it a couple of times through the summer. The Passion Flower scarf went to our lovely friend, Leslie. She selfied it for me from her cabin at Interlochen Arts Camp, where she teaches in the dance department each summer.

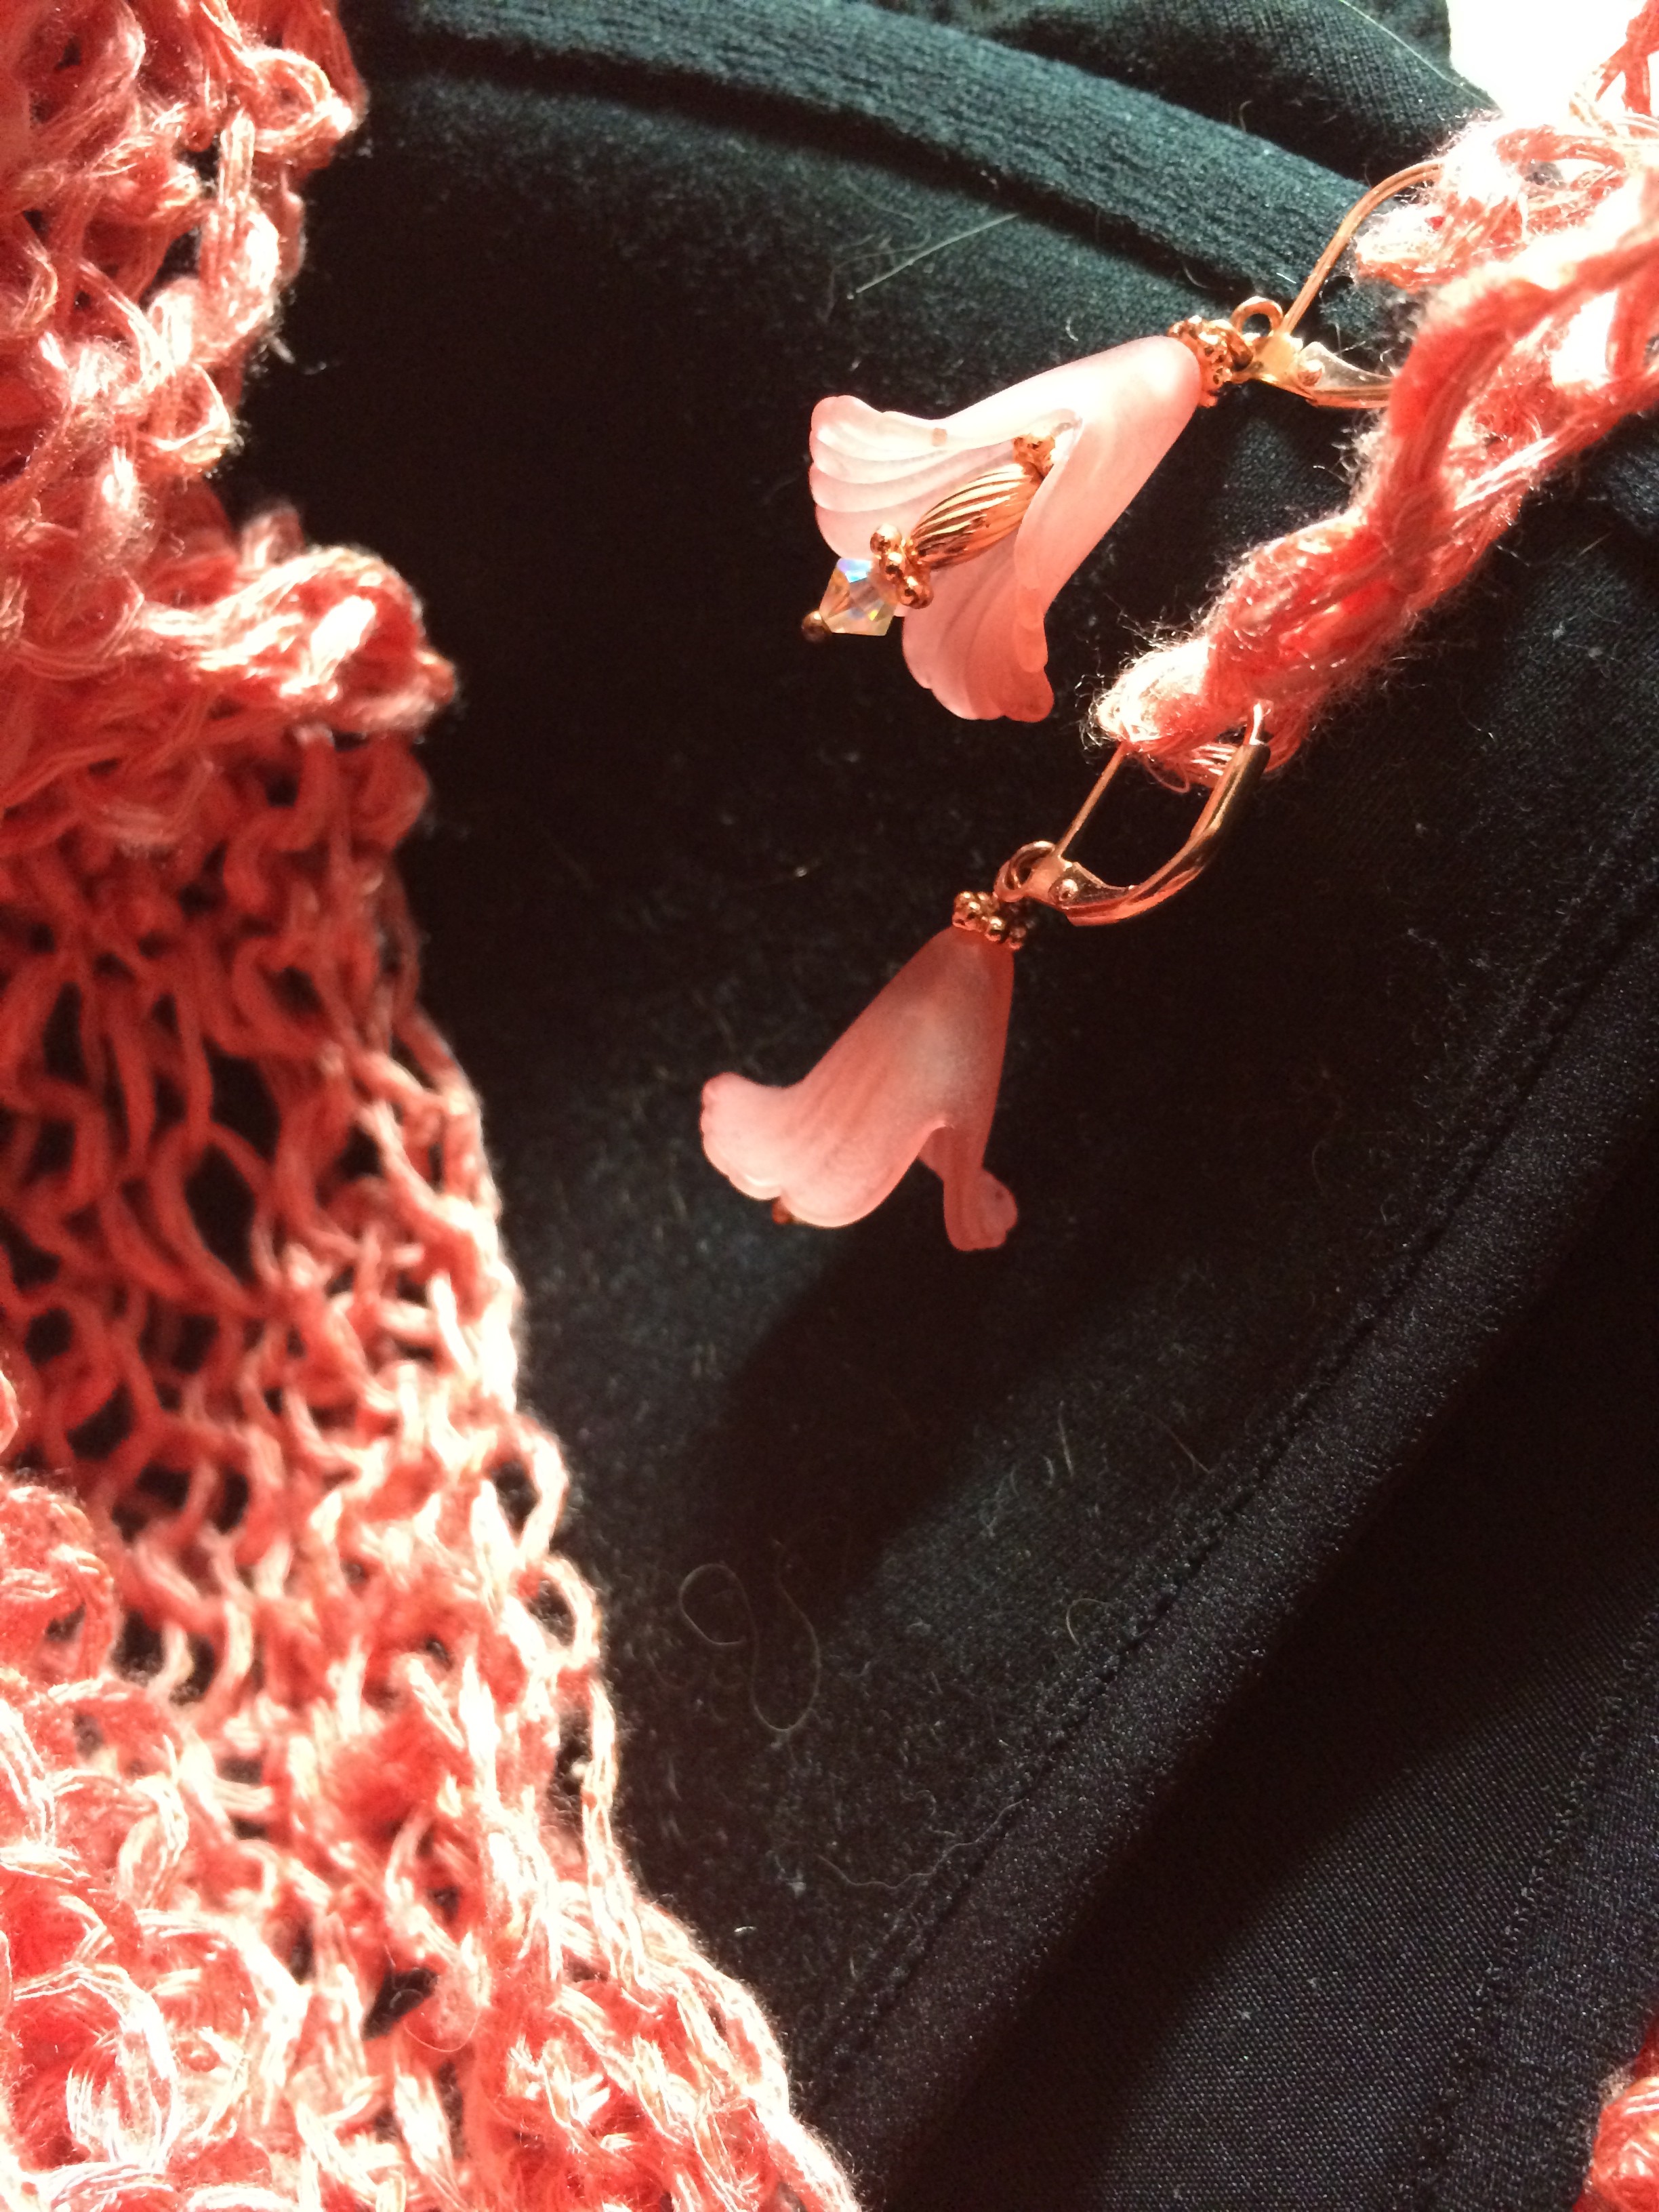
IMG_3107On both of these scarves, I felt the ends would benefit from having a little weight on them. For Leslie’s, I snooped around my jewelry-making and beading supplies and wired some beads onto a lobster claw clasp. For mine, I browsed all the jewelry vendors at YSU’s Summer Festival of the Arts, and found the perfect little pair of earrings that could easily be attached to the ends.

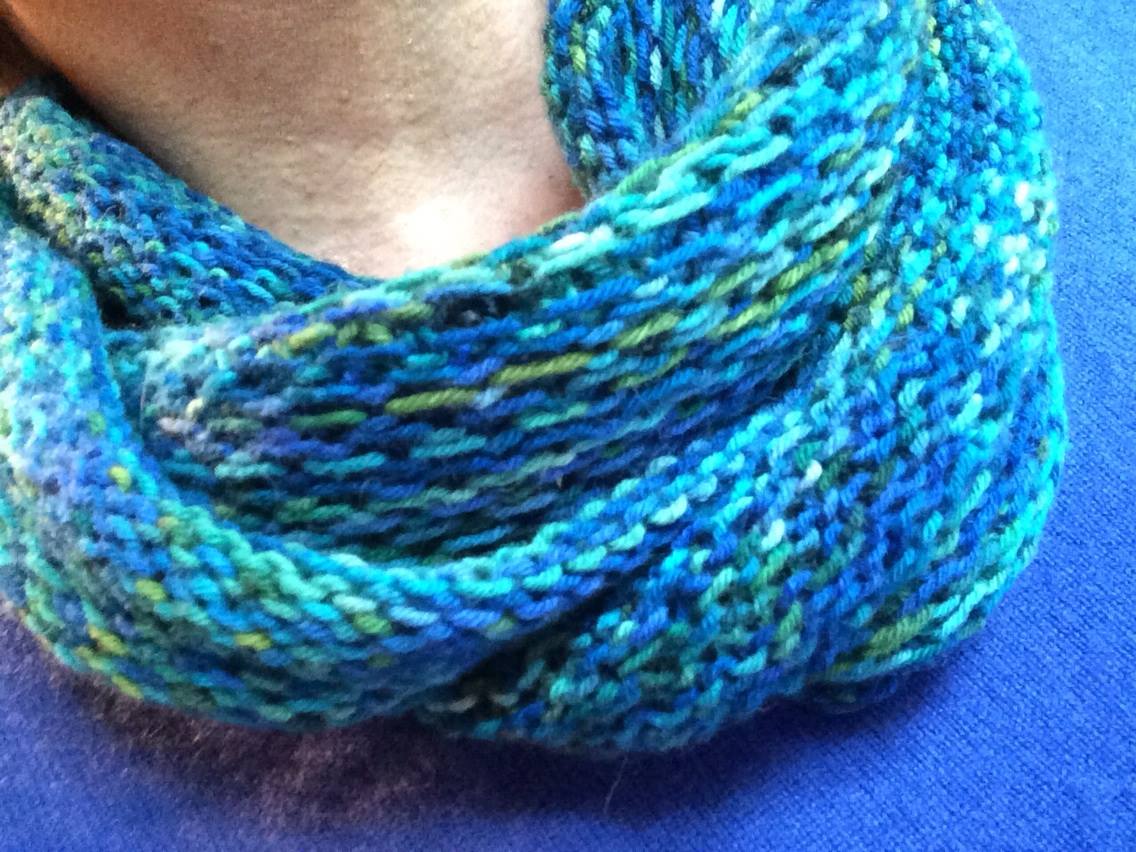
2014-08-11 12.26.23Now if I could only—again—have a neck that didn’t arrange itself in fold upon fold when I try to photograph a scarf, life would be perfect. Or perfecter.

It’s all relative, right?

(Okay, I’ll show you the neck photo. It shows off the scarf well, but not my old neck.)

When is a Uniform Not a Uniform?

turqinblueWhen it’s a great, beautifully constructed, Katherine Tilton Vogue top. My friend, Leslie, teaches at Interlochen Arts Camp during her summer breaks from the university where she chairs the dance department. My son, grandkids, and I drove up to Interlochen earlier this summer to visit her.

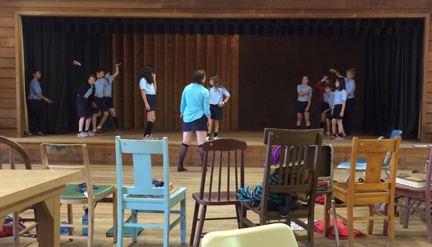
imageNow, anyone who has attended or visited Interlochen over the years knows there’s a camp uniform. Light blue shirts and dark blue pants or shorts (or, much mocked through time, knickers for the girls). When I observed one of Leslie’s musical theatre classes the first day we were there, I was horrified. No one who loves Interlochen as much as she does (she not only attended National Music Camp, but she graduated from Interlochen Arts Academy and now teaches at the camp every summer), should be wearing anything under than the pale blue that is standard. But Leslie, ever the non-conformist, was wearing a turquoise top over her navy skirt. Say it isn’t so (cries the ultimate rule-follower)!

8817 FrontI’ve been sewing some for her lately. She received three tops and a mesh bag in which to pack all her electronic gadget adapters and chargers for her early summer teaching assignment in Turkey.

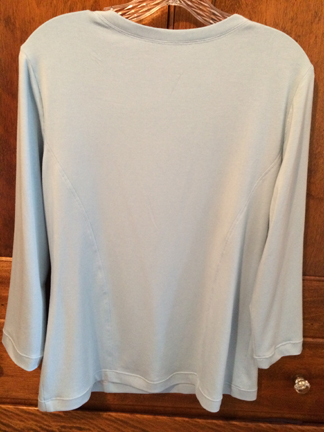
8817 Back viewWhen I visited her in June, I wore my very favorite of Katherine Tilton’s Vogue 8817, View A. Looking closely at it, she quickly stated she wanted one of her own. She tried mine on and—as expected, it was too large. I’ve found that if I cut things a size smaller but keep the length adjustments I’ve made, they fit her perfectly.

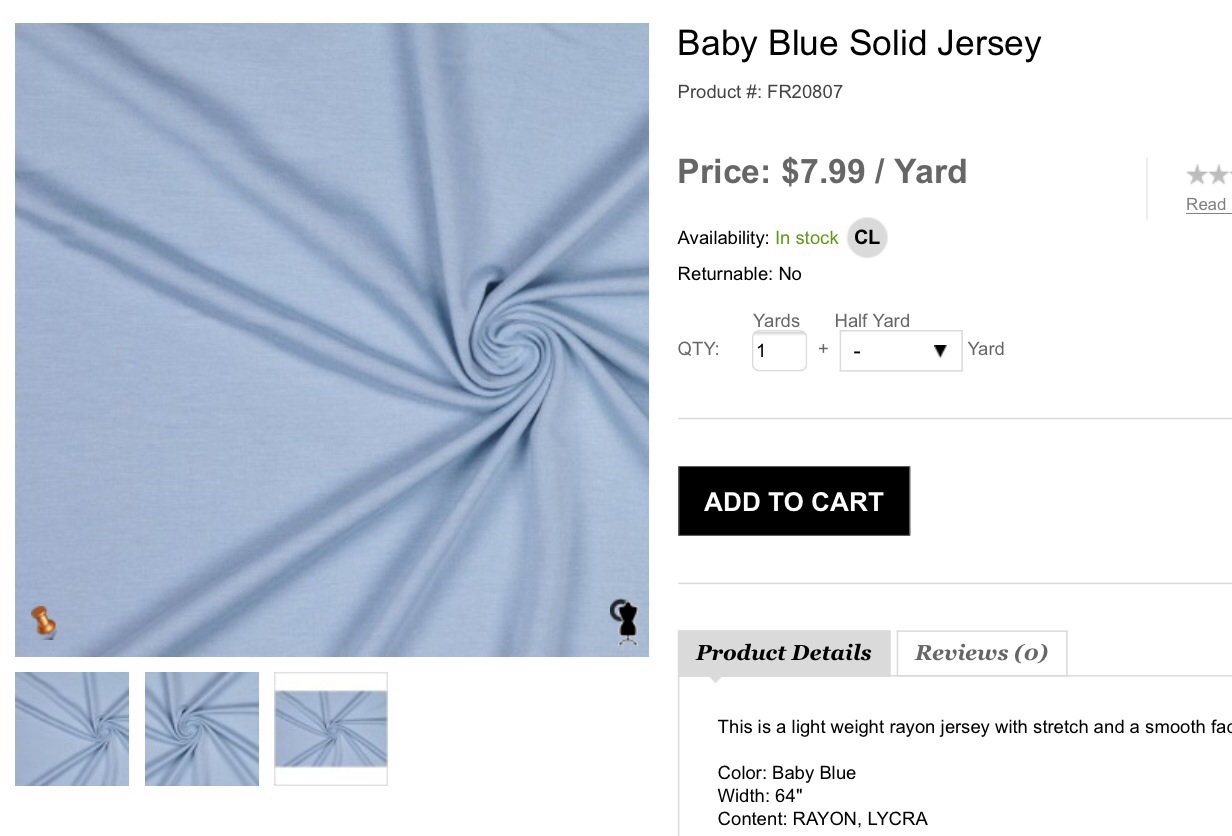
I found a lovely and oh-so-soft Interlochen blue (why don’t they just name it that?!) rayon jersey that, I believe, will be very comfortable in the Northern Michigan summers that are alternately hot and humid or cool and lovely.

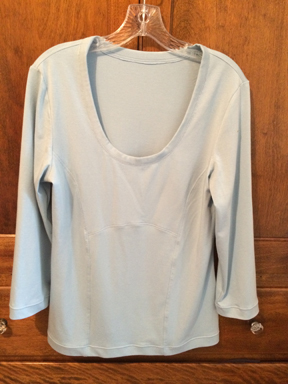
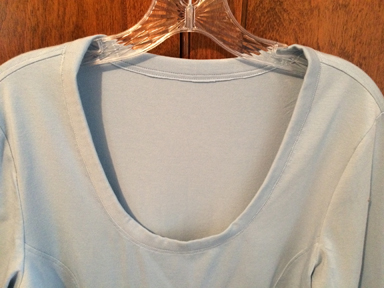
8817 View A Neckline8817 Underbust SeamThis top was a dream to sew. The stars aligned and it went together perfectly. I didn’t pick up the seam ripper once. Just performed each little task in order and admire the ultimate outcome.
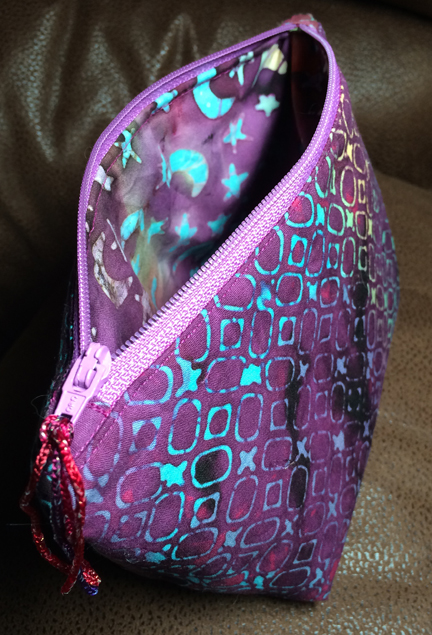
Disclaimer: The color is true in Mood’s screencap, and very dull in my latenight iPhone pics. And this shirt is much prettier on the body than on the hanger!

8817 Side Front Seam

The five individual garment photos: (L-R, Top-Bottom) Full front view; full back view; that beautiful neckline; flattering underbust seam; side front seam. (Patting self on back for excellent workwomanship!)

Leslie is always good about sending me selfies in her new garments that I create. I’ll add it here when I receive it, so stay tuned.
(And if you’re curious about the other garments I’ve made from this pattern, here are all the blog posts.)

A Present to Myself

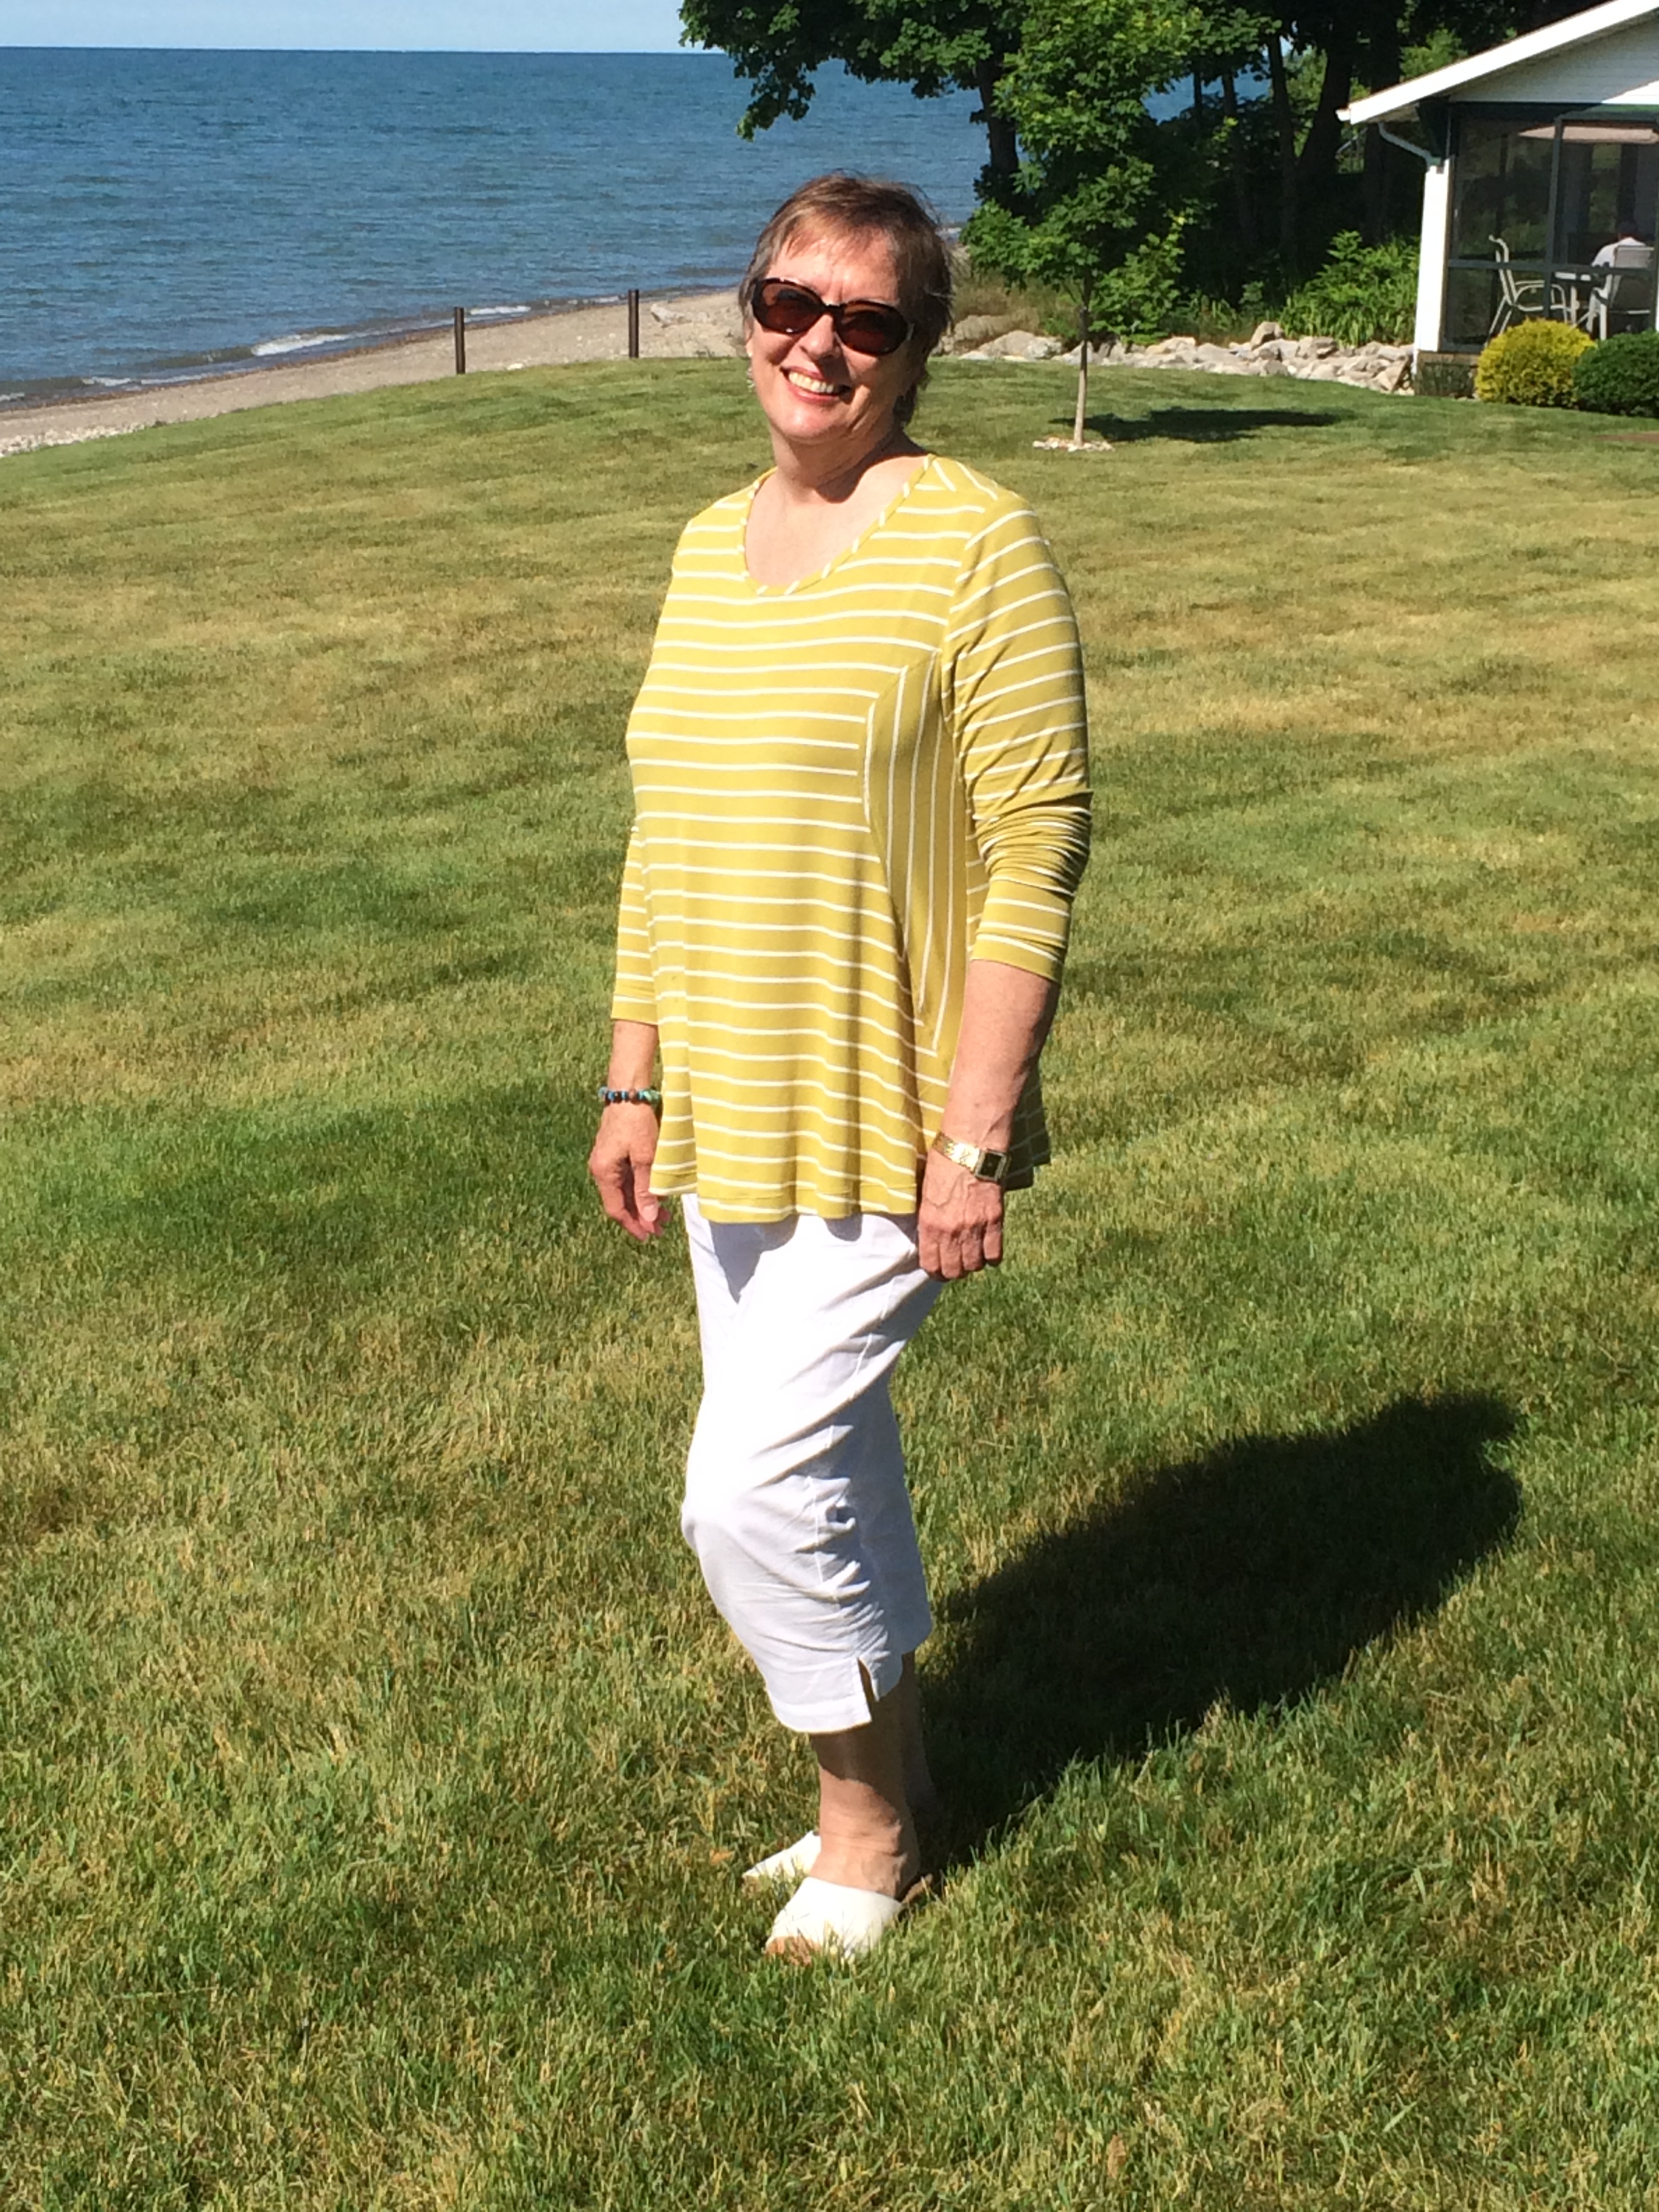
2014-06-21 16.42.12I have pulled Katherine Tilton’s Vogue 8710 out of my stash several times and contemplated making it, but it always lost out to a repeat of something I’d already done. Then last week I ordered a bamboo rayon/spandex stripe from Hart’s Fabric and decided I wanted to try the horizontal vs. vertical stripe scheme. Once I prewashed the fabric and felt how soft it was, I couldn’t wait to cut into it, hoping to finish the top to wear to a Saturday multi-birthday party at some friends’ cottage on the shores of Lake Erie.

I love this top and want more of them!

Here’s the review:

Pattern Description: Semi-fitted, pullover tops have topstitching details. I made View B: forward shoulder, top mostly cut on crosswise grain, bound neck edge, long sleeves, stitched hems.

Pattern Sizing: Y(XS-S-M), ZZ(L-XL-XXL) I cut L, which tends to work for me on most Katherine Tilton designs. I’m thinking I might have had to go up a size – or this would have been a snug-fitting top – if I had done the front and back vertical instead of horizontal. As it is, I love the fit. Just love it. Did I say I love it?! 🙂

Did it look like the photo/drawing on the pattern envelope once you were done sewing with it? Yes, except for the horizontal/vertical switchup.

Were the instructions easy to follow? Y. On the side front, I pressed to the side and topstitched 1/4″ from the seam. On the side and armhole seams, I did double-stitched seams. I interfaced the hems with tricot fusible and used a double needle.

What did you particularly like or dislike about the pattern? I loved the flair in the “skirt” – although I added to the flair with my drafting when adding the 2″ to the length.

Fabric Used: Bamboo rayon/spandex knit – like buttah! – from Hart’s Fabric.

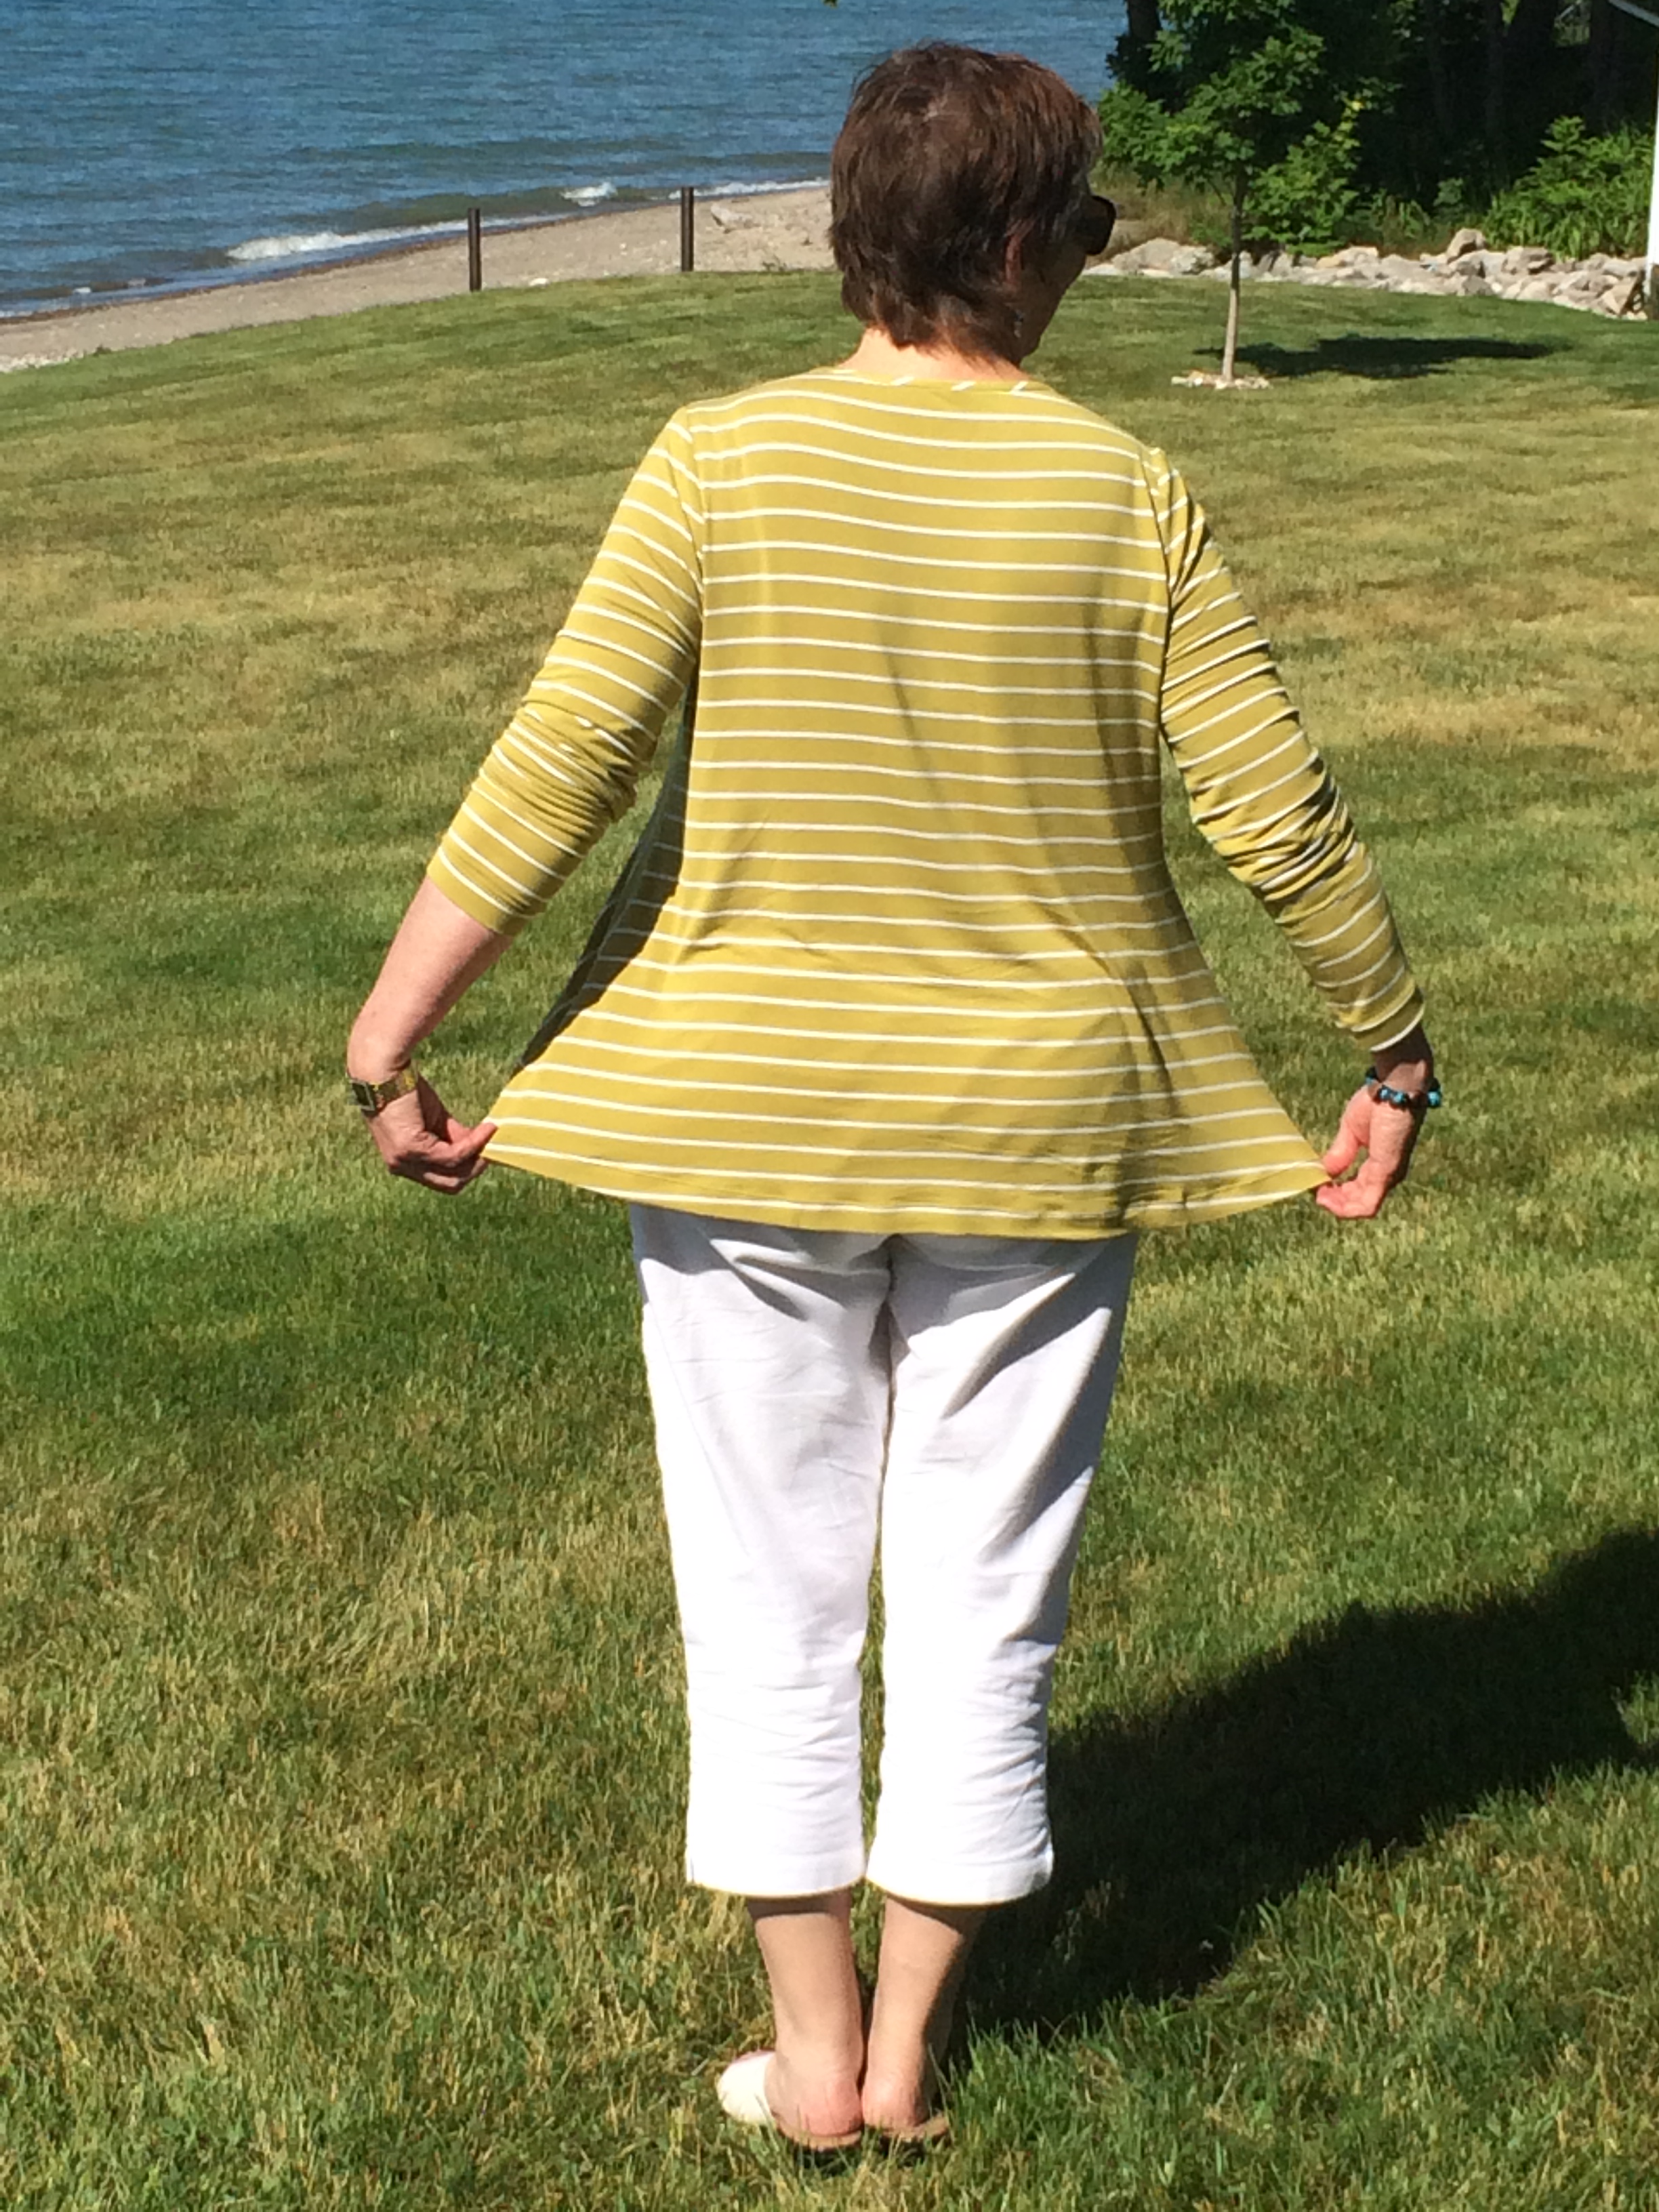
2014-06-21 16.42.31Pattern alterations or any design changes you made: I’m 5’8″ and find I always need to add a couple of inches to Katherine Tilton’s tops. Because of the shaping in the front and side front, I ended up tracing from the large at the “lengthen here” lines out to the XXL at the hem. Because of this, I got a fuller, more twirly top that is great over skinny pants. The combination of this soft, supple fabric and the fuller hem is a dream!

As I was cutting – in a hurry and not referencing the pattern – I cut the stripes the opposite of how Katherine envisioned them. My front, back and sleeves are crosswise stripes. Only the side fronts are lengthwise. I think I like this better than the pattern illustration. (I’m also very proud of how my stripes matched. (Patting self on back.))

Would you sew it again? Would you recommend it to others? Yes and yes!

Conclusion: I made this to wear to a group birthday party for which I was one of the honorees. What a great birthday present to myself!

Me-Made-May ’14, Segment 2

Here’s my second installation for #mmmay14, pulled from my daily Facebook posts. I believe I only repeated once or twice, and that only because I was traveling and wanted specific highly-wearable tops.

May 16, 2014 StyleArc Sunny Top

May 16, 2014
StyleArc Sunny Top

May 17, 2014 Honey Cowl

May 17, 2014
Honey Cowl

May 18, 2014 Butterick 5891

May 18, 2014
Butterick 5891

May 19, 2014 Vogue 8831

May 19, 2014
Vogue 8831

May 20, 2014 Vogue 8831

May 20, 2014
Vogue 8831

May 21, 2014 Butterick 5925

May 21, 2014
Butterick 5925

May 23, 2014 Butterick 5925

May 23, 2014
Butterick 5925

May 24, 2014 StyleArc's Sunny Vogue 8590

May 24, 2014
StyleArc’s Sunny
Vogue 8590

May 25, 2014 Tilled Scarf Malabrigo Rasta and Silkpaca

May 25, 2014
Tilled Scarf
Malabrigo Rasta and Silkpaca

May 26, 2014 Vogue 8831 Vogue

May 26, 2014
Vogue 8831
Vogue 7597

May 27, 2014 Vogue 8817

May 27, 2014
Vogue 8817

May 28, 2014 Butterick 5925

May 28, 2014
Butterick 5925

May 29, 2014 Vogue 8582

May 29, 2014
Vogue 8582

May 30, 2014 Butterick 8817

May 30, 2014
Butterick 8817

May 31, 2014 Cutting Line Designs 41357 Stars in Heaven

May 31, 2014
Cutting Line Designs 41357
Stars in Heaven

End-of-school-year teacher gifts

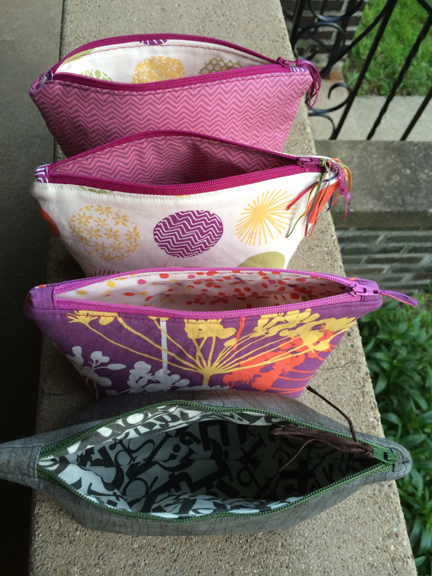
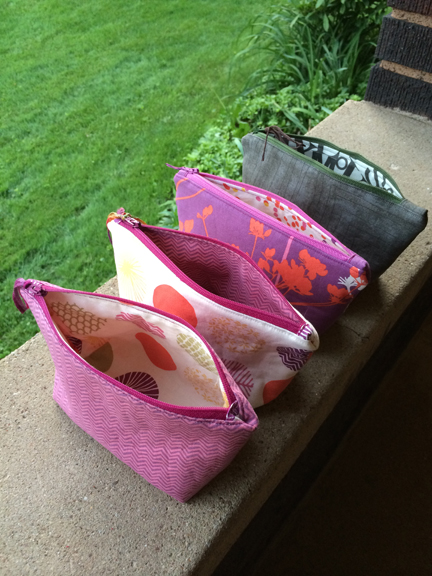
zipbag1For most of the past seven years, I have taken advantage of my sewing and knitting talents to create handcrafted gifts for the grandkids’ teachers at Christmas and at the end of the year. I’ve even heard that some of the teachers tell my daughter-in-law they look forward to those gift occasions. (Whew! Sometimes I worry that they’d rather have a gift card.)

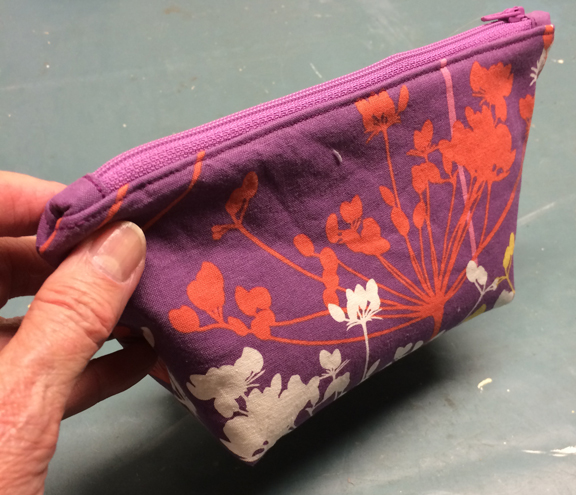
zipbag2A month ago a Tucson friend of mine posted on Facebook a small zippered bag she had made. She shared the link to the tutorial on Amanda Niederhauser’s “Jedi Craft Girl” blog. I thought the bags were cute, and decided to make these for my end of year teacher gifts.

zipbag4Fabrics I used:
Windham Fabrics Collage – scratch
Windham Fabrics Collage – alphabet
If you look at the other fabrics in this collection, you’ll recognize some of the fabrics I used for the notebook covers I made for the teachers last Christmas.

zipbag5Dear Stella “Piper”
Dear Stella chevron stripe
Dear Stella circles
Dear Stella Sprinkles (Multi)

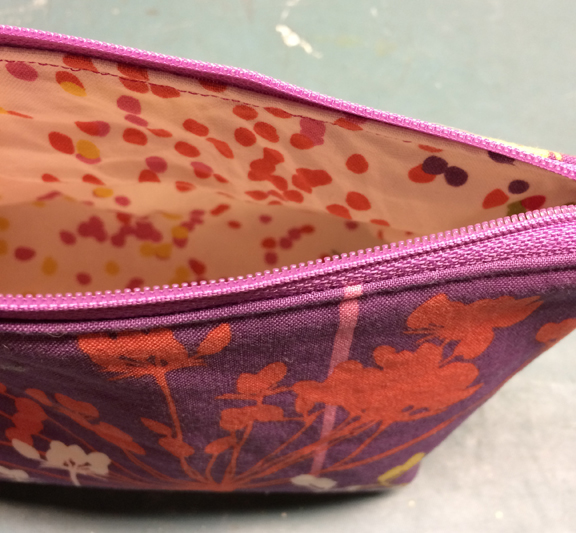
I think the only thing I changed on the tutorial was to trim the seam allowances off the fusible fleece before fusing to the face fabric.

zipbag3And my only reminder to you is this: make sure you left the bag unzipped. Always check before you sew up the boxed corners. (You hear my “oops”, don’t you?)

I have a plastic box full of various trims suitable for embellishing fiber projects. I dug in and found suitable embroidery threads that I pulled through the zipper pull to make it easier to grip.

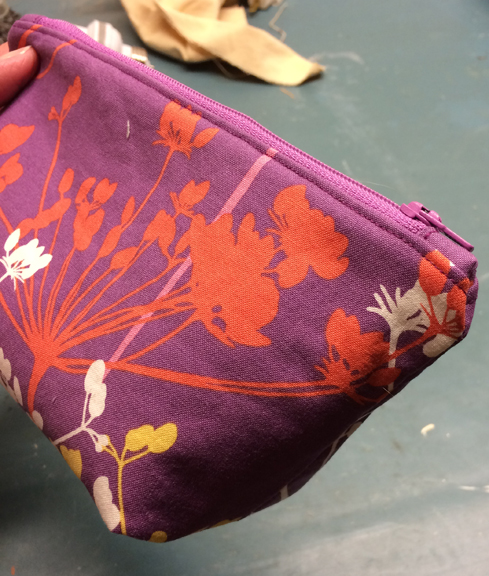
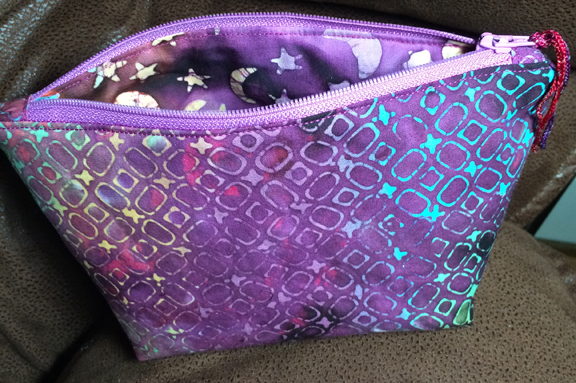
Took the four bags over to the grandbabes’ house tonight, then came home and finished one more to put in my stash. For this bag I used the same cotton batik that I used in the zippered mesh bag I made a couple of weeks ago.

I’m preparing to add ecommerce to my website. Watch for this bag to appear there.

zipbag6zipbag7zipbag8

Fabric With Memories

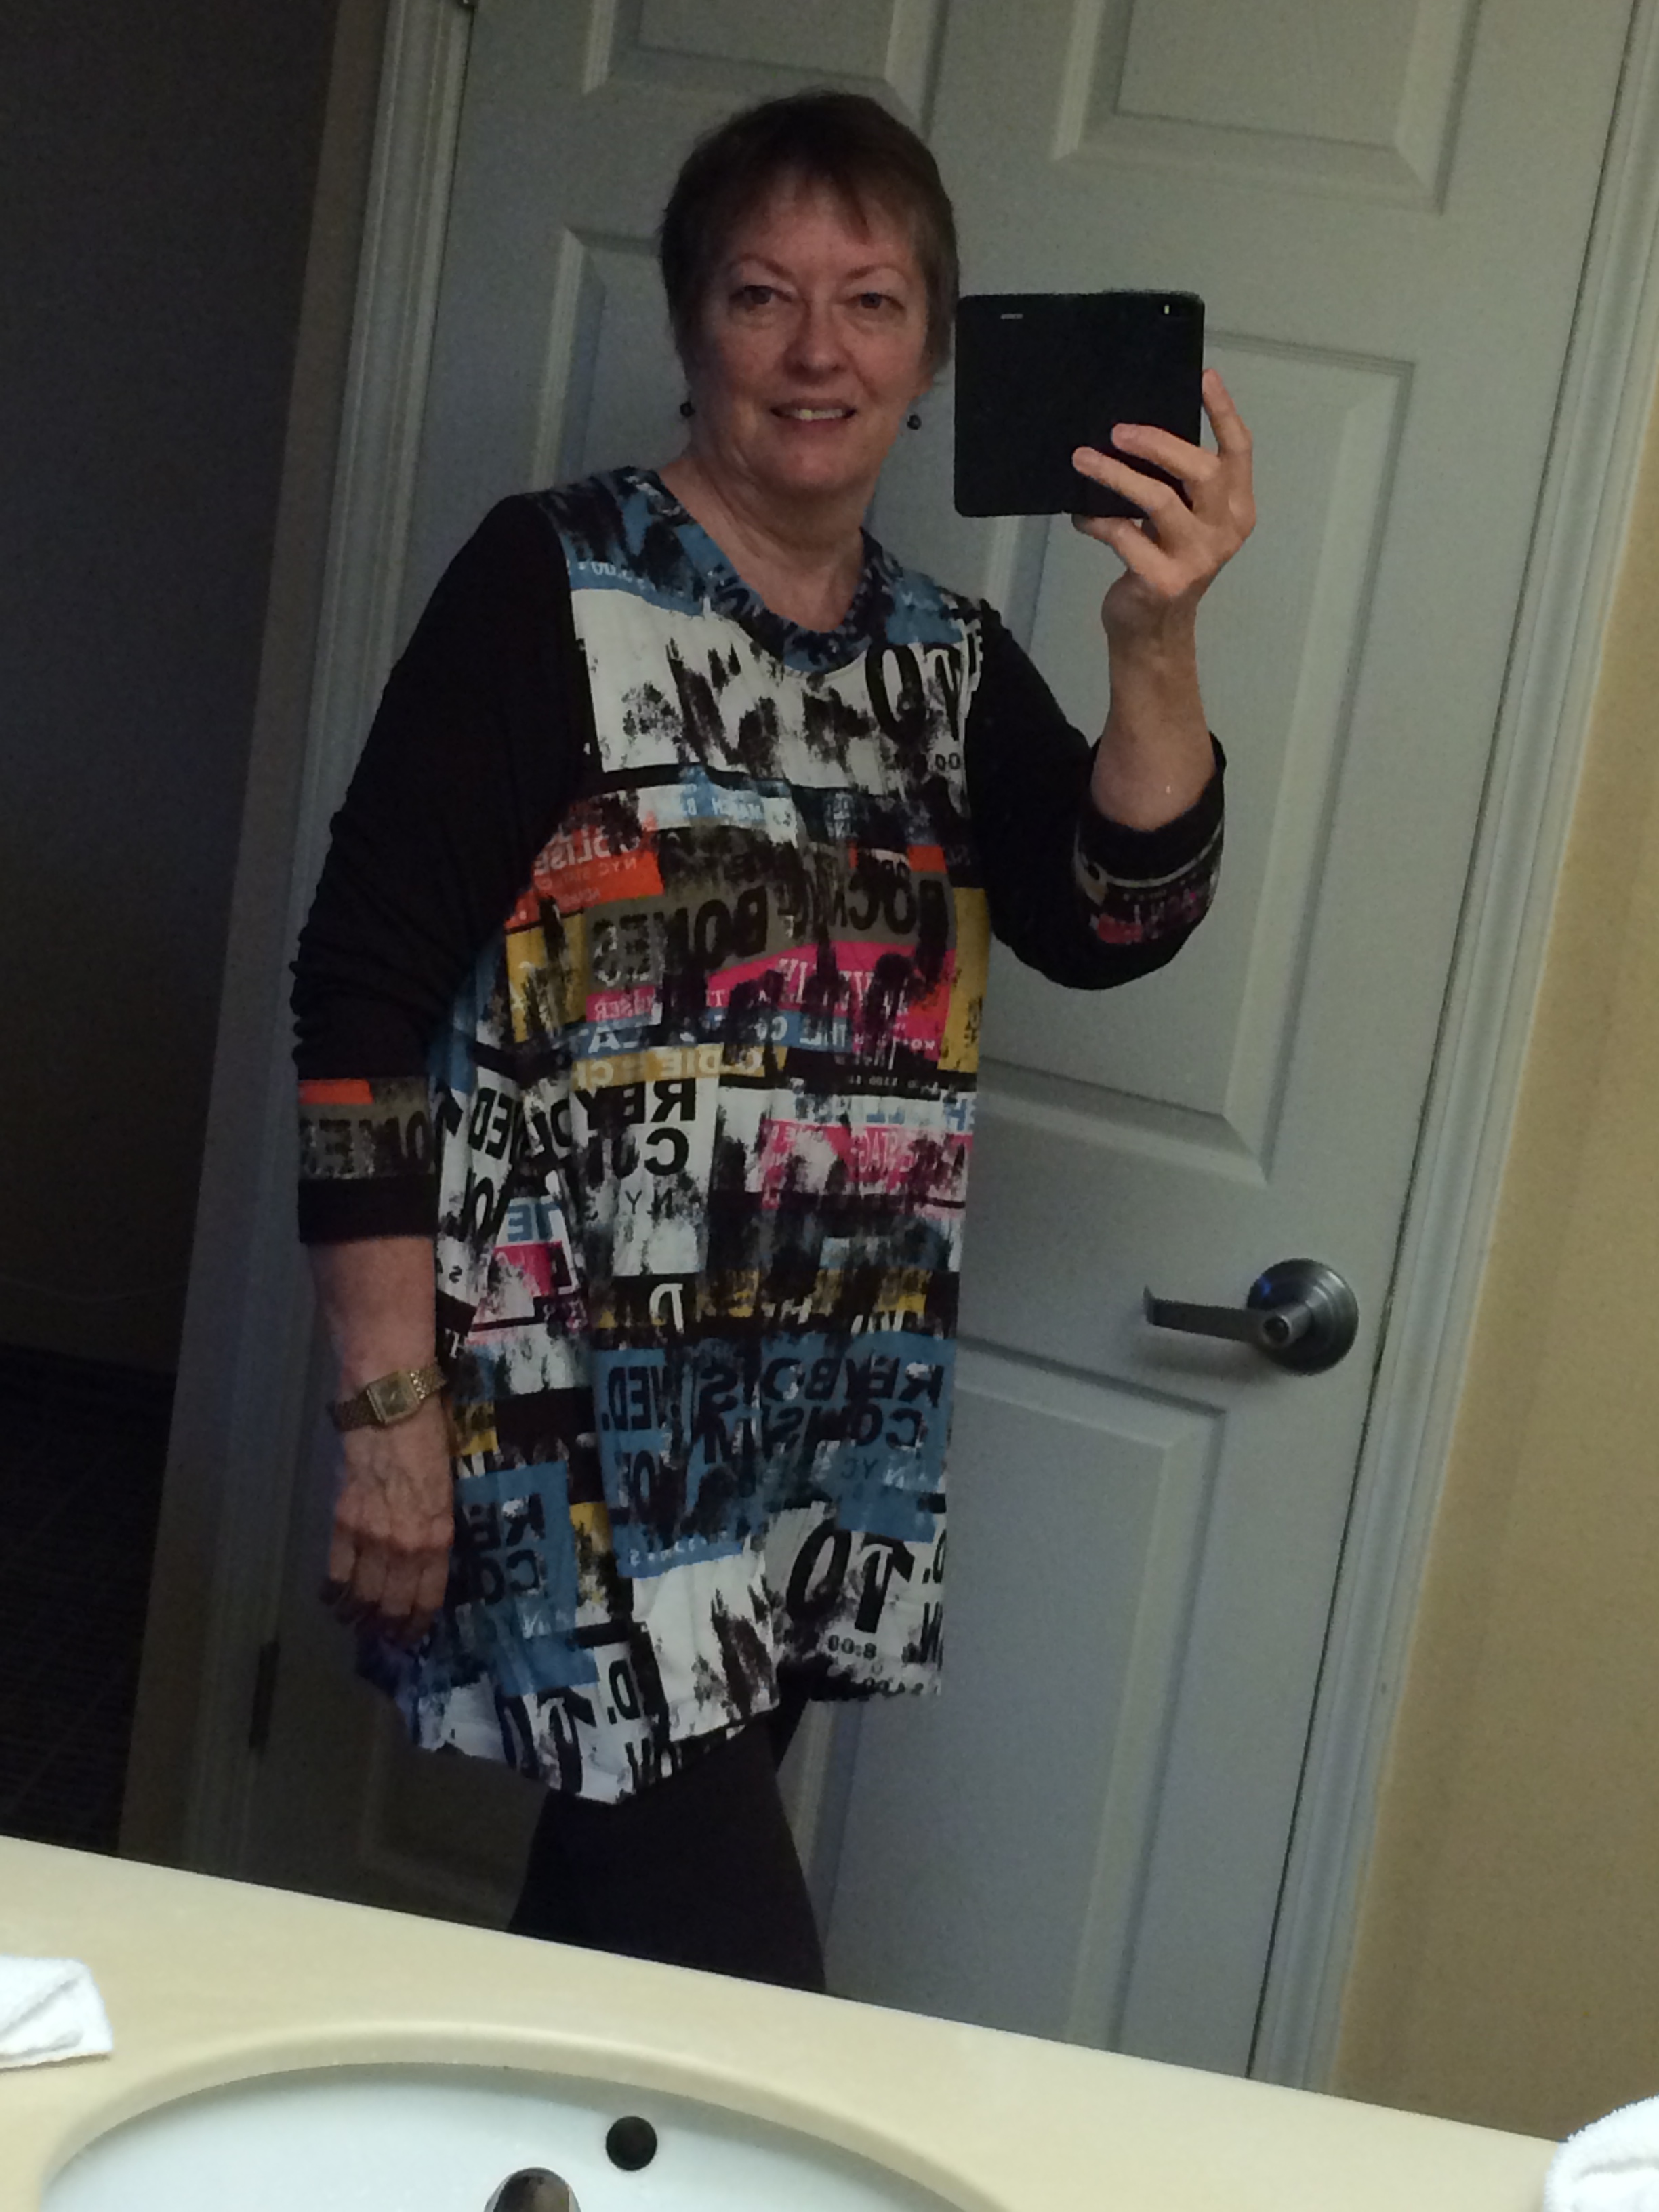
2014-05-28 07.41.19I posted last week about the fabric I bought in Germany last November and my lack of sufficient yardage. I pulled five swatches from Mood Fabrics and subsequently ordered “Chocolate Rayon Jersey” for the sleeves and pocket trim of Butterick 5925, View A.

2014-05-28 07.41.53I finished it yesterday morning, just in time to leave for a road trip to Western NC to celebrate my mother’s 101st birthday. I slipped it on for the Spousal Equivalent to see. He—who is usually rather quiet about my wardrobe—immediately said, “But you already have one of those.” Hmmm. What I have is a similar print in a very different top. But I should be happy he noticed that much, right?!

I have mixed feelings about the bands at the bottom of the sleeves. I’m wondering if I should have omitted them and just left the sleeves solid brown. I’d love your comments—love ’em or hate ’em? They’re just zigzagged into place, so would be easy to remove.

Here’s the review:

Pattern Description: Pullover top has neckline and pocket variations, seam detail, and shaped hemine. A: slightly draped neck and pocket bands. This is my second time with View A. Made a View B in a solid red RPL a year ago and it’s my go-to top!

Pattern Sizing: Y(XSmall-Small-Medium), ZZ(Large-XLarge-XXLarge) I’m 5’8″ and generously-busted. I cut a Large, adding 2″ to the length at the shorten/lengthen lines.

Did it look like the photo/drawing on the pattern envelope once you were done sewing with it? Yes

Were the instructions easy to follow? Yes

What did you particularly like or dislike about the pattern?
Love the style. Love the offset neck and pocket binding.

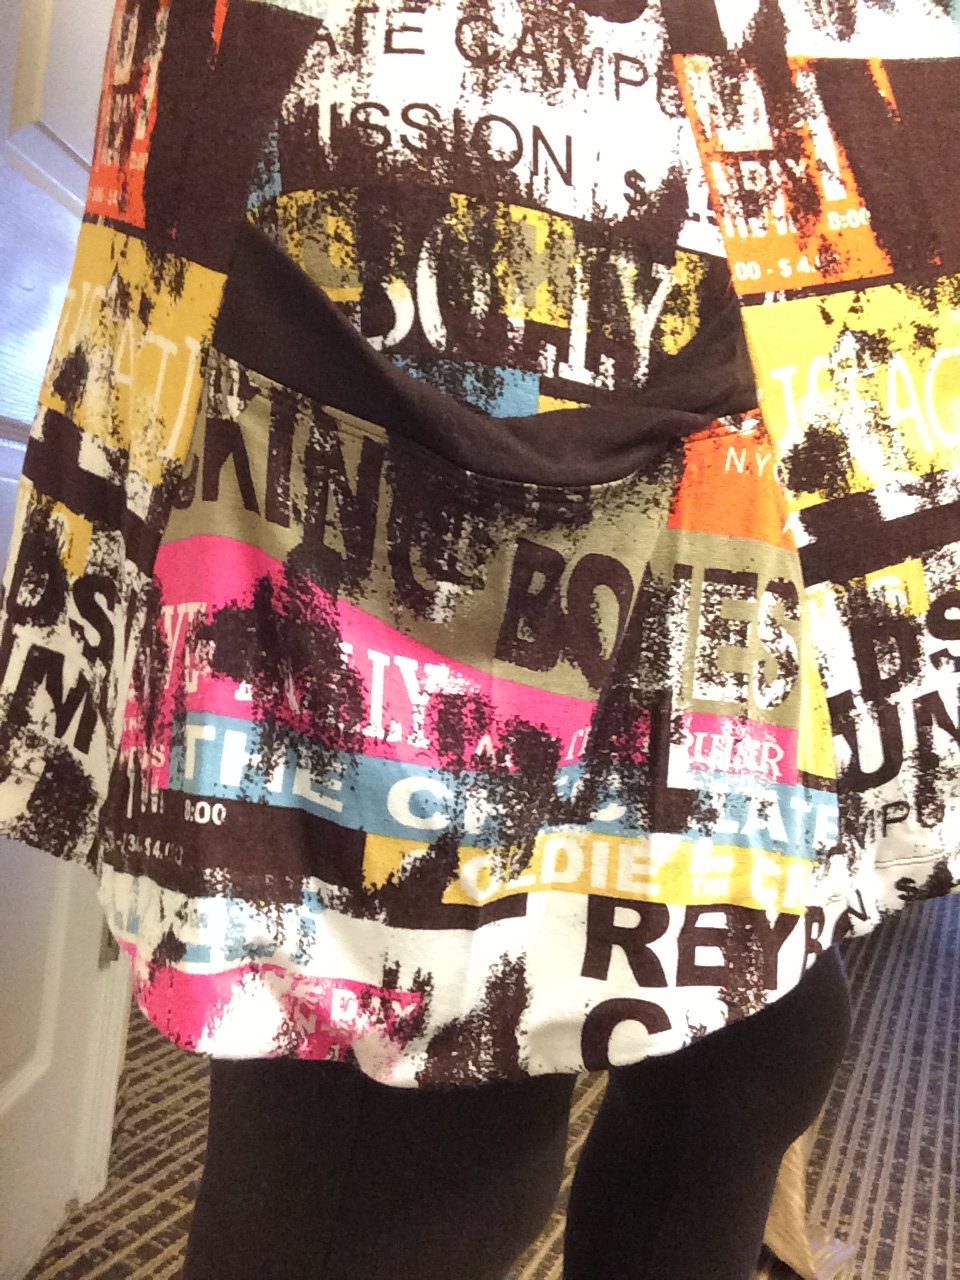
As I mentioned in a previous review, I found the pocket bottom to be challenging. I didn’t have enough of the main fabric for both pockets in this version, so just made one. I interfaced the hem of the inset/godet first, then laid the bound pocket on top of the inset, basted the sides, but also basted the bottom of the pocket to the interfaced hem allowance so that the basting would not show. Then I folded and pressed the hem allowance on the inset. I moved to the sewing machine and slipped the presser foot inside the pocket, sewing the inset hem from about 1.5″ in from either seam allowance. To clarify: the hem on the pocket/inset is sewn before attaching the inset to the front and back side seams, but I’ve left enough free so that I can sew those seams.

After inserting the inset and sewing the side seams, I [double-needle] sewed the hem from the edge of the pocket/inset around the back, the other inset, and the front, ending a half-inch into the pocket/inset. I had about an inch on either side of the pocket that was not hemmed, so just whipped that into place invisibly by hand.

I’m pleased with the result. The pocket bags down a little below the hem, but I didn’t have the bunching I experienced with the pocket/inset hem on the previous version.

I haven’t checked this theory yet, as I was rushing to leave on a trip, but I believe the pocket should be sized to the inset—should be cut the same width as the inset—not one-size-pocket-for-all-sizes. I suspect the pocket is cut the same size as the XL or XXL.

Fabric Used: A rayon/lycra (maybe rayon/poly/lycra) blend that I picked up in a department store in Frankfurt, Germany, while on tour last year with the Cleveland Orchestra and Chorus. Lovely memories every time I look at this fabric.

Pattern alterations or any design changes you made: See note above re pocket. Interfaced the back shoulder seam allowance and the hem allowances with a lightweight tricot fusible interfacing. (A trick learned from Marcy Tilton.) Next time I’ll trim the pocket to match the inset.

Would you sew it again? Would you recommend it to others? Probably will make one more – in black for performances. Would absolutely recommend! This is a beautiful top!

Conclusion: Make it! Wear it repeatedly!

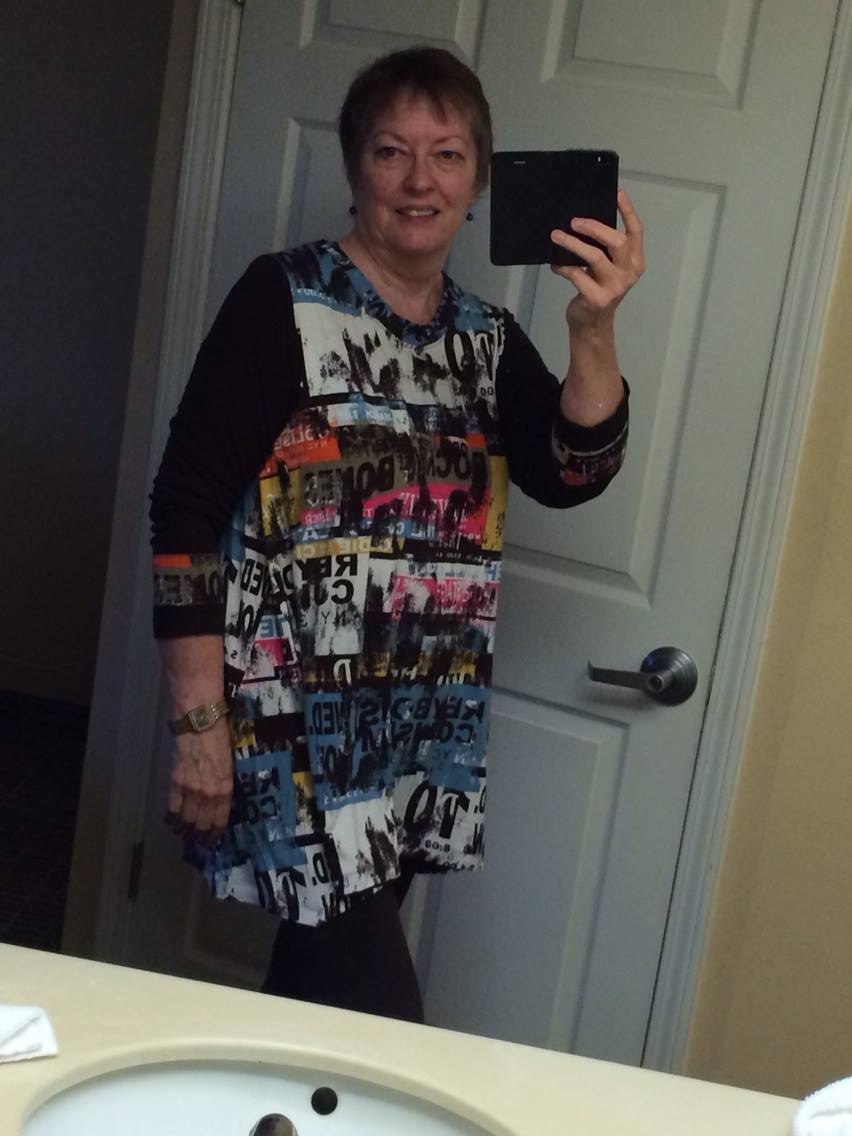
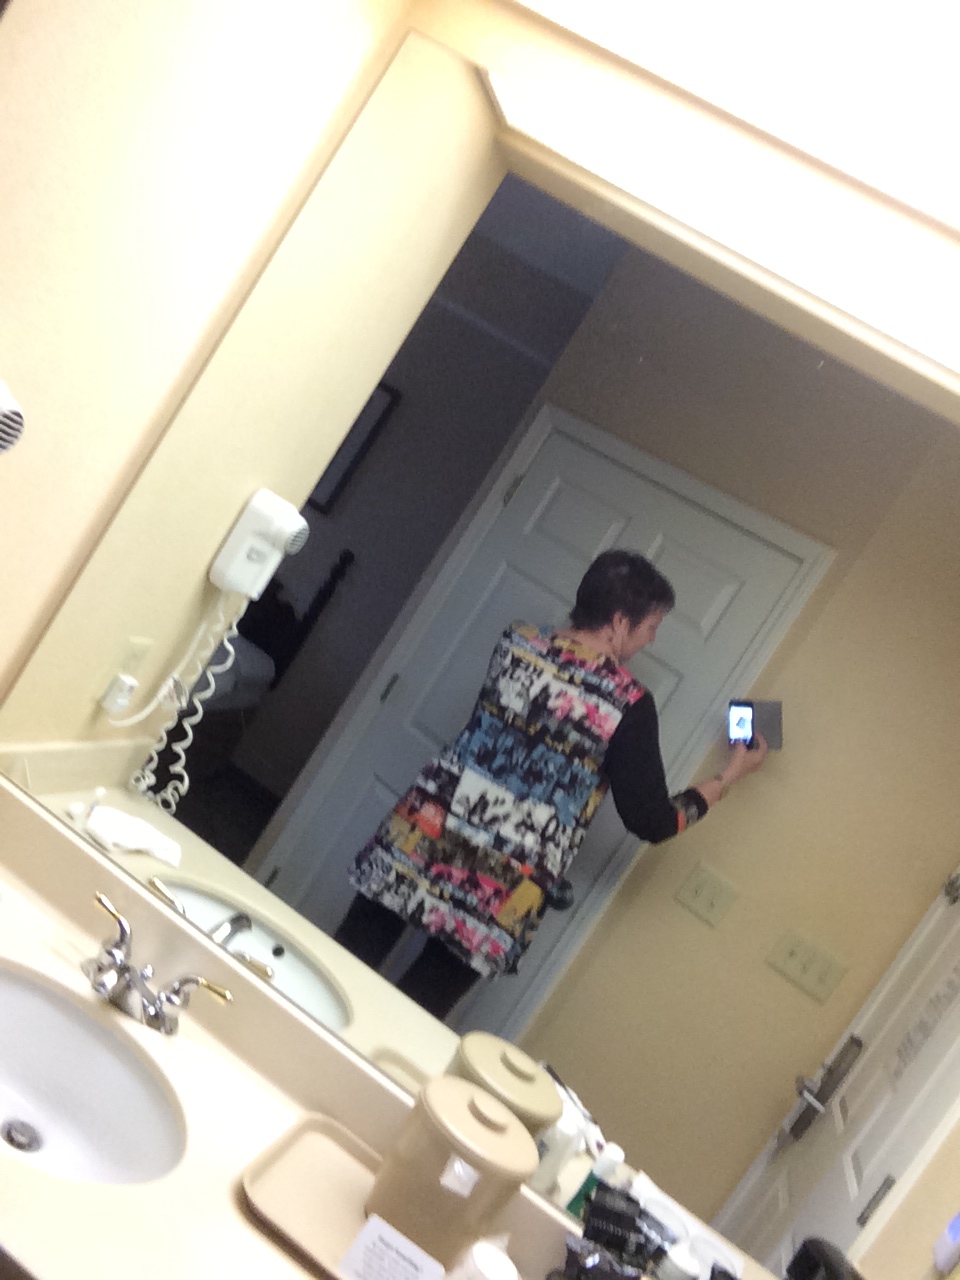
One more picture for your enlightenment, from the hotel bathroom.

2014-05-28 07.41.39