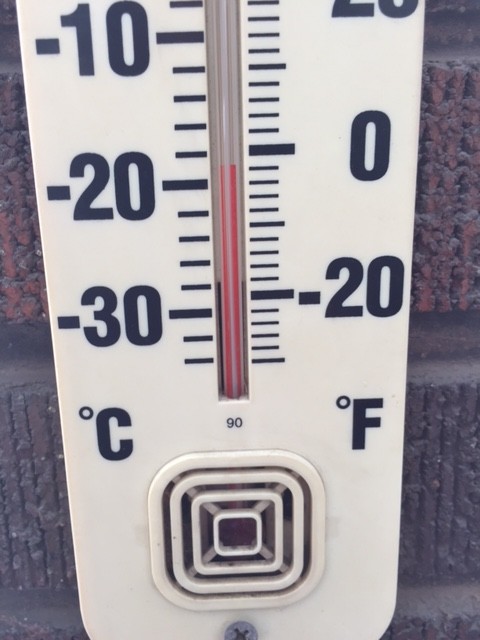
As I write this post, it’s 32° outside and the snow is falling. We’re slated to accumulate about three inches today. So why am I sewing summer clothes and wearing sandals? Because next week is vacation in Mexico—yippee!!
For me, vacation has always meant new clothes. I don’t know why. And when I have drawers full of perfectly suitable clothes, I always feel I need something new. Okay, truth: I want something new.
Everytime Marcy Tilton and Katherine Tilton design new garment patterns for Vogue and Butterick, I snatch them up. I had picked up Katherine’s Butterick 6101 the moment it hit my inbox – so many possibilities.
 The fabric came from the Bernina Store in Twinsburg, OH. When the owner went to quilt market in Pittsburgh last year, a jobber said “psst!” to her outside his truck in the parking lot of the hall, and she bought a small stash of apparel fabric for her quilting store. I’ve picked up a few of them, and this gray print with mauve undertones was one. I believe it’s a rayon/lycra blend, but with purchases like this, you can’t really be sure.
The pants were snagged up when Naturals Inc. in Oregon had an after-Christmas sale and sent me a coupon for an extra 25% off. How could I resist? I don’t love shorts and I do love Eileen Fisher, so these slim capris became mine. But when they arrived, I immediately thought, “I have nothing to go with that silver.” So I went shopping in my stash and this is what happened.
Here’s the review:
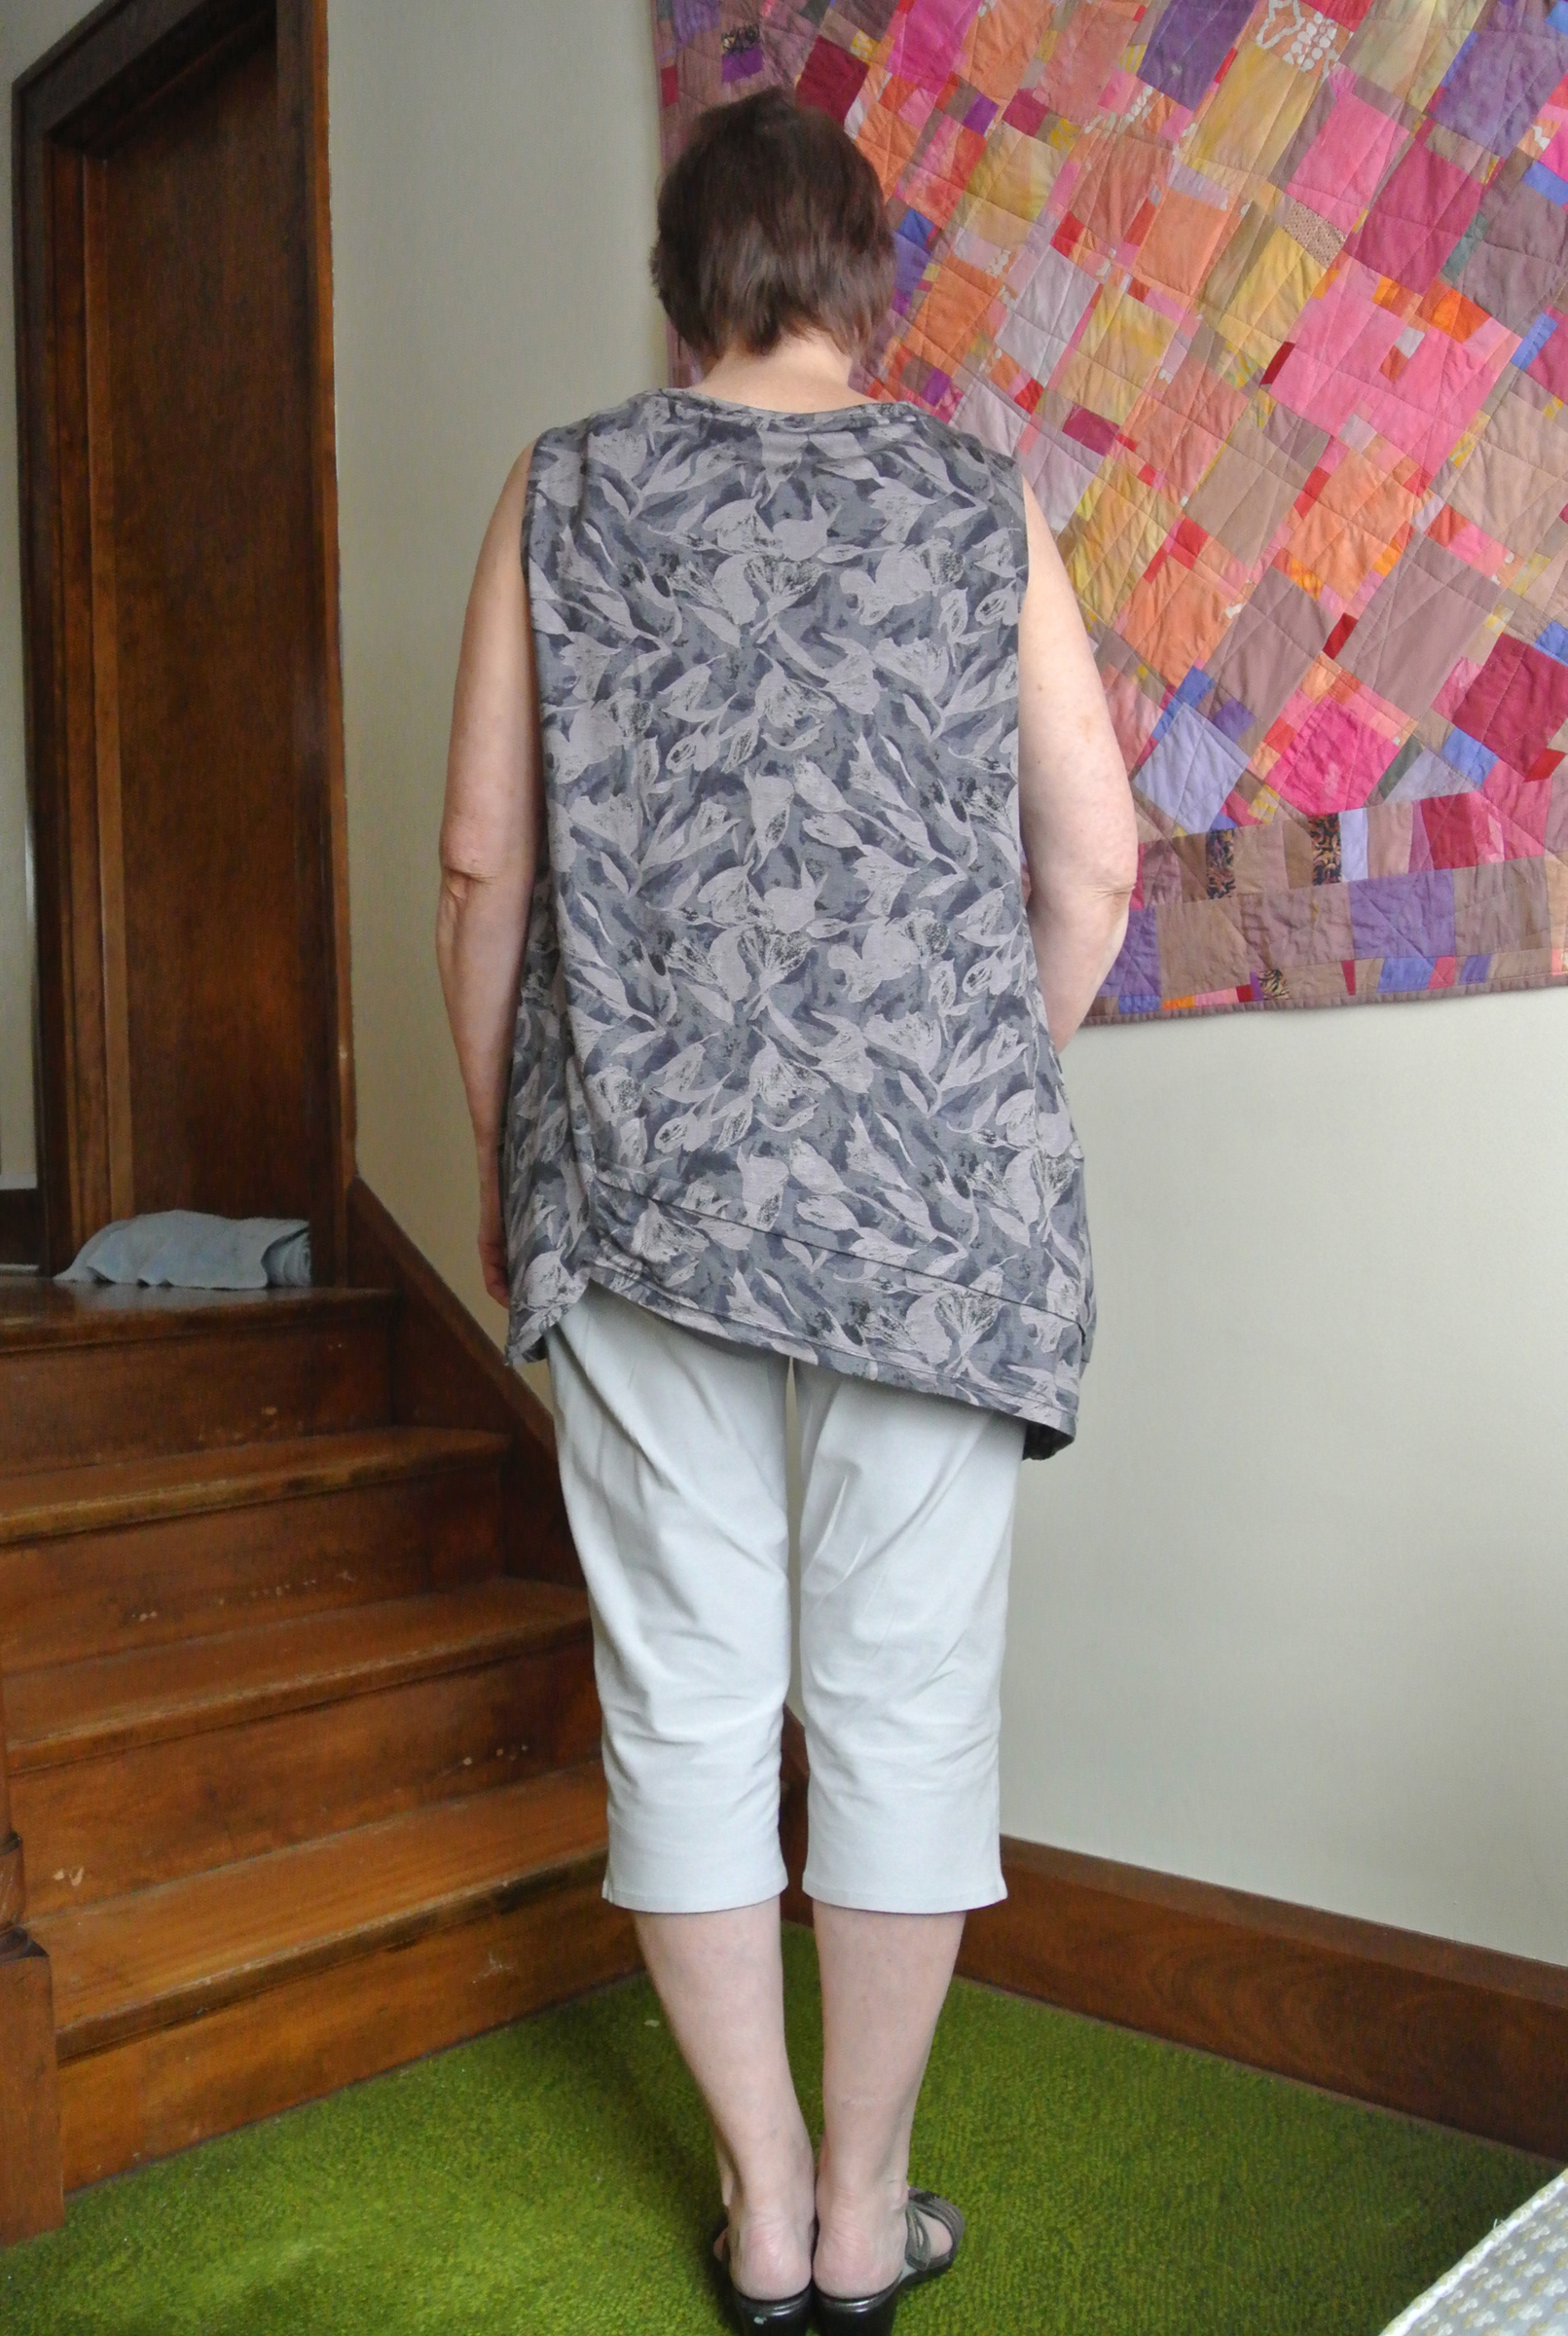
 Pattern Description: From the pattern back: Loose fitting pullover tunics have collar, left side pocket detail, sleeve variations, hem band and top stitching. C: contrast right front, left front, left front and back pocket, armhole facing, hem band, left pocket and right inside pocket. D:contrast collar, right sleeve, left front, back pocket and right inside pocket. I made version A.
Designed for lightweight woven and stable knit fabrics.
Pattern Sizing: Y(XSmall-Small-Medium), ZZ(Large-XLarge-XXLarge)
I made a Large. I usually add 2″-3″ to the torso or length of Katherine’s designs, but cut this one as printed.
 Did it look like the photo/drawing on the pattern envelope once you were done sewing with it? Yes.
Were the instructions easy to follow? Some of the instructions were a struggle. In talking to various friends who are designers, I understand that pattern companies have their own ways to express things and sometimes what the designer writes as instructions doesn’t make it into the pattern.
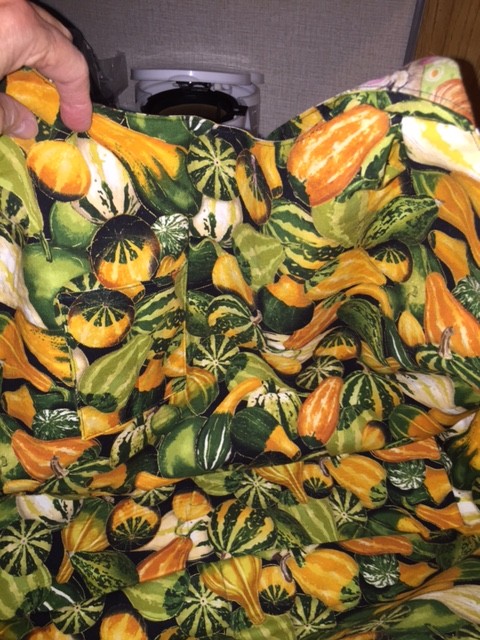
That said, I found the hems challenging. The illustrations were made to look like you could just put a binding on it – specifically the Lower Left Back and Lower Left Front. This insert is not straight across the bottom (as indicated in the illustration), but looks more like a large shallow scallop. I ended up turning up the hem edge 5/8″ and then top-stitching with a double needle.
There were times I had to read the instructions for a step several times and then stop and try to picture it in my head before proceeding.
What did you particularly like or dislike about the pattern?
Like: Another lovely Katherine Tilton top.
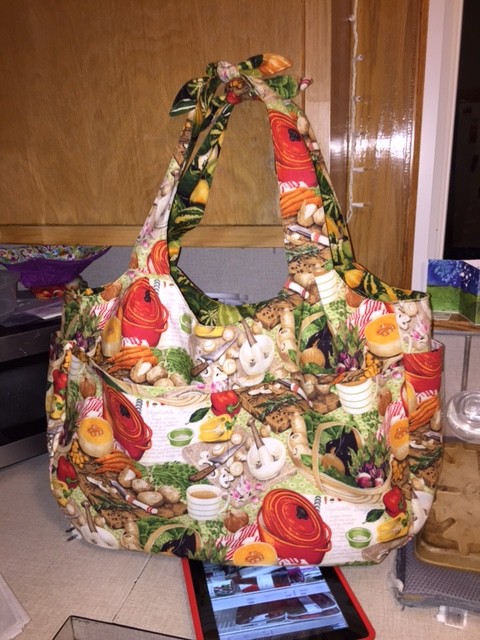
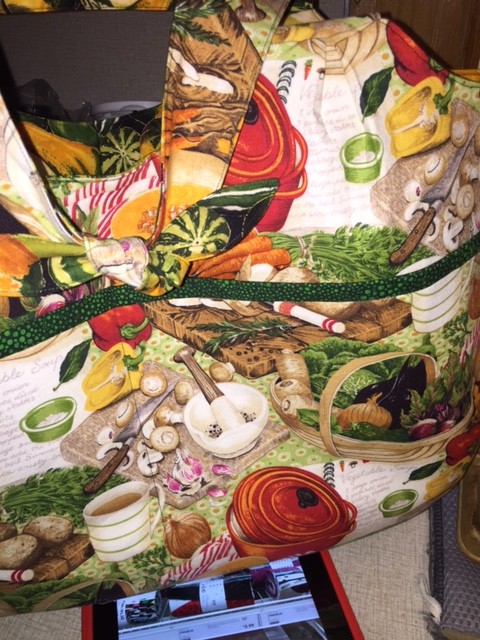
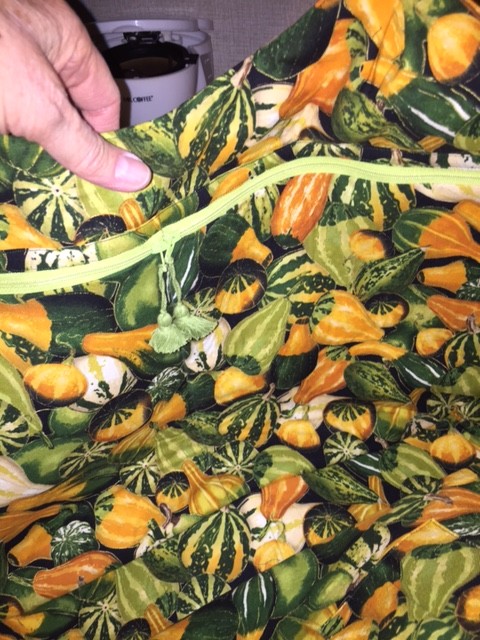
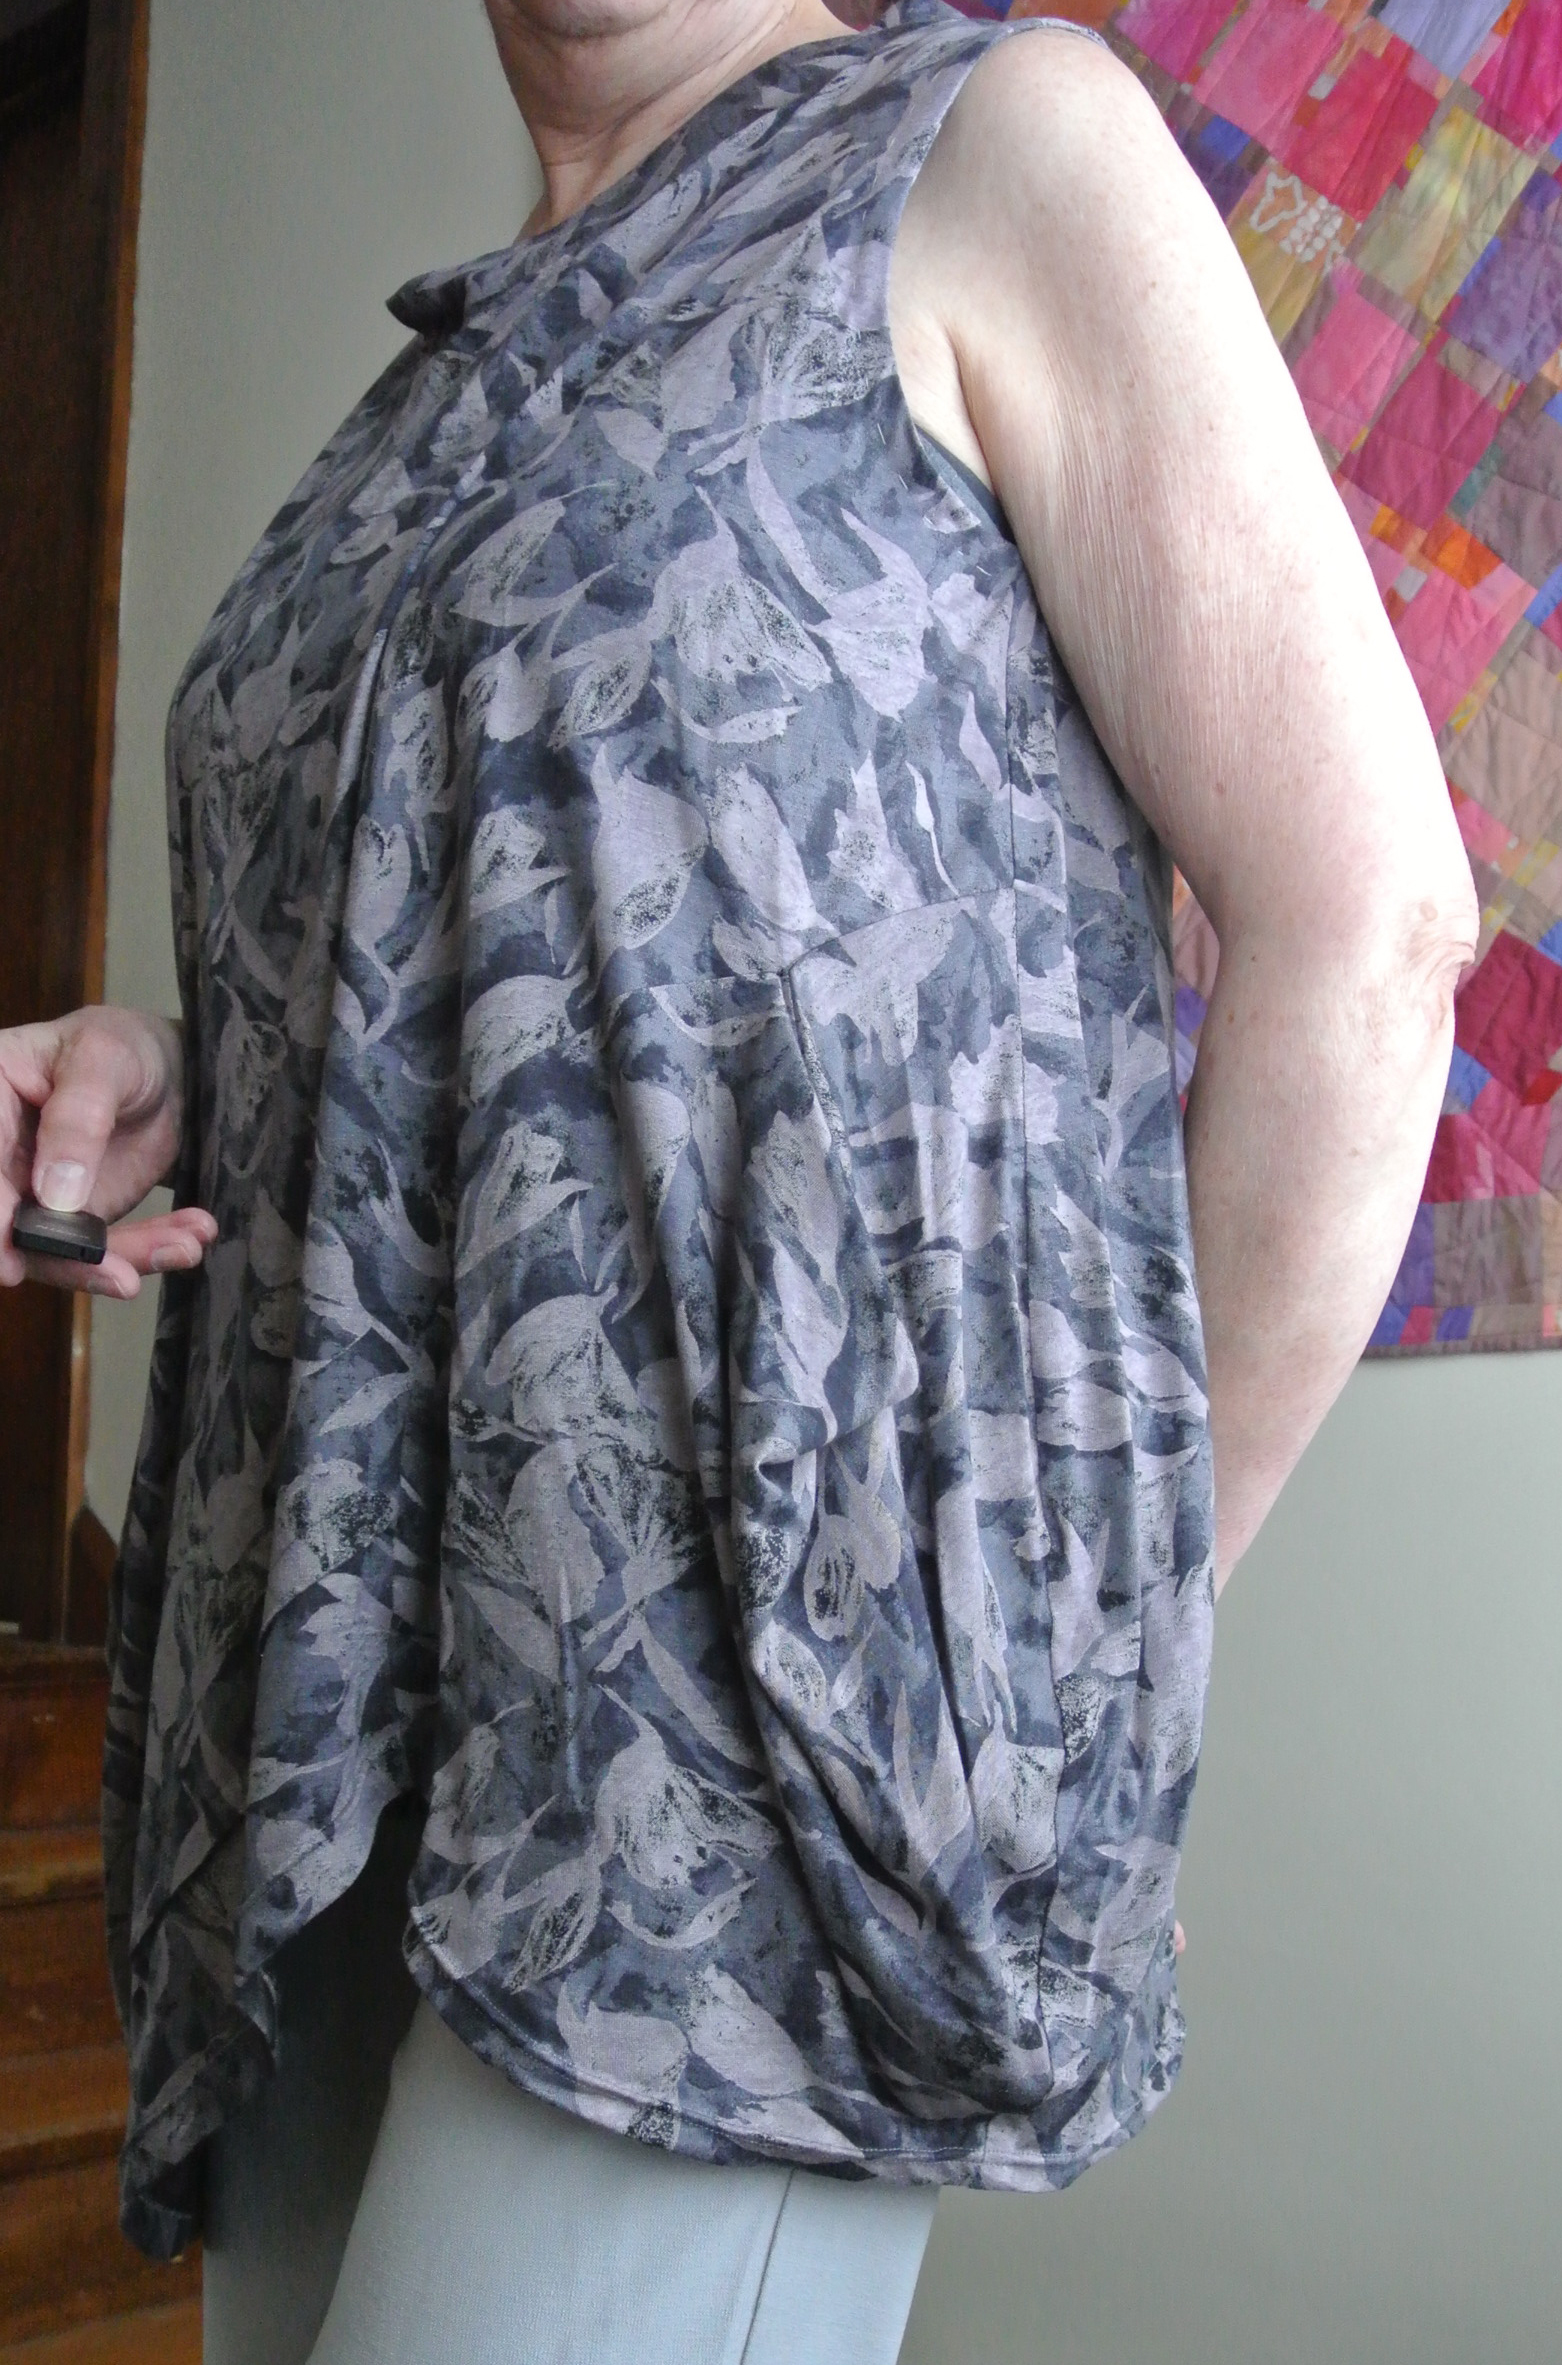
Dislikes: 1) That funky little pocket on the left side. Gotta figure out how to omit that next time. 2) The hem problems.
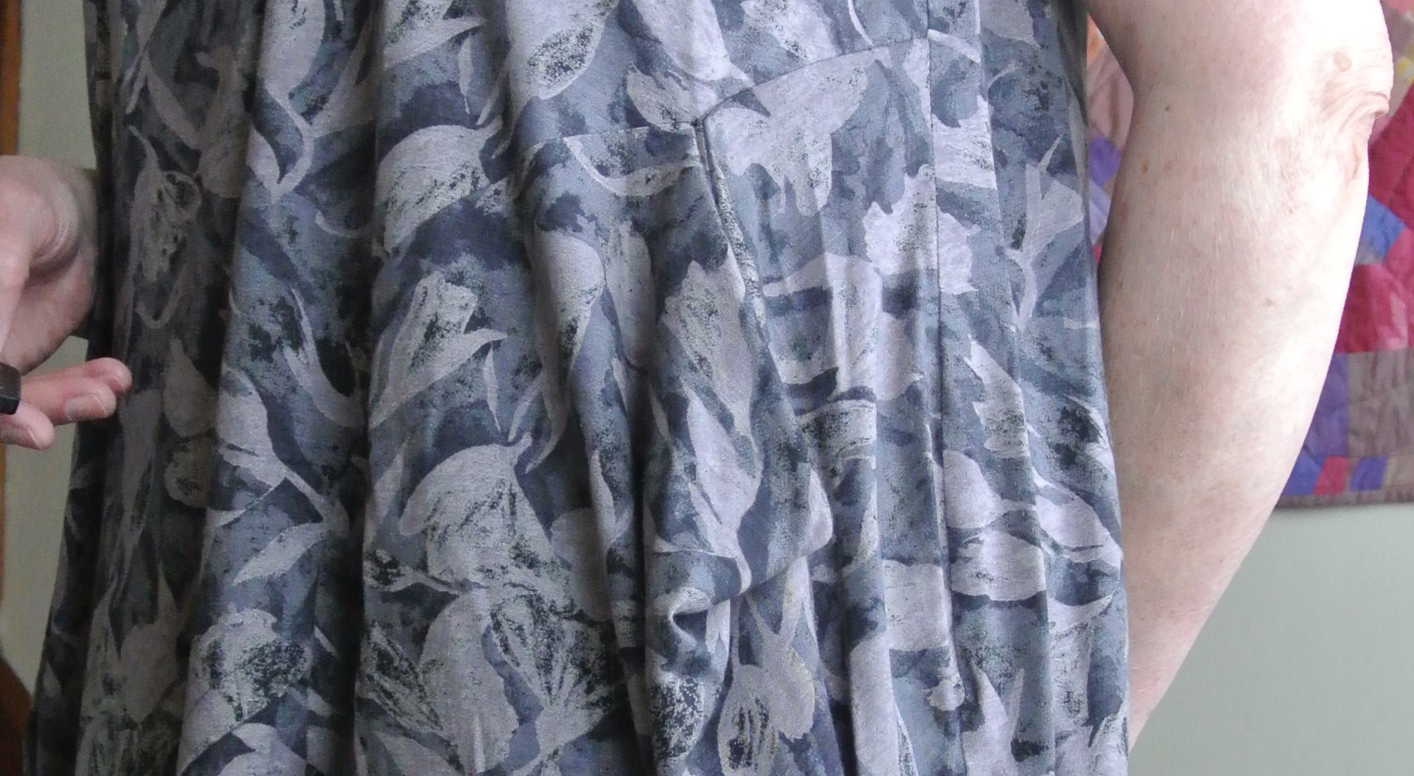
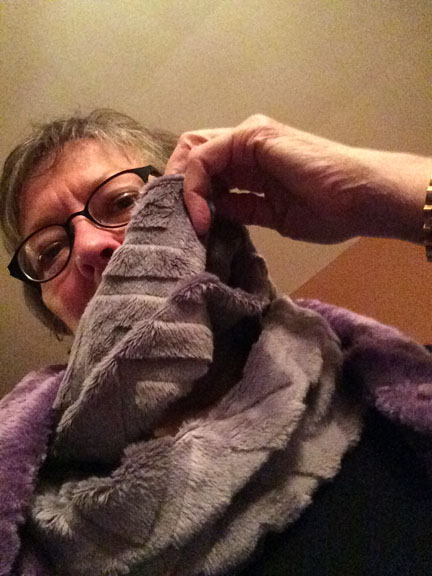
Little pocket, in center of photo
Fabric Used: This is a mystery from a jobber, but I think it’s rayon/lycra. It’s a very lightweight, almost meshy fabric that flows nicely.
Pattern alterations or any design changes you made:
I interfaced all the hems and the back shoulder seams with a tricot interfacing. I learned this from Marcy Tilton and use that tip on every knit top to stabilize the shoulders and to make the hems so much easier to turn and double-needle topstitch.
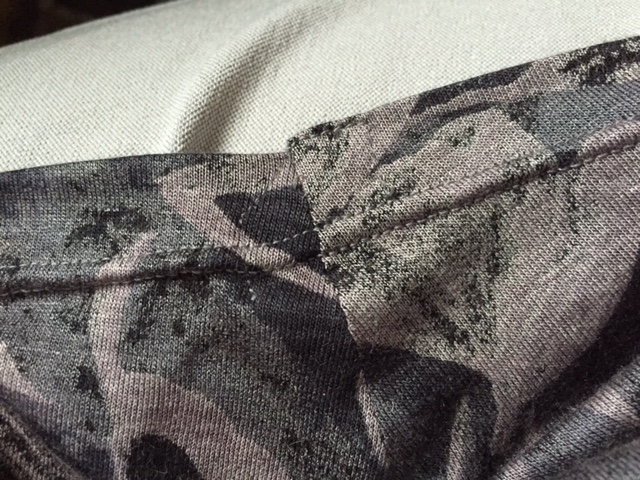 On the right side seam, the illustration shows opening up the basted hem and sewing to the bottom, then turning up the hem. As with my comments about the left side seam, the right side is not straight across. It’s a shallow scallop (for lack of a better explanation). I left the hem turned up, then sewed to the bottom, then topstitched along the top of the hem allowance across those folded edges to hold in place. Then I double-needle stitched all the way around the hem. (Please leave a comment if this doesn’t make sense to you. I’ll also put a close-up picture on my blog to better illustrate.)
 Would you sew it again? Would you recommend it to others? Probably, with some changes. I think I’ll make a regular facing for the Lower Left Back/Front rather than trying to bind or just turn up. I’d be much happier with that finished result, I imagine. Also need to tweak the pattern to decrease the size of the armhole—too much gapage.
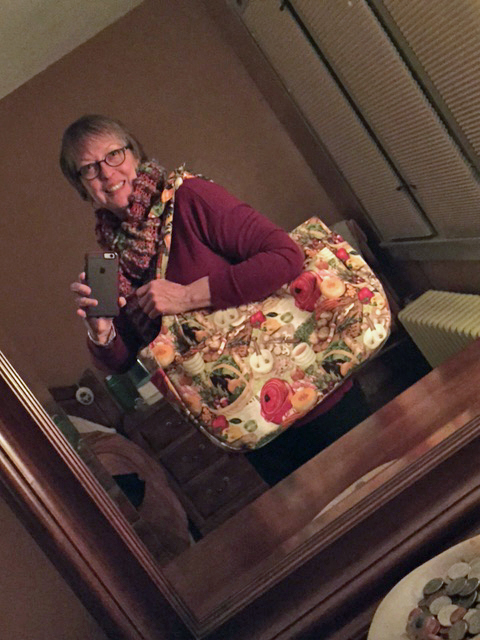
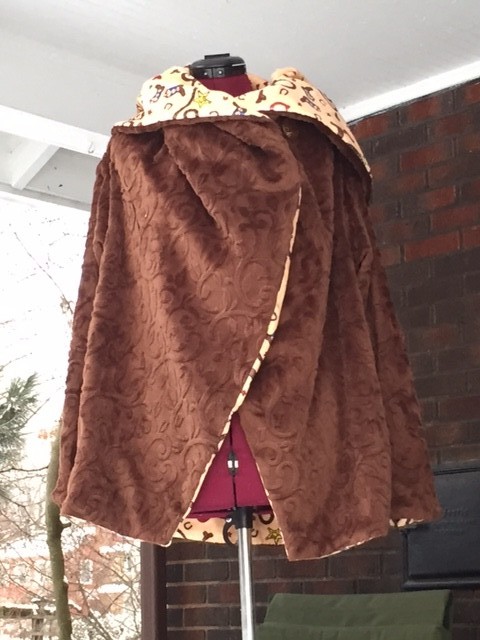
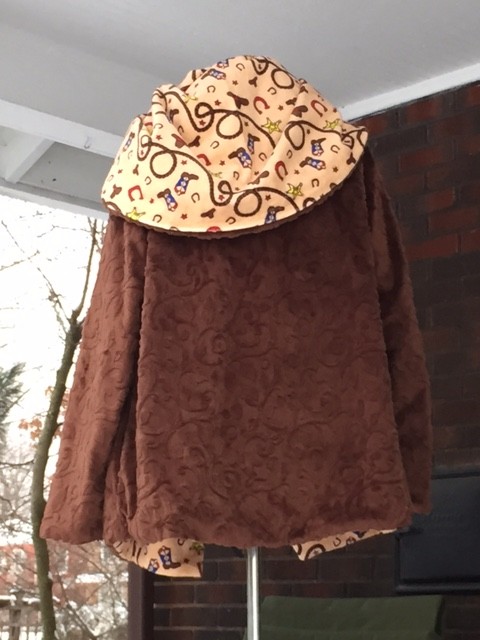
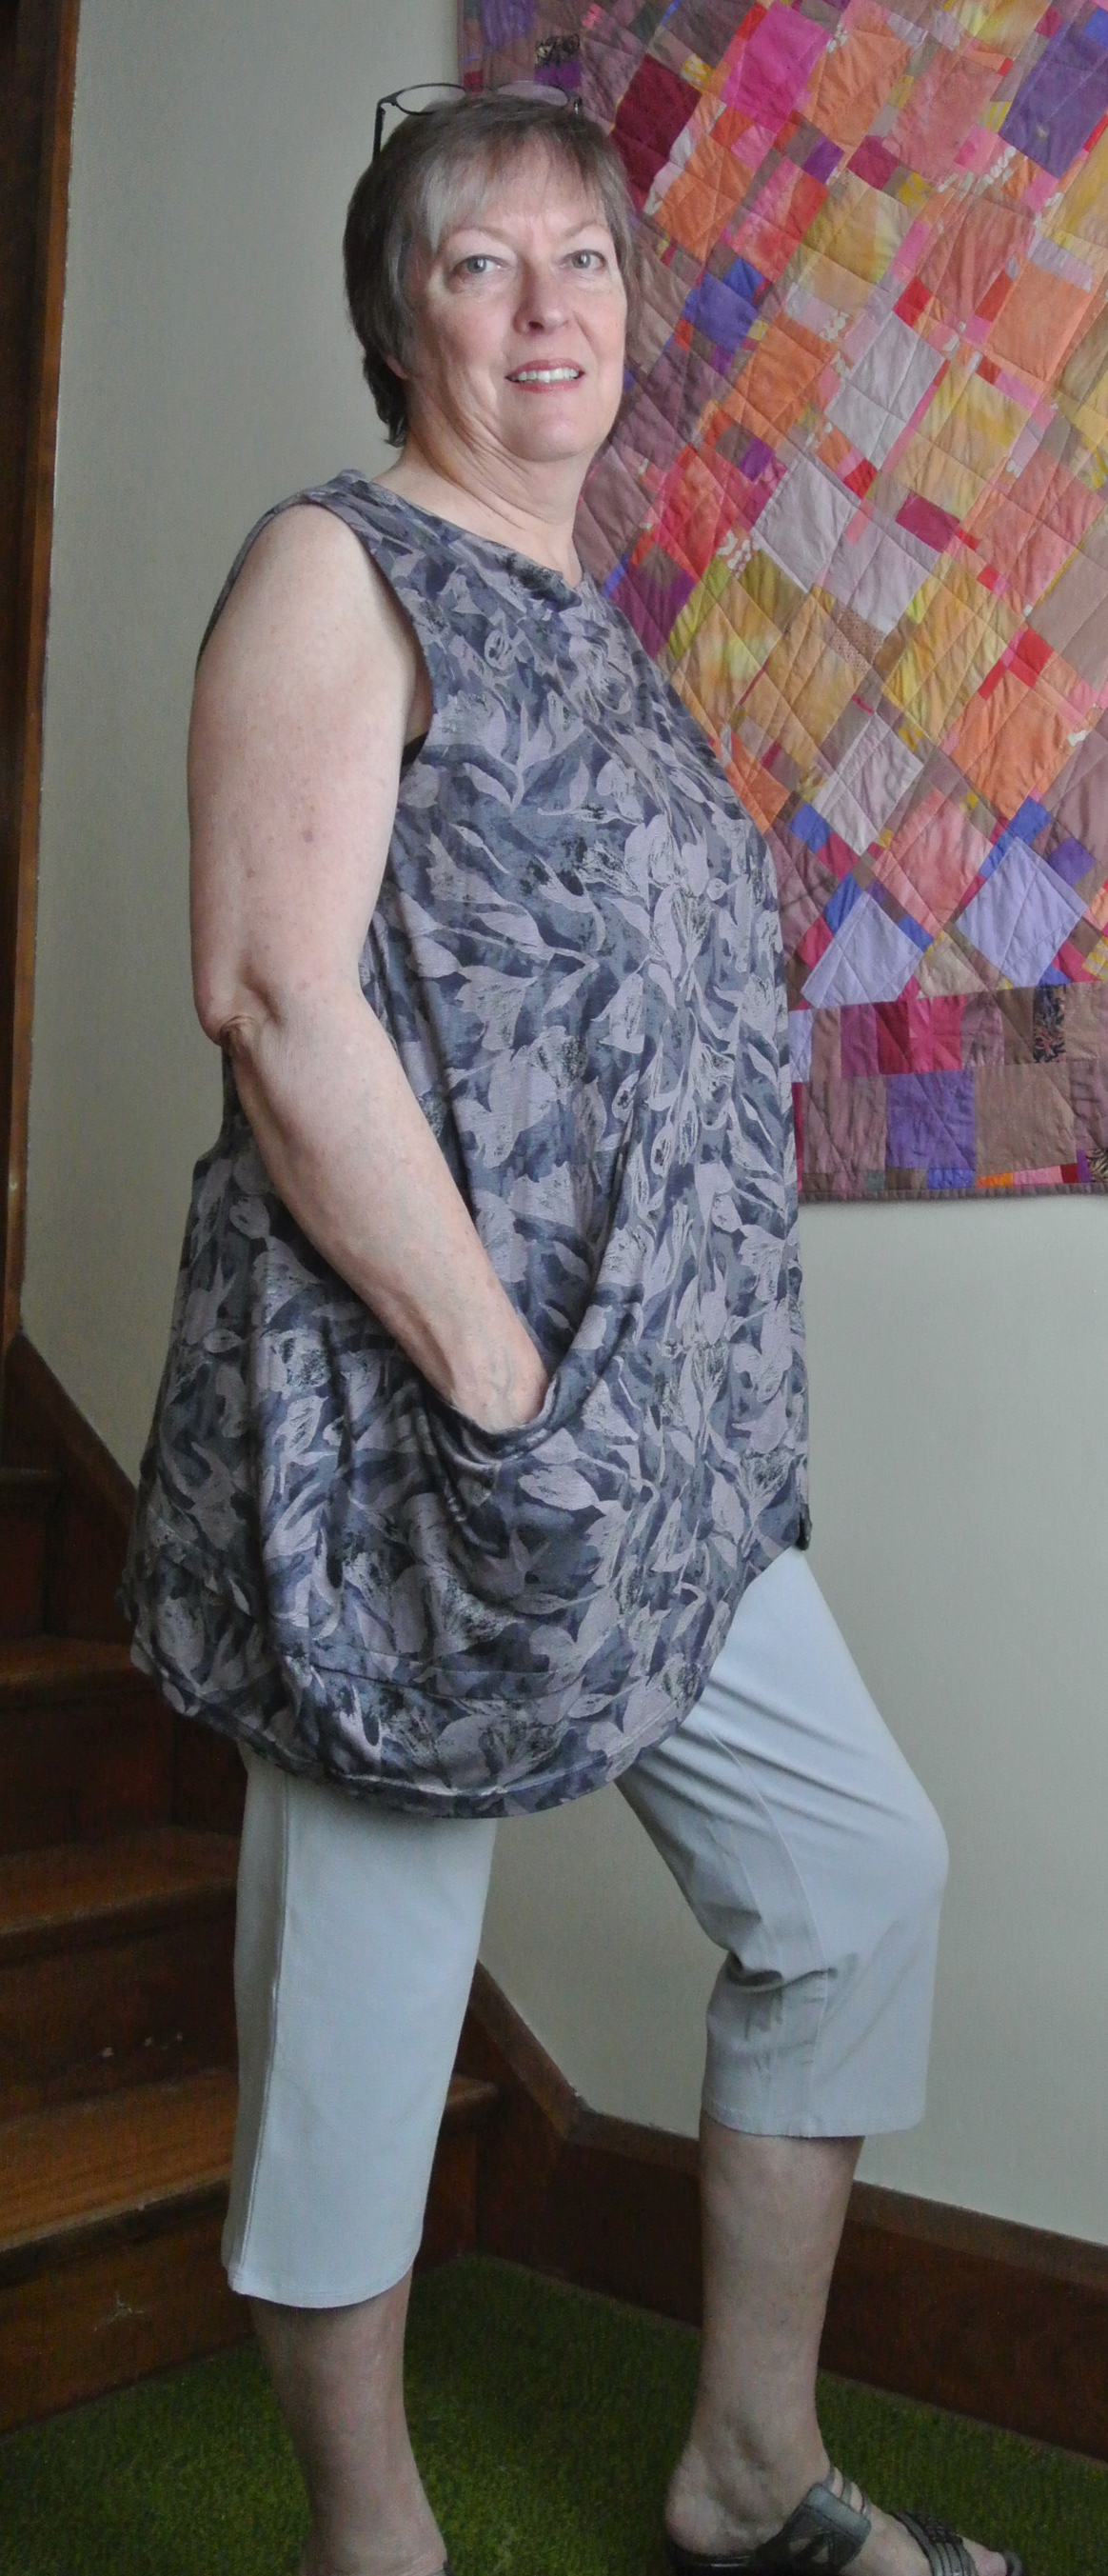
Conclusion: Another unique top from Katherine Tilton. Very flowing and flattering. Great for next week’s snow-fleeing vacation in Mexico.
I think this is one of those tops that I’m going to grow to love more and more as I wear it. The fabric is very comfortable, and I think I’ll be happy I have it as we’re walking around Tulum next week.
Take care of the snow until we return. 🙂