 I have an ongoing love affair with Eileen Fisher. This affair is about 20 years old, and is quite passionate. Oh, the hours I spend looking at her various styles online at Nordstrom, Naturals-inc.com, Neiman-Marcus, and the EF website. Whenever I wear a piece of EF clothing, I feel très chic.
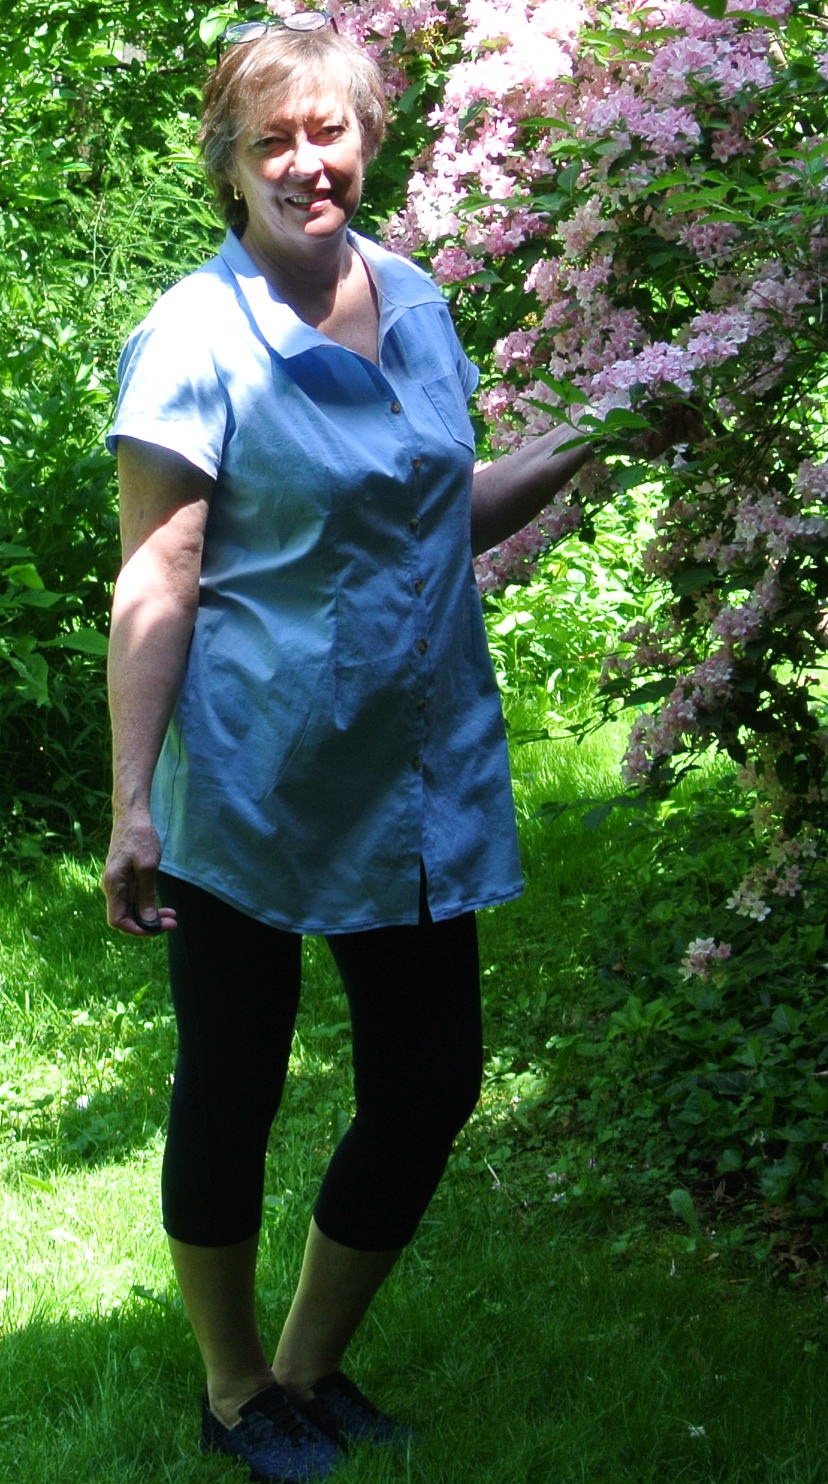
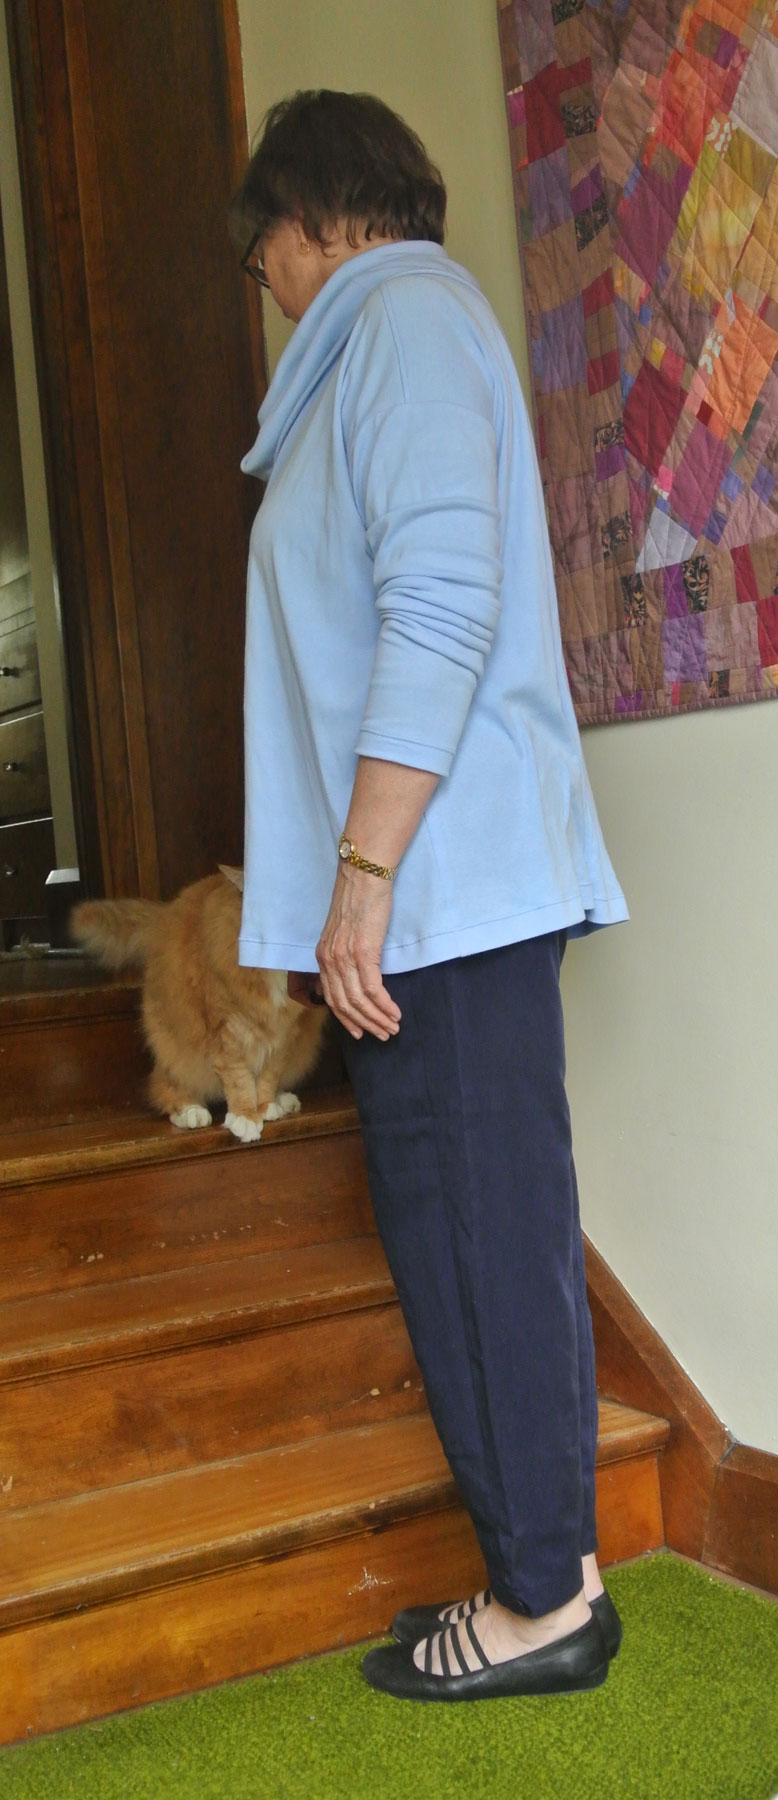
I recently discovered McCall’s 7020. If you look at the line drawings on the pattern back, this pattern is very similar to several of my favorite EF sweaters. Pairing the boxy top with a skinny pair of pants and flat shoes or boots gives me an instant put-together look.
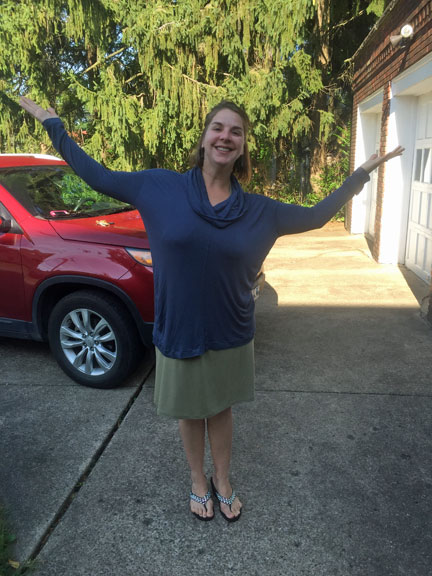
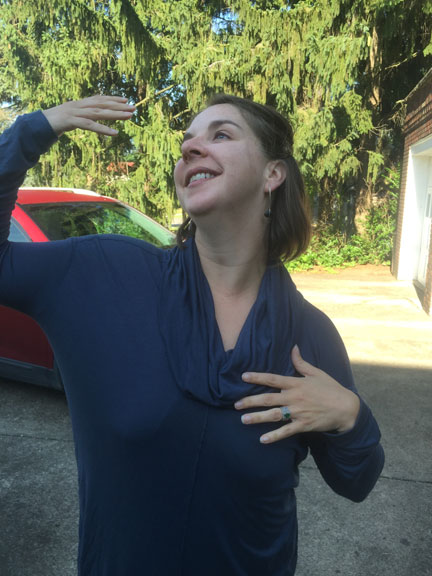
You’ll remember I’m assembling a sky-blue-over-navy-blue wardrobe for my six-week gig as a collaborative pianist at Interlochen Arts Camp this summer. I found a sky blue cotton jersey at Mood Fabrics that I used for the Sewaholic Renfrew t-shirt that I blogged about here. I had enough left for one more shirt, and—after being reminded by my DIL-Equivalent that all shirts must have collars—decided to make the McCall’s boxy top with the cowl neck.
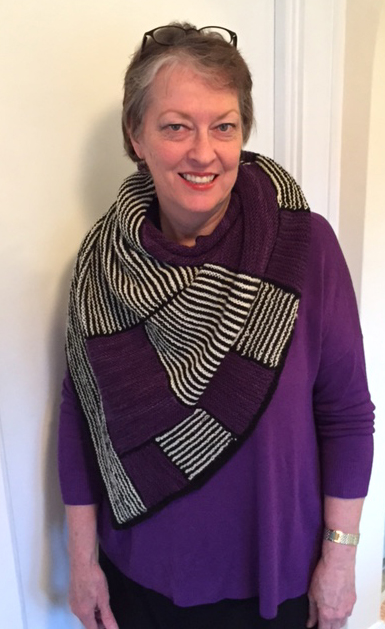
 Now that it’s all done, I don’t love it, but I will wear it. The fabric doesn’t have enough “oomph” to it, as I intimated in the previous post. I think I would love it in a nice sweater knit, like the purple one I wore to show off my latest knitting project. I would also like it in a rayon/lycra knit or an ITY poly/lycra knit—just something with a little more body and a little less chance of my bra showing through.
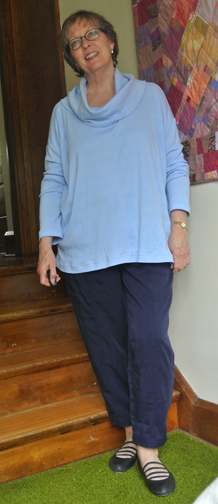
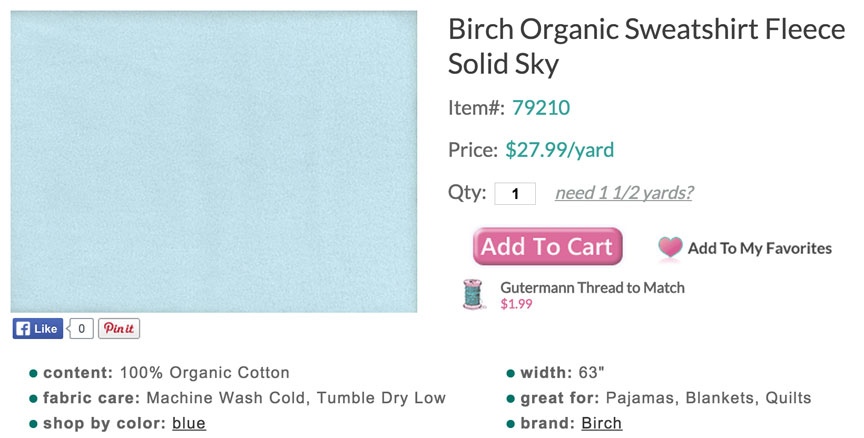
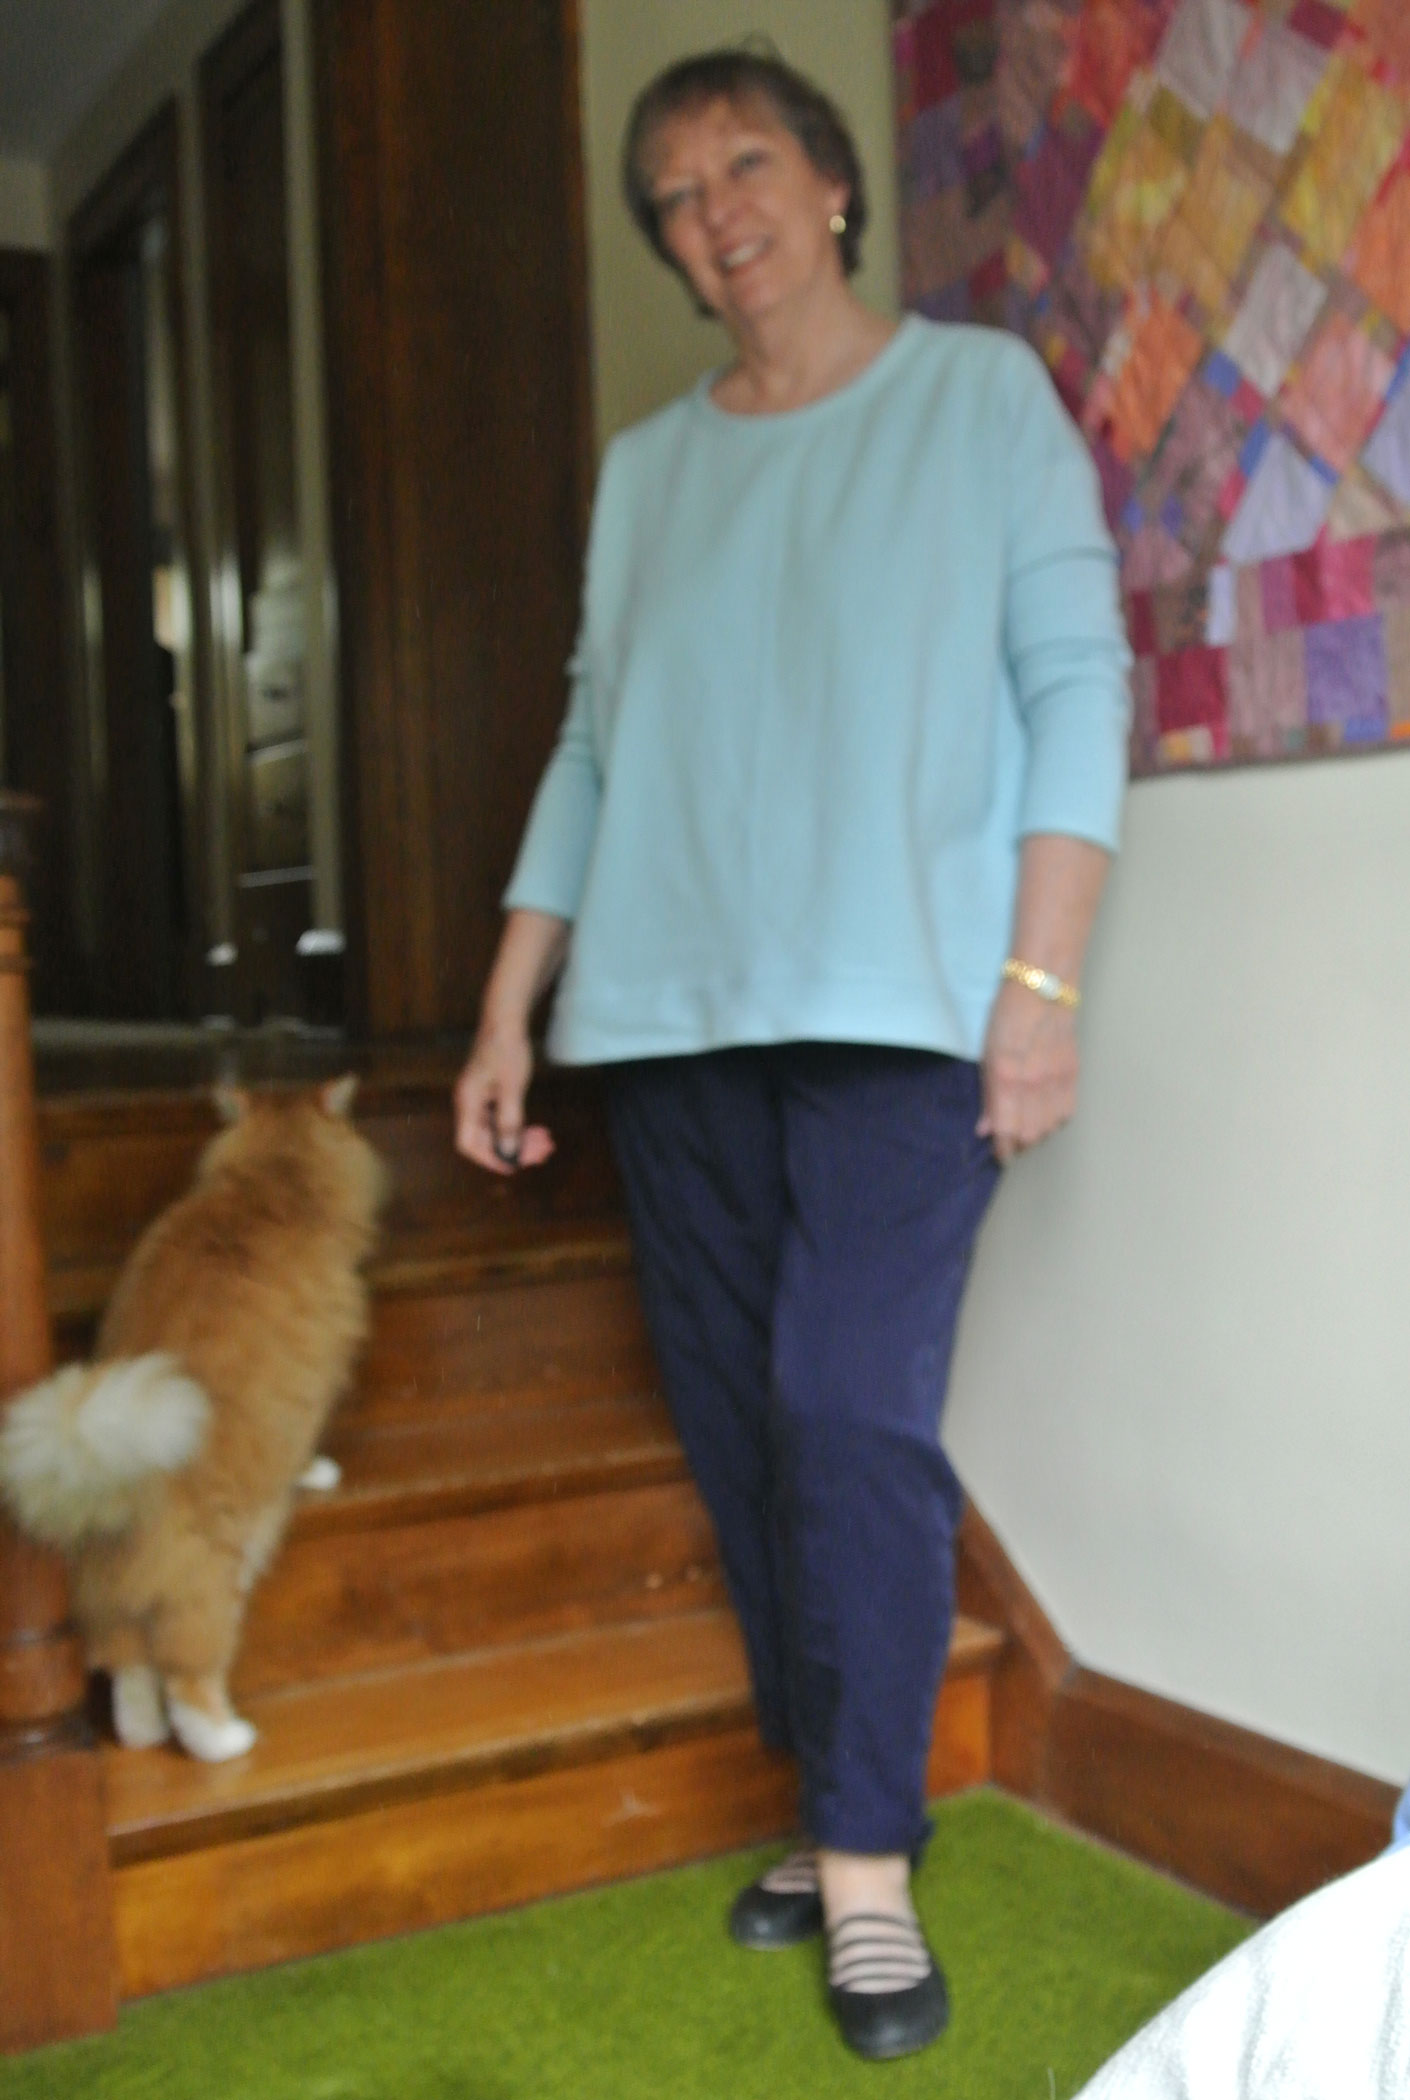
 About the time I was making the first blue t-shirt, I found this Birch Organic Sweatshirt Fleece online at Hart’s Fabric in Santa Cruz. Yum yummity yum! You want oomph? This fabric has oomph. It has cat sleeping on your lap warmth and comfort. As I was trying it on during the sewing process, I kept thinking it might just be something to sleep in on cold Northeast Ohio winter nights!
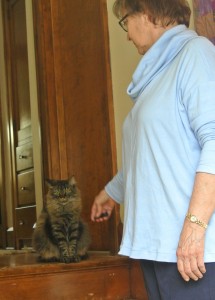
Story time: When DS#2 went to Interlochen Arts Camp—then known as National Music Camp—for the first time when he was 14, I packed him up with all the requisite navy chinos, navy shorts, sky blue polos, red sweaters, and linens for the eight-week session. He would be living in a cabin, and his linens included a blanket. About a week later, he called me and asked if I’d send him another blanket and a fan. That tells you a little about summers in northern Michigan. It gets hot, and it gets cold. So I’m trying to make sure I have enough warm layers to keep me comfortable no matter what Mother Nature throws at that magical land between the lakes.
So, anyway, when I saw this sweatshirt material, I grabbed enough to make a sweatshirt. Indie pattern designer Jennifer Beeman, of Grainline Studio, recently introduced her Linden Sweatshirt and I quickly downloaded the pattern, thinking it would be an enjoyable project. But then after looking at McCall’s 7020, I thought it would be interesting to make a second version in the heavier fabric.
Okay, I’ll admit that the sweatshirt fabric, as yummy as it is, isn’t really the right fabric for Eileen Fisher’s boxy drop-shoulder top McCall’s 7020. Will I wear it? Absolutely. I’ll probably wear it over and over this summer. I have a couple of tanks in a similar blue that will give me an extra layer if it’s that cold. And it’s the right length to shove my hands in my pants pockets without destroying the line of the top.
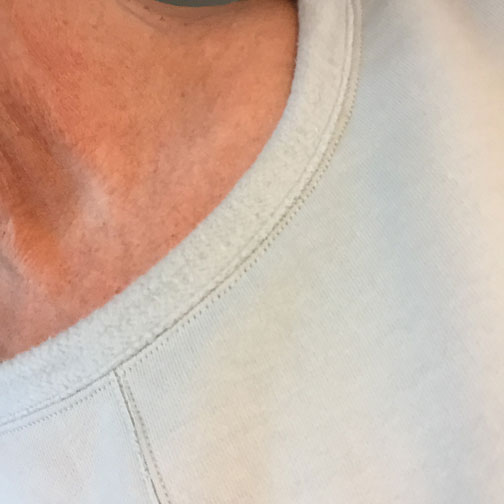
And—she said, patting herself on the back—the double-needle stitching and the binding is fricking brilliant!!
Here’s what I’m talking about.
I was short of fabric, so I cut the top and the sleeves at a shorter length. For the neckline and sleeve, I cut a binding strip of 2⅛”. For the hem, I cut two binding strips of 5″.
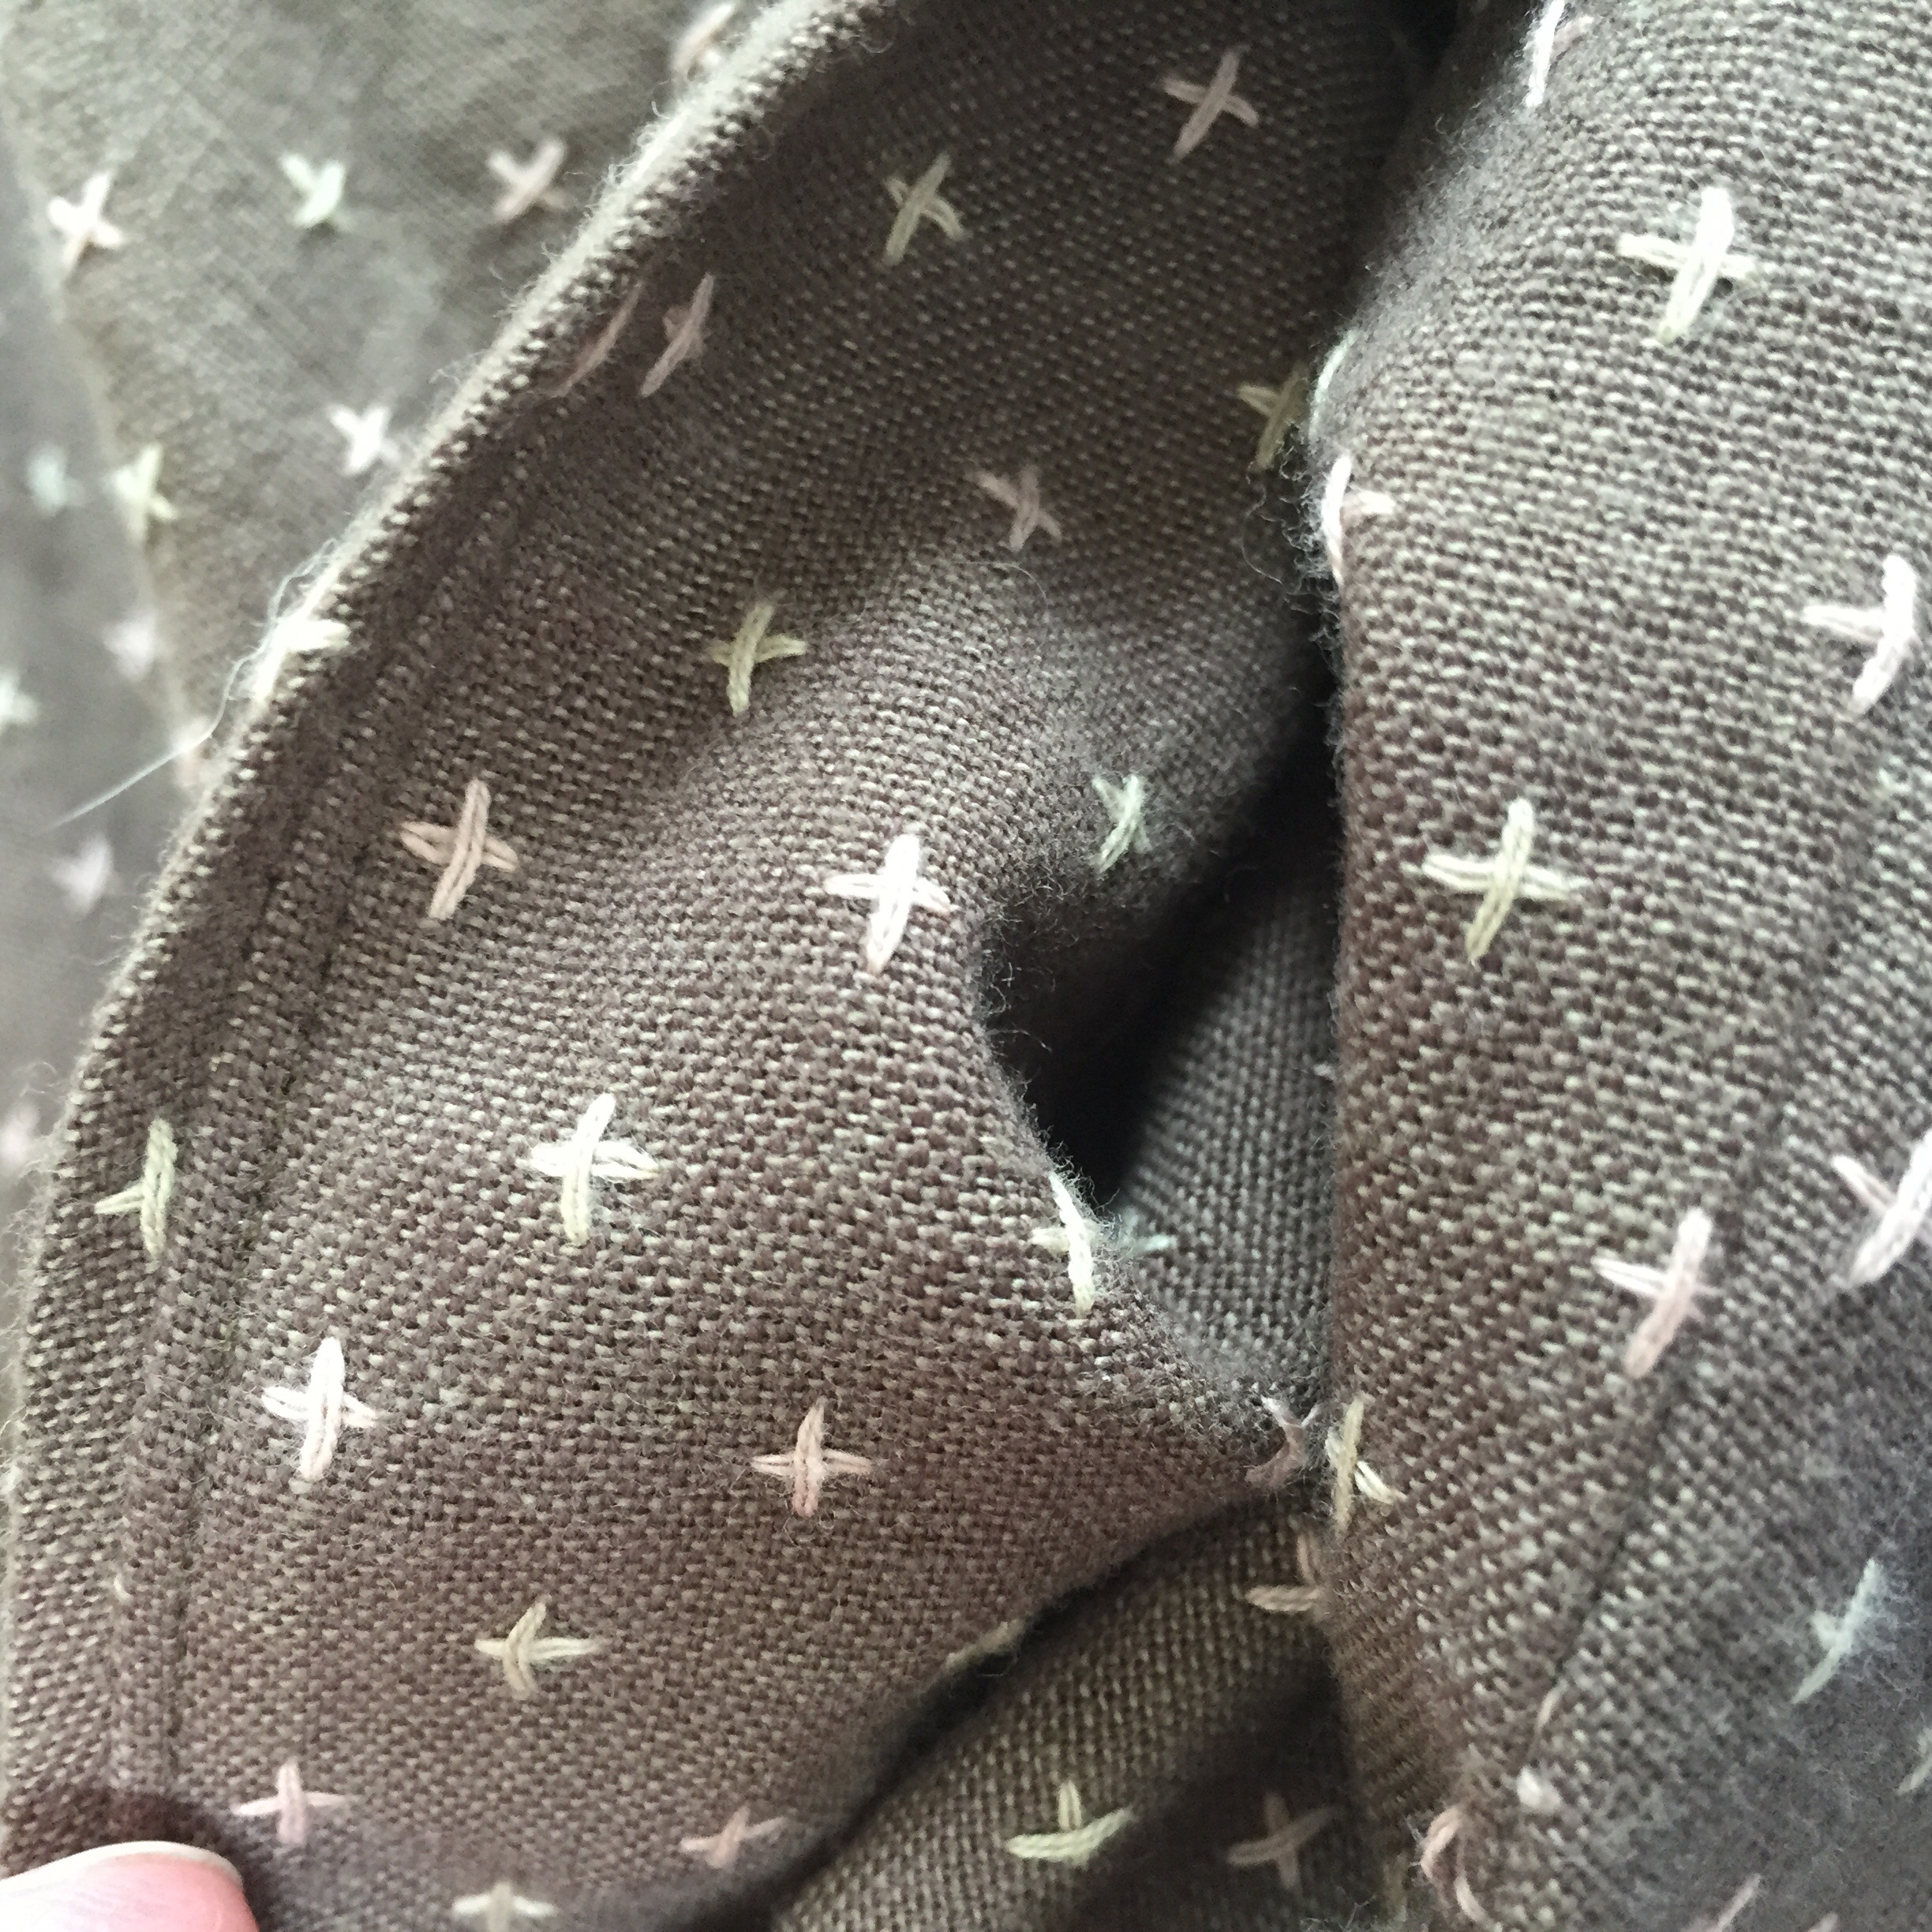
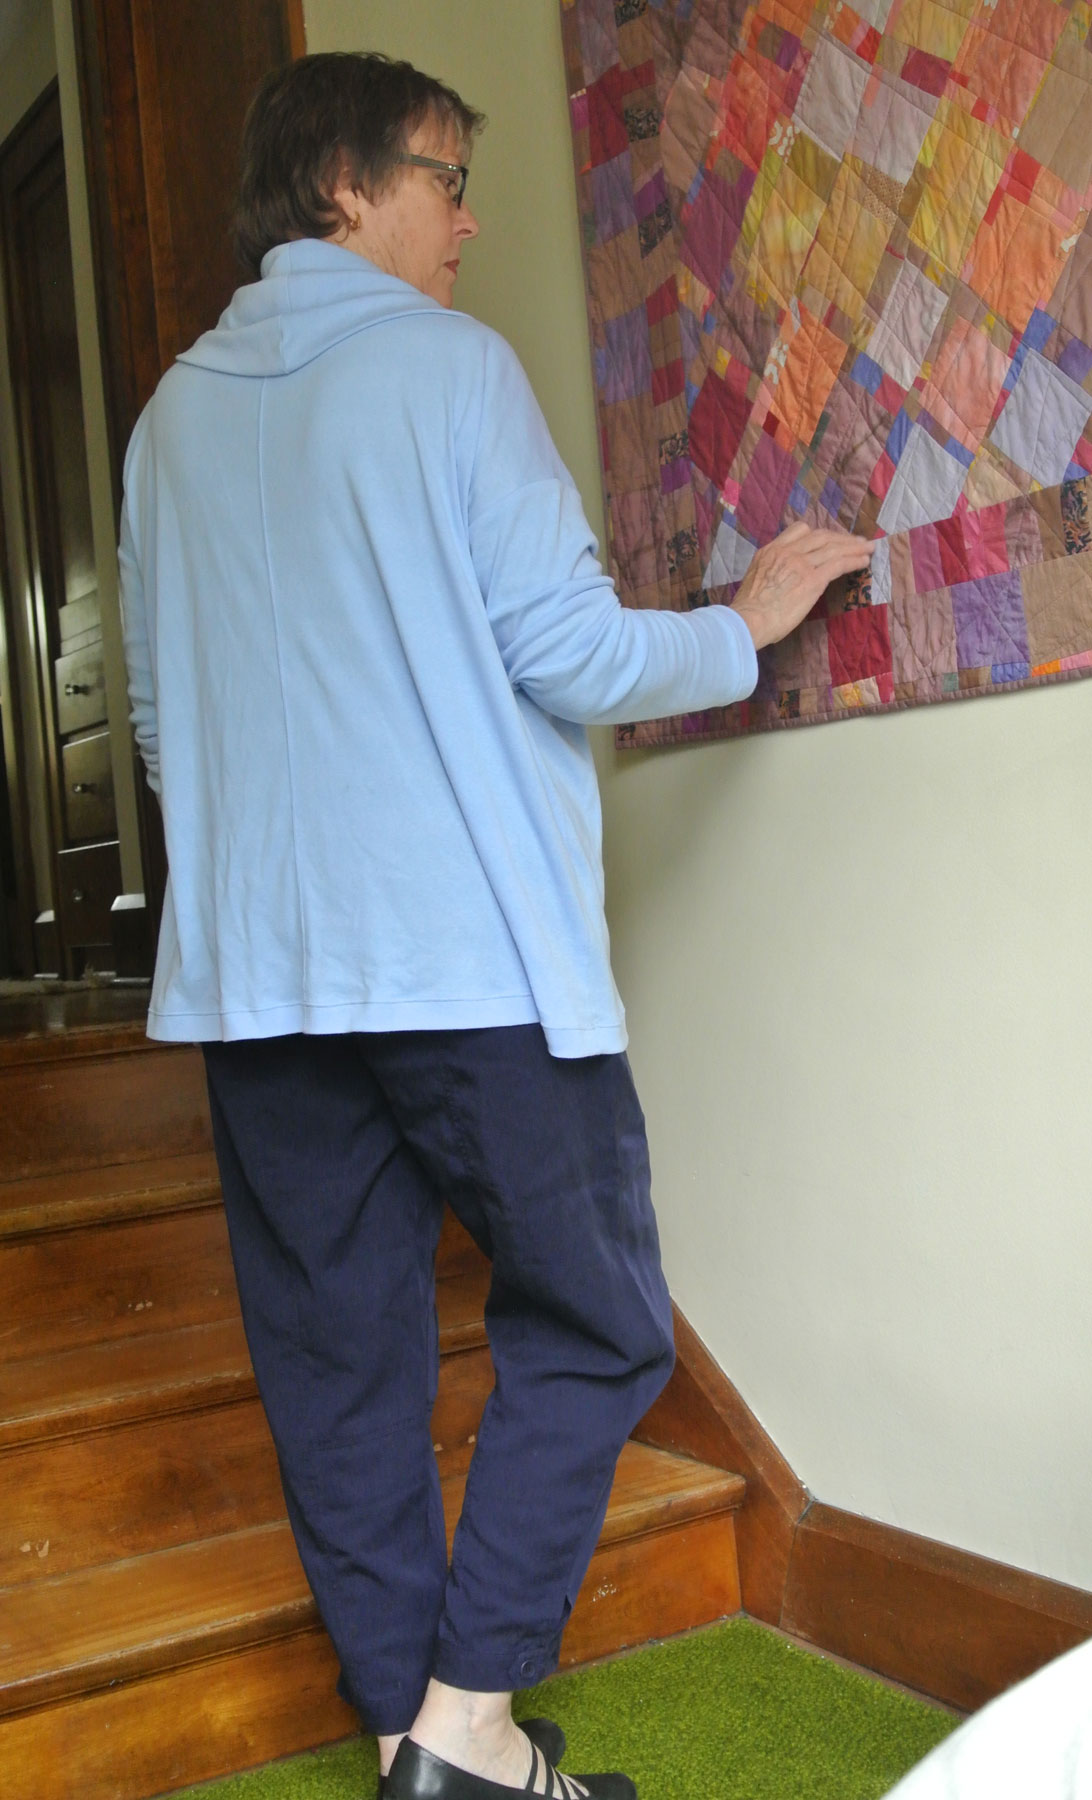
The body has center front and back seams, which I sewed, pressed open, then double-needle topstitched, centering the seam between the two needles. I think I use a 4.0 needle. After sewing, I trimmed the excess fleece from the wrong side. Love the look!
 Neckline: With CF and CB seams already sewn and topstitched, sew the shoulder seams. (I always reinforce the back seam allowance with a strip of tricot interfacing.) Press the seam allowance to the back and topstitch from the outside. Trim the excess seam allowance on the inside. Run your measuring tape around the neckline, standing it on its edge and holding at the seam allowance (not the cut edge), in this case, ⅝” in from the cut edge. For my size L, the length was 27.5″. Multiplying that number by .8 (The Gospel According to Marcy Tilton) gave me 22″. I cut my 2⅛” binding strip a little longer than 22″, probably 23″ (to allow for seaming), lapped the ends, and made a diagonal seam.
(Quilters know what I’m talking about. If you don’t, here’s a little tutorial.)
Here’s the challenge: You want the seam on the wrong side of the binding strip, and you want the fleece to be the outside of the binding strip. So pin it and check it a couple of times to make sure you’re sewing the fleece side together and making the seam on the sweatshirt side. Don’t do what I did: First I made the fleece the wrong side. When I realized what I had done, I made the seam on the correct side, but I turned it the wrong way before pinning, so I ended up with a mobius strip!!! No. Good.
The seam (when correctly sewn) becomes the center back—mark it with a pin. Fold in half and find the center front and mark with a pin. Match the binding CF and CB to the garment CF and CB. Now pin cut edges together, fleece side of binding next to sweatshirt side of garment neck. Pin 1:1 from CB to the two neckline seams, then stretch the binding from the neckline seams to the CF. This will make the finished binding lie flat and hug your neckline. Sew with a ⅝” seam. Press the binding toward the neck opening, then wrap to the back so it just covers the seam. No need to worry about folding the raw edge under, as this is knit and will not fray. Place pins on the right side just under the binding seam and catching the edge of the binding raw edge.
Topstitch the neck binding with a double needle, running the seam centered between the two needles, catching the fleece binding with the right needle and the sweatshirt with the left needle.
 Sleeve: This binding goes on after flat insertion of the sleeve into the armhole, but before sewing the underarm seam. Cut the binding strip a little longer than the cut edge. Sew with a ⅝” seam and press the binding toward the sleeve end. Wrap as you did the neckline, and press well. Now trim the ends of the binding to match the right side of the sleeve, including that wrapped ⅝”. When you open the binding out, you’ll see an angular hourglass. Finish the garment hem before topstitching the sleeve binding.
 Hem: Cut the 5″ binding strip wider than the front and back hems (you still have not sewn the side seams). Pin the fleece side of the binding to the sweatshirt side of the front. Being careful not to stretch the binding, sew with a ¼” seam. Press binding away from the body. Turn the garment wrong side up and fold the strip to just cover the binding seam. This should give you about a 2″ hem band. Press well.
Sew side seams. I always start under the sleeve and sew to the end of the underarm seam, then go back and start at the same place and sew to the hem. This lets me make sure my underarm seams match and the seam allowance gets cleanly sewn toward the sleeve, and also helps me make sure my garment side seams end up the same length. It takes a few moments longer, but that’s my ripper use prevention technique.
Press the seams to the back.
Now pin the sleeve bindings in place, so the raw edge just covers the seam. Turn the sleeve wrong side out and place under presser foot. Double-needle topstitch, centering binding seam between the needles. Trim excess binding from the inside and press again.
Repeat with the hem, being careful not to stretch.
I hope that makes sense to you and that you’ll try it to see if you like. I’m thrilled with the result!
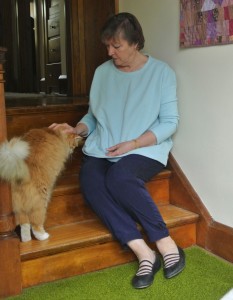 And Rudi likes it too. Oh wait, that’s Rudi we’re talking about. He likes anything that involves his getting a little lovin’.
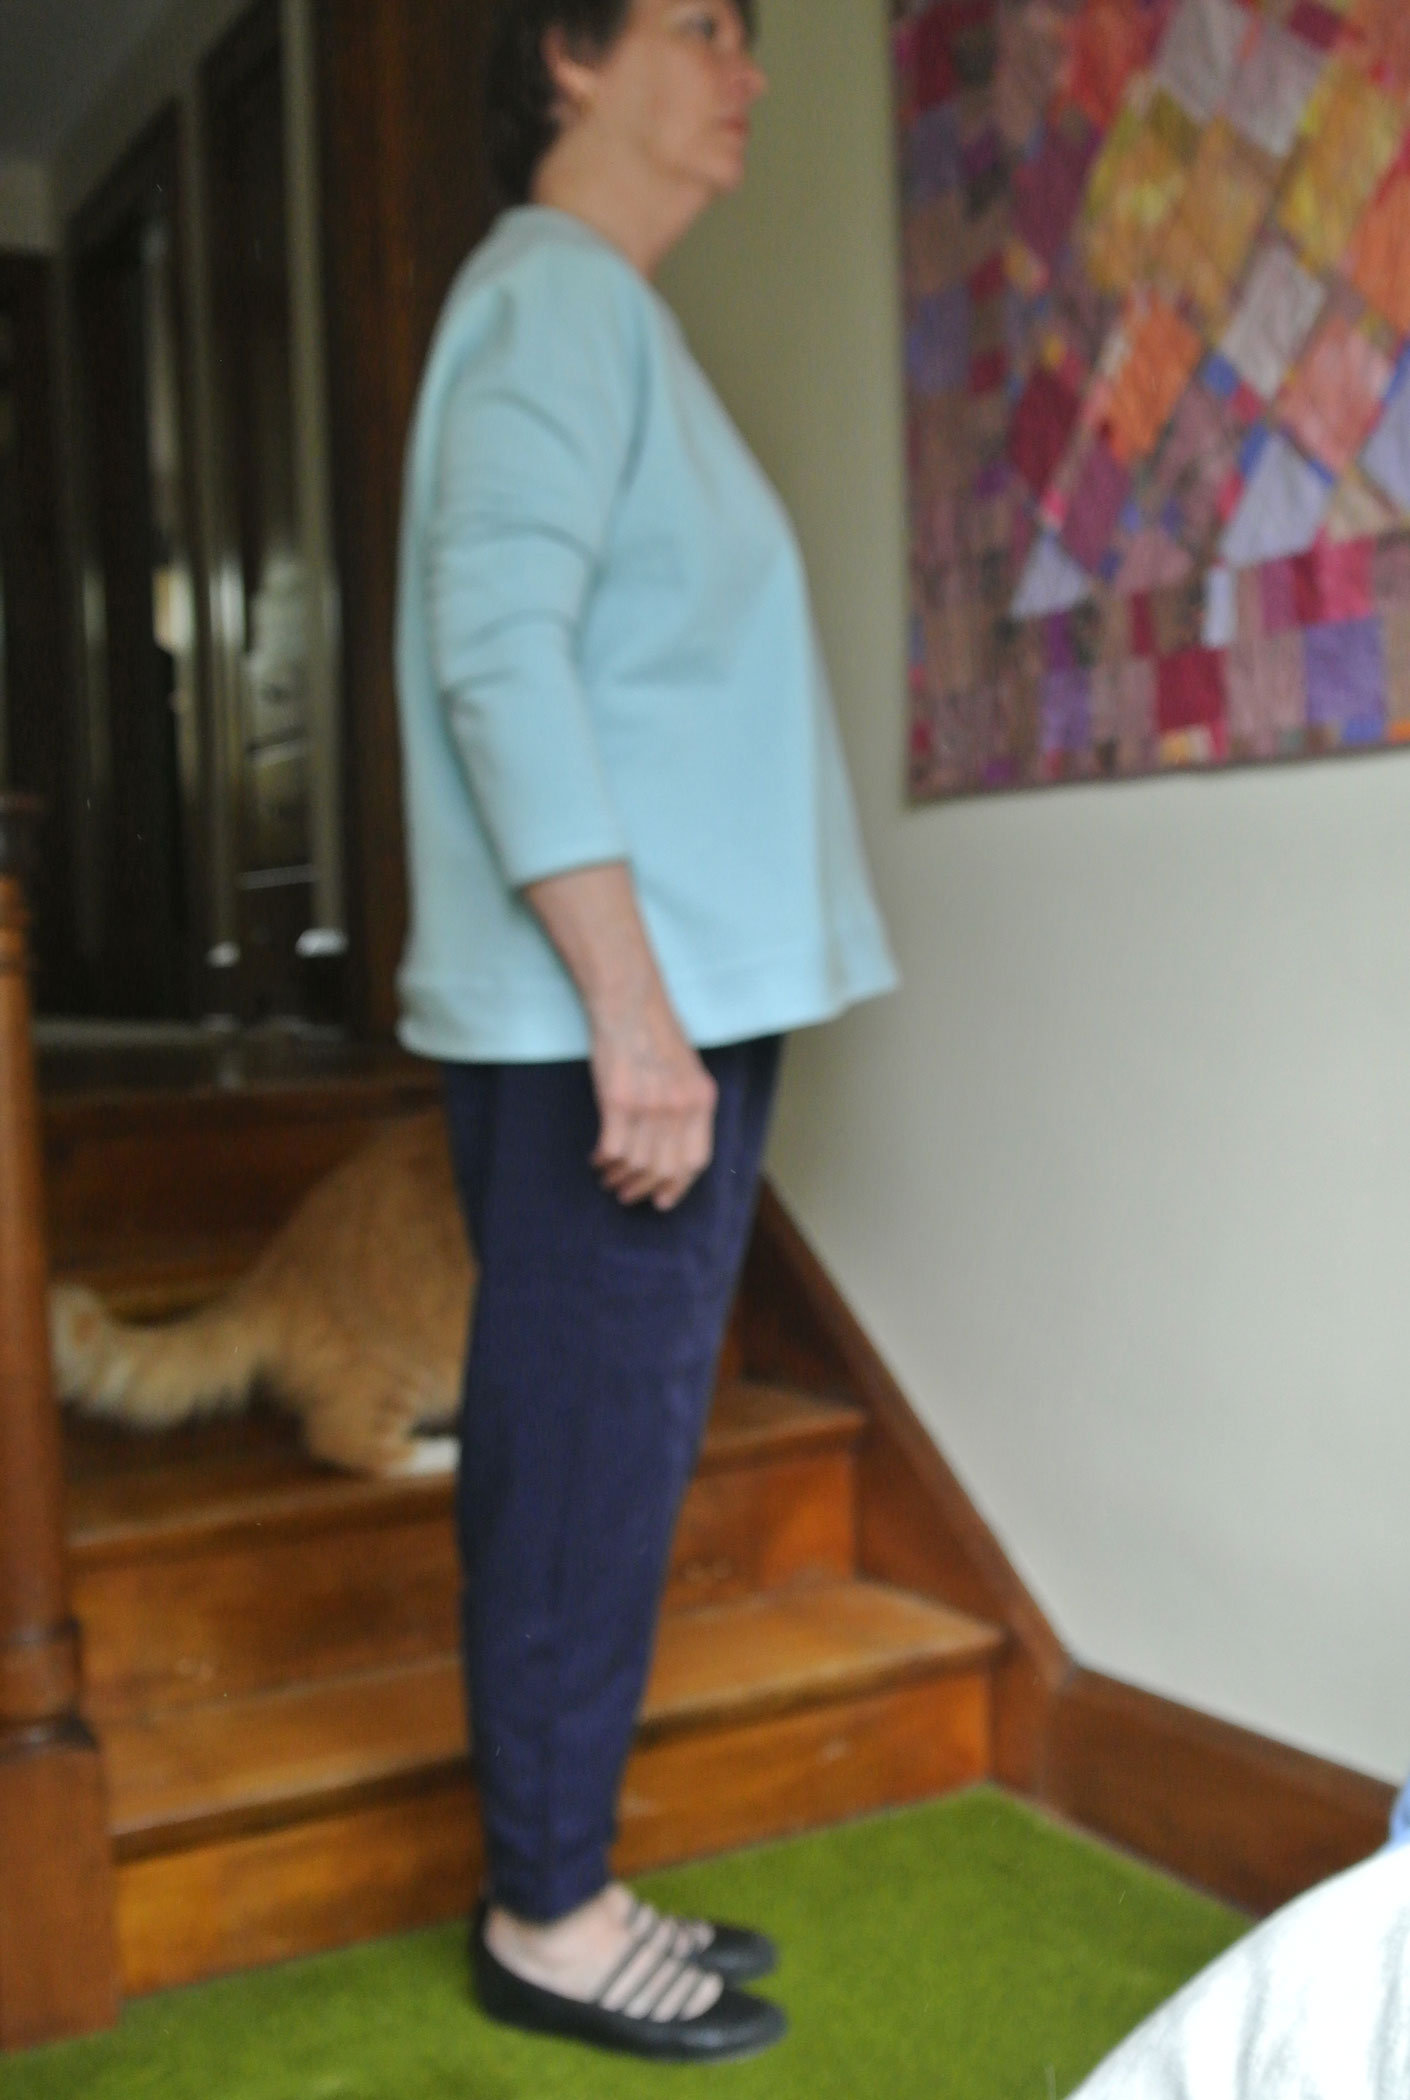
One last note about the side view of the sweatshirt. It probably could have had a length adjustment in the front, in lieu of a FBA. But I didn’t. I’m thinking that after a few washings, it will soften up a little and not stand out so much. At least that’s my hope!
About DS#2 who went to National Music Camp in 1989 at age 14—you do that math. He turns 40 tomorrow!!!!!


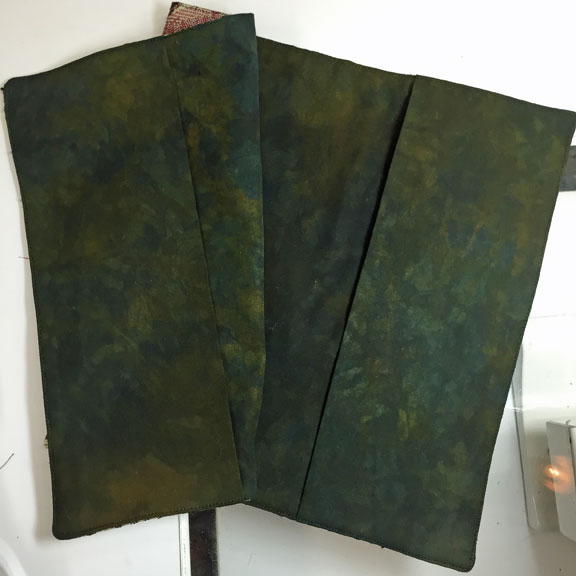
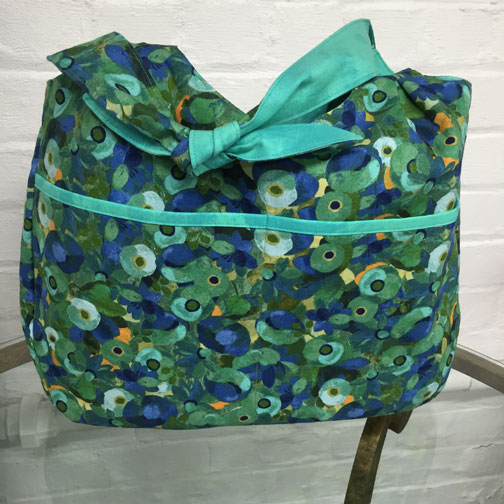
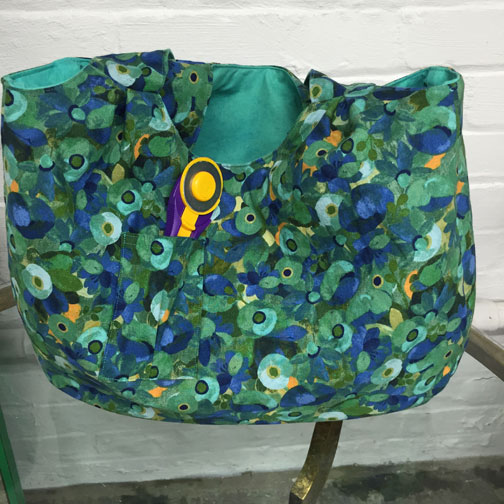
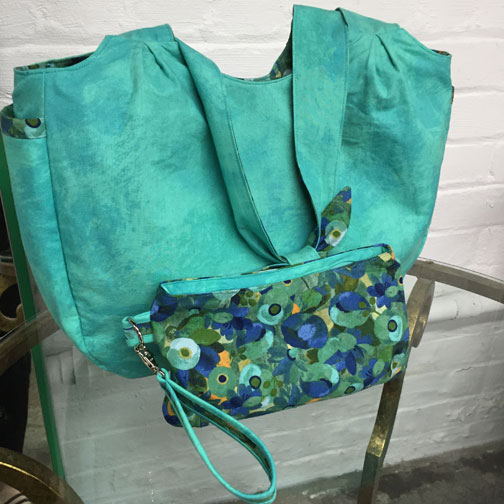
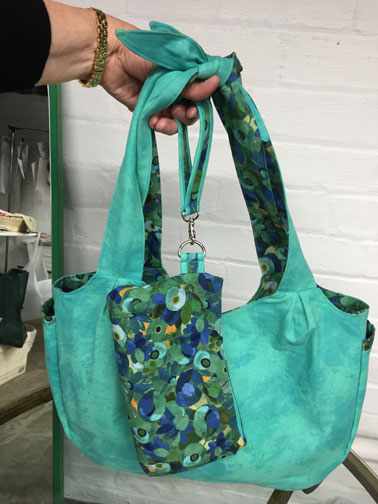
 When I arrived home from Interlochen in early August, my DIL-Equivalent, Leslie, arrived a day after me for a stay of several days before heading back to Amarillo to start the school year at her university. I had hoped to quickly make a little wristlet clutch for her darling 5yo daughter, affectionately known as Meme.
 I searched through my stash and found a remnant from a bag I made two years ago featuring sweet little dogs. I dug out some lime cotton that matched the polka dots on the doxie fabric, and pulled a lime zipper from my stash.
 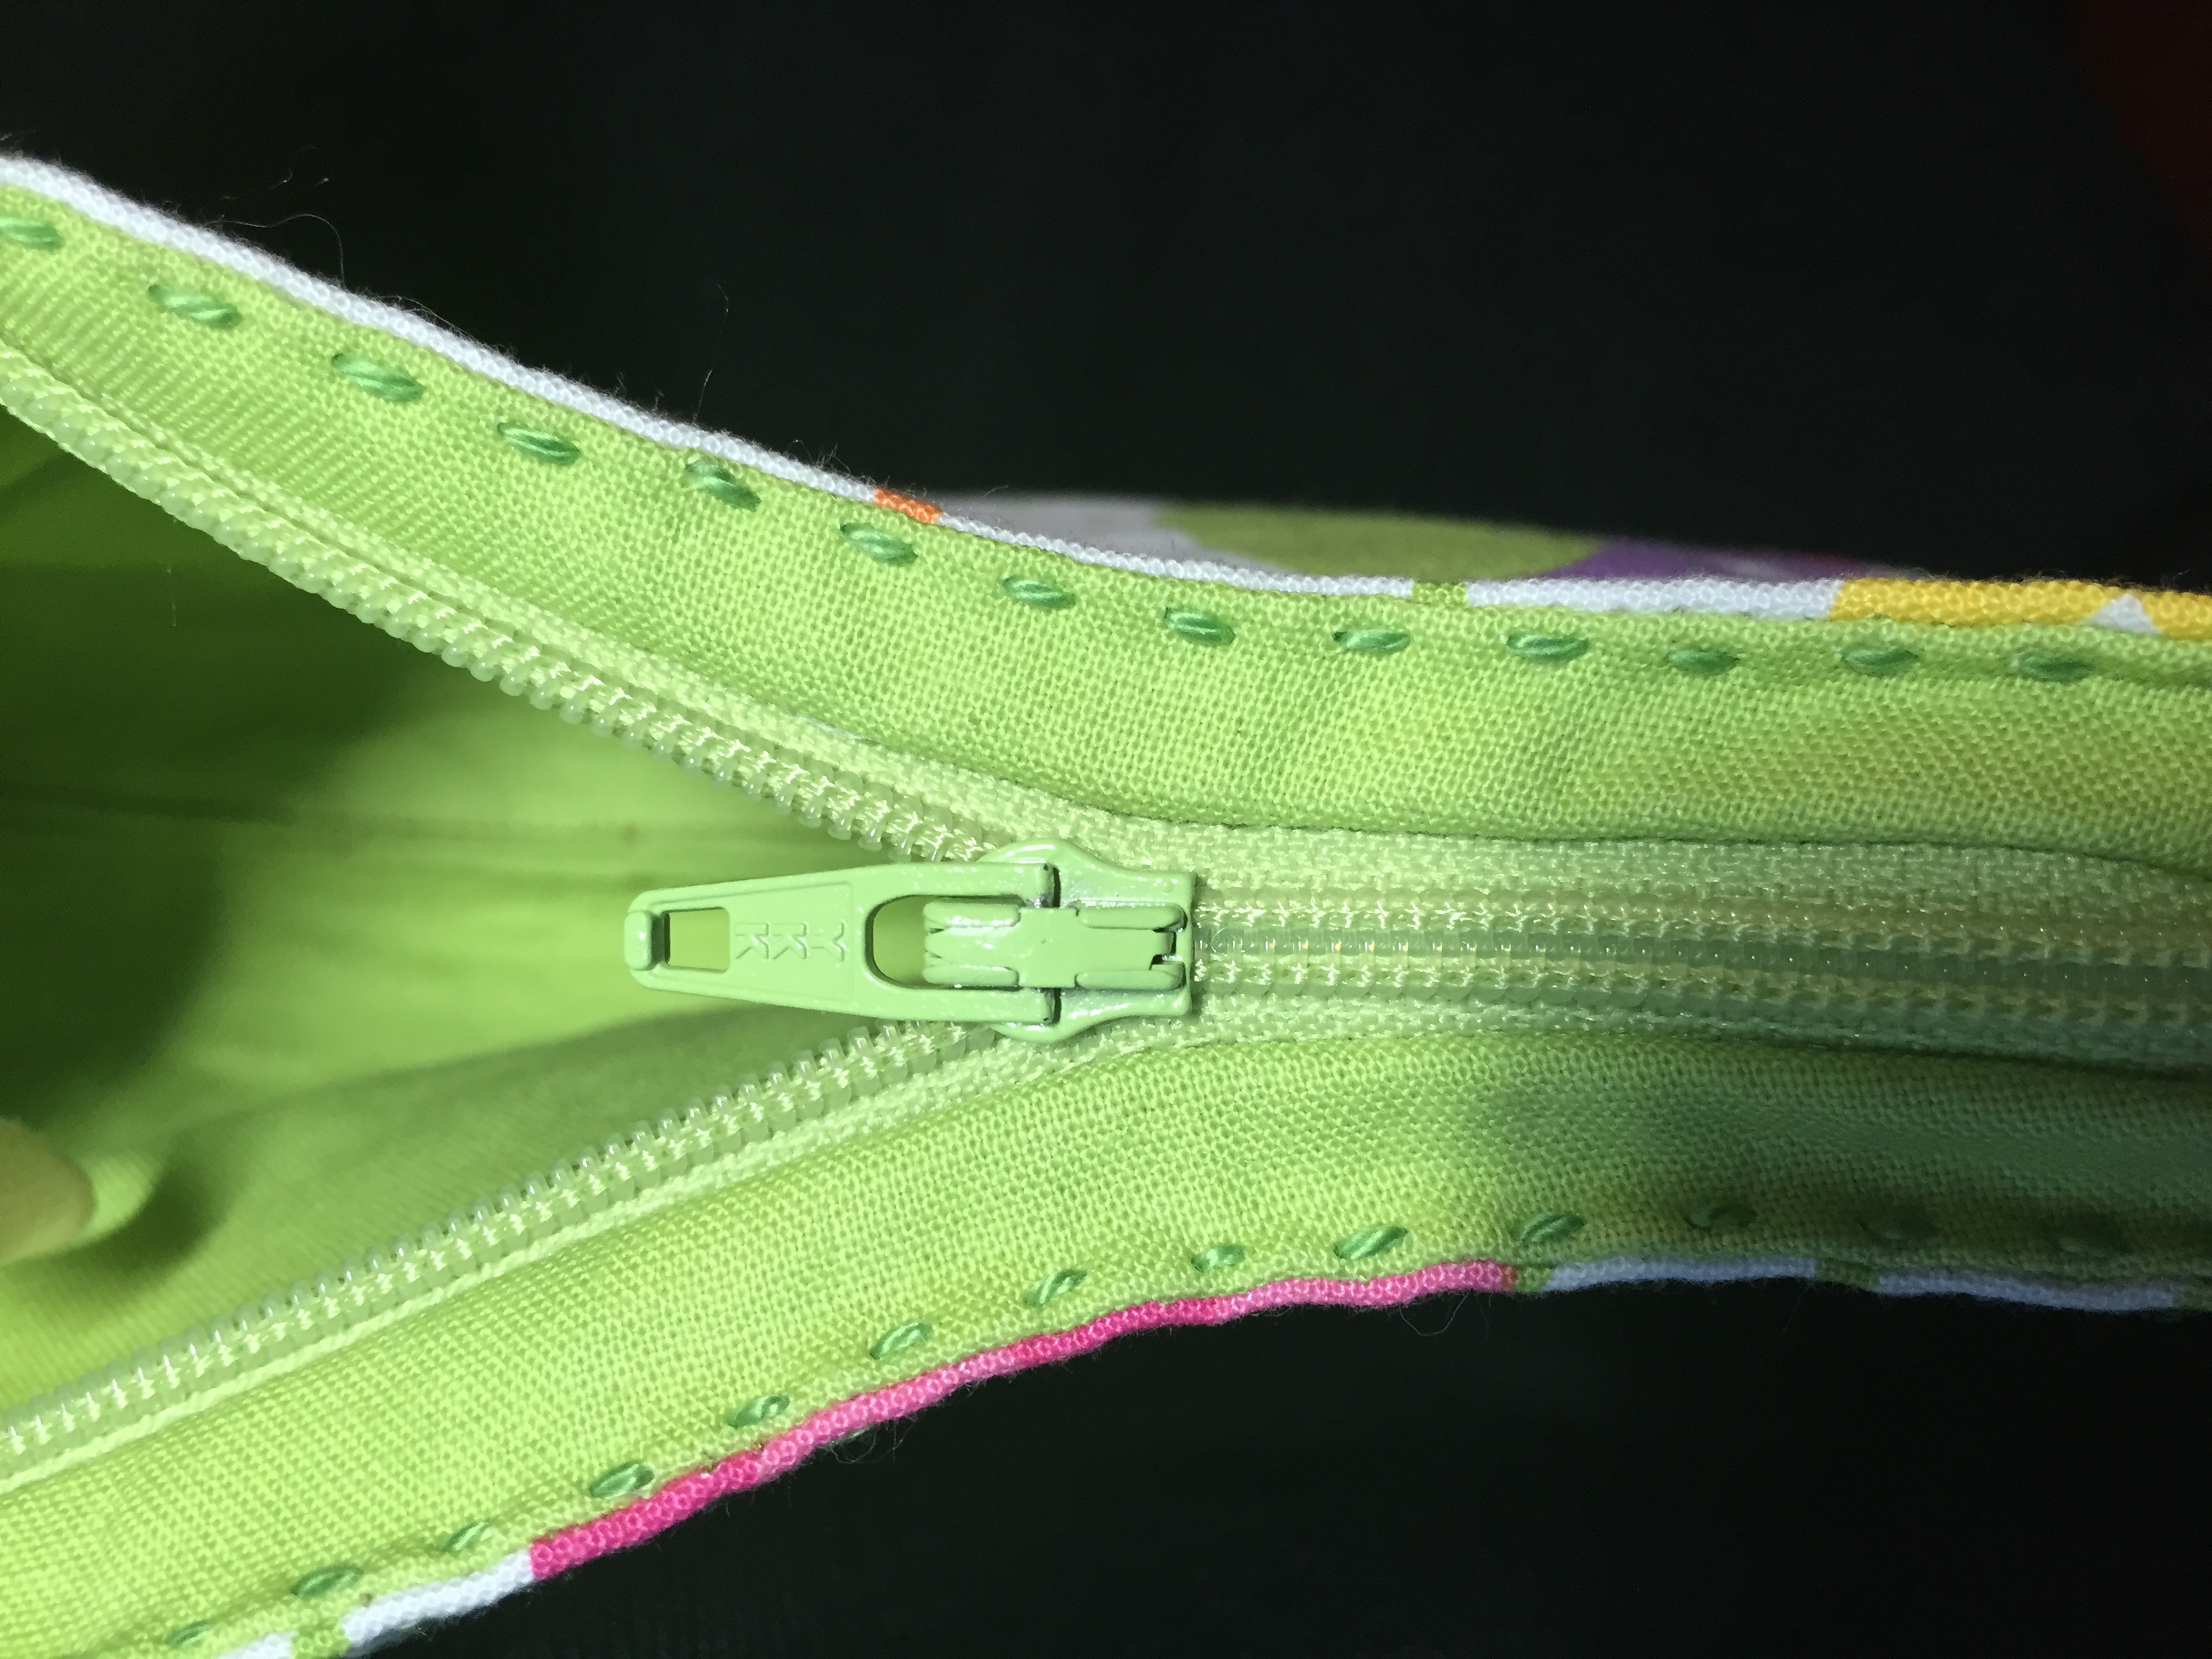 I finished the pressing and started trying to edgestitch the top. Whoo boy! There was simply no way that edgestitching was going to happen. The lip of the lining top was so narrow, I couldn’t fit the presser foot onto it to edgestitch by machine. I started searching through my embroidery thread stash and found a hand-dyed perle cotton that perfectly suited the bag, and spent the next hour happily hand-stitching the edge of the top.
  The finishing touch is the label. When Meme met me (yet another grandmother), she decided I would be called Jananza. So that’s the name I’ve chosen for my bag-making efforts. I created the logo in Photoshop and send the image to Mountain Street Arts on Etsy. I love the labels.