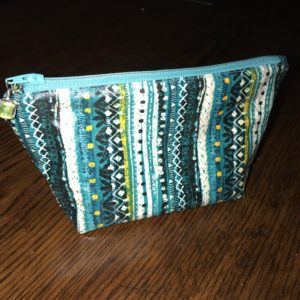
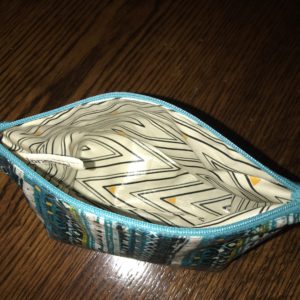
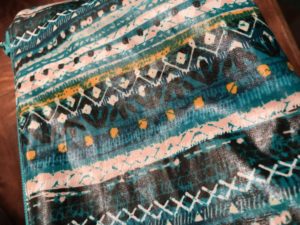
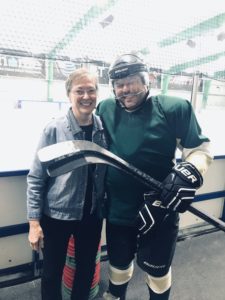
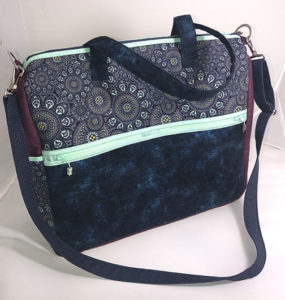
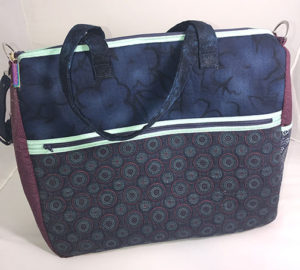
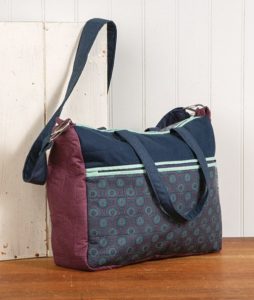
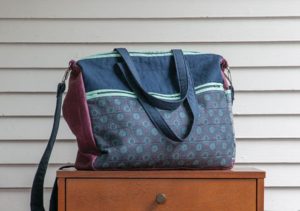
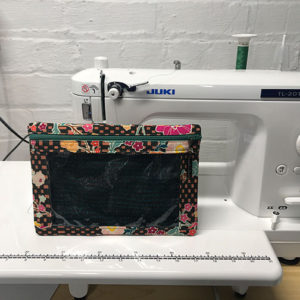
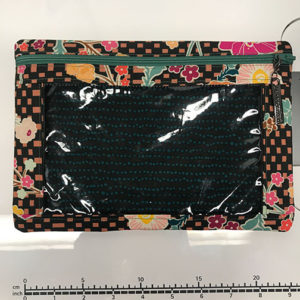
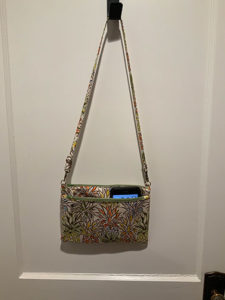
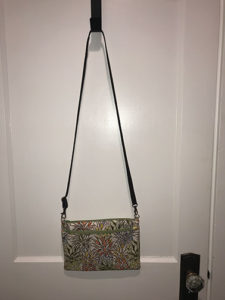
 You know that feeling of joy and satisfaction when you finally finish a project that took a lot of thinking? I have that feeling this morning. I have just finished a bag for a student who played Fräu Schneider in “Cabaret.”
The Youngstown State University production of “Cabaret,” for which I served as rehearsal accompanist, closed just over two weeks ago. That was just in time for Thanksgiving week, the last week of the semester, and finals/juries week.
<Sidenote On>
If you’re not a musician who had applied music lessons in college, you might not know the term “jury” as it is used in college music departments. When you take voice or piano or oboe or … lessons, instead of having a final exam, you sing or play some or all of the repertoire you studied during the semester in front of a panel of instructors or professors in your particular instrument. For YSU voice students, you are allowed to choose the song you wish to sing first, then the various instructors on the panel tell you what to sing next. Stressful? Yes, stressful. Very. And you do this the same week you’re taking all your finals in your other classes, either required academic classes or music classes. I’m spending my week practicing all of my accompanees’ repertoire, and hold one or more practice sessions with each of them. I let them schedule with me as many times as they want at no extra charge, as I want them confident when they walk into the classroom for that performance.
<Sidenote Off>
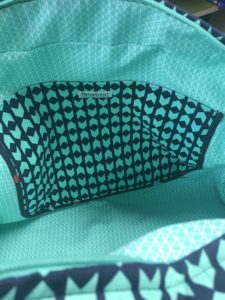
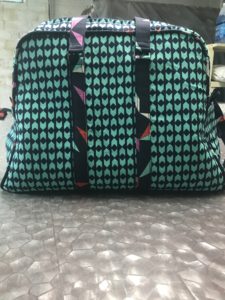
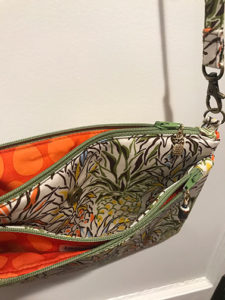
 What is the significance of this bag to that beloved student? The elderly landlady falls in love with her elderly tenant, Herr Schultz, who runs a fruit market in Berlin. When he is beginning to court her, he brings her a pineapple as a token of his affection. She is touched by his generous gift, and they sing, “It Couldn’t Please Me More” (The Pineapple Song) Our student who played Fräu Schneider, Ace Lowry, is one of my accompanees and I love them dearly. Talent oozes from their every pore. I wanted to do something special for them, so I searched every fabric website I could think of and came up with “Hawaiian Colorful Pineapple – Beige” from Trans-Pacific Textiles (fabric .com). For the lining I chose a batik, “Island Batik Fresh Pick’ins Large Eggs – Nasturtium.”
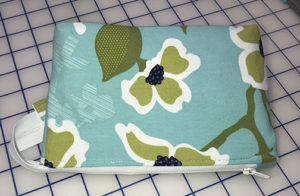
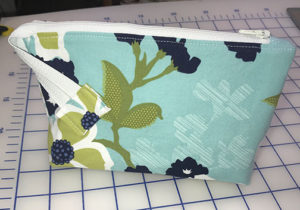
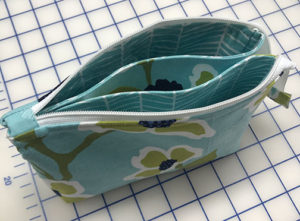
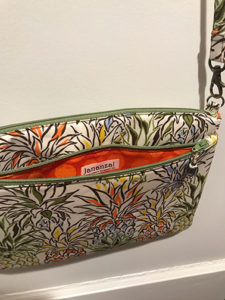 I snuck 15 minutes here and 30 minutes there to make this Sew Sweetness Metro Double-Zip Pouch, which is part of designer Sara Lawson’s Minikins Season Two set of thirteen patterns that use a minimum of bag hardware and are quick sews and fairly easy for beginners. (Let the record show I am not a beginner bagmaker, but it’s always nice to be able to grab an easier pattern when one needs a quick gift.)
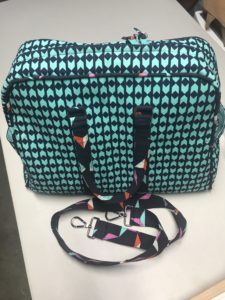
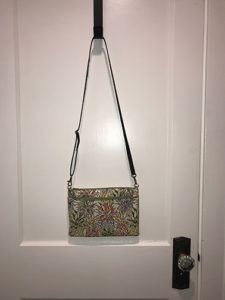 I had showed Ace two bags, without telling them about the pineapple fabric. They saw the Paladin Pouch and the Metro Double-Zip that I made for myself earlier this year as a travel bag. (Here’s my blog post of the group of Metros I made.) Ace chose the Metro, made with the pattern hack that creates a separate pocket between the two zippered pockets, and includes a crossbody strap.
 I made the crossbody strap out of the pineapple fabric, then realized it just wasn’t long enough, but would be a nice addition if they wanted to carry it over their shoulder rather than crossbody. Then I ordered some of Sara Lawson’s fabulous cork fabric to in brown to match the brown in the pineapple print. The cork that Sara stocks is the nicest cork fabric I’ve ever touched or sewn on. I will not buy cork from anyone else after this. (I had purchased some cork from a local store a while back. When I made a bag for a friend with it, the cork cracked. Not a good thing to happen!)
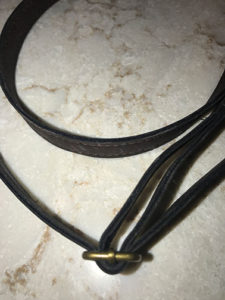
 Using Sara’s video on adjustable straps, cut four pieces of cork, each ½” wide and the full length of my one yard of cork. I pieced two strips together using a diagonal seam, and top-stitched the seam allowance open. Then I stacked the two strips, being careful to offset the diagonal seams by about an inch, and adjusting the total length accordingly. (My total length for each pieced strip was about 45″.) I laid one strip wrong side up, attached a &quarter;” strip of Wonder Tape (water soluble tape for sewing) to that strip, then place the second strip wrong side down, carefully aligning the edges. Then I topstiched all the way around the strip at about ⅛”. And for the final touch, I grabbed a pair of rubber gloves and a small paintbrush and applied Fiebing’s Black Edge Kote all the way around the strap. Here’s Sara’s video about Edge Kote, which I only just found—I wish I had watched it before I applied the Edge Kote. Knowledge is a good thing!
 Today I’m practicing with Ace and will give them the bag then. I’m hoping they feel the love I poured into this bag.
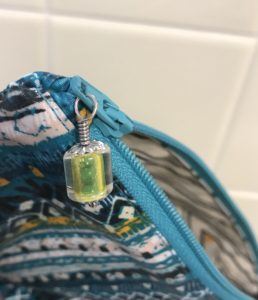
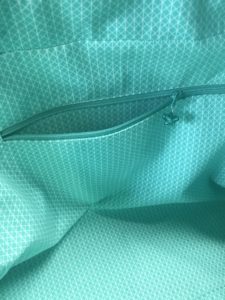
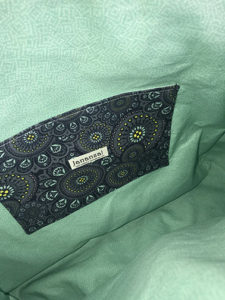
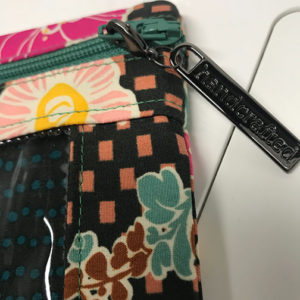
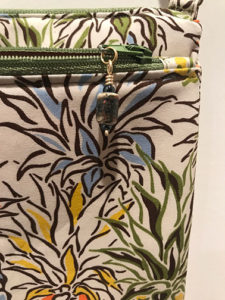
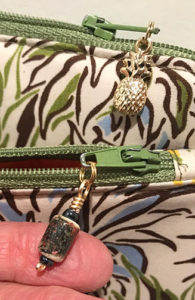
Special touches: The lampwork bead attached to the zipper on the front pocket it one I made when i lived in Tucson and was trying my hand at torching beads. Note the zipper pull on the top zipper—a pineapple, of course. My bags are all marked with tags that say “Jananza!,” the name my youngest granddaughter gave me (with help from her mom) when my younger son married her mom. The bags are lovingly handcrafted in Youngstown, Ohio.


