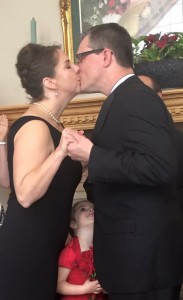
Tyler and his bride, Leslie, with the darling Miss C looking up in wonder.
As most humans are wont to do, yesterday and today I have been looking back on 2015, pondering what I wish to change for 2016.
Change? Almost everything! Last year was one of the hardest years in my life, with a few bright lights tossed in to keep me sane. It started on Christmas Day of 2014, when my brothers decided it was time for Mother to reside permanently in a nursing home. The task of cleaning out her apartment in the assisted living facility and deciding what to do with her now-unnecessary possessions fell to me. I had to extend my trip to NC by a day or two to accomplish that, and was very thankful for having leased a sport utility vehicle a few months earlier. I made multiple trips to the Rescue Mission and to Goodwill, made fast calls to antique dealers, clock specialists, and moving van lines. I ended up with more possessions not of my choosing crowded into my home.
Bright Spot #1 came in late January when we traveled with three other couples to a rental house on the Riviera Maya in Mexico. That memorable vacation is documented in my travel pages.
In this same time frame, I learned I had been chosen for a research associate position in the Philosophy and Religious Studies department at YSU, where I was to work as an editor in the Center for Islamic Studies. I was extremely excited about this position, and anxious to begin upon returning from our Mexico vacation. Alas, the university provost had different thoughts on the position. I was able to work for the CIS over the course of the next five months on a contract basis, and dearly loved the people and the work. But once we started a new fiscal year, the work went away. I am sad each time I think about this situation, and continue to hope they’ll get rid of that provost and put into place someone who wants a university with STEAM, not just STEM. (Science, Technology, [Arts,] Engineering, and Mathematics.]
A few weeks later I started the task of cleaning out my son’s house, recently vacated by his former wife, an incredibly thoughtless and self-centered woman. Anything she didn’t want, she left in the now-vacant house. Over the course of the next two months, I trashed bag after bag of canned goods with seven-year-old expiration dates, half-used and unwanted craft supplies, and various other items she had bought on a whim. I made trip after trip to Goodwill, the Rescue Mission, and the recycling station. I dropped off at the consignment shop thirty (thirty!) pairs of unwanted but still very usable shoes and boots, along with armload upon armload of perfectly good clothes. I vacuumed floors that hadn’t been vacuumed in months. I made a personal commitment to declutter my home so my sons would never have to go through what I was suffering with this house. I became the best friend of the realtor, who had been unable to ever depend on my former DIL to empty litter boxes on showing days. I ended with more items in my home, generally gifts I had given my former DIL through the thirteen years of their marriage—she now wanted nothing to do with me, despite act upon act of unrequited (and probably unappreciated) kindness to her over the years. (Here’s to learning a lesson about unrequited kindness!!) When it was all done, I was able to feel good about the work I had done. I had turned a cluttered and filthy nightmare into a house which potential buyers could actually see the good bones of. There were several offers, but unsupporting banks. It finally went to the bank, and now a family with twins in elementary school are enjoying the beautiful house. While I’m very sad for my son to have had to go through this, I’m happy for the new owners. May they live long and prosper.
In May I made a whirlwind trip to NC for my mother’s 102nd birthday. I made little moments of kindness to myself on that trip—an hour here and an hour there to shop in favorite stores old and new. That trip turned out to be the last time I would see her healthy enough to feed herself. That ability is now gone.
Bright Spot #2 was when Jas suggested we take a trip to celebrate my birthday, as we had during our first year together, five years earlier. Here’s the account of that trip, taken with our dear friends Mike & Marilyn.
A few days after our return from Toronto, I departed Ohio for six weeks in Northern Michigan, where I would work as a collaborative pianist in the theatre division of the prestigious Interlochen Arts Camp. That experience is documented in weekly posts here. It was the best and worst summer of my life. There are some Bright Spots, which I’ll lump together as #3, in those six weeks. However, after six months of retrospection, I have decided I will not return to IAC in 2016.
In September, my beloved partner and his two brothers lost their 92-year-old mother, who treated me as her own from the day we met. Her passing was a great loss to her children, grandchildren, and great-grandchildren. The only blessing was that she went quickly and did not suffer.
While at Interlochen, I began discussions with the new head of the opera program at YSU. In August I began working as the accompanist for the program, and accompanying the voice students of this professor. Additionally, I accompany the chorus of the local opera company in preparations for the November opera performance. And I accompanied the “mini-mainstage” production of that opera, a 45-minute tailored-for-kids version that is presented on a November Friday morning to busloads of local schoolkids. And for a relief from all that opera, I agreed to musical direct “Christmas at the Pierce” for the Area Community Theatre of Sharpsville [PA]. (Link to YouTube video of the show.) From the first of November through the 20th of December, I had about three open days on my calendar. Insane!
I was grateful for the invitation to sing with the choir of Christ Church Episcopal in Warren, OH, for their Lessons & Carols service, as it gave me another opportunity to sing in a choir with my son. Oh, how I love doing that!
My greatest sadness of that period was that I had no time to sew.
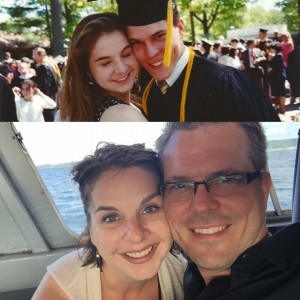
Tyler and Leslie, in May of 1994 and in July of 2015.

My firstborn, Scott, now 42, with his new niece.
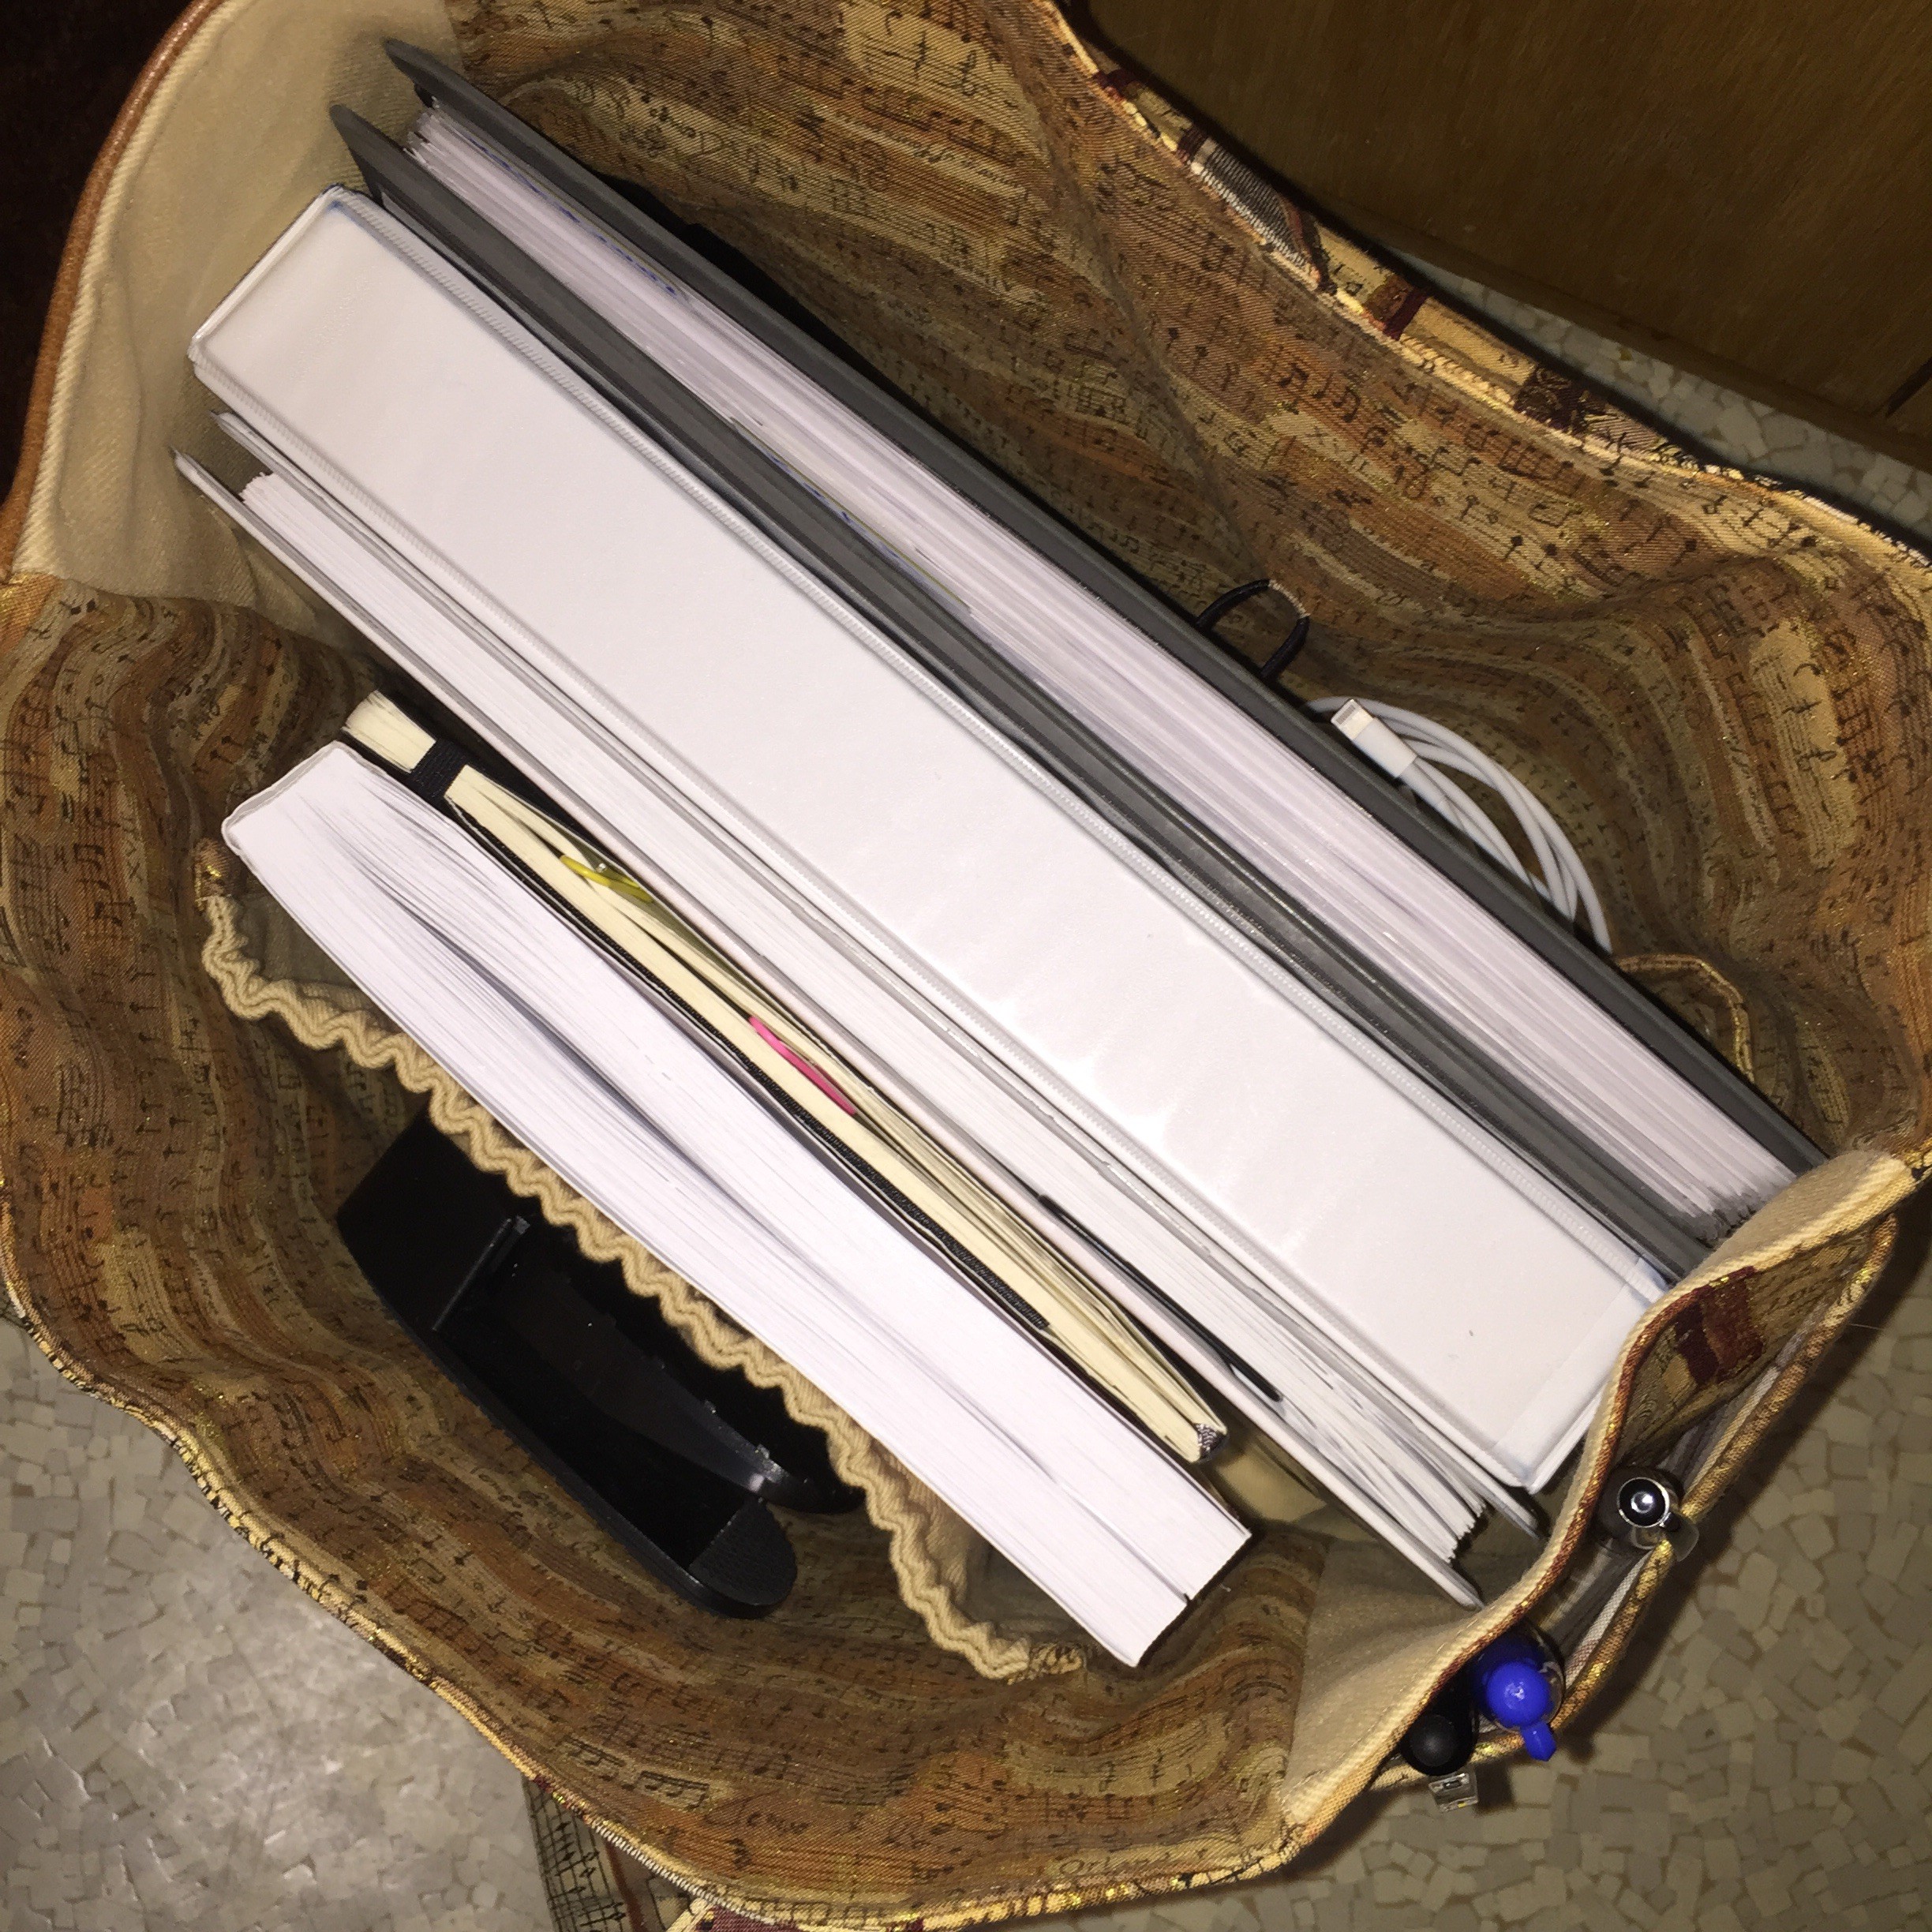
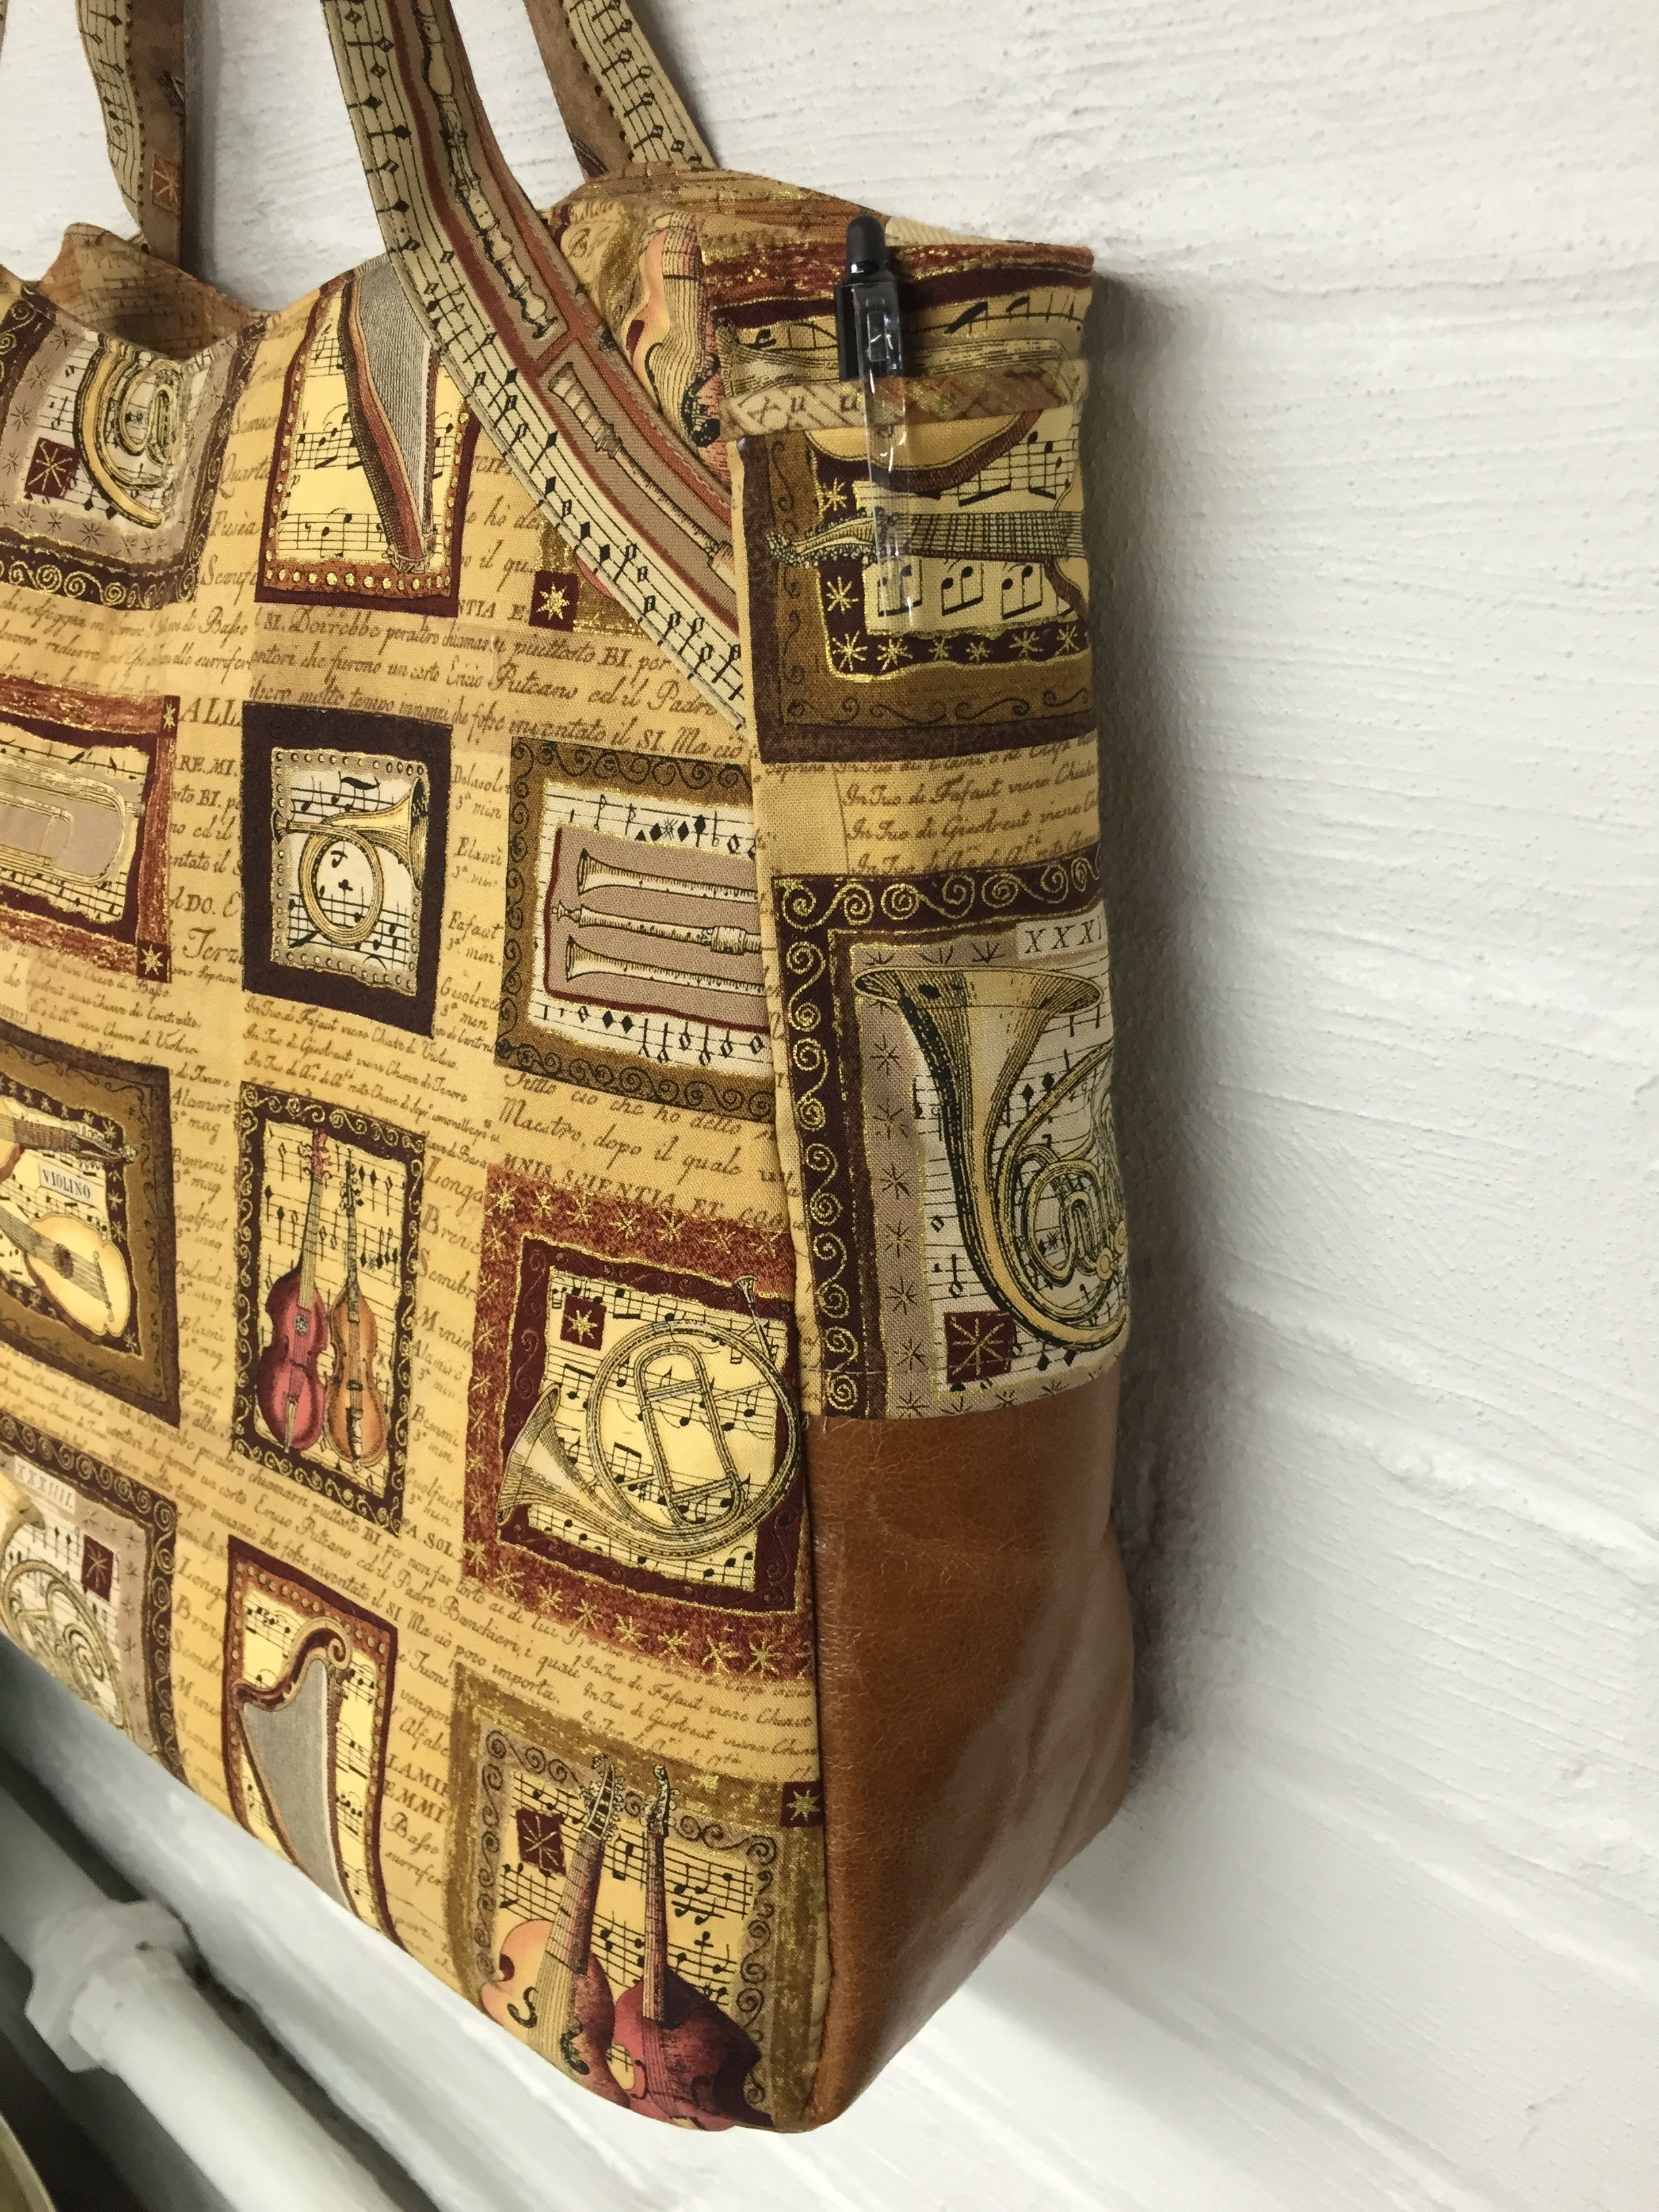
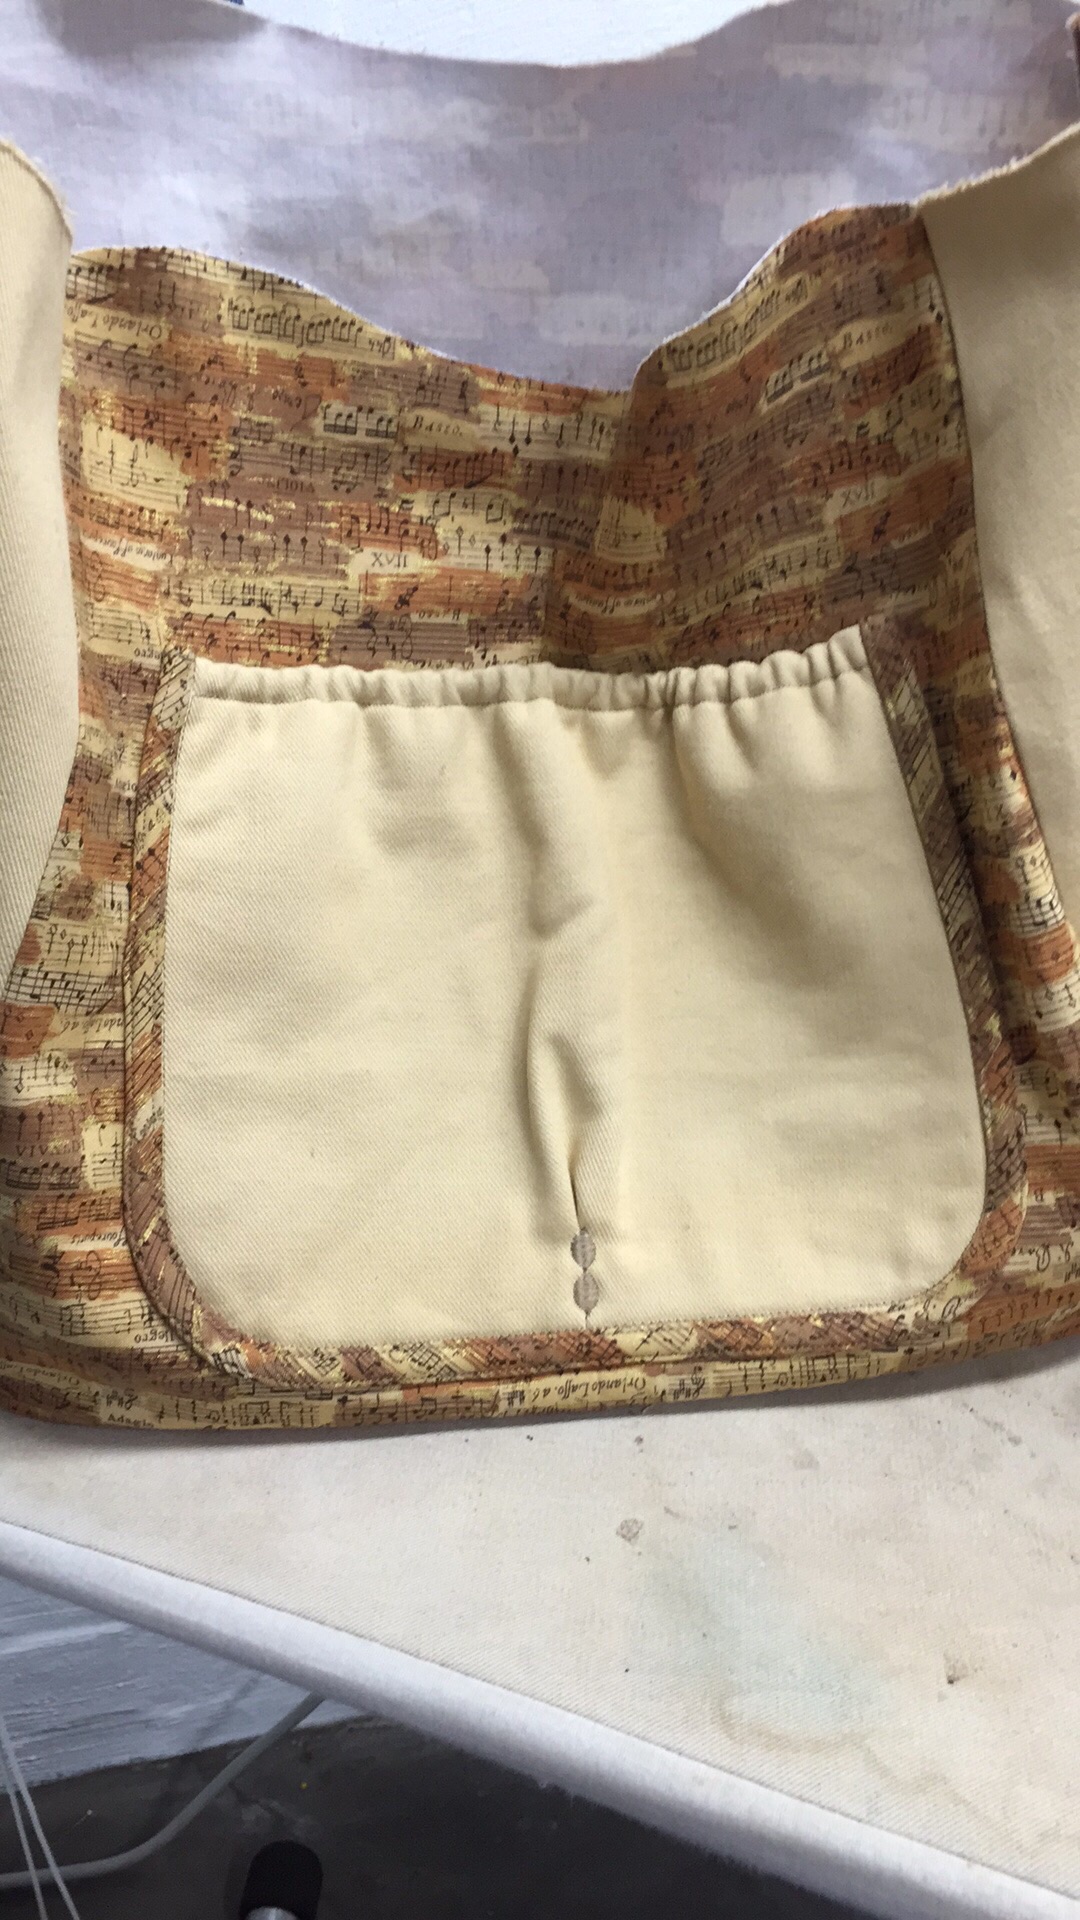
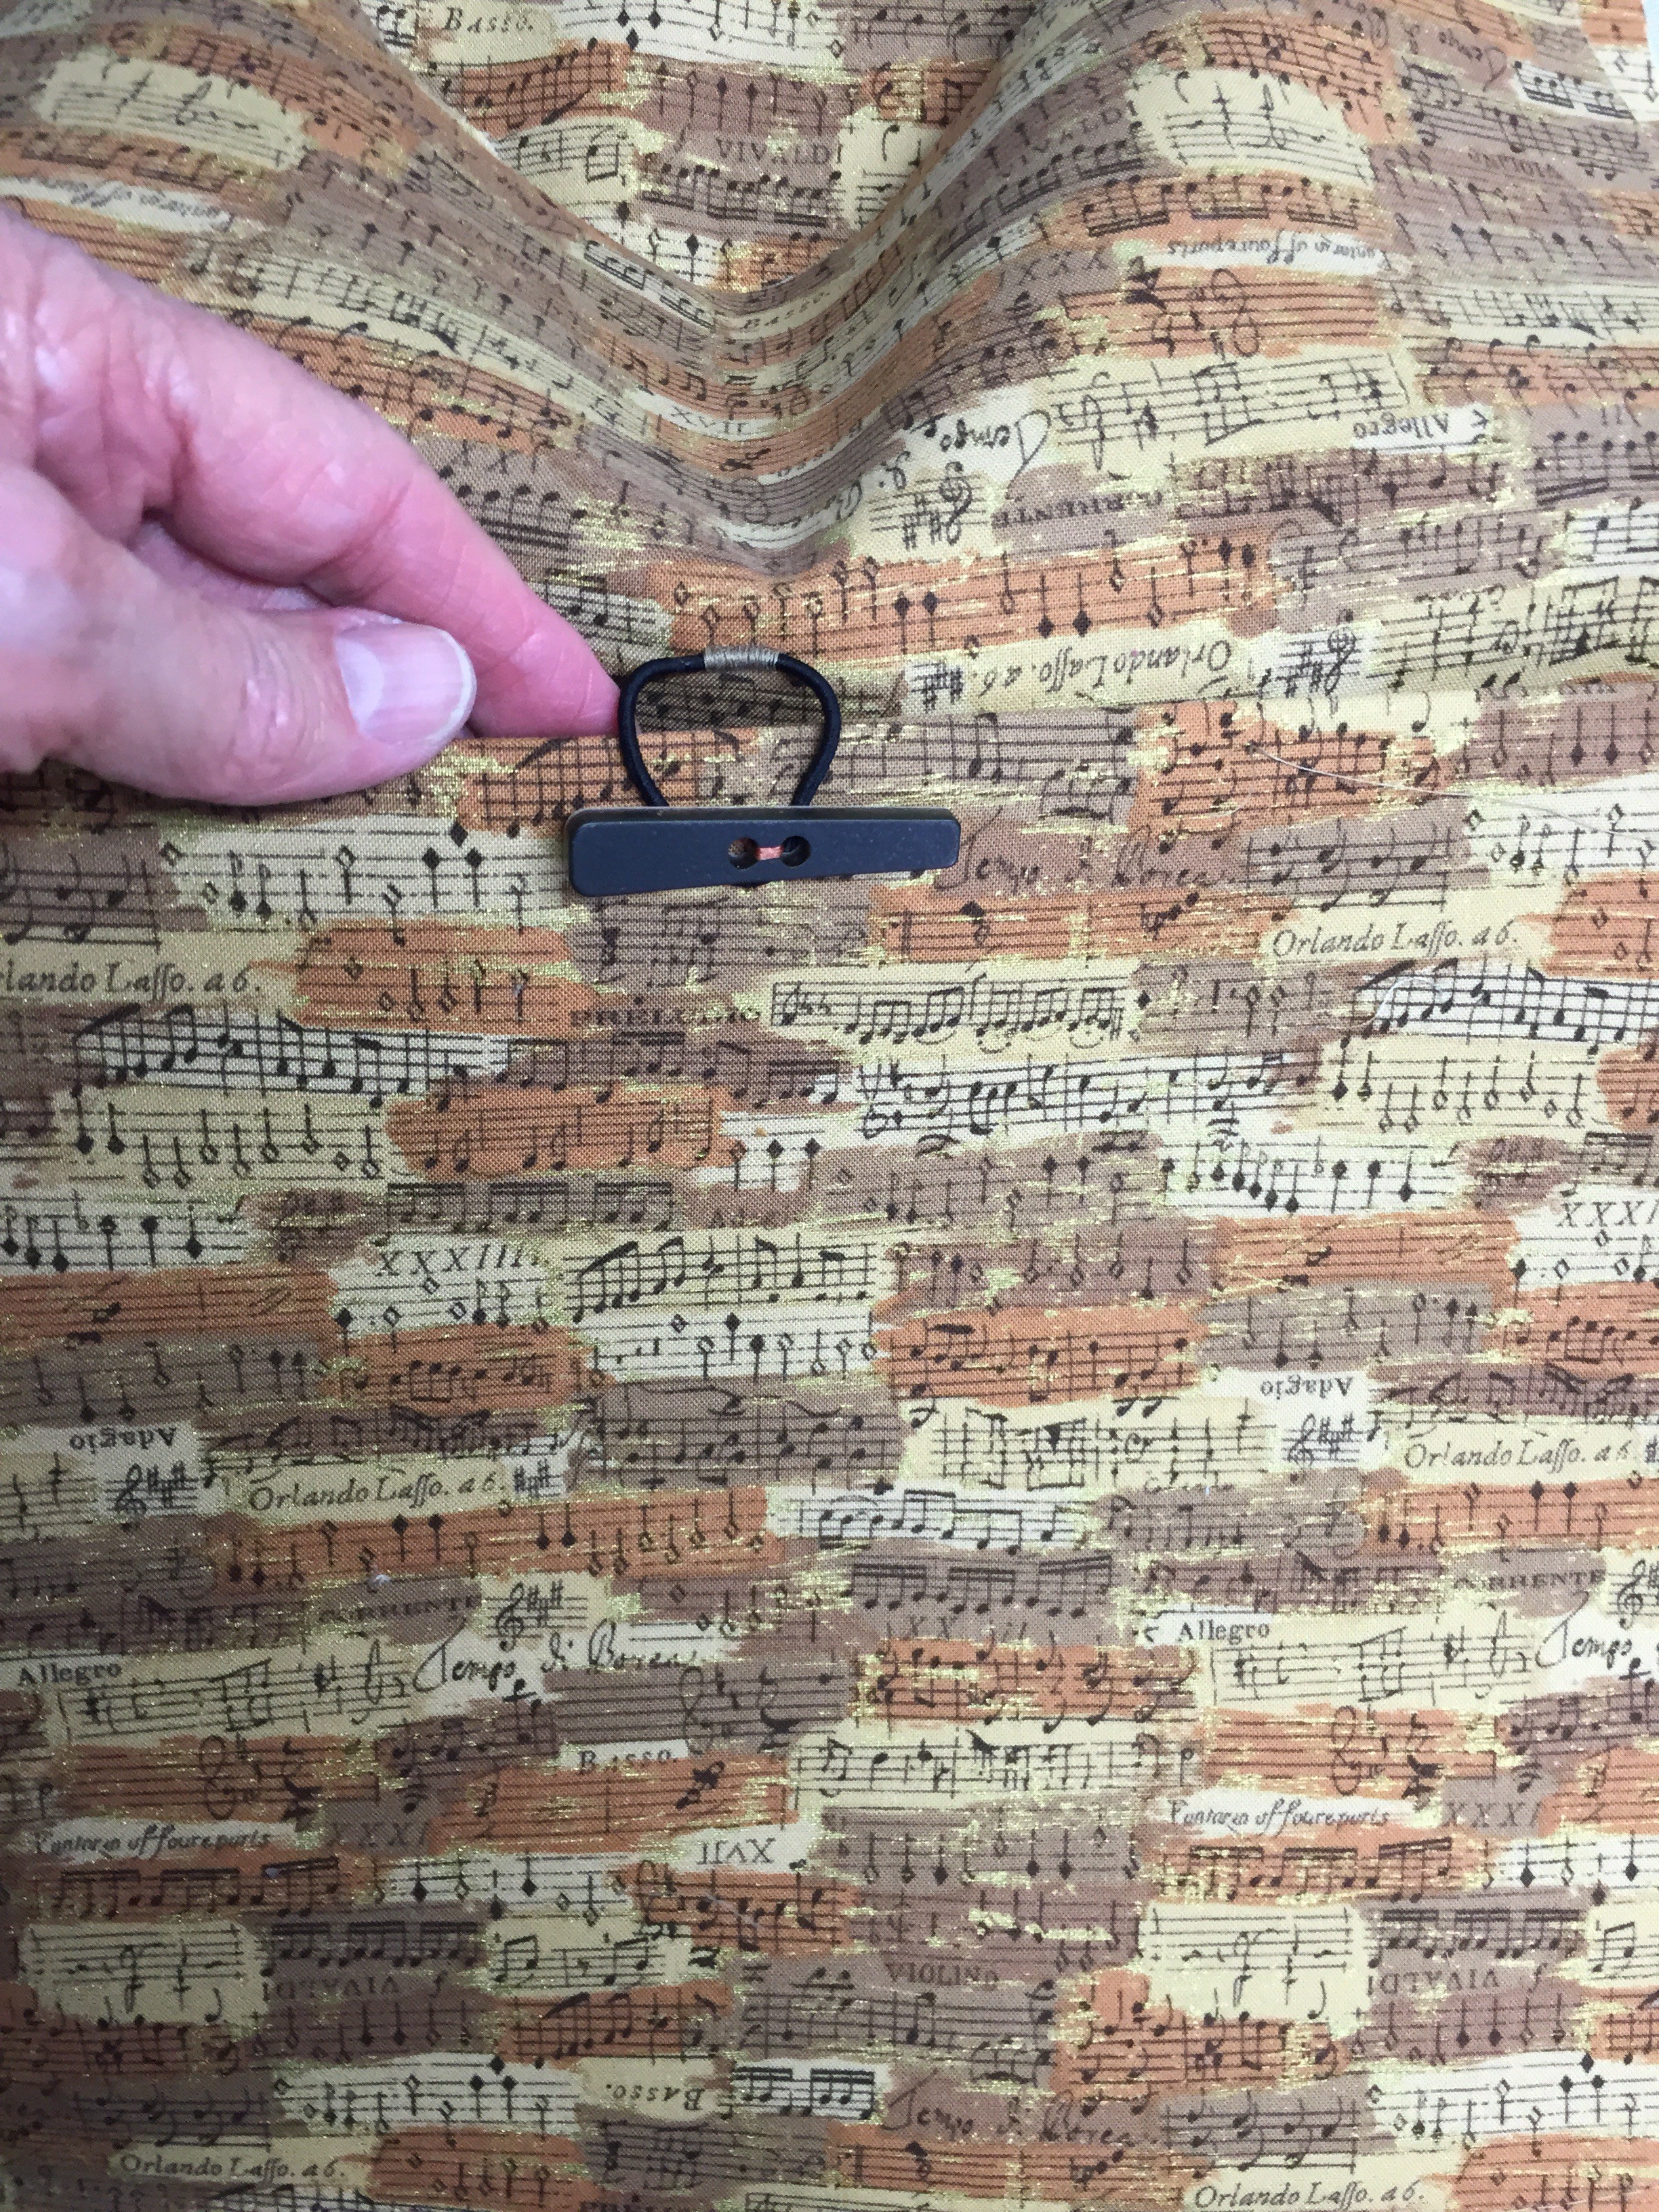
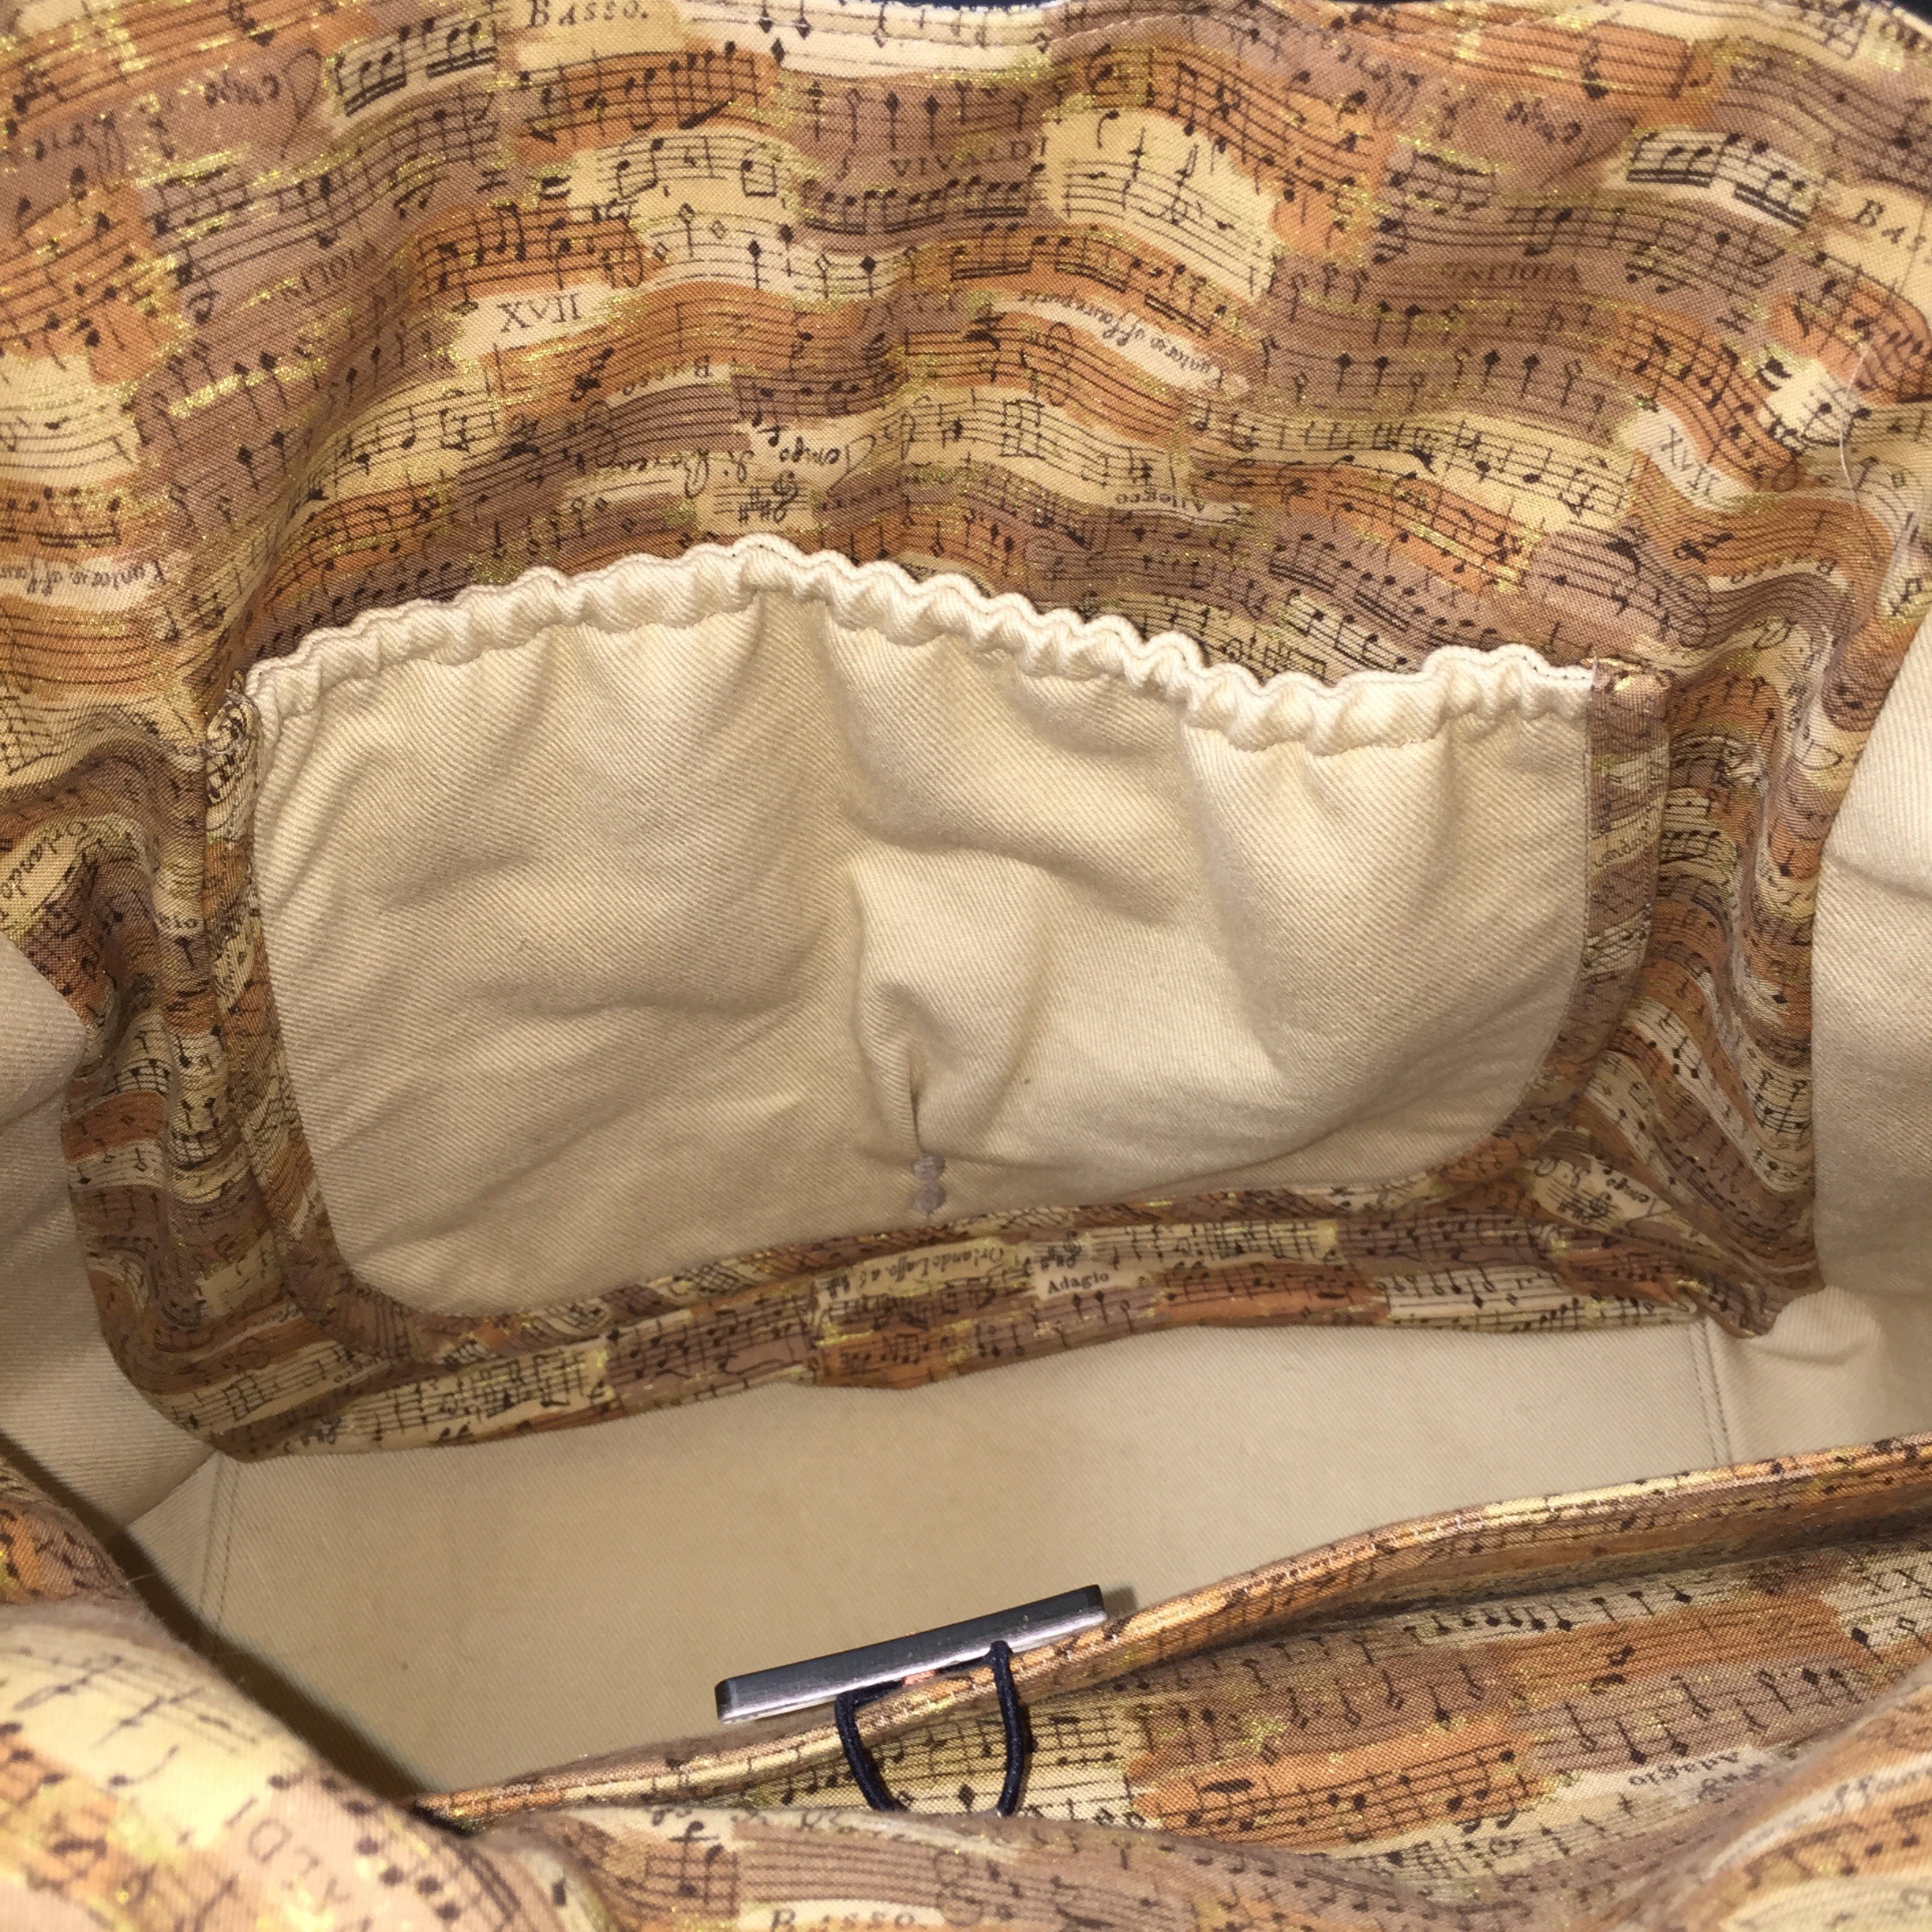
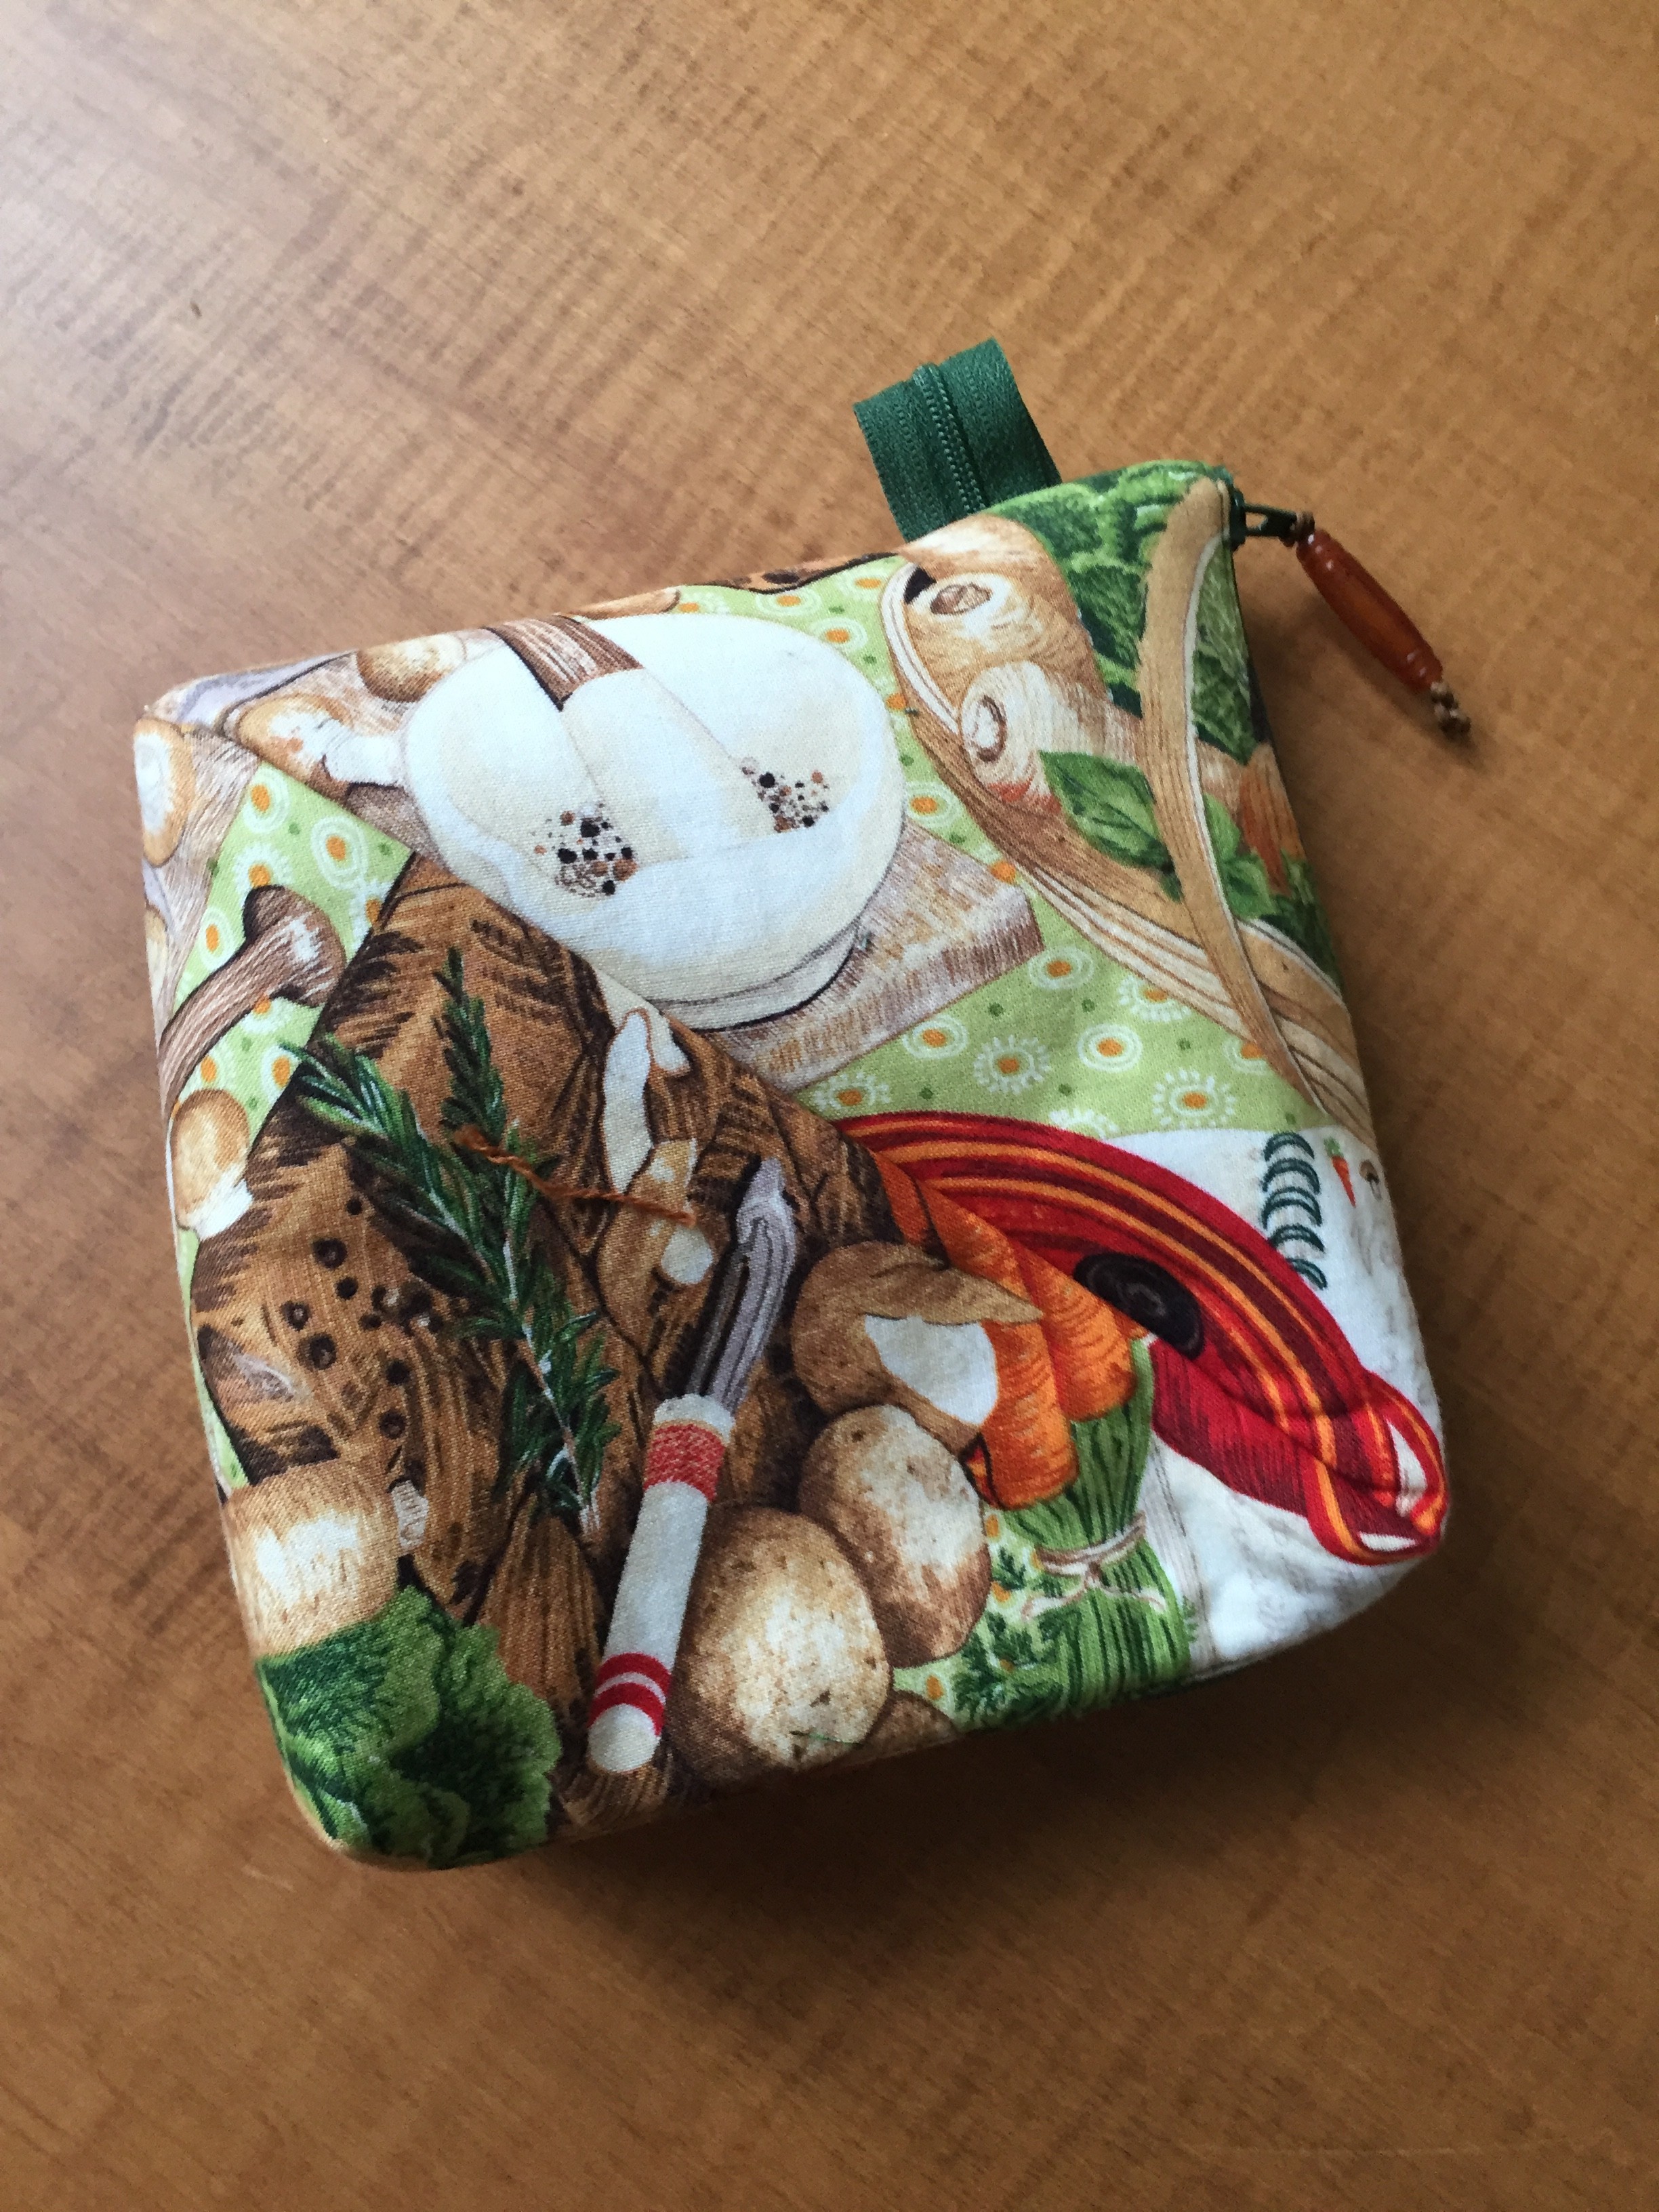
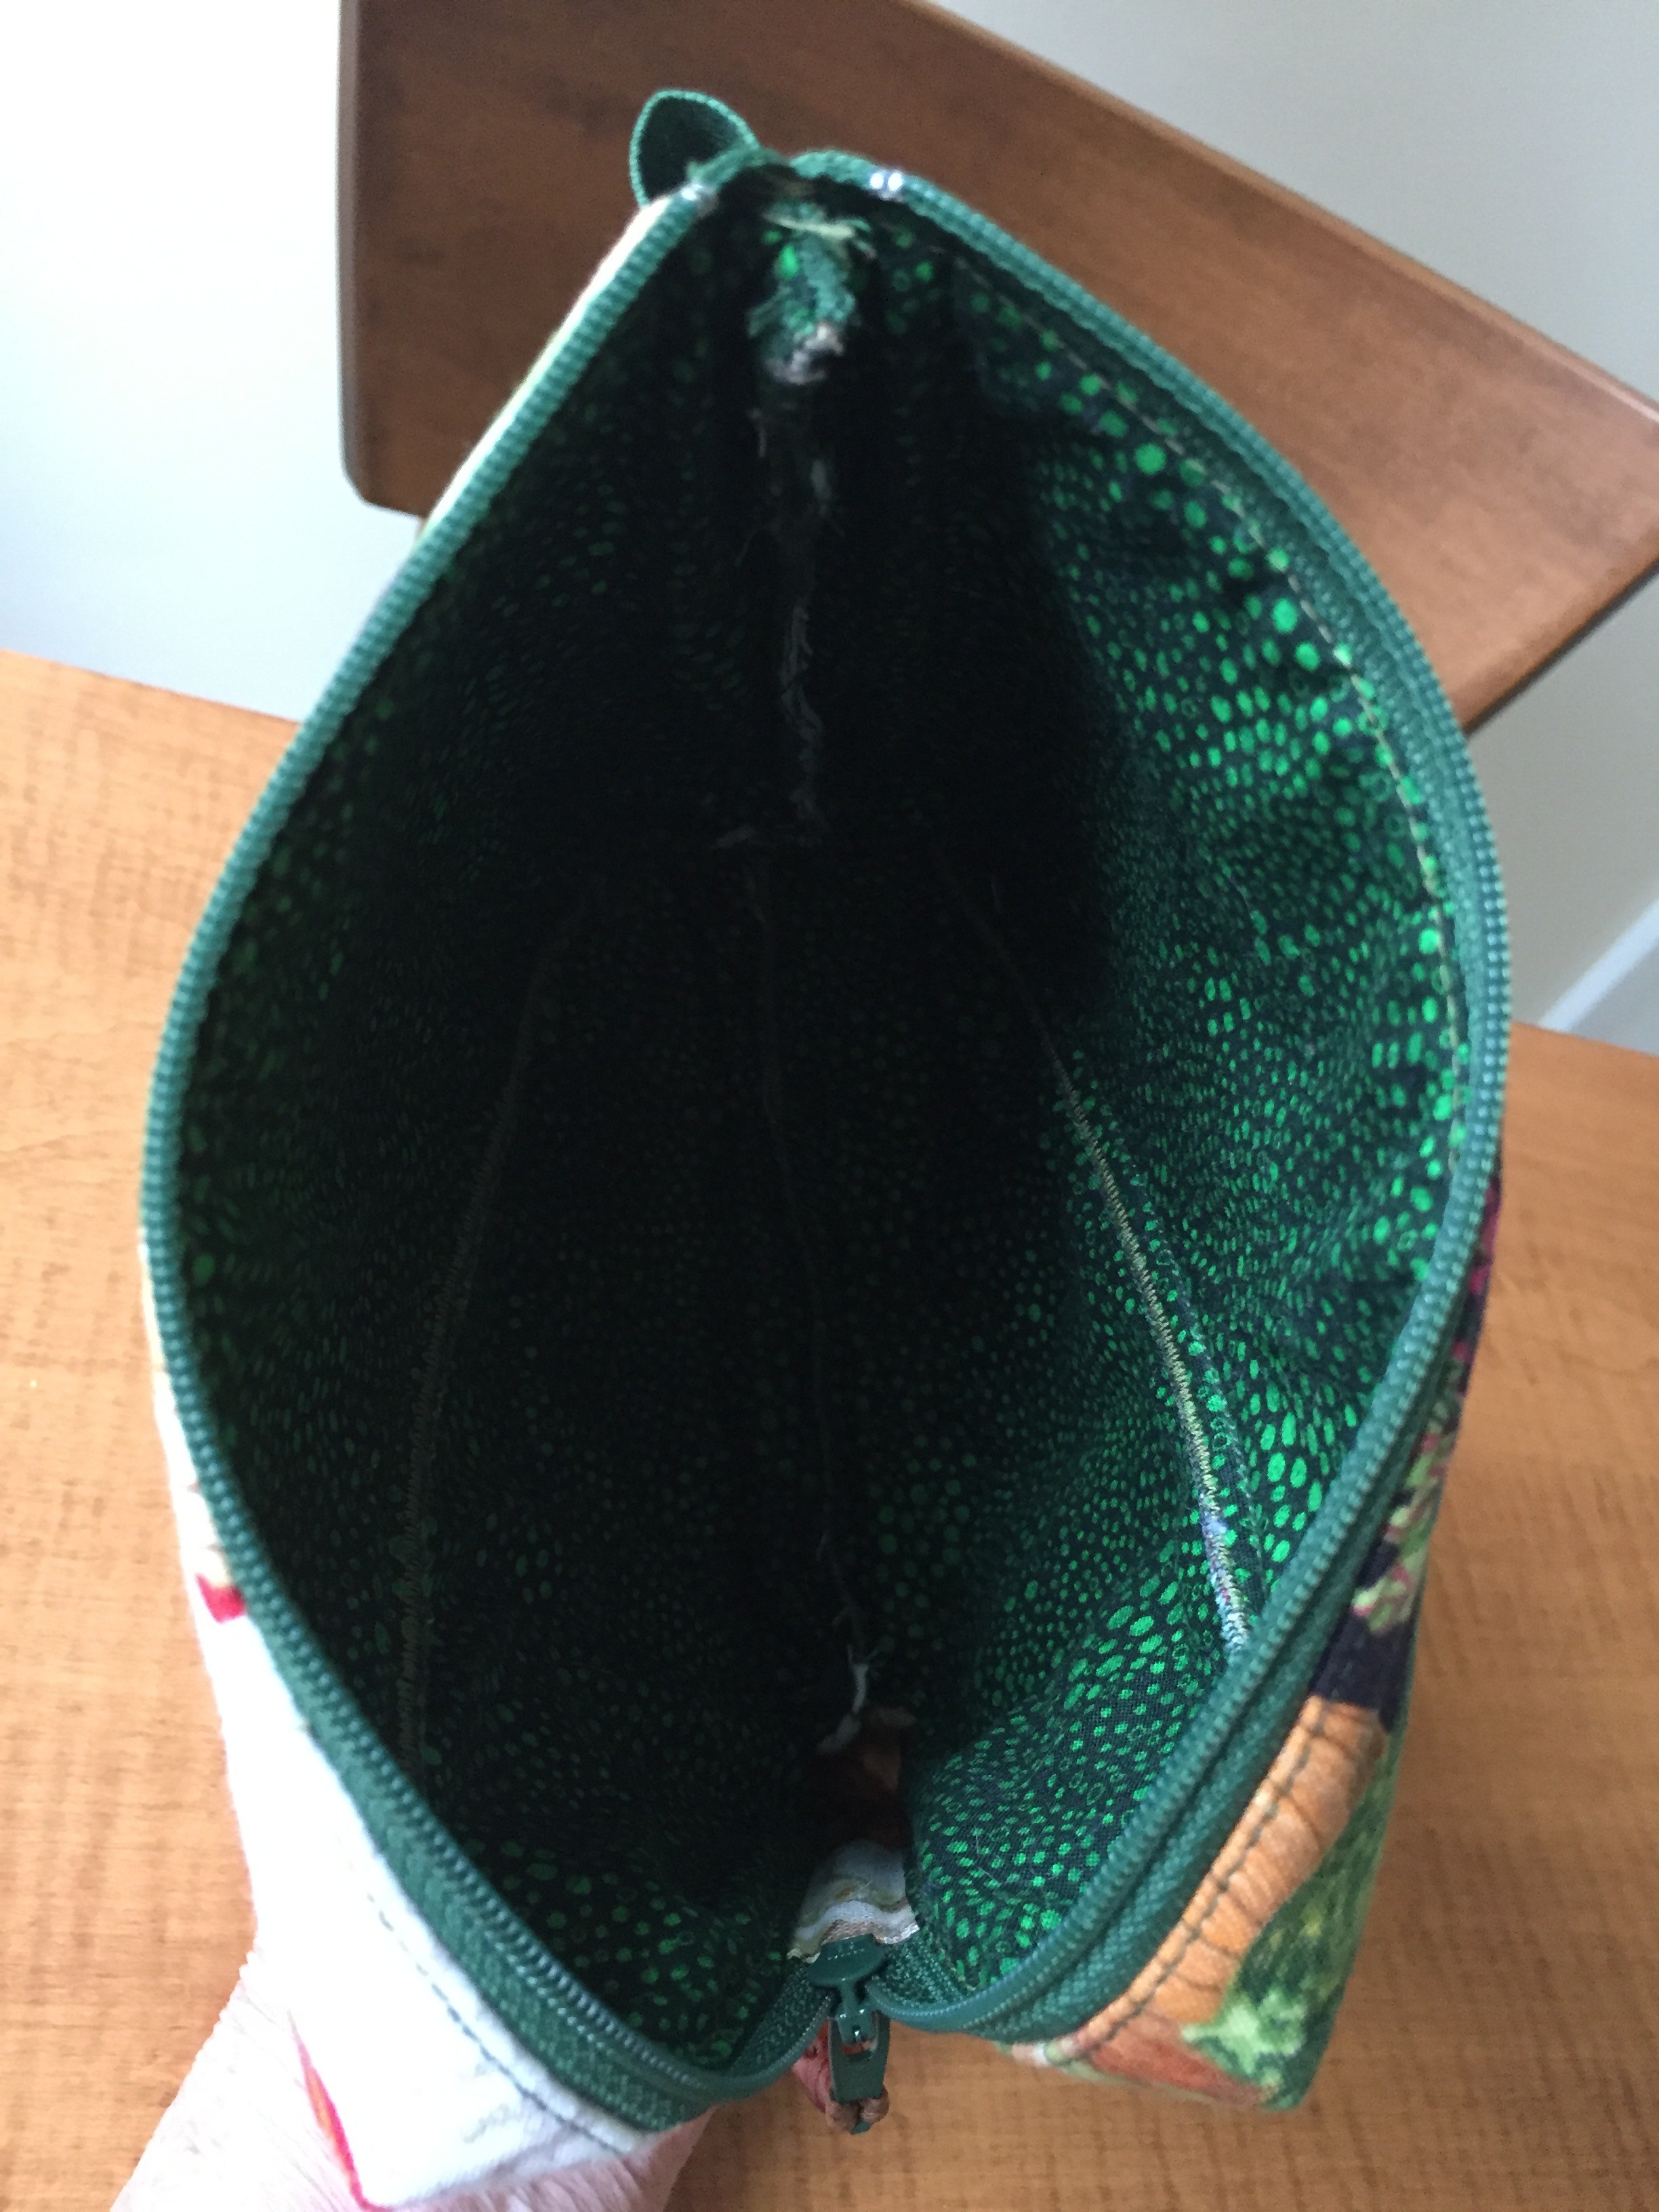
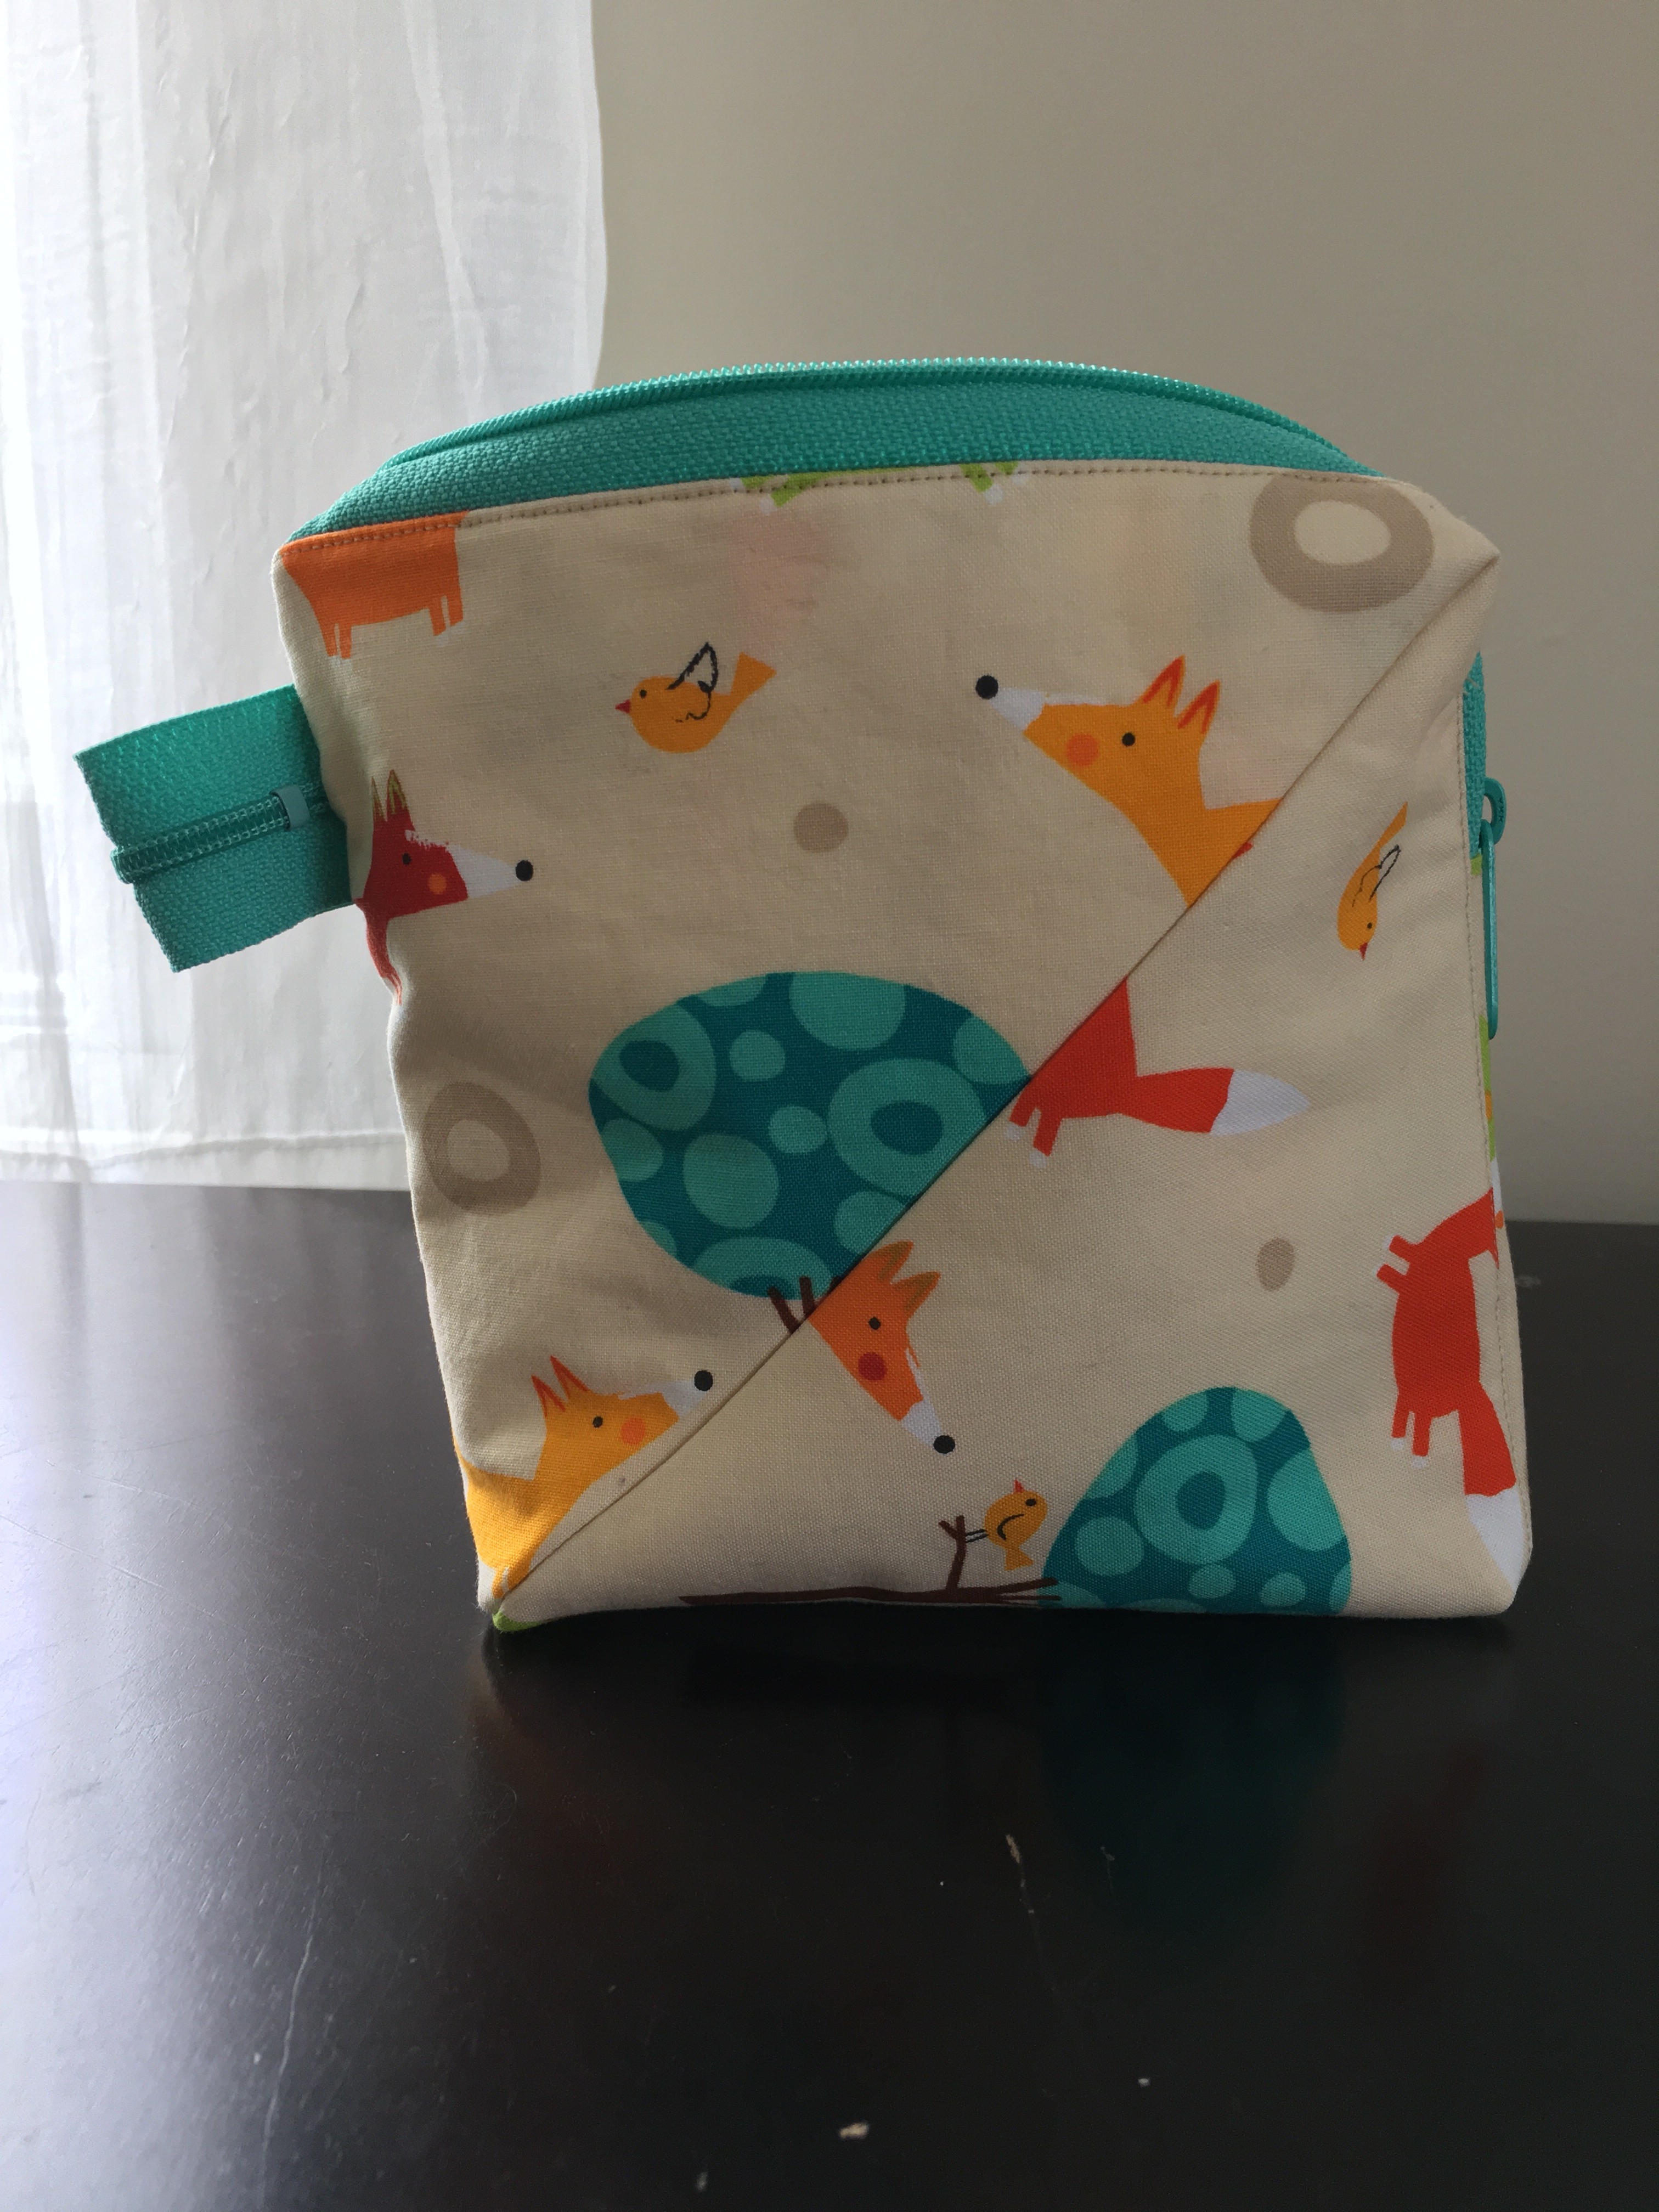
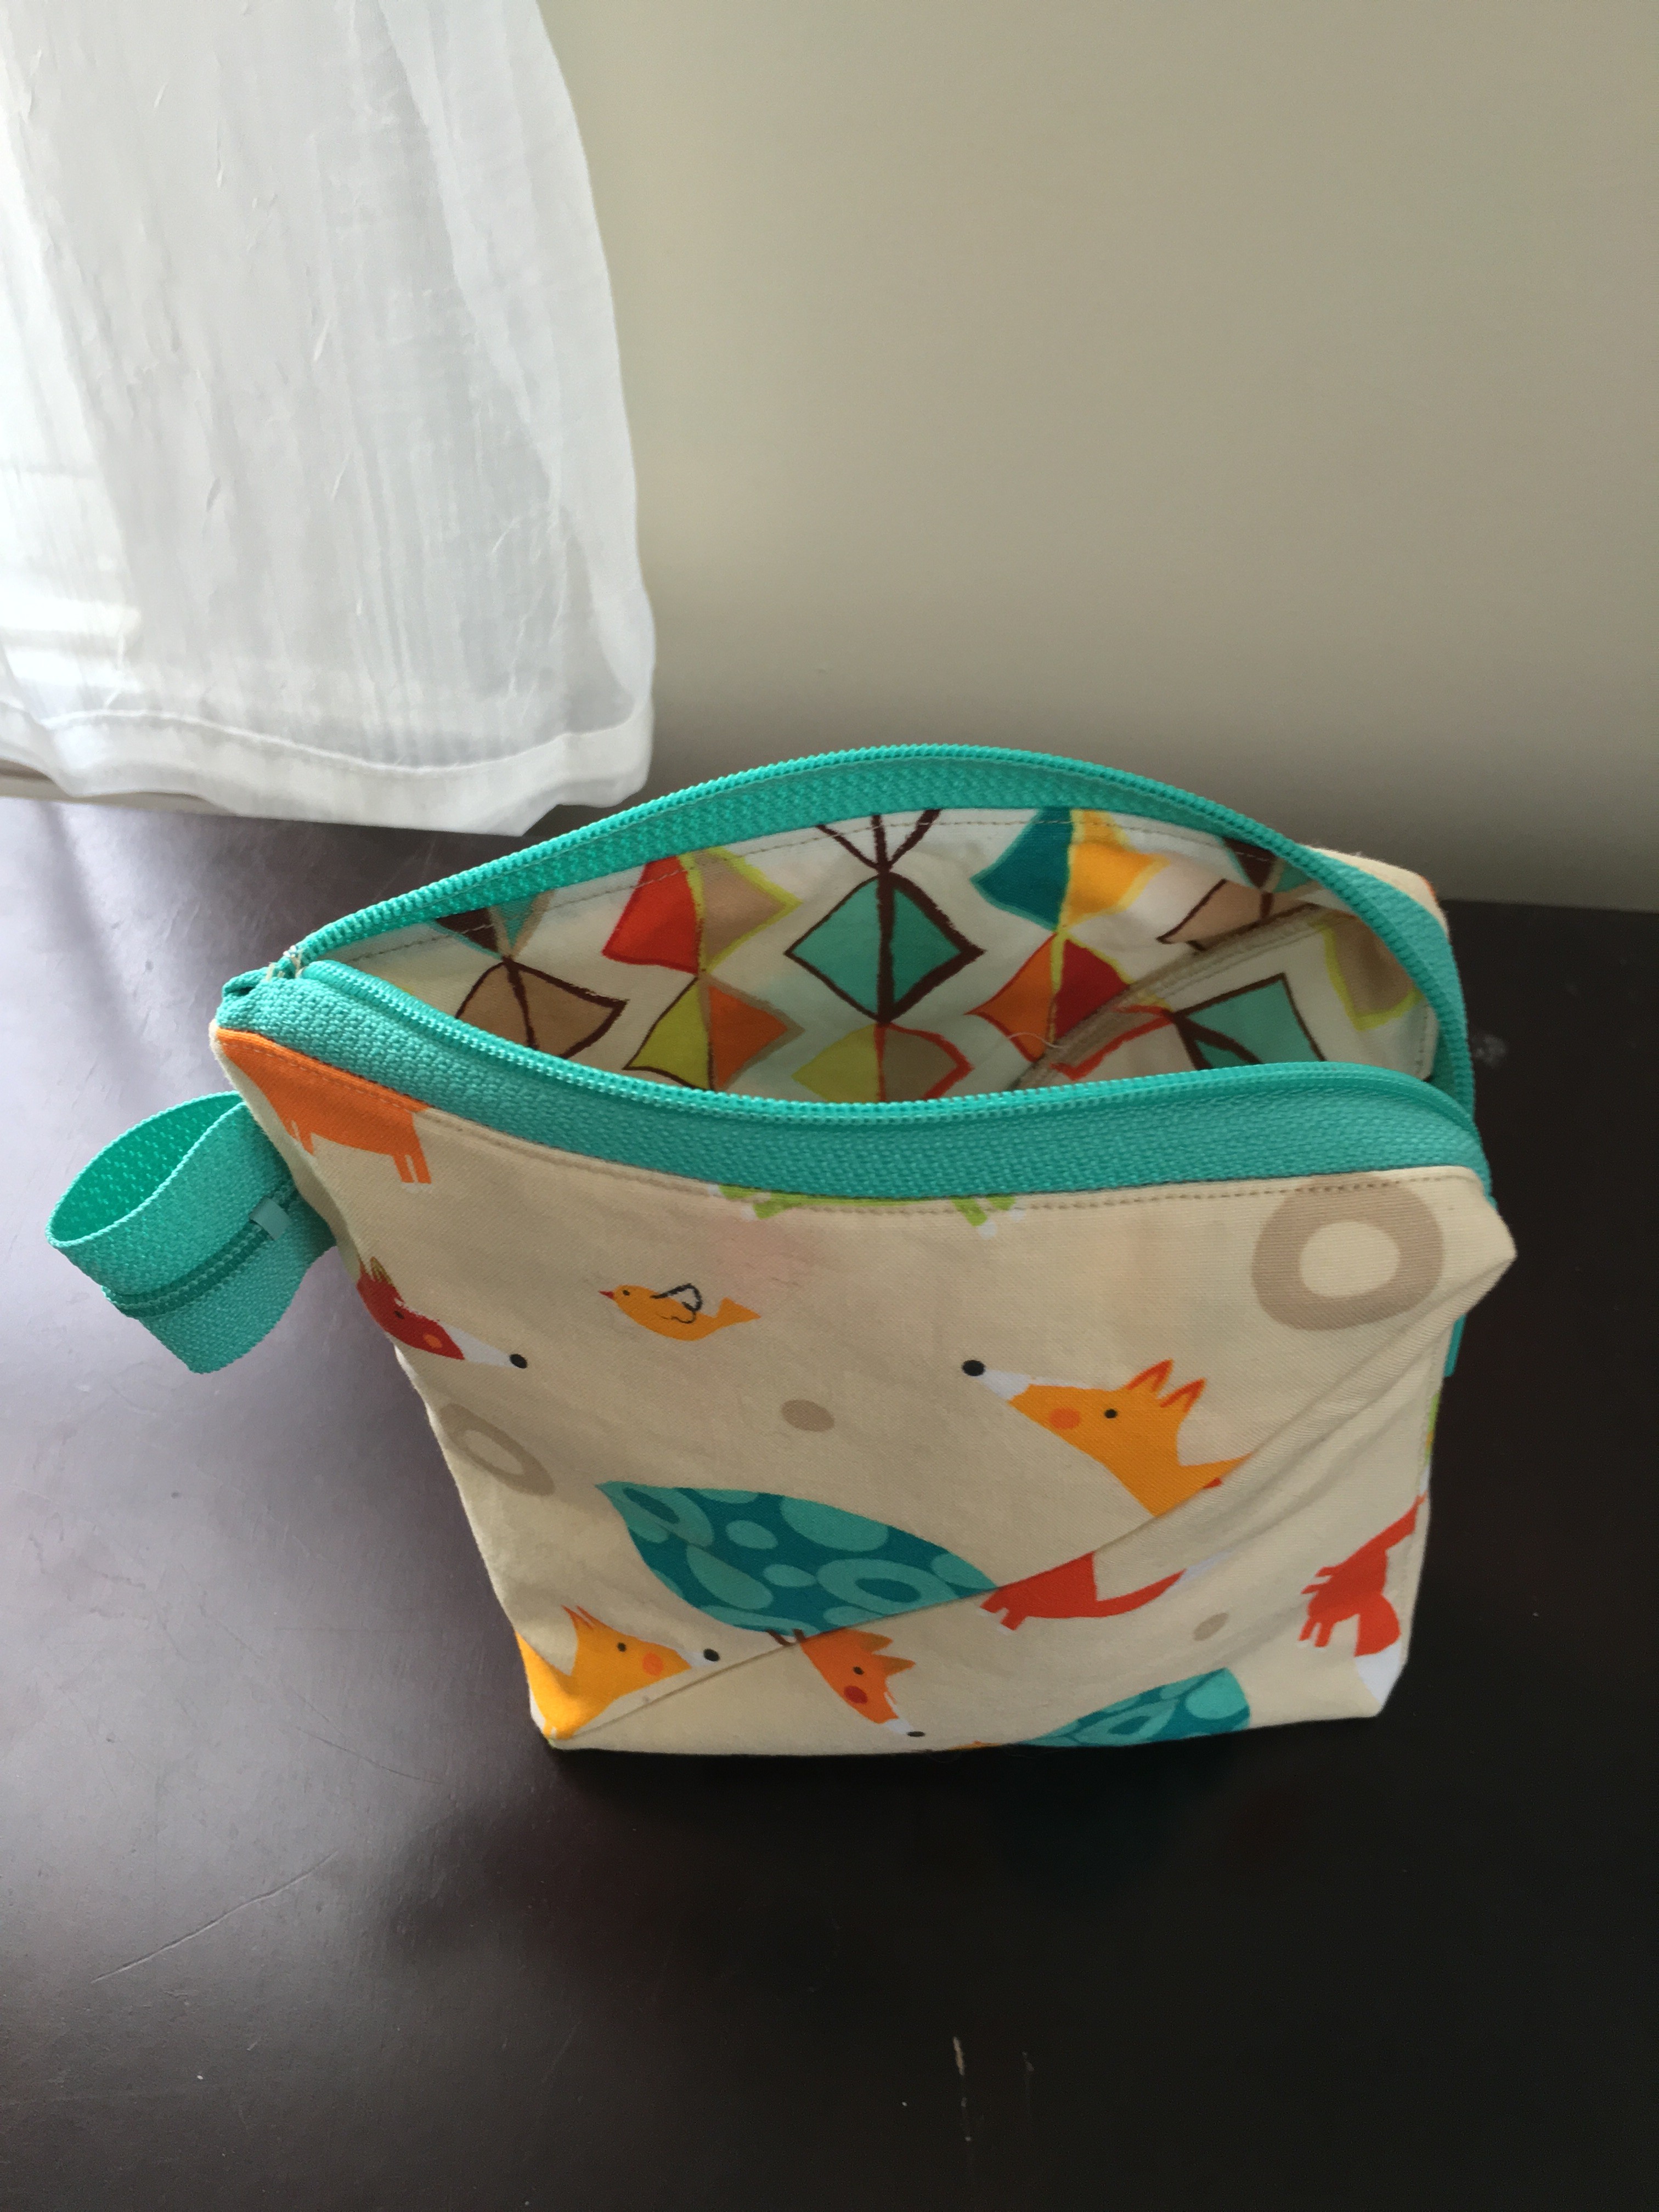
I did, however, make time to sew six bags to take with me to Amarillo for Thanksgiving
(Each of the women at Thanksgiving dinner received a bag of her choosing from the lot of six bags.) and Bright Spot #4, the wedding of my DS#2 to his high school sweetheart. They each had their training-wheels marriages, and have now made the marriage that will last for the rest of their lives, which I hope is a very long time to make up for the heartaches they suffered during their prior marriages. My new DIL, Leslie, is a wonder. She is the chair of the dance department at a Texas university, received tenure in her mid-30s, and works as a choreographer in the theatre department at Interlochen during the summers. She is also the mother of a talented and smart-as-a-whip five-year-old daughter. Honestly, this wedding and marriage is so precious to me, it makes up for all the nastiness of the year!
As soon as I was done with music for December, I raced to NC to spend a day with Mother, who—by all appearances—has now seen her last Christmas. At 102, she’s told her doctors she wants no more intervention when she is ill. She has recurring problems with urinary tract infections, and the doctors indicate her next infection will be her final. She can hardly hear, is not motivated to communicate, and her right hand is crippled by arthritis, so that she cannot feed herself. She has lived a long, full life, and is greatly loved by a lot of people. My family feels very lucky to have had her around this long.
After returning home, I turned around the next morning and we drove to Columbus to celebrate Christmas with my partner’s family, ensuring that we drank a traditional Irish toast to his mother.
As I pack for our first vacation of 2016, a cruise with our travel pals to the Panama Canal, I will leave you with Bright Spot #5. In 2008, after moving to Ohio to be near my grandchildren, I was able to sell both my houses in Tucson, at an out-of-pocket cost greater than $70,000. (Remember the financial crisis of 2007-08? I do!) After borrowing right and left to make these closings happen, I ended up in 2010 in a debt repayment plan, which is one of the best things that ever happened to get me out of an untenable situation. In December of this year, I was finally able to make my last payment and breathe an enormous sigh of relief. If you ever find yourself in a similar situation, I highly recommend Money Management International. Their counselors and advisors are kind and respectful. They work for you, not for the organization. They will help you find a way to meet your obligations without having to declare bankruptcy. I will sing their praises until I die—a date on which, without their help, I would have passed along lots of debts to my sons. Now I can enjoy the rest of my life without enormous debts hanging over me.
And that was the year. Five bright spots, plus a lot of hardship and heartache. I truly am glad to see 2015 move into the rearview mirror.
As I enter 2016, I’m focusing on seven performances of My Fair Lady in Sharpsville in March, and several performances of “Cosi fan tutte” at YSU in April. Before I left Mother’s bedside last week, I made sure to thank her for all the piano lessons she had driven me to.
My sewing time will again be limited the first half of the year, but I also thanked Mother for taking me to the Singer Sewing Center for classes in 1963, awakening in me a love for all things fiber.


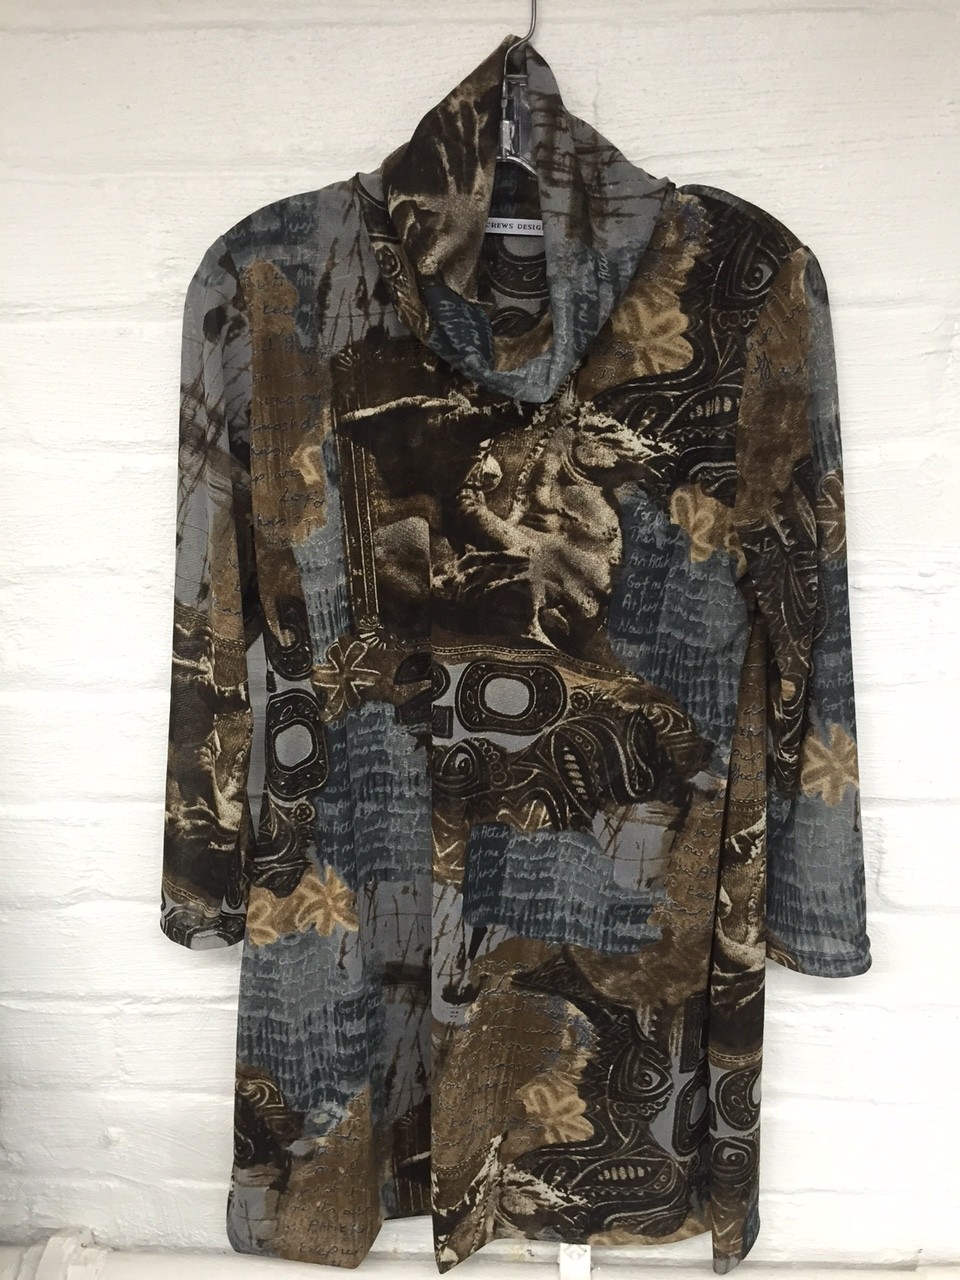
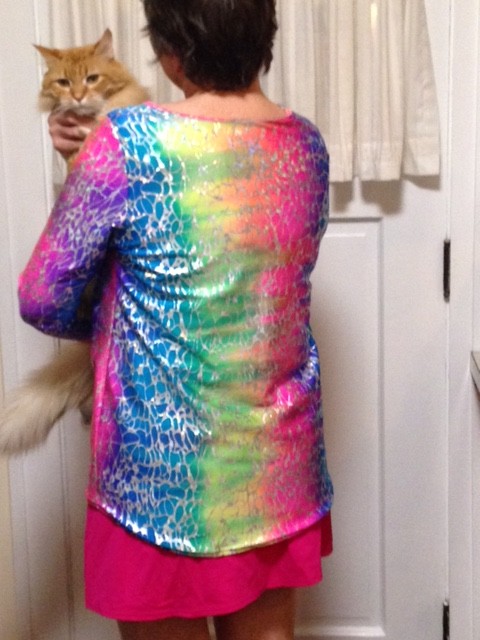
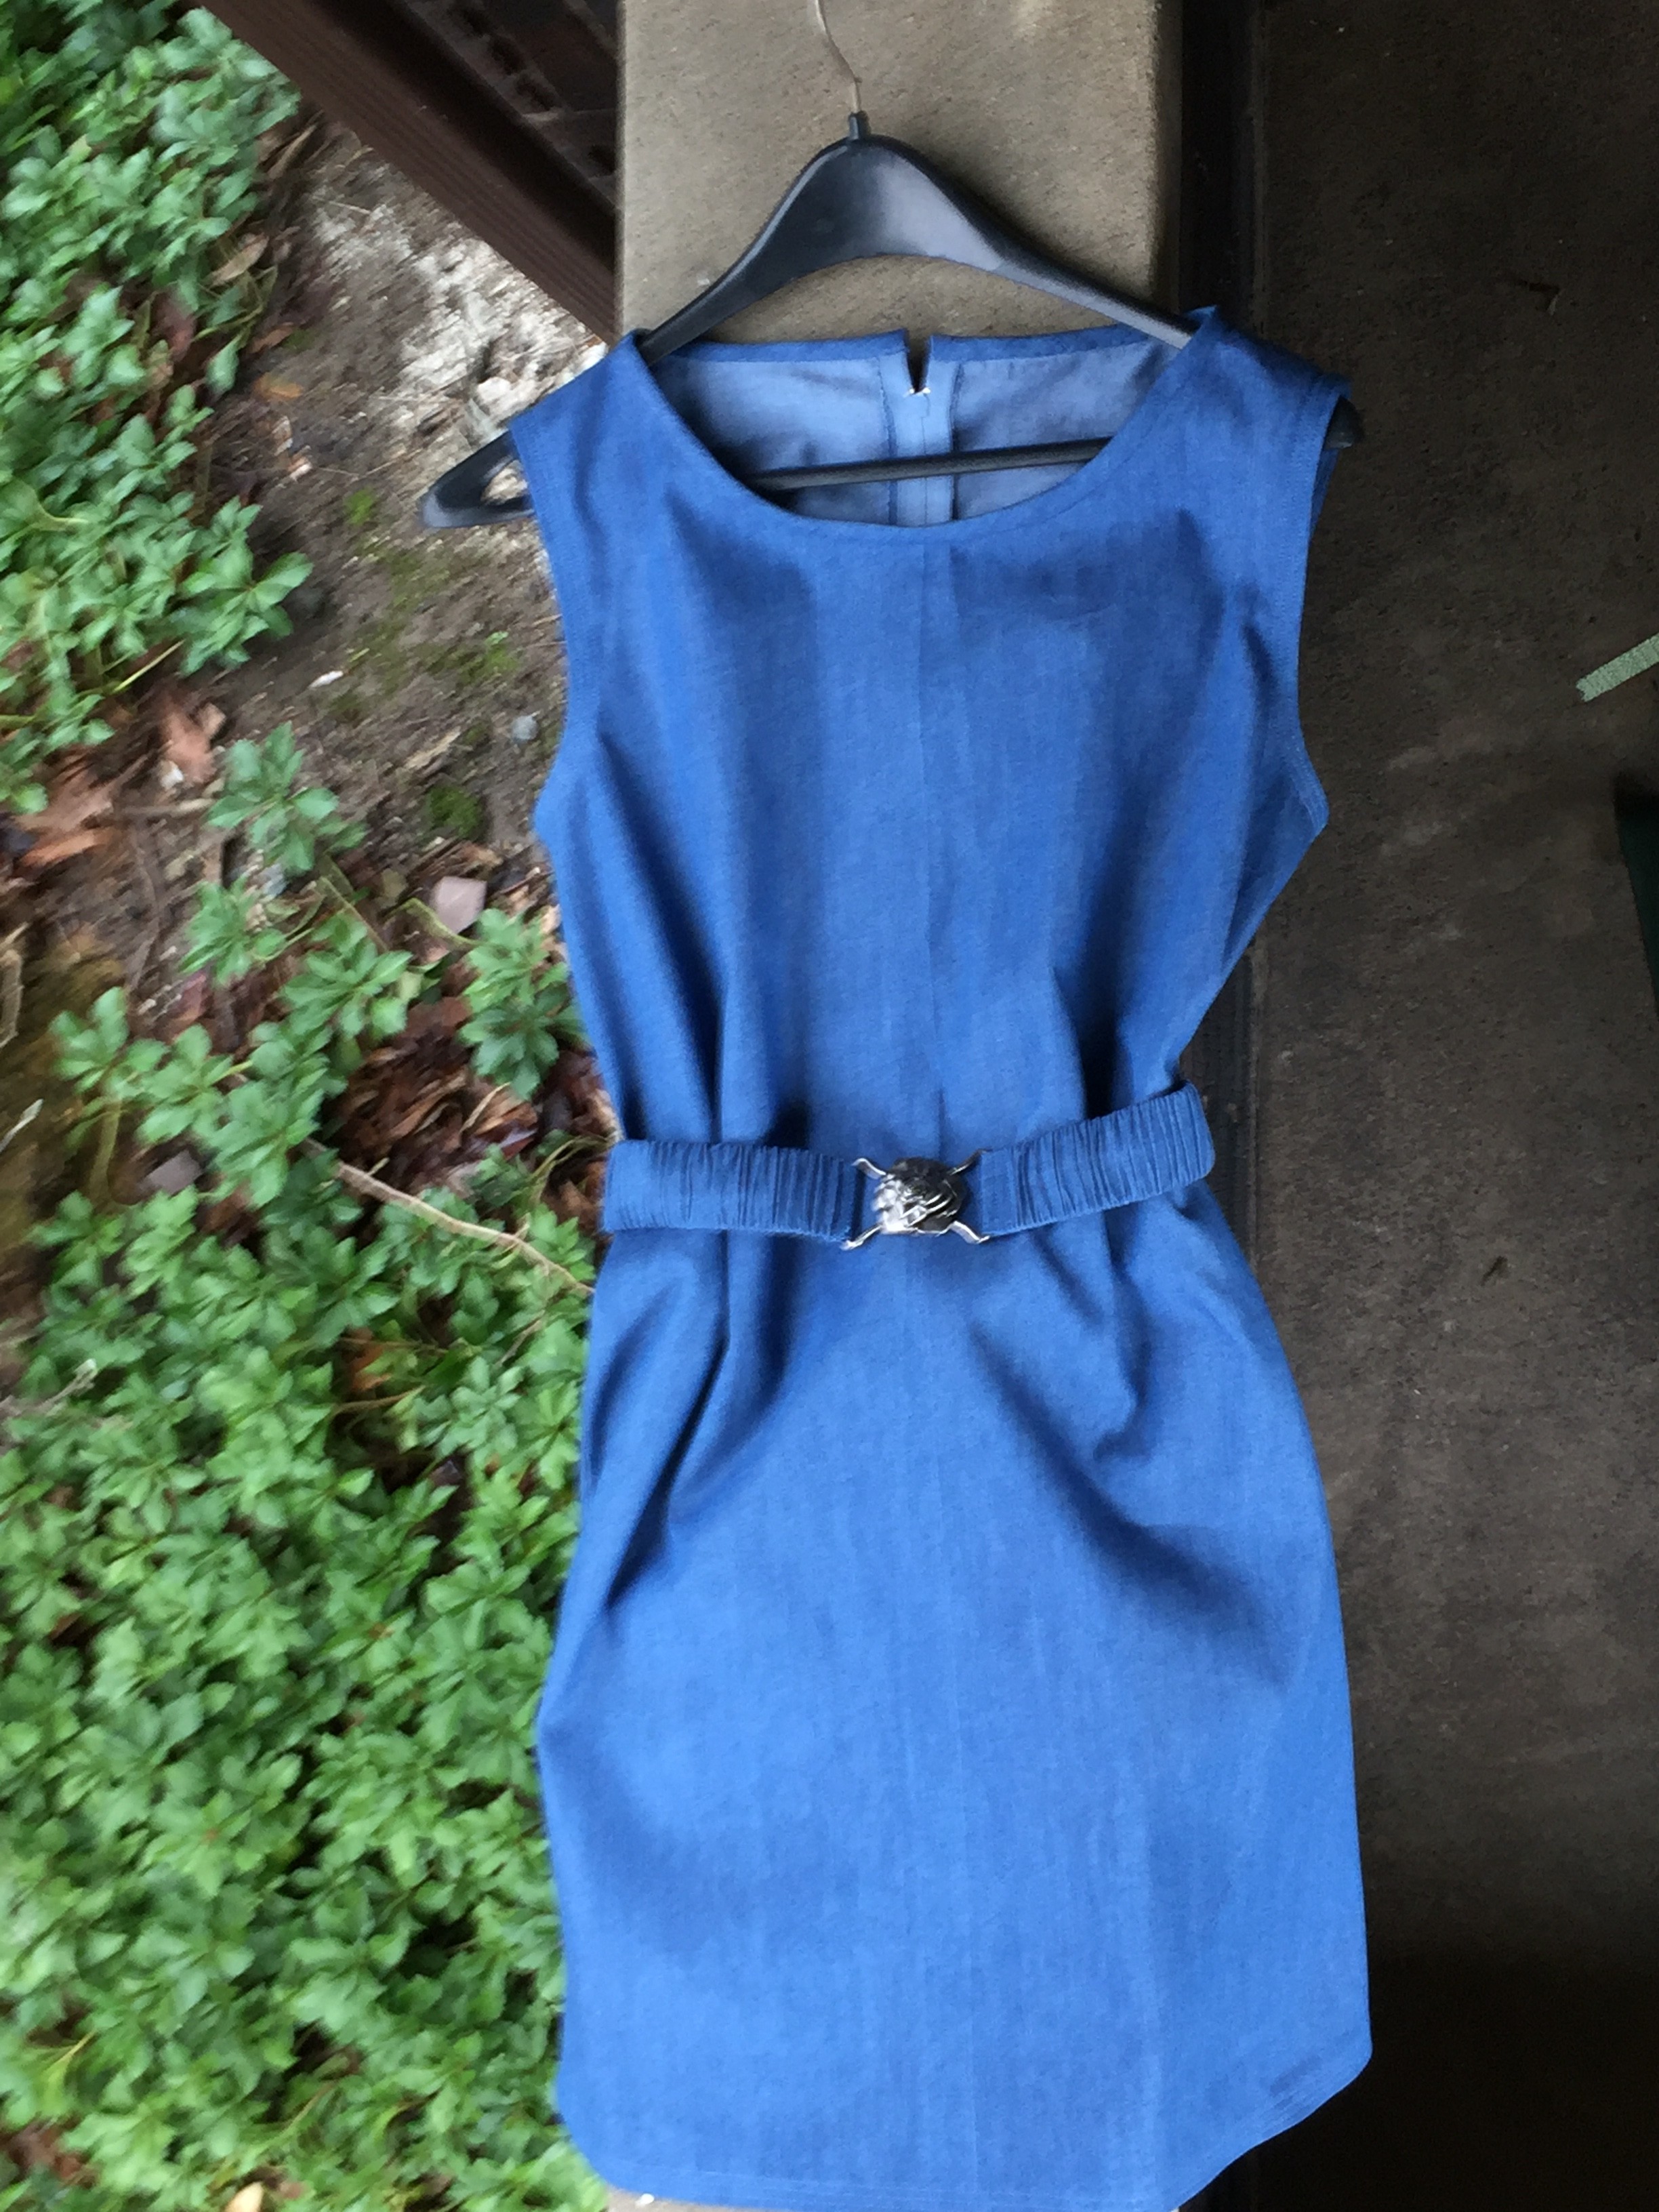 The good news is I finally found some time, amid all my music-making, to get back into my sewing room. The bad news is this garment will probably never be worn again after its two minutes on the runway.
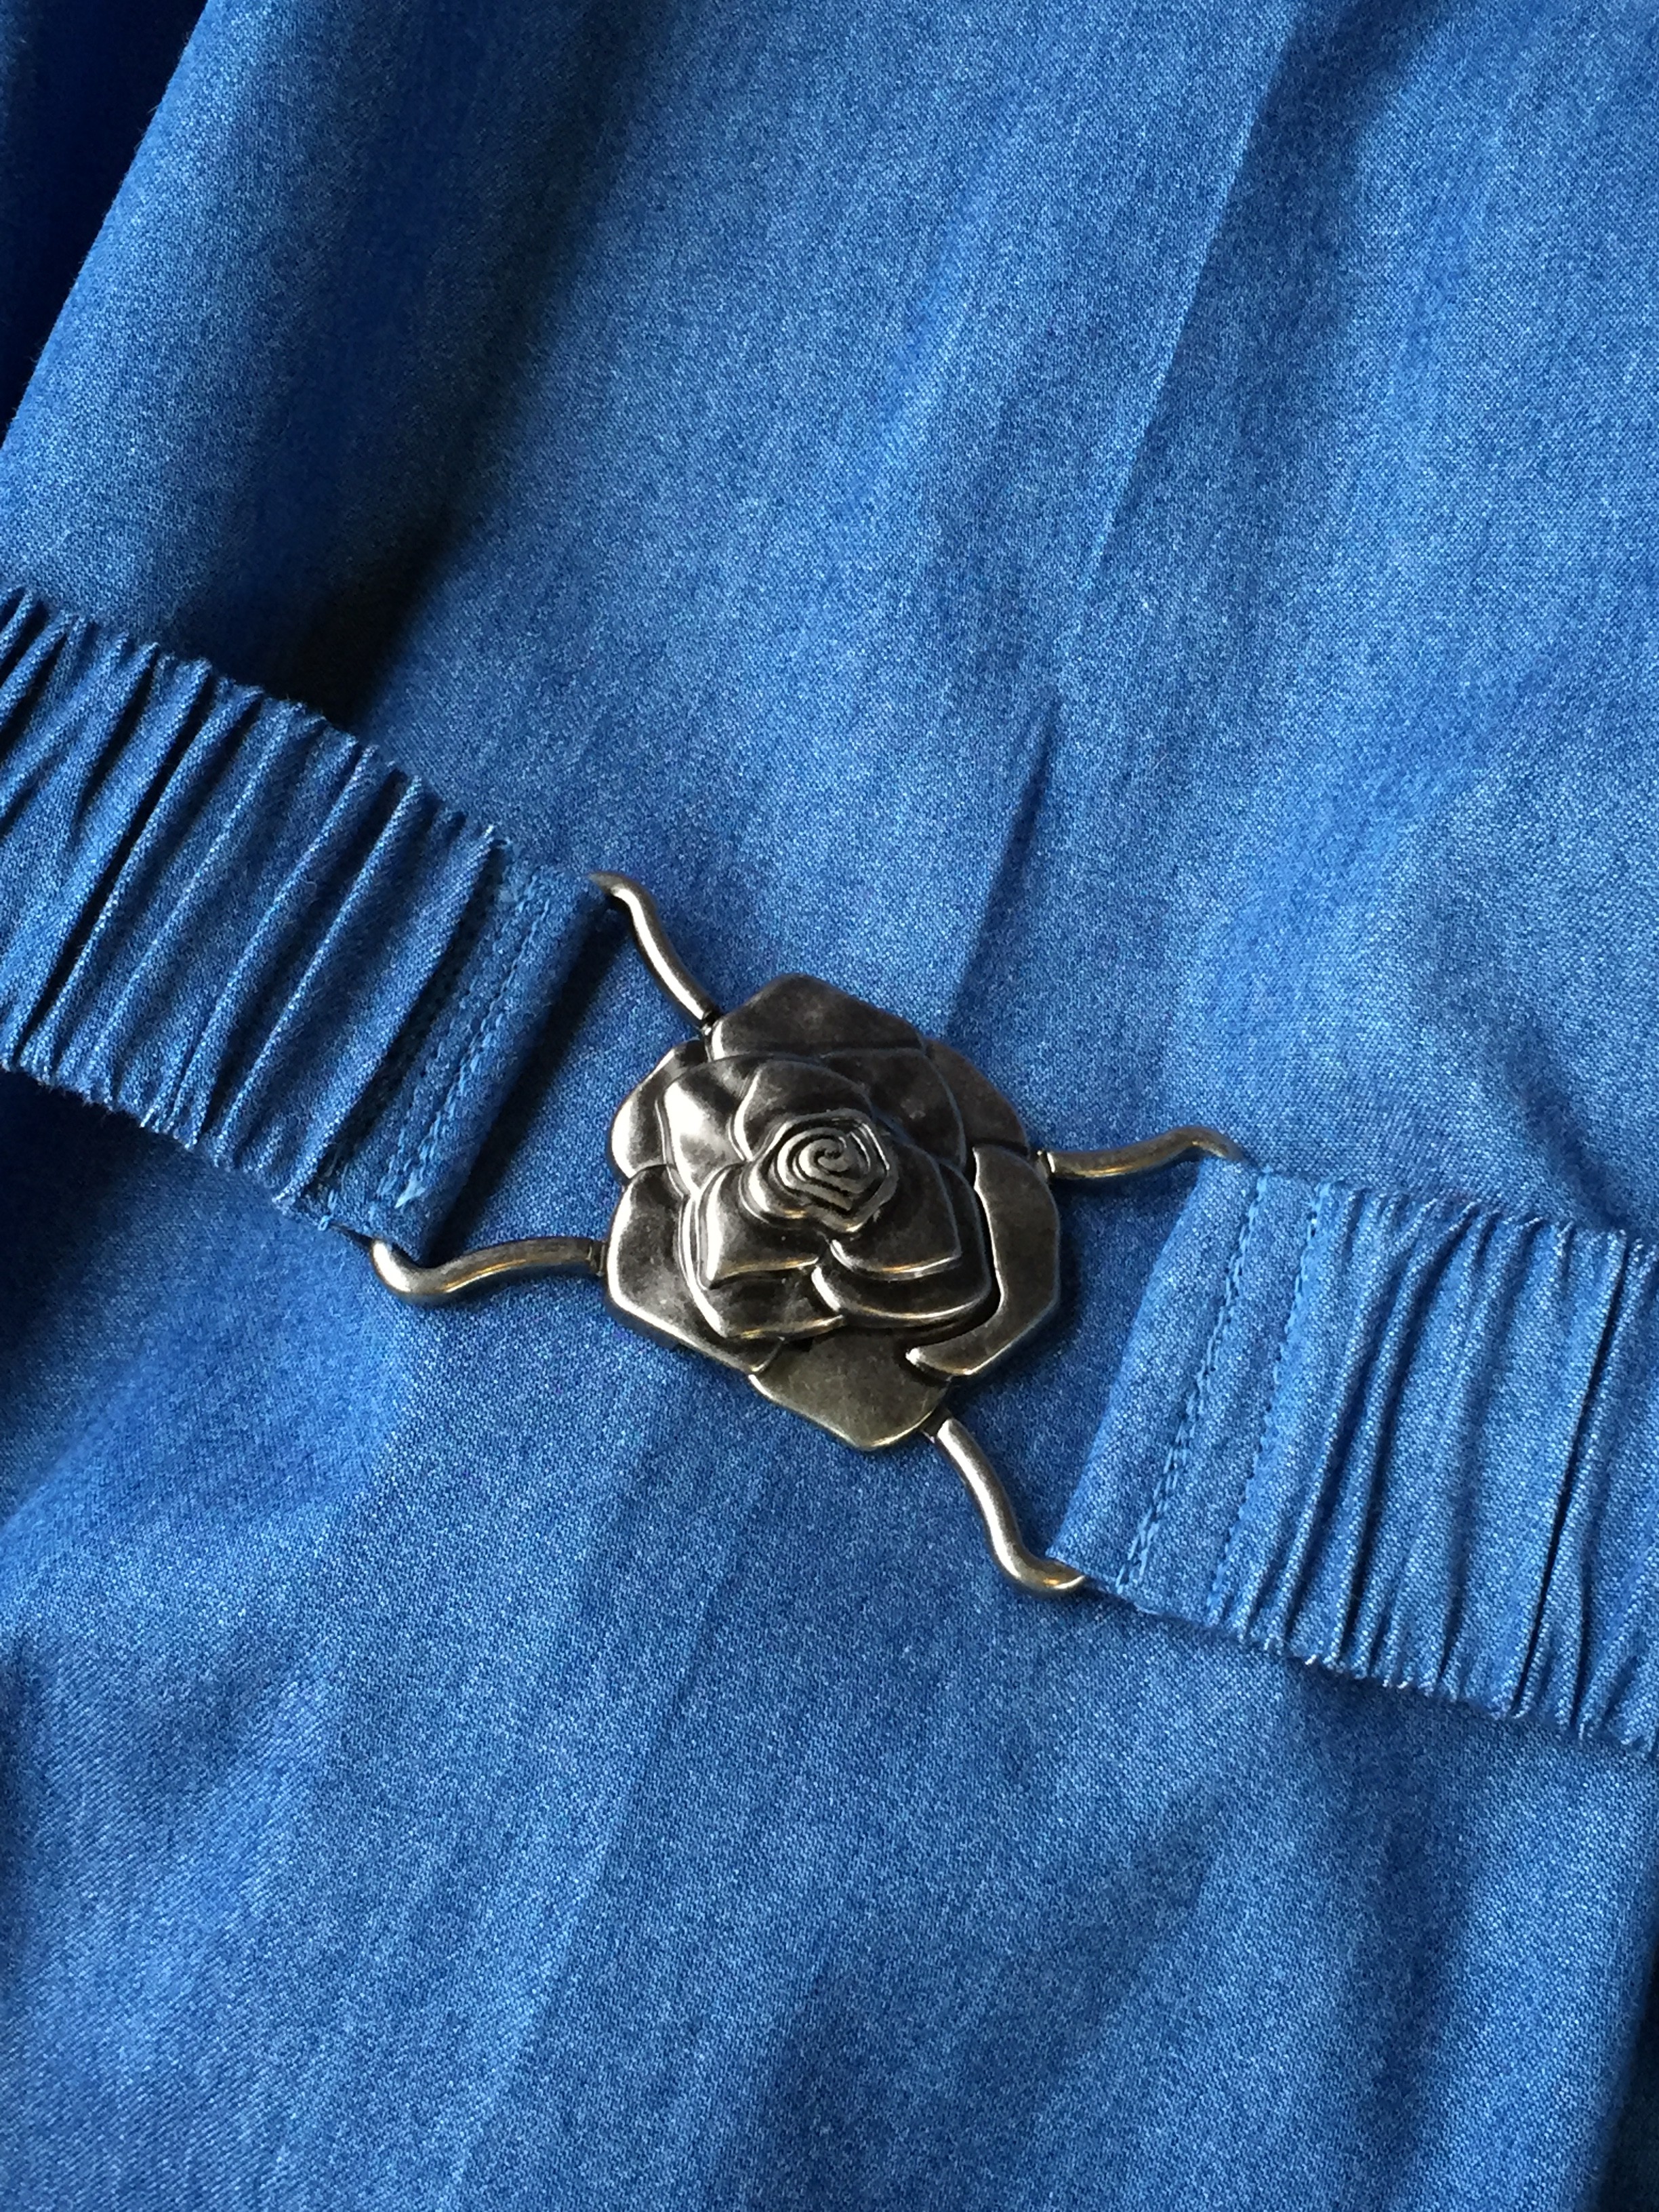


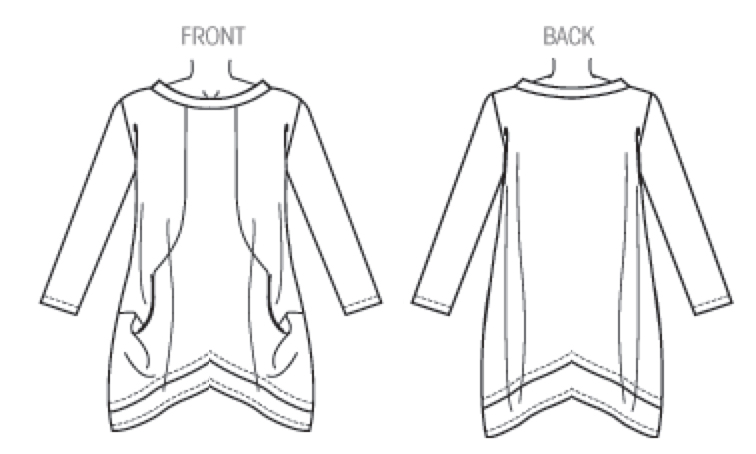

![Drapey front showing the [right-front] pockets.](https://jancrews.com/wp-content/uploads/2015/10/6101-front.jpg)