One of the things that led to my employment at the local Bernina store was the owner’s seeing me in the store wearing garments I had made. She is also a garment sewist, so she knew just by looking that quality had gone into the construction of these garments. She told me she had picked up some apparel fabrics at the Pittsburgh quilt market, and within a few days I stopped at the Twinsburg store on my way to a Cleveland rehearsal to see these fabrics. The owner was there and we talked a bit more, culminating in her asking if I’d be interested in teaching any garment construction classes at that store. (Of course I said “yes.”) Three pieces of fabric called my name, and a couple of weeks later I stopped again to pick up two of the Sewing Workshop patterns she stocks there—the Liberty Shirt and Ann’s Cardigan and Tank.
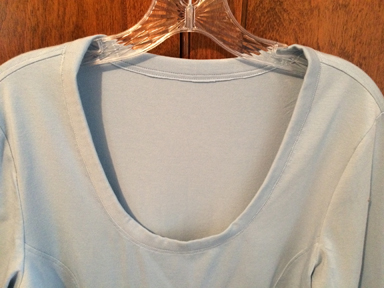
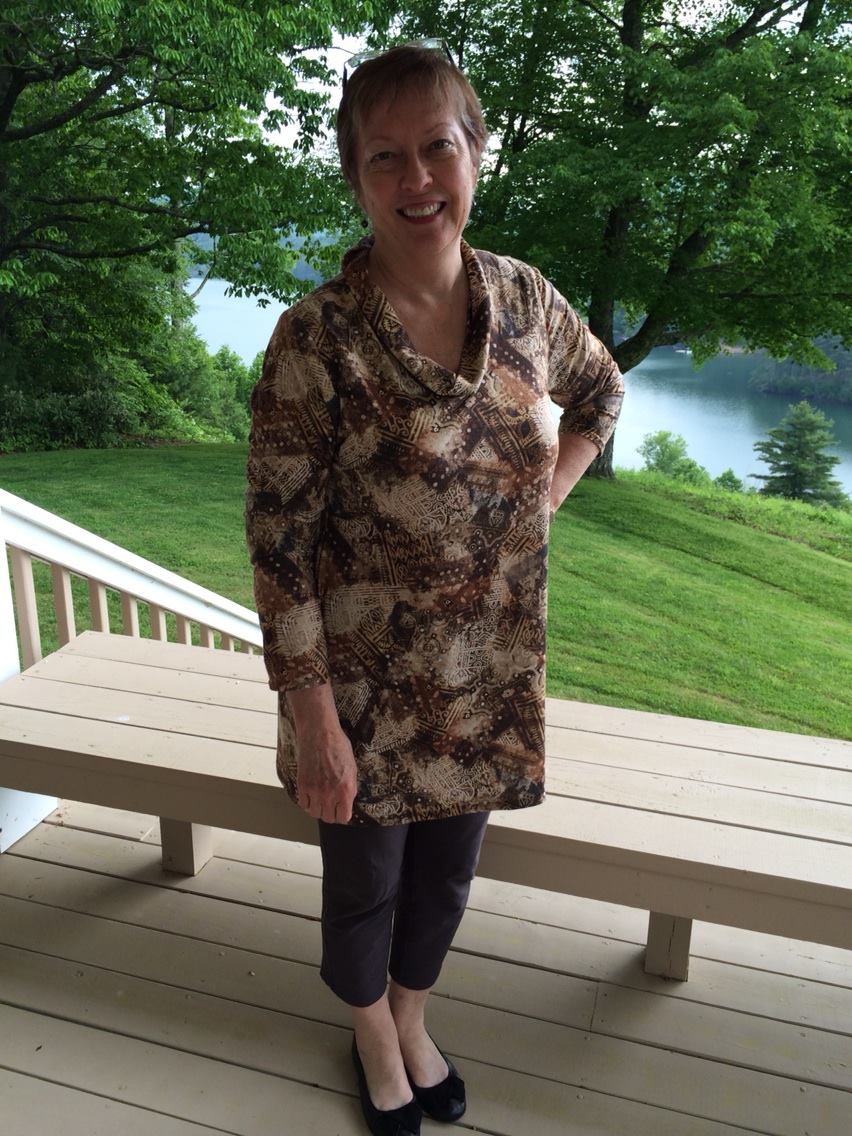
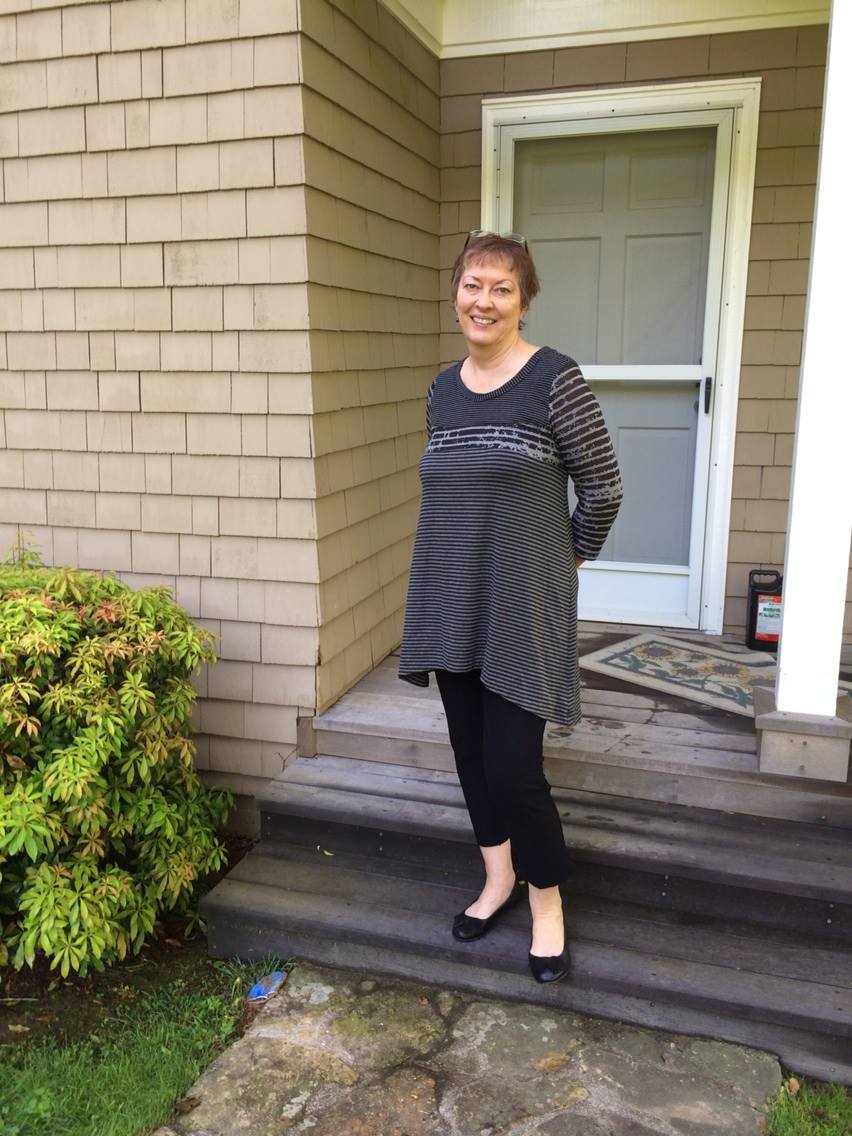
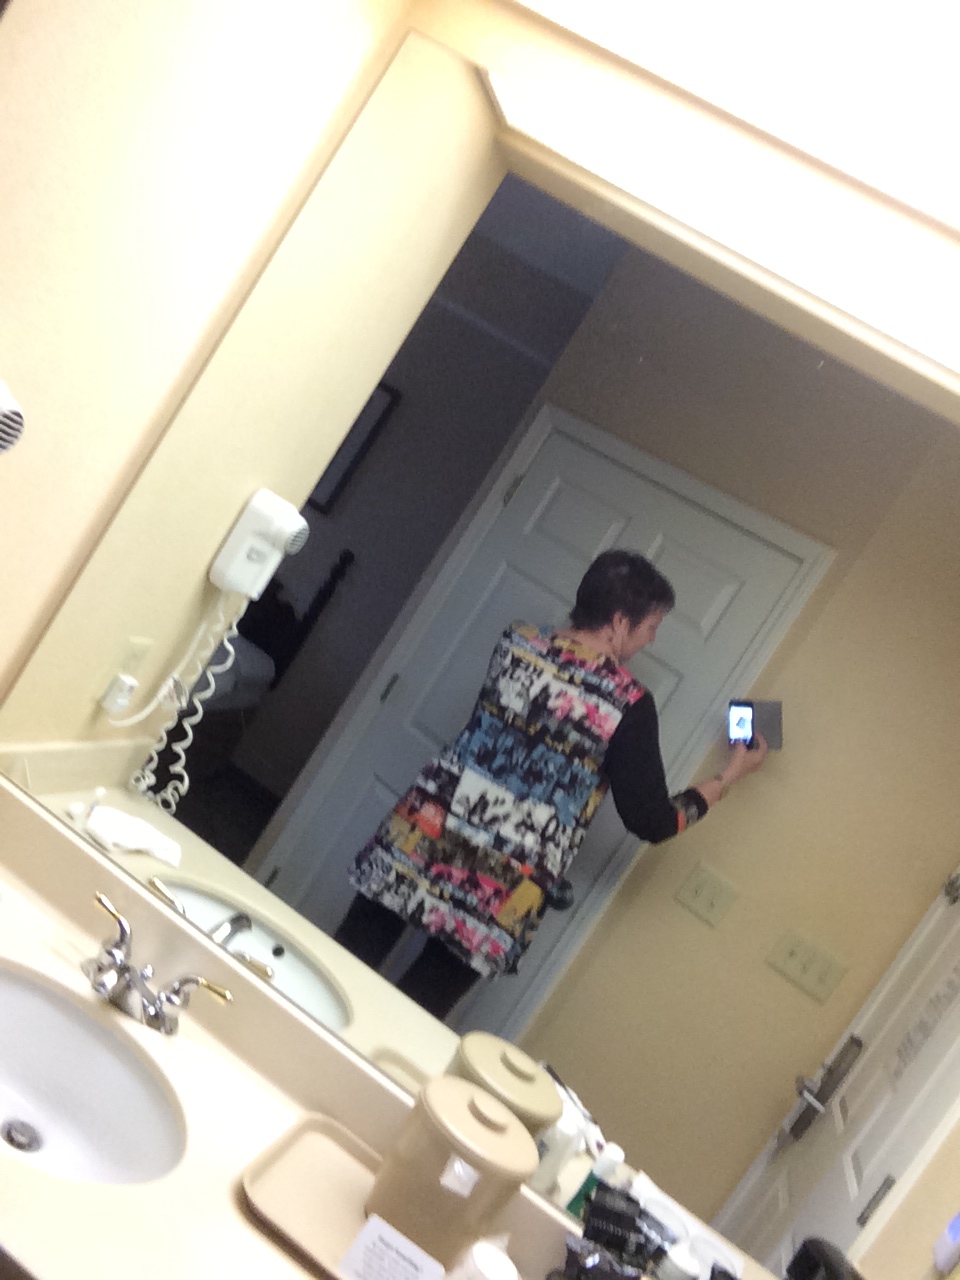
 With an eye towards teaching the Liberty Shirt pattern, I made up the first piece of fabric, a batik marked “100% cotton.” It is a lightweight weave, and actually feels more like linen to me than cotton. I’ve been in love with batiks for years, and really enjoyed sewing this fabric.
One of my intentions in making the shirt was to follow the instructions as if I were just beginning to learn to sew. In other words, I read every step in the instruction sheet and didn’t think, “I know a better way to do that.”
Here’s my review, then I’ll give some more of the details afterwards:
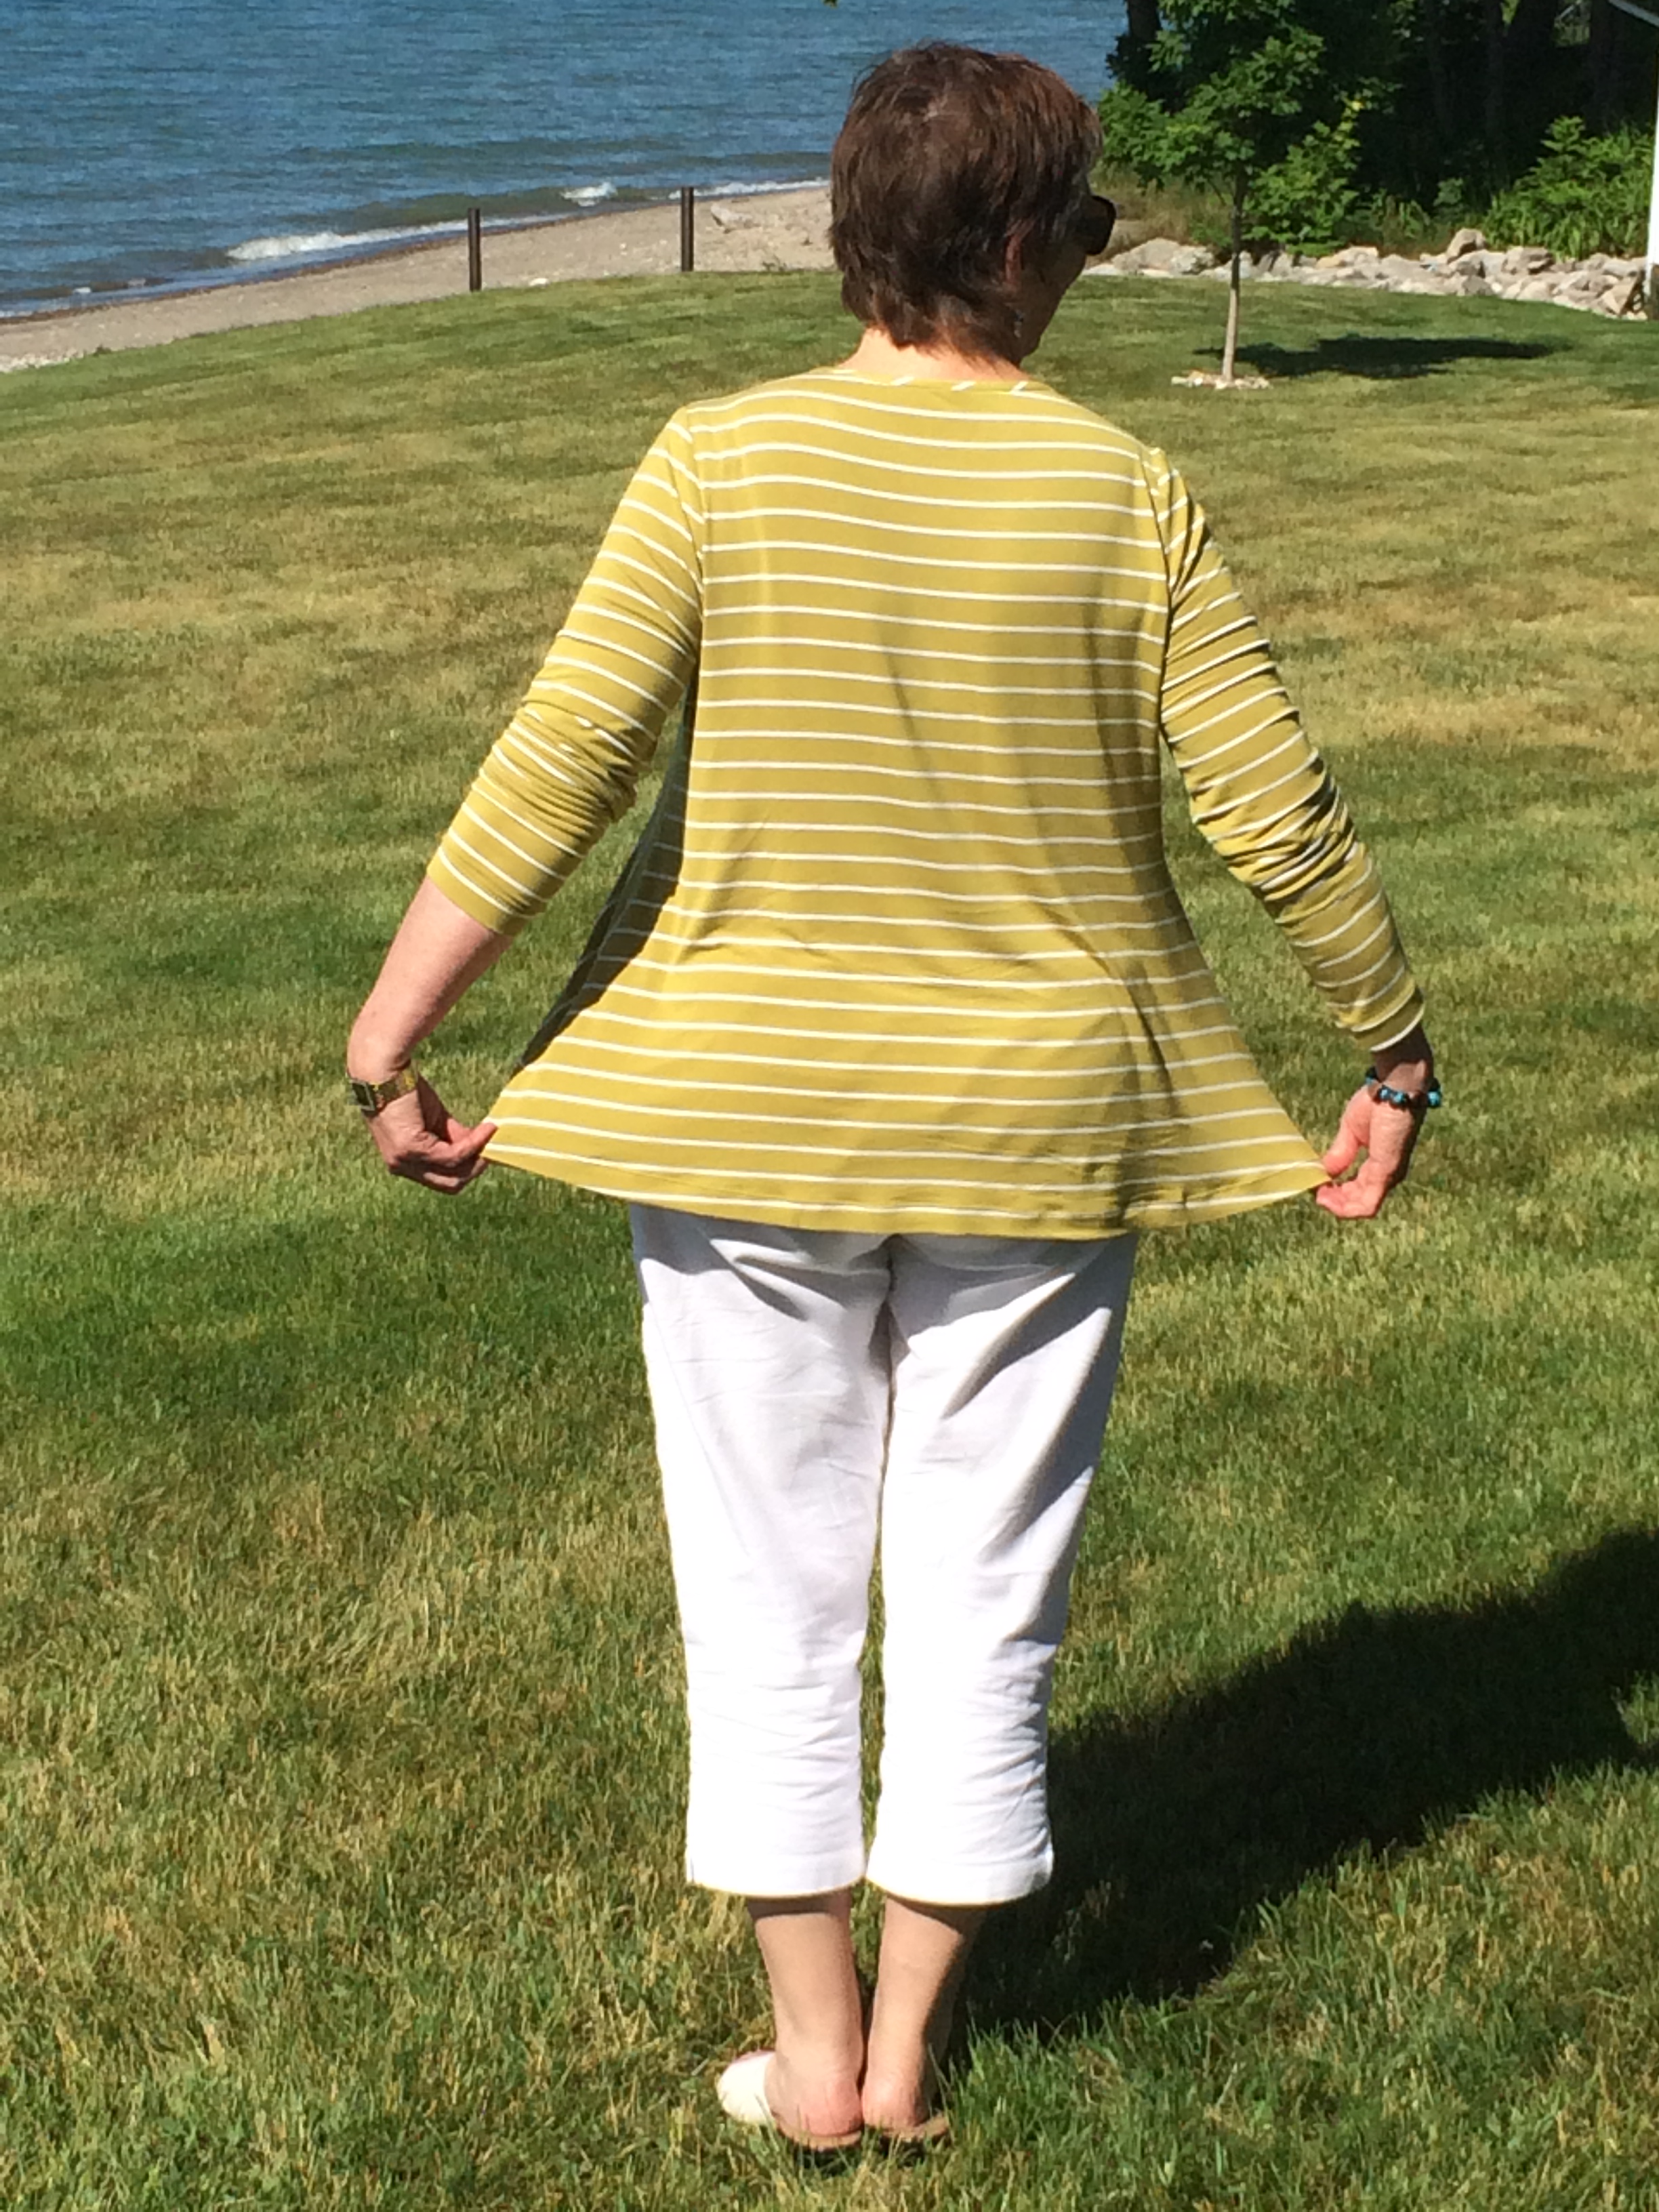
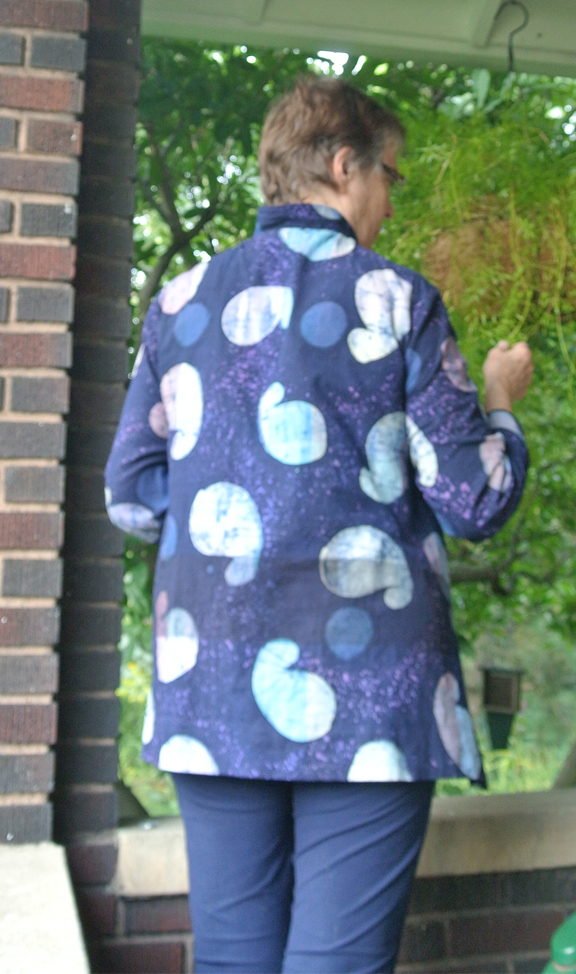
Pattern Description: Shirt or jacket has diagonal side seams angled to the front, soft stand-up collar, and set-in sleeves with vent openings. Asymmetric front and back deep hems with mitered corners. Front topstitching detail and five-button closure.
Pattern Sizing: XS, S, M, L, XL, XXL
Based on the measurement chart, I cut a Large. I’m 5’8″ and plan to wear the shirt over skinny pants, so I added 2″ at the “Lengthen/Shorten” lines.
Did it look like the photo/drawing on the pattern envelope once you were done sewing with it? Yes.
Were the instructions easy to follow? Very detailed instructions with clear photos. Easy to follow.
However, as a former technical writer, I noted a couple of what appeared to me to be omissions. As my goal is to teach this pattern at the local Bernina store, I wanted people learning to sew to be able to follow the instructions satisfactorily.
1) Under Collar and Facings, the second step shows basting the collar edges together, but doesn’t list that action. It only says to edgestitch. (Because I was working with a stable fabric, I was able to sewing the collar in place easily without basting, but new sewists would need this instruction.)
2) Same section, after staystitching neck edges of facings, it says to fold the seam allowances in and press. It does not say to trim afterwards. With that much curve, the seam allowance is not going to lie flat inside unless trimmed.
3) Same section, next step, it says to stitch the front and back facings together. The seam allowances have been folded in and pressed, and the pictures shows sewing the facings together with the seam allowances folded in. This will not give a clean finish. I think it should have said open the seam allowances out, stitch, then press the seam open and press the seam allowance fold again. It also doesn’t instruct how to press that seam (open or to front or back).
What did you particularly like or dislike about the pattern? Love the French seams. What a wonderful shirt to teach new sewists the beauty and elegance of a French seam. And the mitered corners—another great technique for beginners to learn.
Fabric Used: Picked up by store owner from jobber. No info available on the origin of this fabric. Marked 100% cotton, a batik that feels more linen-y to me.
Pattern alterations or any design changes you made:
Added 2″ in length along “Shorten/Lengthen” lines.
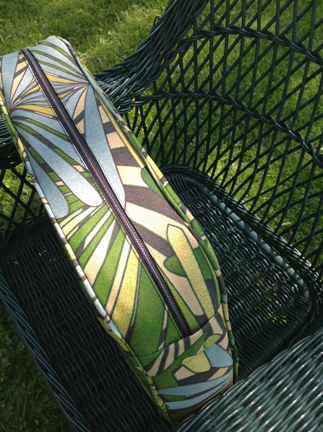
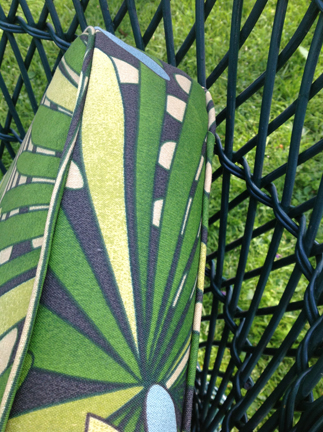
Added a 3.5″ piece of self ½”-wide binding to the inside of the sleeve, along the hemline, centered on the seam. Inserted ¼” elastic to pull in the sleeves somewhat.
Added patch pocket to right front as first wearing will be on vacation. 🙂
I strongly suggested basting the hems and facings in place before topstitching. This is not mentioned. I sewed the back hem without basting and—as a result—took the time to hand baste the front and facings from the inside along the very edge. Loved the beautiful straight topstitching lines that resulted. (Should take the back out and redo, but not gonna do it!)
Would you sew it again? Would you recommend it to others? Yes and yes. Will be sewing many more of these in preparation for teaching.
Conclusion: Crisp, clean, neat – great with dress slacks or jeans, in many different fabrics. I’m interested to see the suggestion to make it in a knit as a t-shirt. Hmmm ….
When I started, I set the timer on my phone so I could have an idea of how long this shirt takes to construct. When I stopped last night, I had about 4.5 hours on the timer. All that was left to do was topstitch the facing and hems, set in the sleeves, and sew the buttonholes and buttons. Snip snap, right?
Oh, you’re so wrong. I was in the sewing room all day today, finishing at 5:00. When I went to make the buttonholes on my Bernina, the test/programming buttonhole with the automatic foot went in perfectly. But then when I ran the second test to make sure it remembered, it wouldn’t reverse after the first side. Tried again. Nope. Tried with regular buttonhole foot (#3) and when I pressed the Reverse button to start the second leg, it wouldn’t reverse. I’ve had the machine since 1996, and this has never happened before.
 I had to pull out my Viking Husqvarna Designer 1 and relearn how to do buttonholes with it. That entire debacle easily ate up 1.5-2 hours and caused great annoyance.
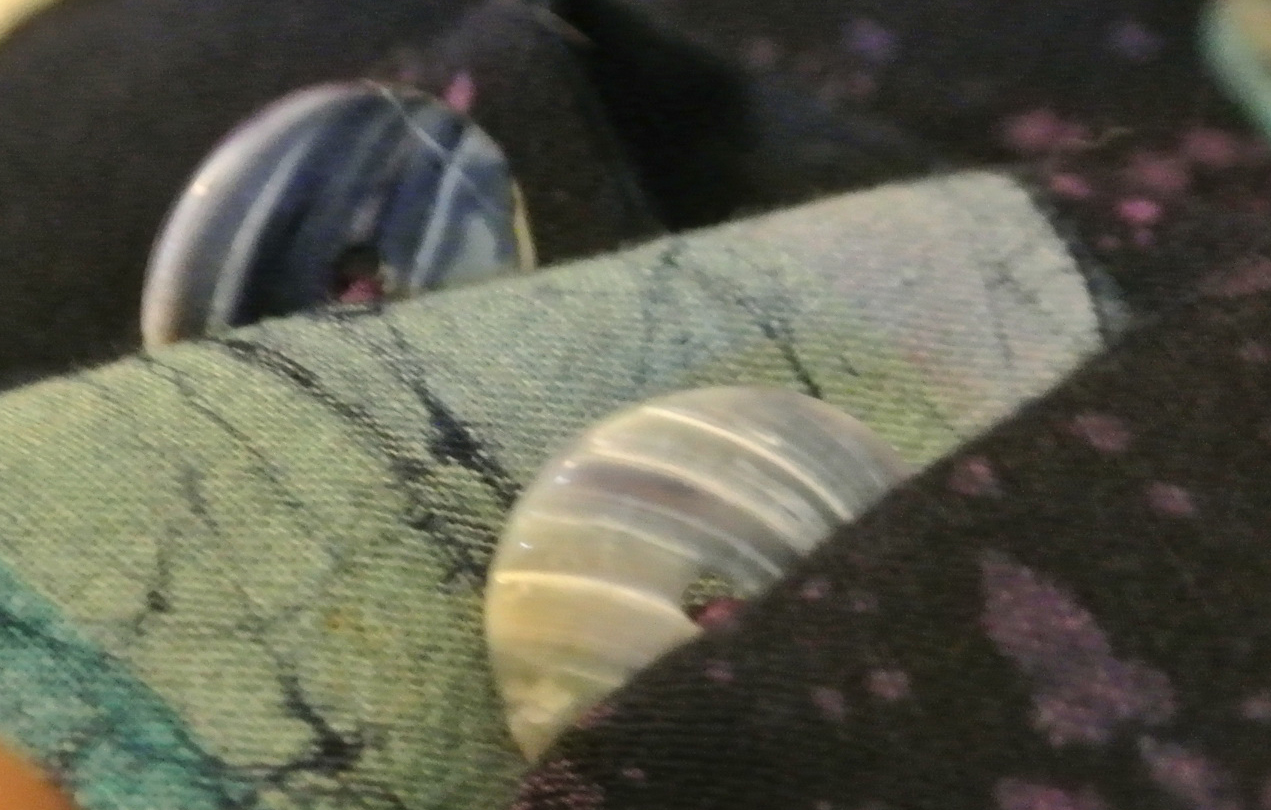
I dug through my stash to find buttons and I love these. I had no idea where they came from, but they’re shell with a blue cast to them. Look at the button backs—very cool!
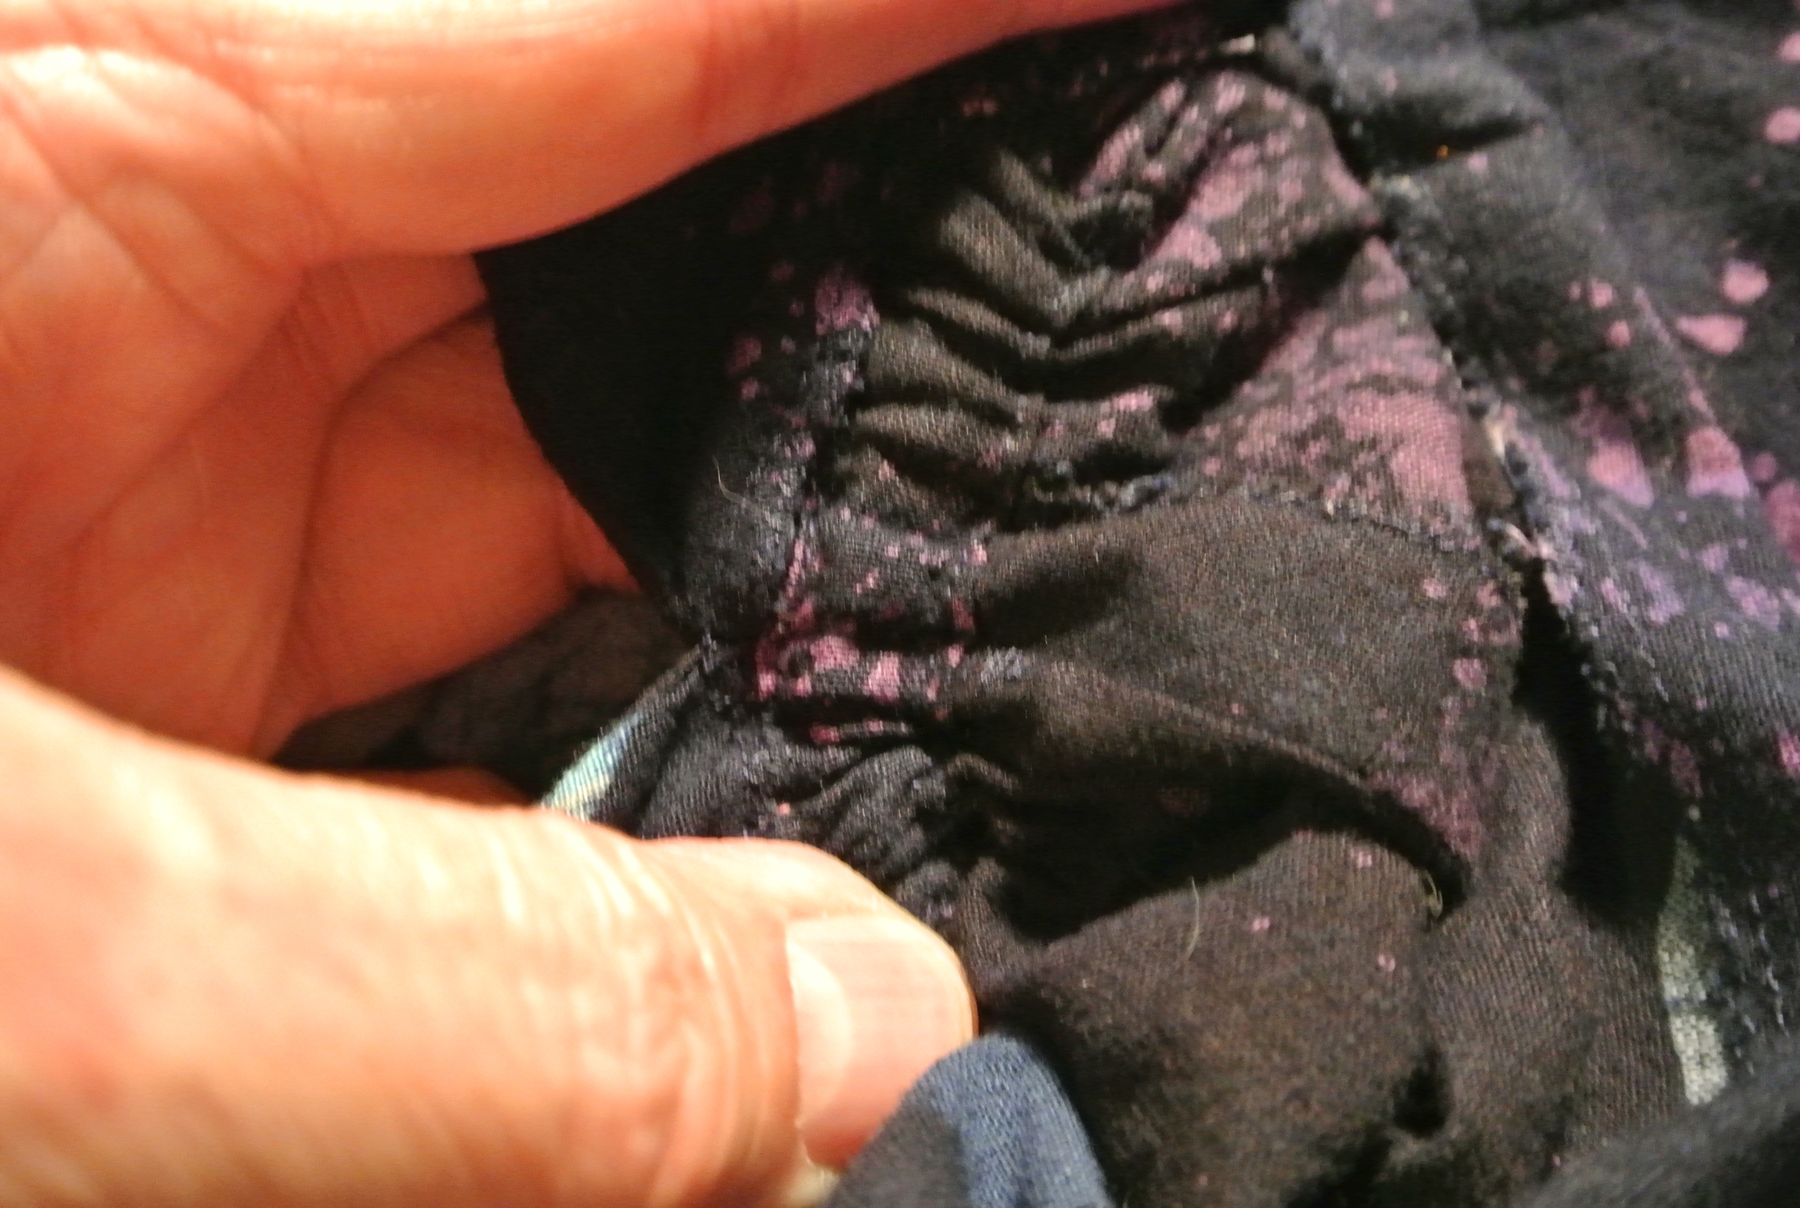
Inside of sleeve elastic insertion.
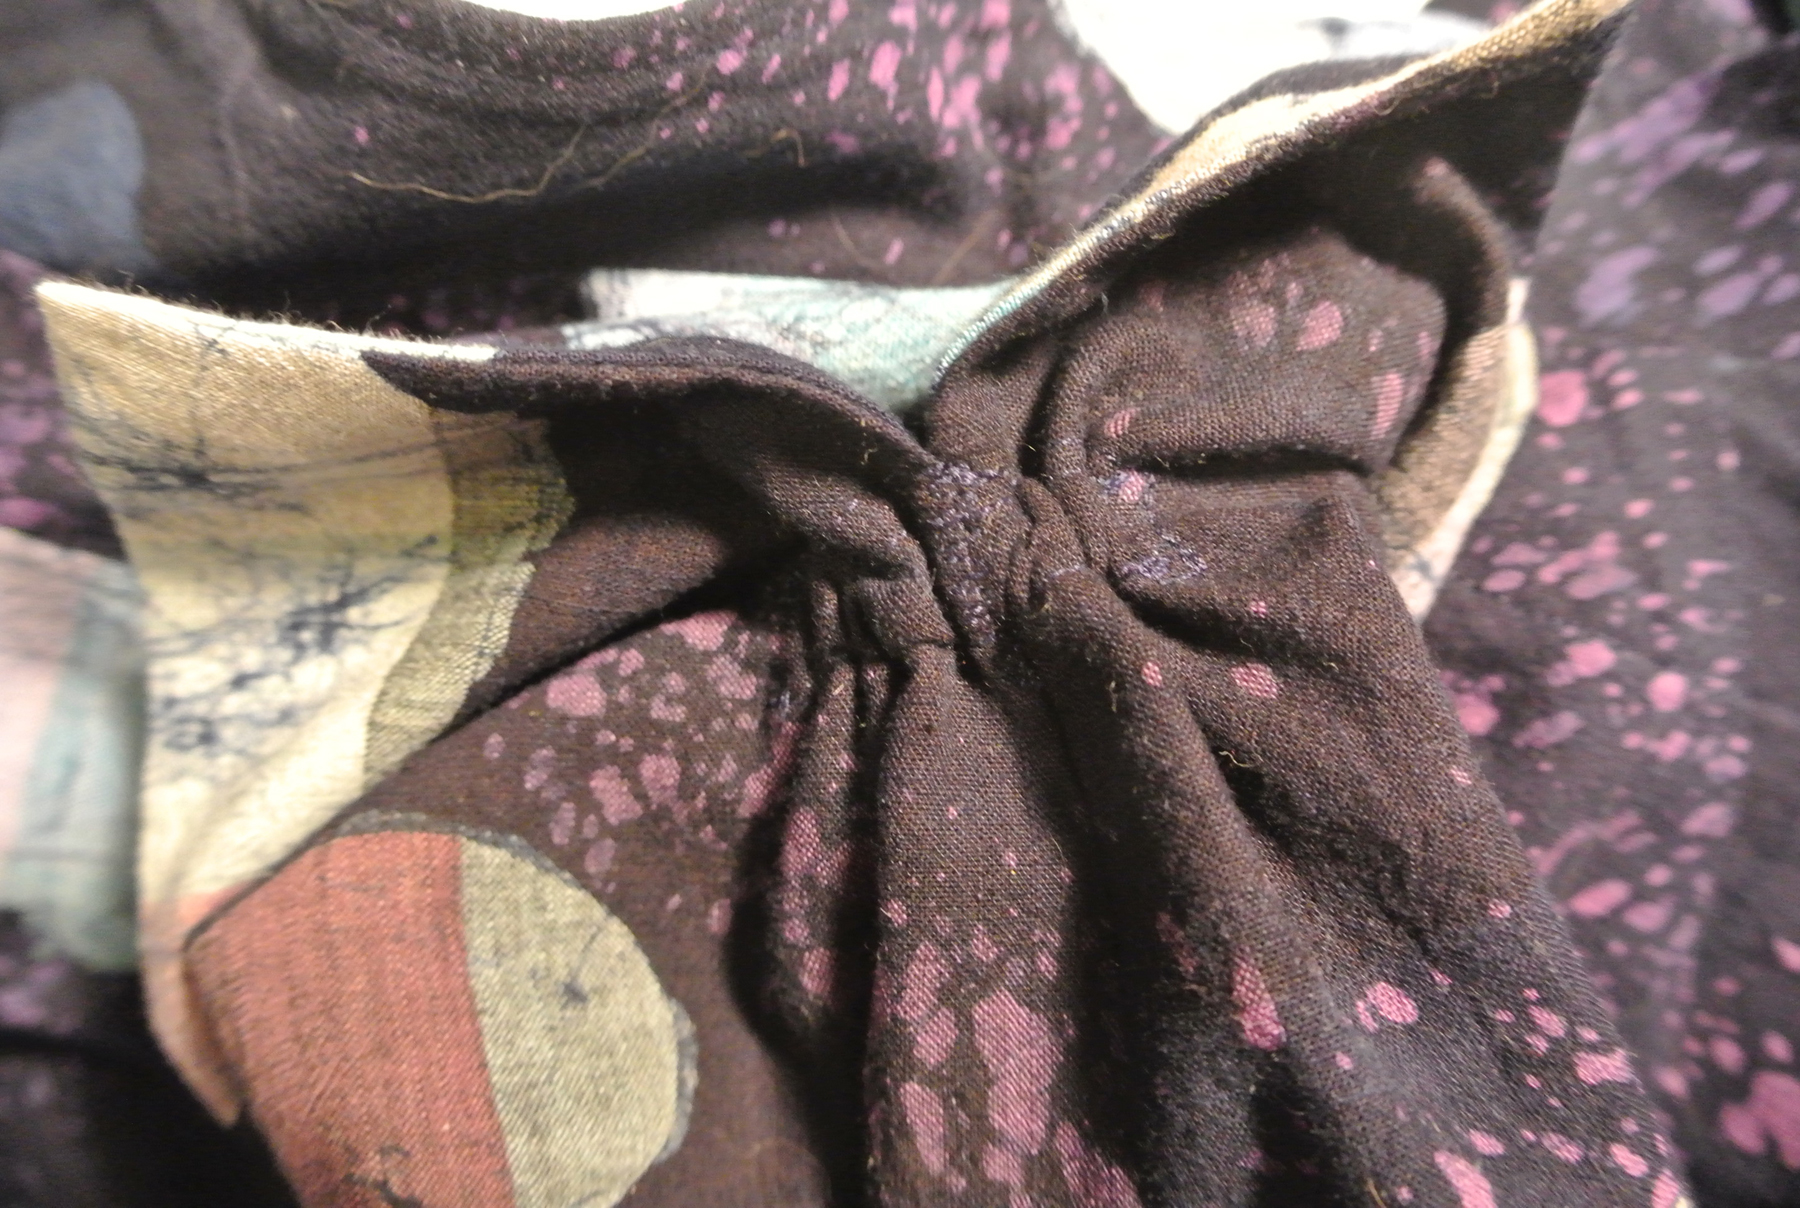
Outside of sleeve elastic insertion.
The final touch was to add a patch pocket to the right front with the one little scrap I had left. This new shirt is going to visit California next week and I want to be able to stash a Kleenex or an airline ticket in the pocket.

Patch pocket
If not, wait until I make the next iteration of this shirt, which I definitely will do.
(Top is worn with Eileen Fisher Washable Stretch Crepe Slim Ankle Pant with Yoke Waistband and Naot Afrodita sandals.)