Setting the Stage: I have a cousin on my mother’s side whom I like very much. He has a lovely wife whom I also like very much, and with whom I share a love of theatre—she has had a long and successful career in theatre education and production; I am a collaborative pianist who works as a rehearsal accompanist for theatre productions at my local university.
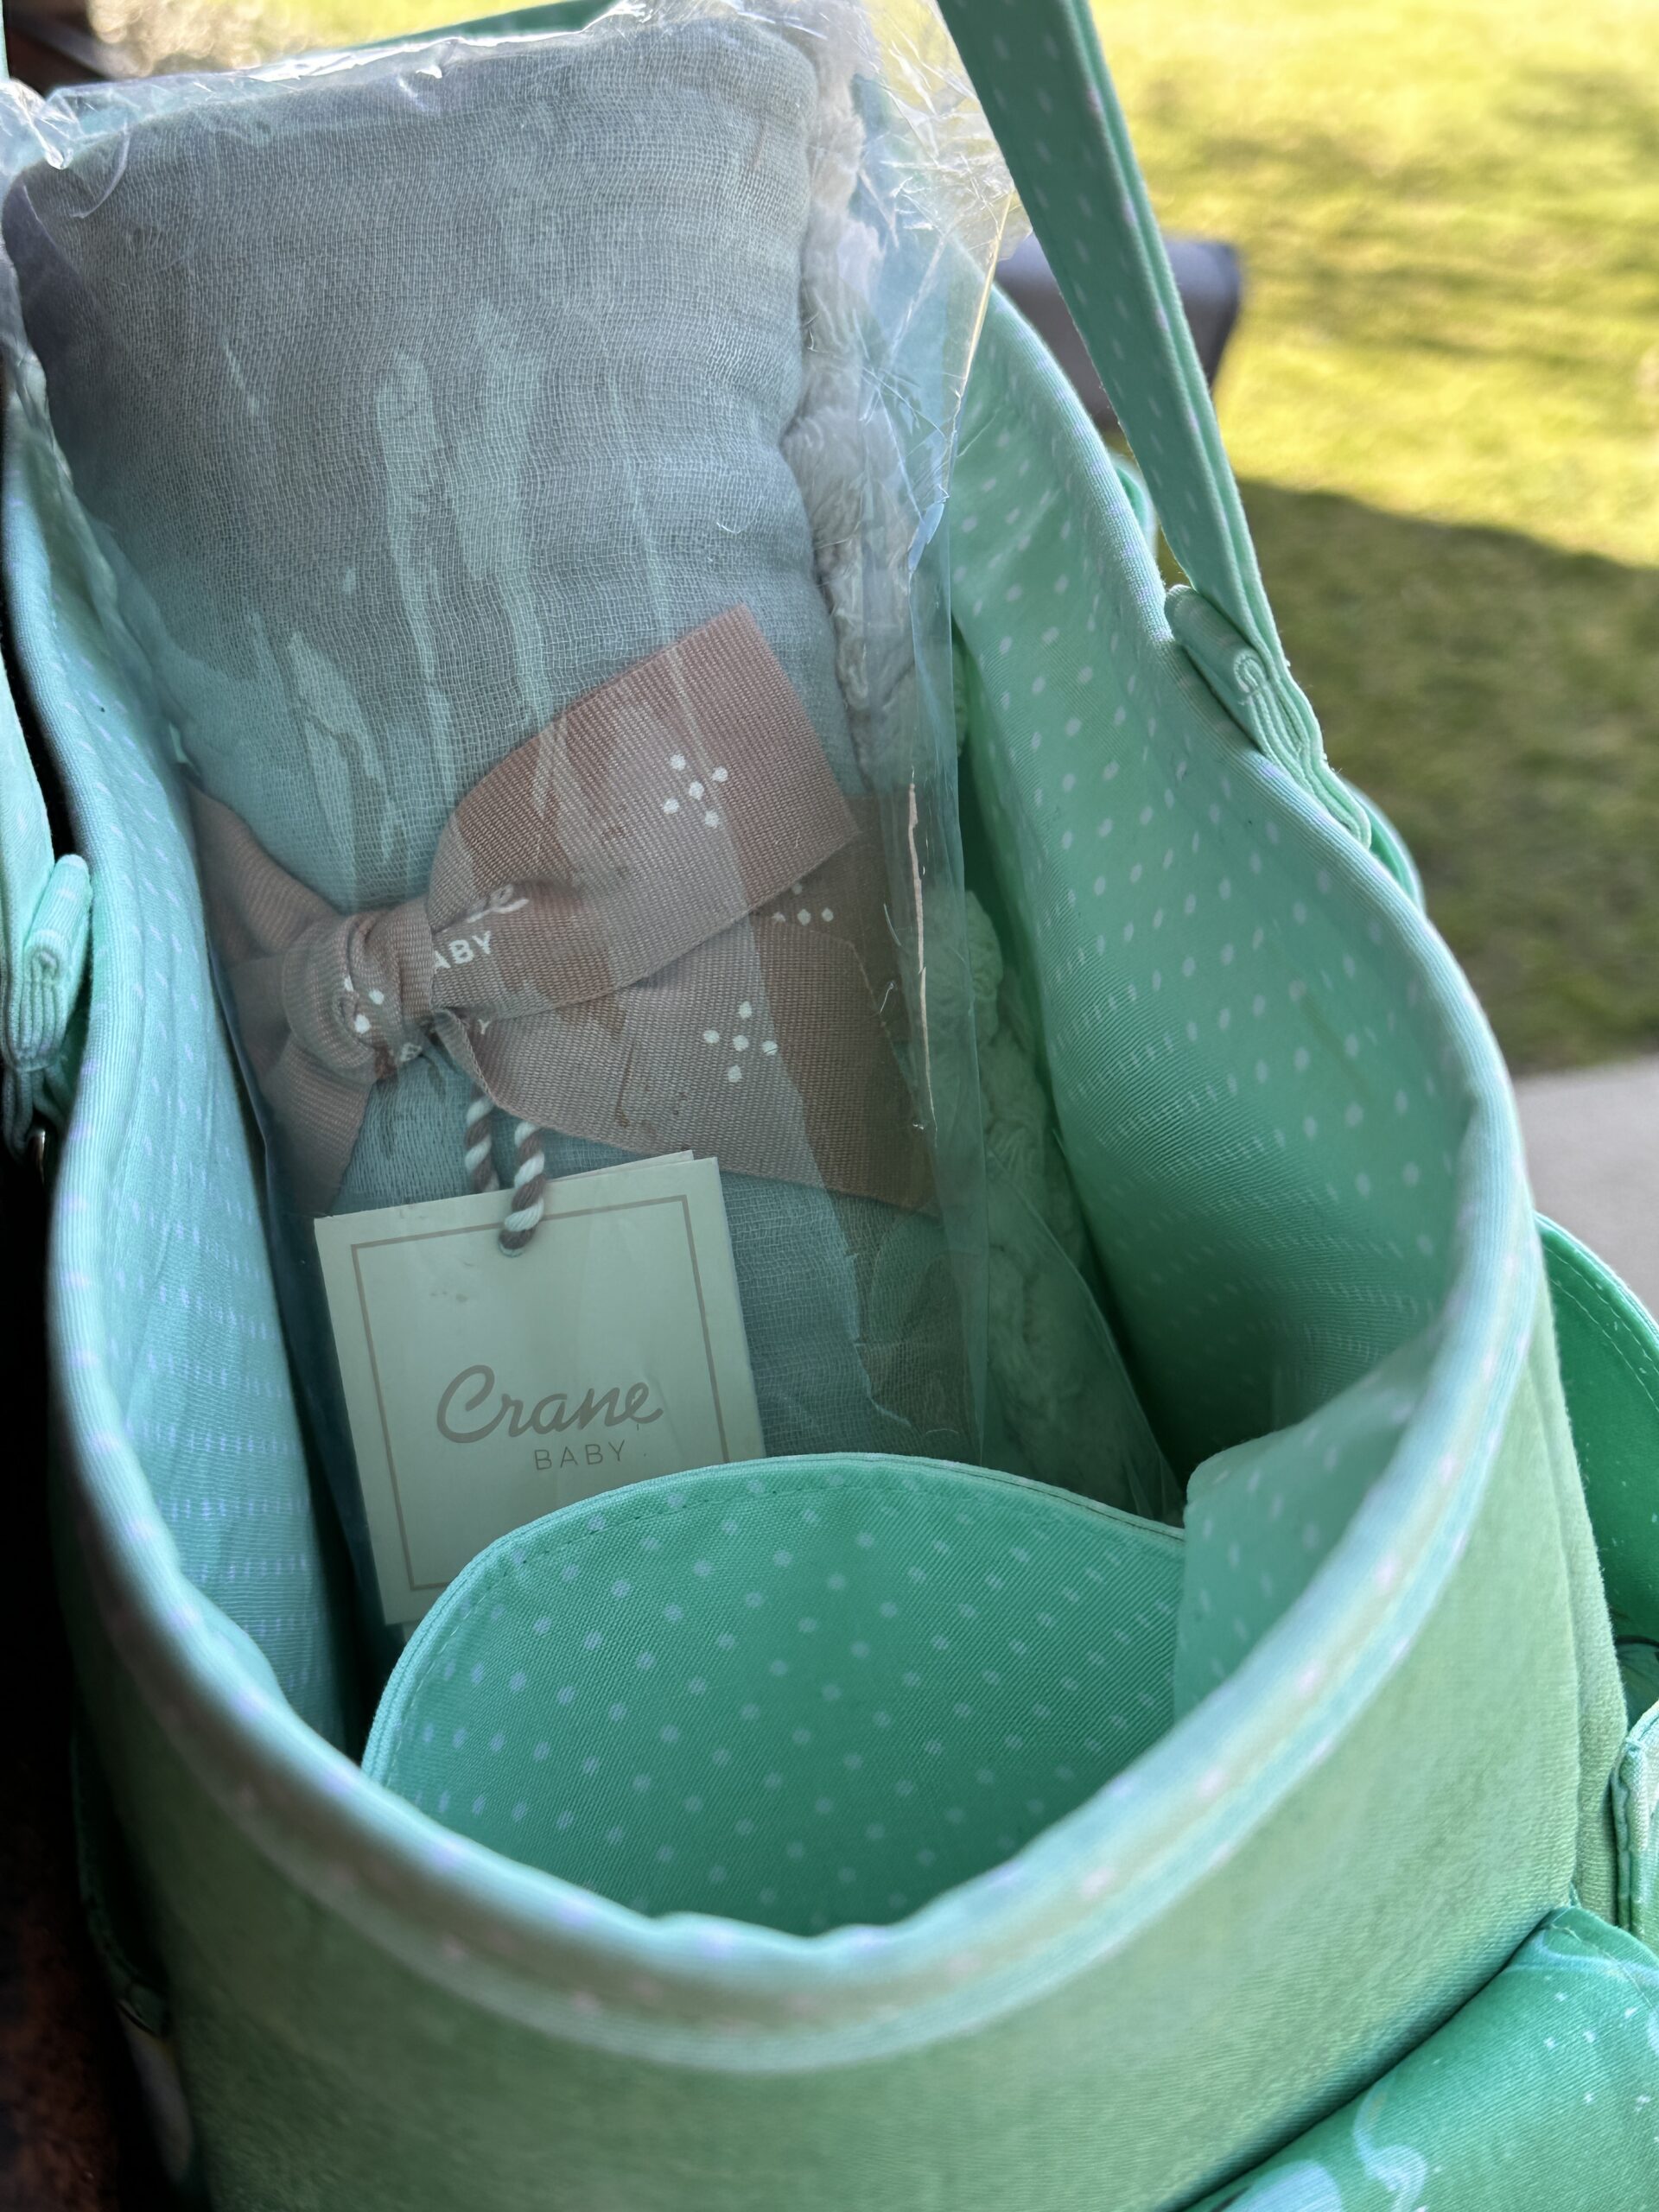
She texted me over two years ago saying she had found some remnants of two pieces of cotton fabric that she and her parents bought when traveling in Egypt in the 1960s. She wondered if I might take the fabric and make some bags from it for herself and her sisters. Of course I said, “Yes,” but I didn’t realize how intimidated I would feel about cutting into this precious fabric.
I still work outside the home, and was overwhelmed with music to learn in the 2021-22 and 2022-23 academic years. When I paired that workload with my feeling of need to find the most perfect bag patterns to use, I chewed up a whole lot of time before turning out a bag or two.
Now I’m down to the Very. Last. Bag.
I’ll show you the final six bags. At the end of this segment, I’ll give you the links to the patterns I tested and the bags I already delivered. I hope you enjoy walking through my struggle and my enjoyment with me.
I decided to make the Paladin Pouch, from brilliant designer Sara Lawson of Sew Sweetness. [Link to Paladin pattern.] The pattern is designed with a wristlet strap; in the past I’ve also made it with two D-rings so it can be worn as a crossbody bag. I’ve made this bag several times—type ‘Paladin’ into the search bar on my home page to see all the posts I’ve written about its construction. It has a couple of tricky steps, but what a nice bag! Three pockets under one zipper—who could ask for anything more?!
 This is the first one I made for this group. I chose the lining fabrics for all of these five bags from the colors in the beautiful print. The lining on this first bag is from RJR Fabrics, designed by Jamie Fingal. The collection is “Hopscotch,” the pattern is “Intertwining Puddles,” and the color is Sunshine. The trickiest part of the construction is twofold: to create the middle phone pocket and to sew the two exterior pockets together without screwing it up. When you buy the pattern from Sew Sweetness, you can order it with or without the video tutorial. BUY THE TUTORIAL! If you have the video to watch, you can just sew along with Sara as she demonstrates how to make the bag. You will skip all the confusion I’ve previously subjected myself to while thinking I was an advanced enough bagmaker to zip through making this bag.
I used the video, and got this great bag out. Number 1 of the final five completed—yay!
So, I started in on number two. One of the two exterior sections has a zippered pocket on the lining. It’s easy to do. I’ve done that zipper insertion many times. But I wasn’t looking at the video on this step. Bad, bad! There was something about the way the pattern pieces were identified on the written instructions that made me pick up an exterior piece rather than a lining piece in which to make the pocket. Shit!
 When I turned the pocket and pressed the edges prior to sewing the zipper in place, I realized I had the exterior piece—not the lining!—and had cut the heads off all the Egyptians! Now, how could I right this wrong?
I remembered seeing some bags posted somewhere in my scrolling that had a horizontal piece of fabric covering the zipper opening. It’s a nice look for an exterior pocket. I didn’t have a pattern that showed that construction, so I just dug around in my experienced-bagmaker brain and figured out how to measure the fabric to achieve the desired end result.
 I knew I couldn’t use the Paladin pattern, but thought the Metro Double-Zip Pouch, which I had also made many times, could work with the Paladin exterior pieces. Link to post of multiple Metros. I realized I could just skip the front pocket, use the exterior piece with the Headless Egyptians as the front, and the existing back as the back of the Metro. I added an interior zippered pocket to the back lining. Using these exterior and lining pieces that had already been cut out would make this Metro hack just a little larger than the Metro in Size Large. Then I could cut the bottom corners of the four pieces to make a boxed corner, and I would have a quite nice bag. Lemonade from lemons!!
 Et voila! Number 2 of the Final Five was complete. I went back to my cutting table to see if I had enough of the vintage fabric to cut another Paladin half. But the more I looked, the more I realized I couldn’t make a bag of the same dimension as Number 1. The remaining fabric was too narrow. I needed to cut the exterior pieces narrower than the pieces I cut for the Paladin, and add some of the lining fabric to the sides to make it work.
I knew I could do it, but was in the mood to start sewing the next one rather than cutting, so I went back to put another zippered pocket in. Damn, damn, damn. I used the wrong piece and cut off the heads again. I might need to go talk to an appropriate medical professional to see if I should be diagnosed as ADHD. I was so annoyed. Well, I’d just make another half a Metro.
 I added the extra lining strips to the exterior panels, and moved on to the zipper insertion. And with a snap of my fingers, I inserted the zipper opening into the wrong panel. Again! Sometimes my brilliance amazes even myself!
I moved ahead and finished the second Metro Double-Zipper Pouch. And now three bags were done.
 I must elucidate here that this was not one continuous block of time that allowed me to produce these bags. It was an hour here. Fifteen minutes there. Every minute counts!
 On to the second [legitimate, not hacked into another pattern] Paladin.
Moving deliberately and carefully, I was able to finish the second Paladin Pouch. I made it with two D-rings rather than one, and ordered a narrow purple adjustable crossbody strap so the user would be able to wear it multiple ways. And it’s ready to go.
I moved some things off my cutting table and gathered all the scraps of the bright Egyptian fabric and folded them before placing into a small plastic bag. It would go into the shipping box with all the pouches to go to Virginia.
While I was straightening out my cutting table, I realized I had a couple scraps remaining of the other fabric. I could make a couple of small pouches to tuck into the box before shipping.
 I have become enamored lately of the bag patterns by Svetlana Sotak, a sewist and bag designer who lives in the Netherlands. If you’re interested in learnin how to make some simple bags, follow her on Instagram. She posts lots of reels there showing how simple some of her bags are.
 One of the simplest is the Elliott Pouch. I looked at the dimensions of the three sizes of this bag, and then at the dimensions of the two scraps of fabric that I had, and cut four 7½” squares. I dug through my gold and orange remnants to find a coordinating fabric I liked for the lining. And very soon I had two small pouches that the bag owner could fill with bits and bobs to keep together inside a tote bag or purse.
And just like that (and the passing of over two years), and simple assignment—that I overthought into a very long and laborious project—was complete. Already I’m pondering what project I want to dive into next. I’m pretty sure it’s going to be one of three wall hanging quilts that I promised Jas I would make for our newly renovated bathroom, with was finished in the spring of 2021. Or for the wall over our bed. That room was also repainted in 2021.
At least I’m consistent!
Here are links to the test bags I made while trying to decide on a pattern, followed by links to the stories of the earlier bags I made and sent to Diane, about this time last year.
The first test bag is at the end of this linked page: Link
Test bag number two: Link
Test bag number three: Link
Test bag number four: Link
Test bag number five: Link
Test bag number six: Link
Test bag number seven: Link
Test bag number eight: Link
First two tote bags delivered: Link
Third tote bag delivered: Link
All the remaining bags are detailed in the body of this post, above.
Hurray for finishing!!


 Every couple of years, designer Sara Lawson of Sew Sweetness designs a collection of bags and pouches that are relatively easy to sew and comparatively less expensive due to a minimum of hardware. Yes, the bundle is pricey, but always worth the expenditure, in my opinion. There are typically twelve or thirteen patterns in the bundle and they make great gifts.
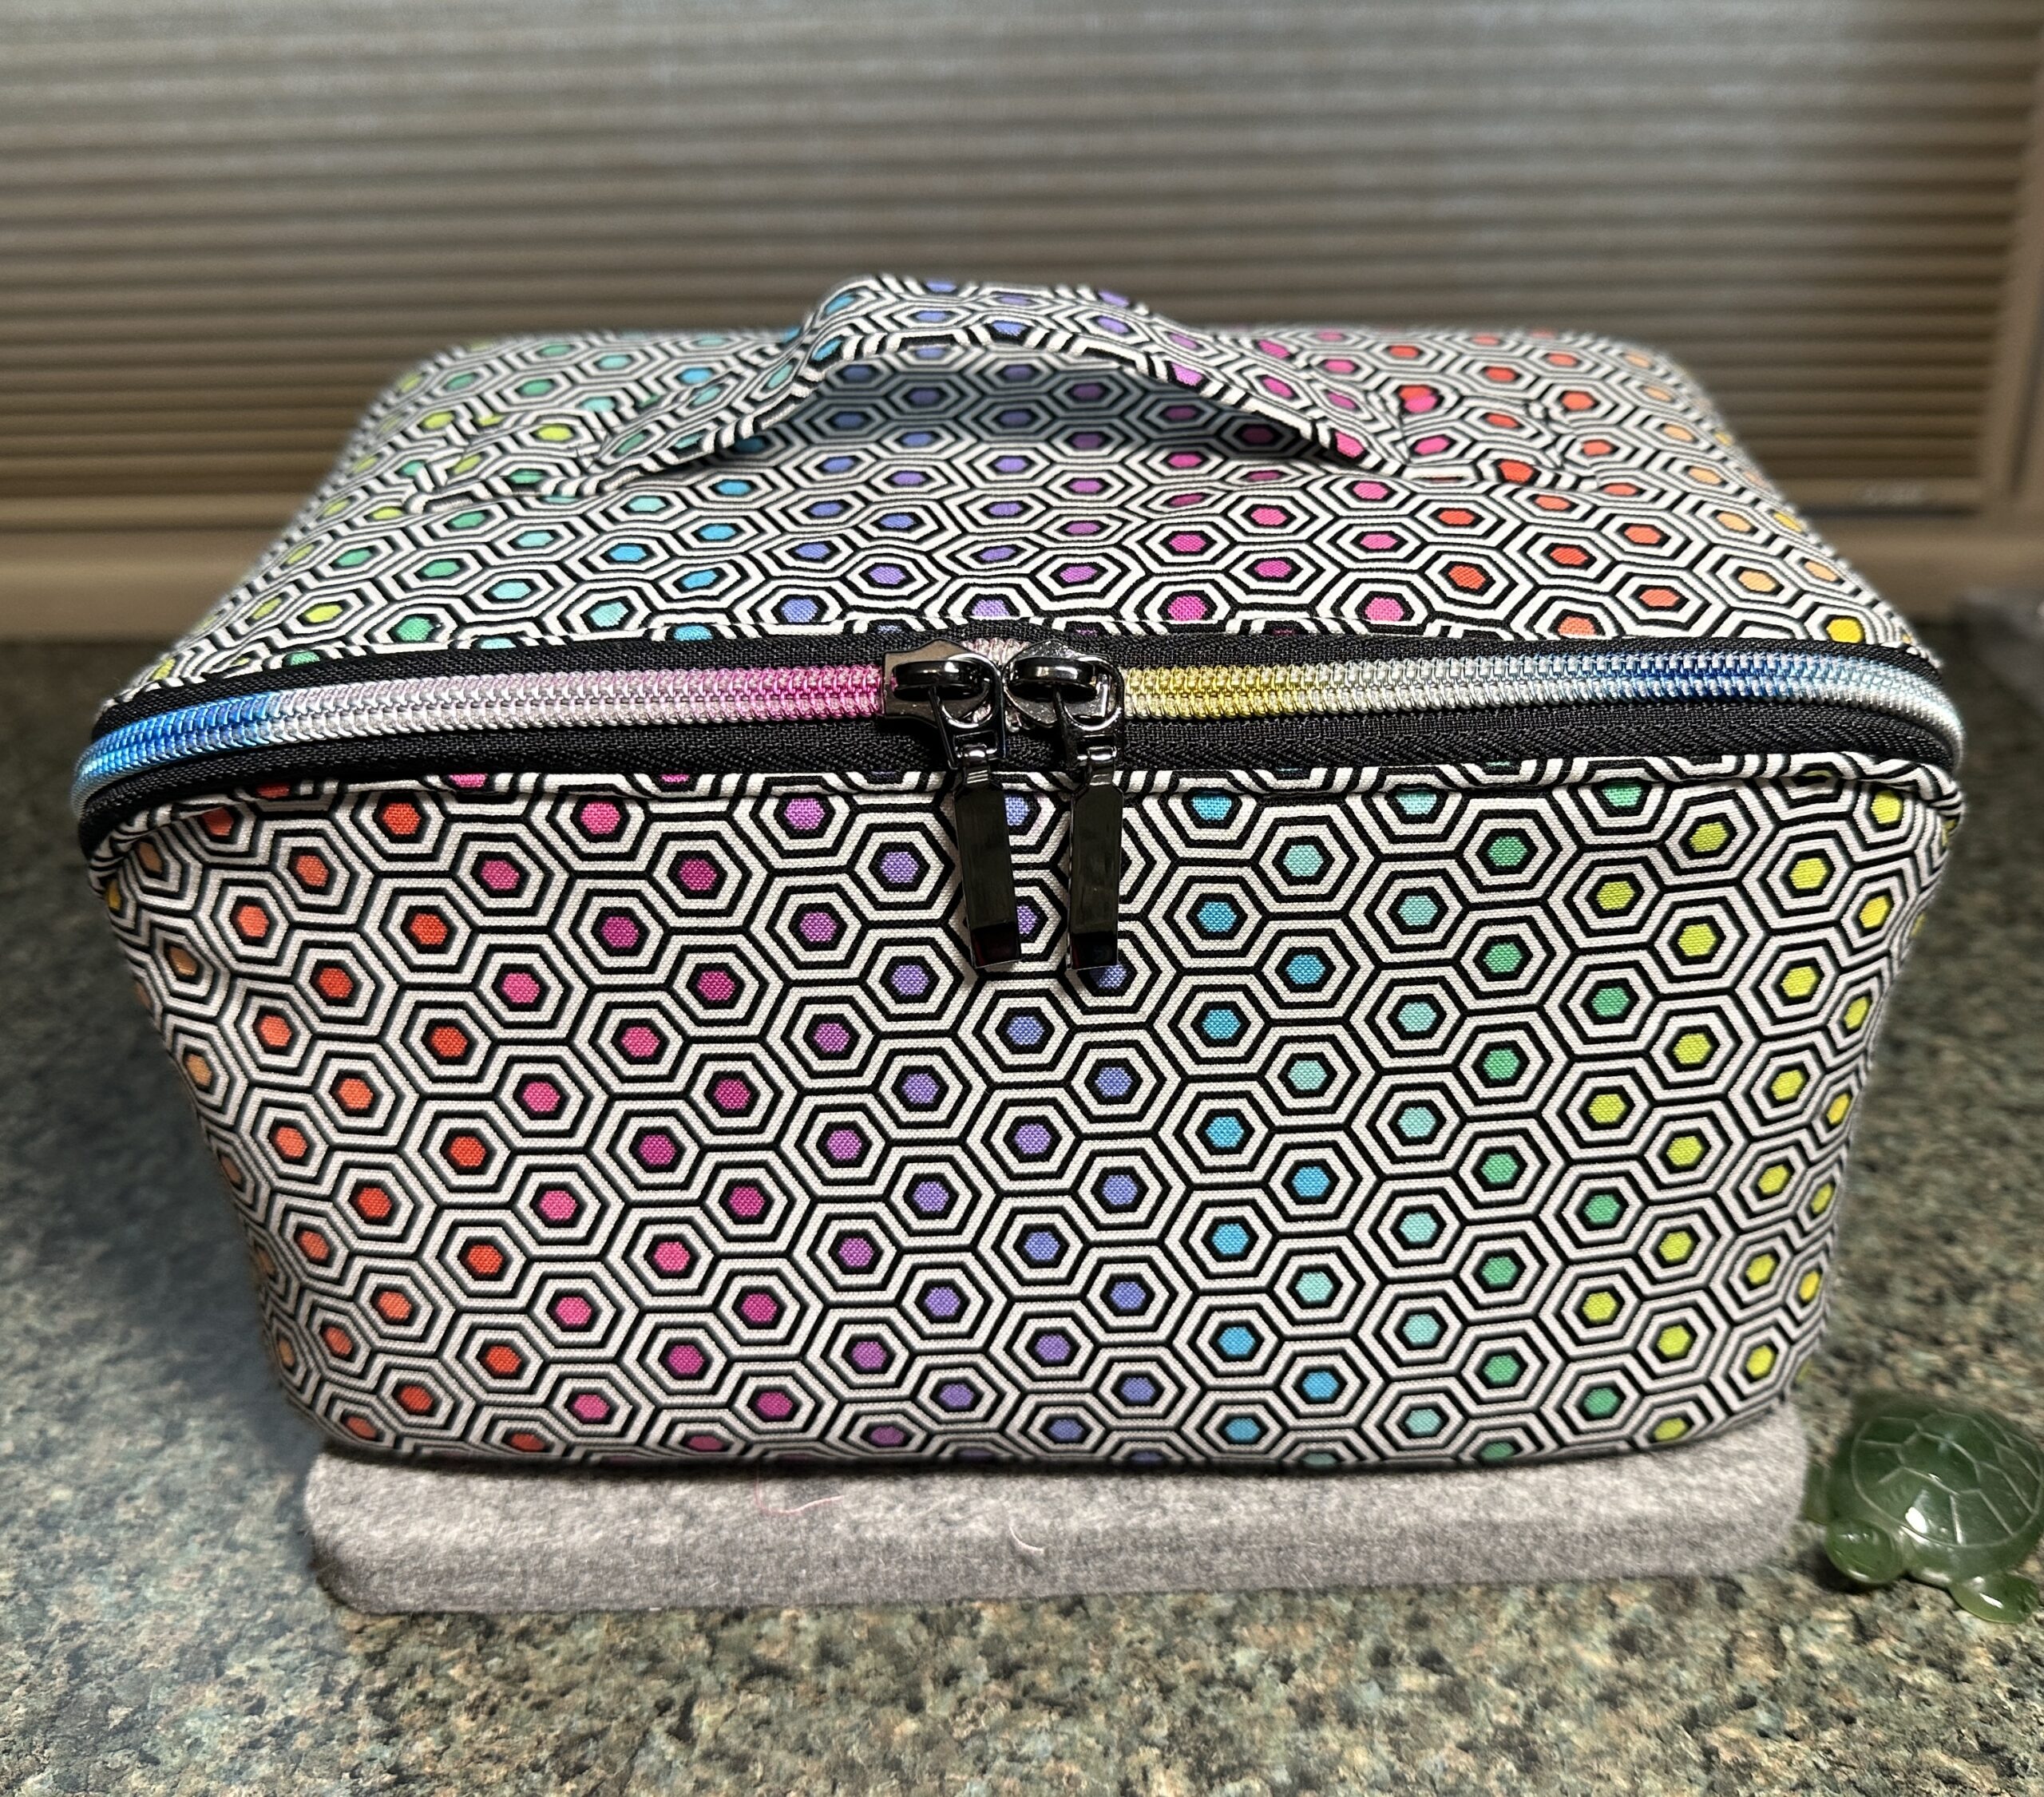 So, in my position, what does a bagmaker do? Why, this bagmaker makes a bag!
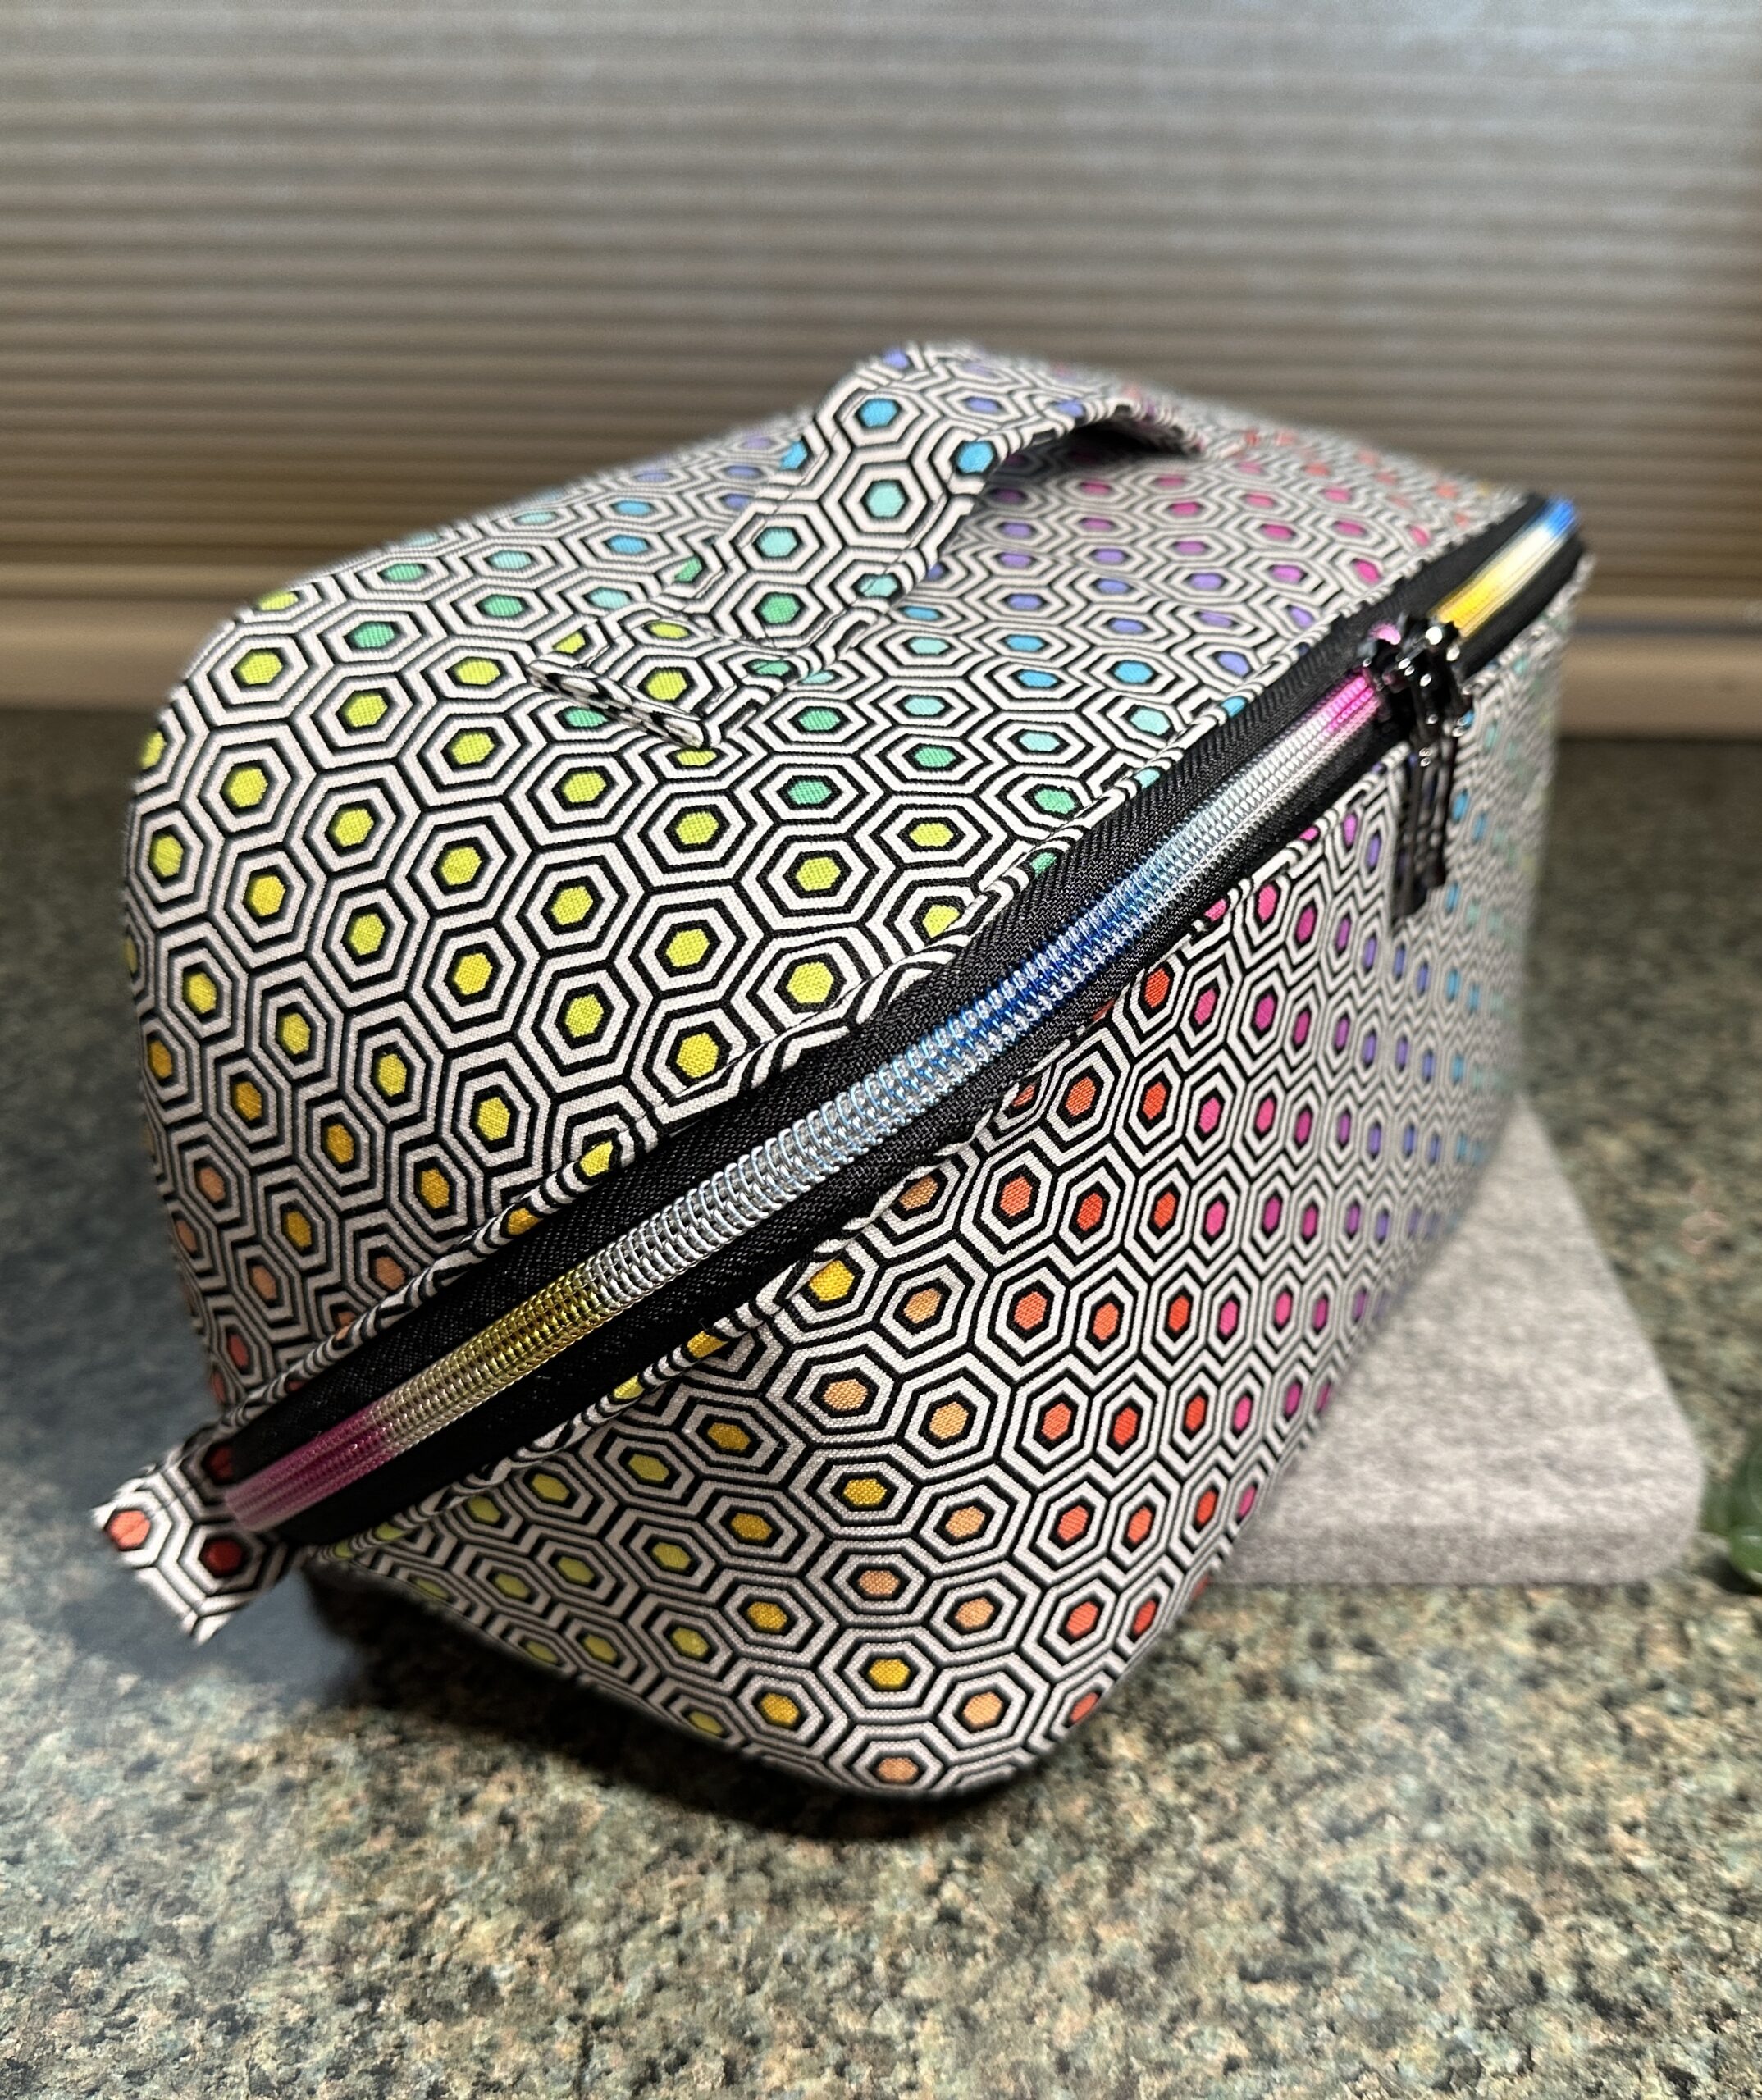
 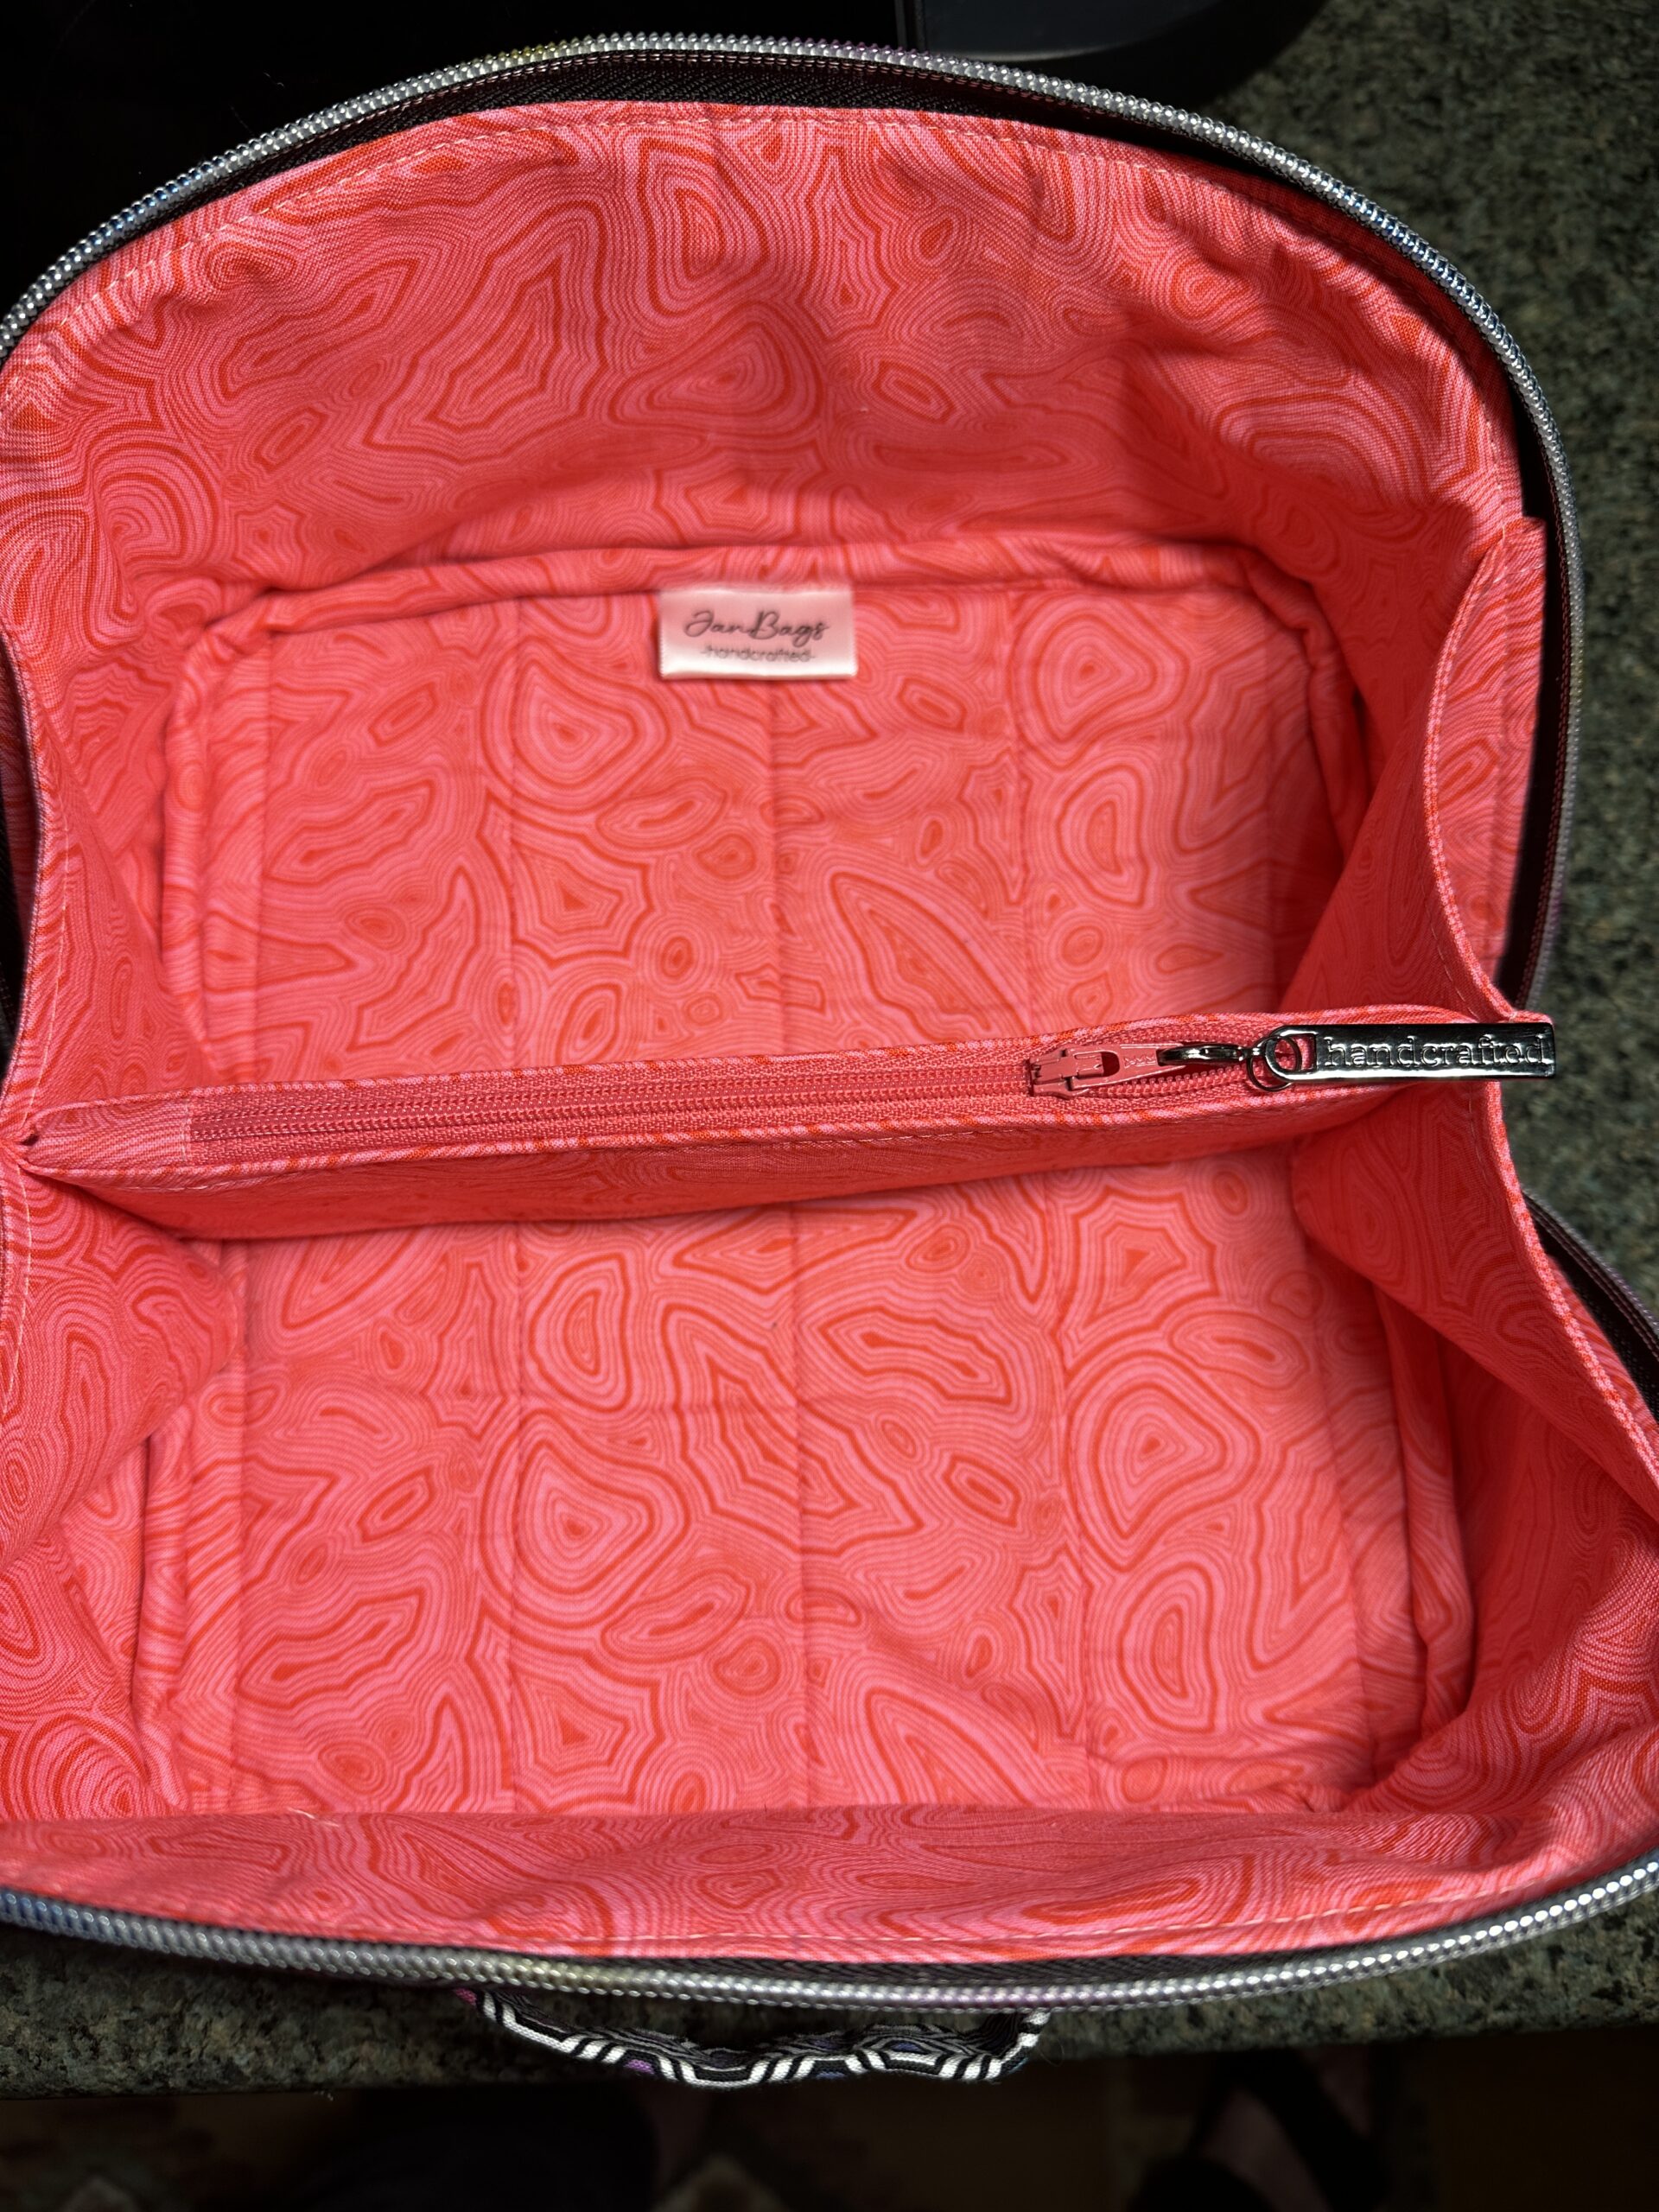 For this first go-round, I chose two coordinating fabrics from Tula Pink’s True Colors collection: Hexy Rainbow in Ink for the exterior, and Mineral in Agate for the lining. I gave Son’s Partner the choice of the Agate (pink) or Topaz (pale blue) and she chose the first. Then, having decided to change the branding of my work, I attached the first of the new JanBags labels. I believe I got that zipper from Zipper Valley. It is “Black – #5 Rainbow Nylon Coil Zipper Tape.” If you make bags and haven’t tried zippers-by-the-yard yet, what are you waiting for? They’re so easy to work with! I can’t identify the pulls, but the finish is gunmetal. By the way, I always waterproof my bags, inside and out, with ScotchGard. Any stains should be able to be removed with a damp cloth.
  So, for now, bye from Northern Michigan.