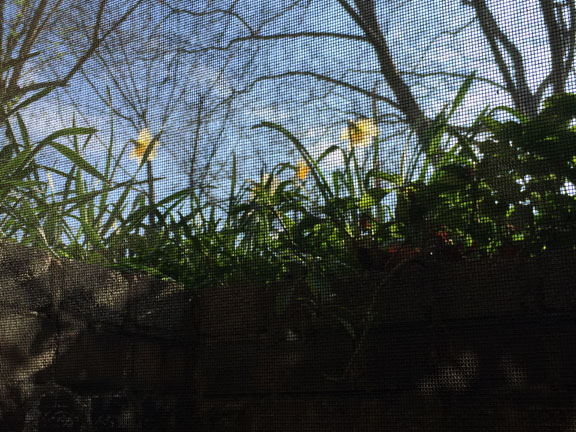
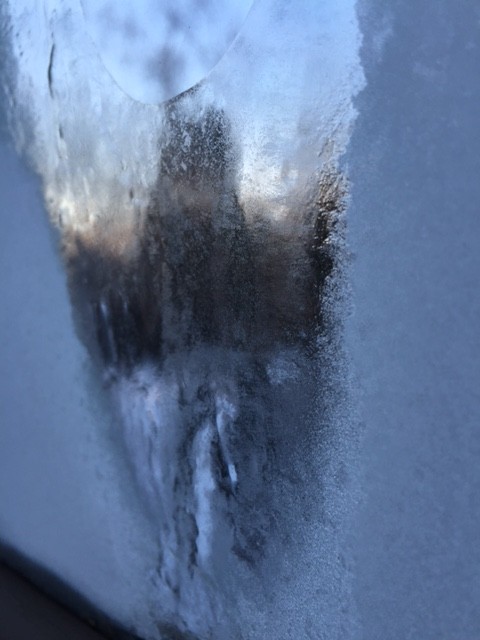
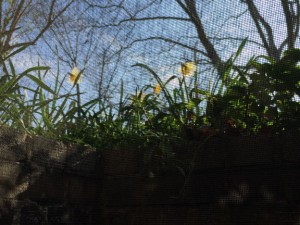
 First, I must tell you we had a taste of Real Spring today in Northeast Ohio. When I opened my basement sewing room window, this is what I saw. What a relief to have a day with decent temperatures and no precipitation.
You’re going to see more bags on my blog and coming off my sewing machine in the near future. If you follow my writing, either here or on Facebook, you know that I have a job that is supposed to be mine imminently, starting in mid-January. Oh, wait—that was three months ago! As I continued hearing about discussions between the Philosophy and Religious Studies Department and the local university provost, I realized that I needed to come up with a little income boost that I could depend upon without waiting for the provost to recognize the value of a liberal arts component in one’s higher education. I love making bags, and somehow I happened upon Swoon Patterns. Oh my gosh. These are beautiful, well and intelligently designed bags. And one of the most amazing factors is that the design team says to its fan base, “Make as many as you want and sell them if you like. You don’t need our approval and you don’t need to pay us a license fee.” What? In this day of people looking out for themselves, this attitude is almost unheard of.
And then I discovered the Swoon Patterns Group on Facebook. What a loving, supportive, unselfish group of sewists. And the designers make themselves available to encourage their fans. Most of my online time is now spent in this group and the Jocole group (my other new passion – check out the Jocole Yoga Pants). I derive ideas and support from these people. Brilliant.
Finally, you know that—after a long career as a technical writer, web editor, and legal writer and editor—I’m pretty picky about how things are written, especially instructions. The pattern instruction writers and editors for Swoon are as picky as I. They write clear, logical instructions. And if you don’t understand, just post a question on Facebook and someone who has already made this bag will help you through your obstacle course.

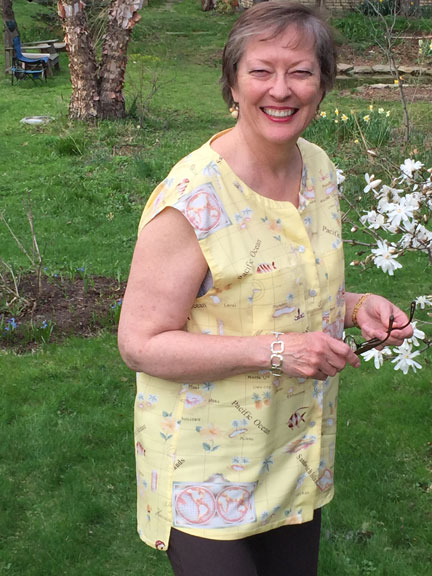
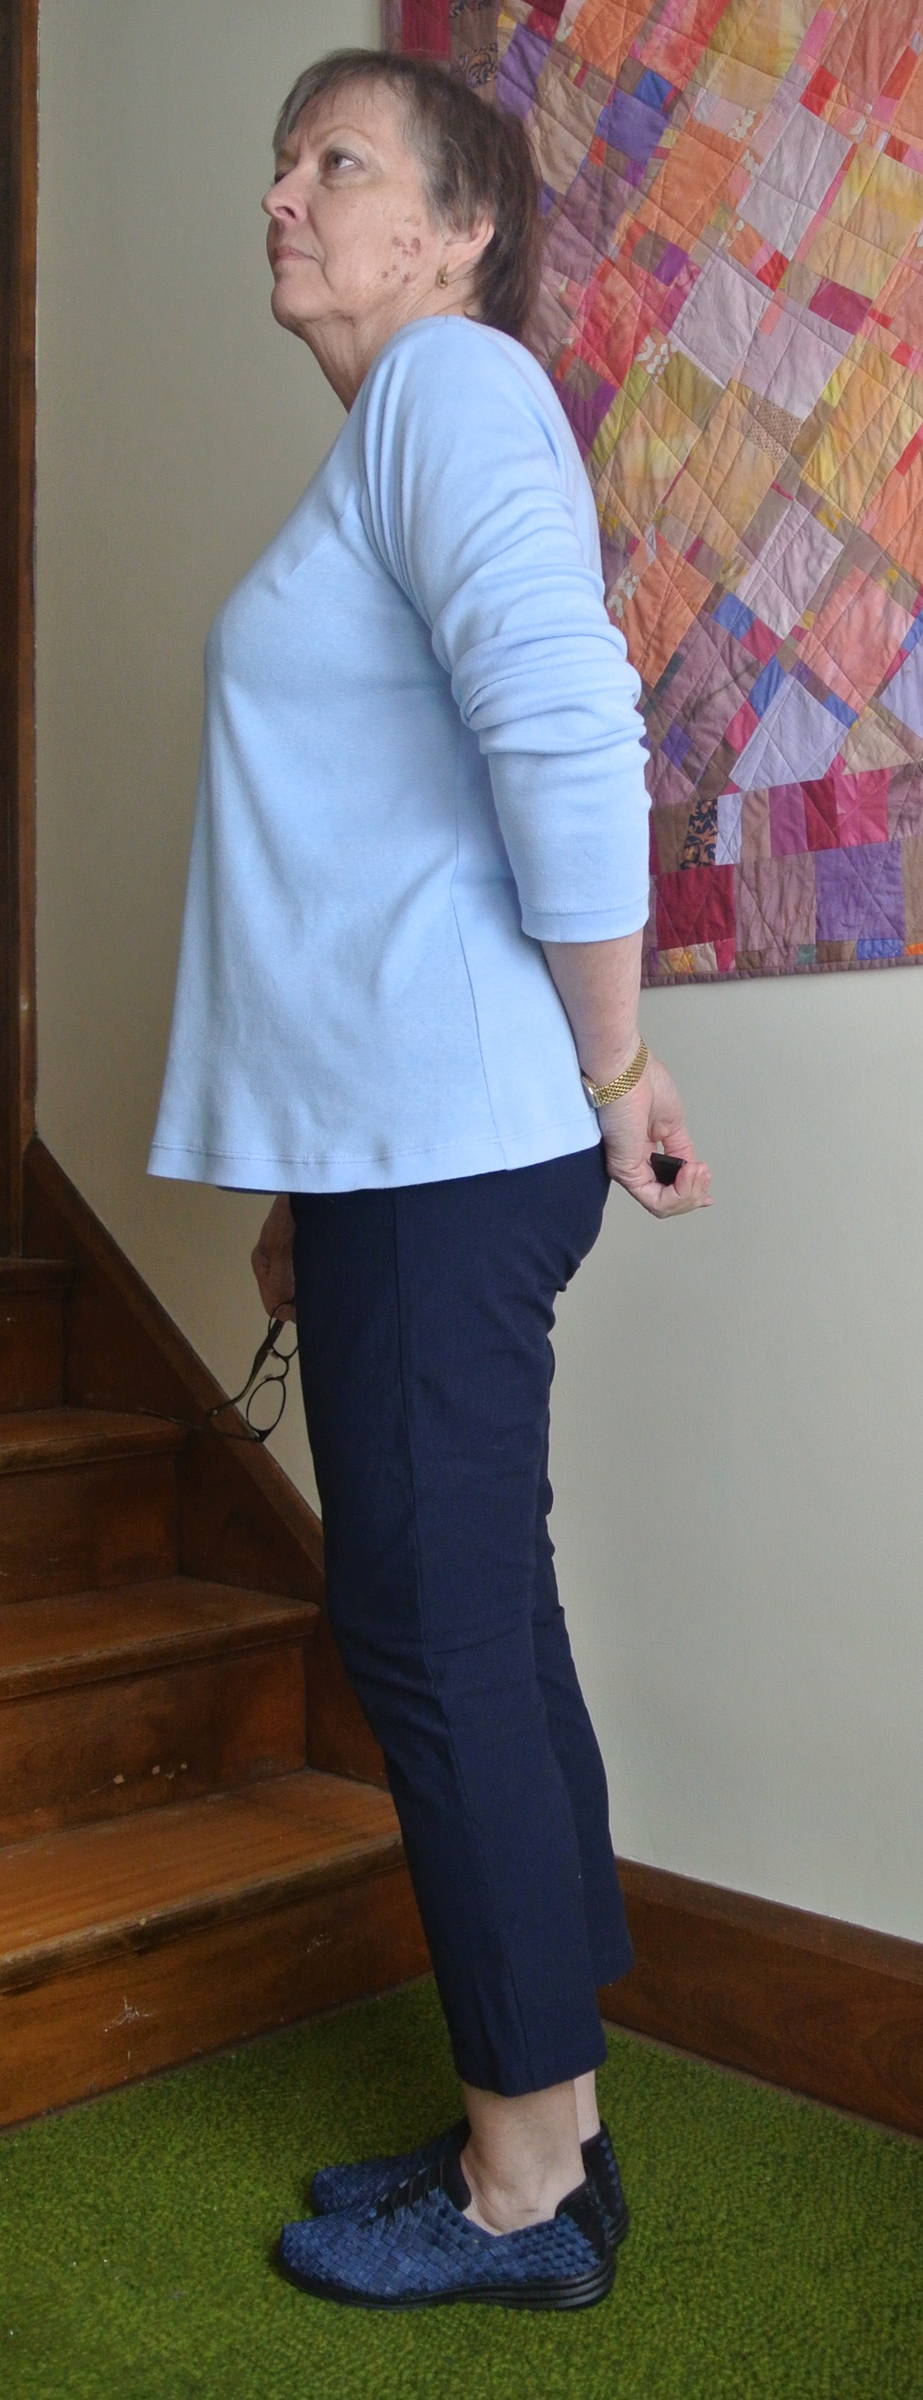
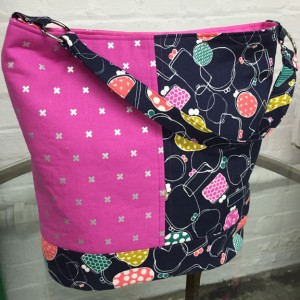
Front View
So back to the income-production effort … I’ve decided to craft and sell the bags I make and a few other miscellaneous accessories (the microwave cozies and notebook covers, for example). Even if I only sell a couple of bags a month, that will fill the gap that occurred when I lost the Bernina job and the provost simultaneously got cranky.
After asking on the Swoon FB group, I was told by several people that I should start with Bonnie.
So here she is, along with her review (click any photo to enlarge):
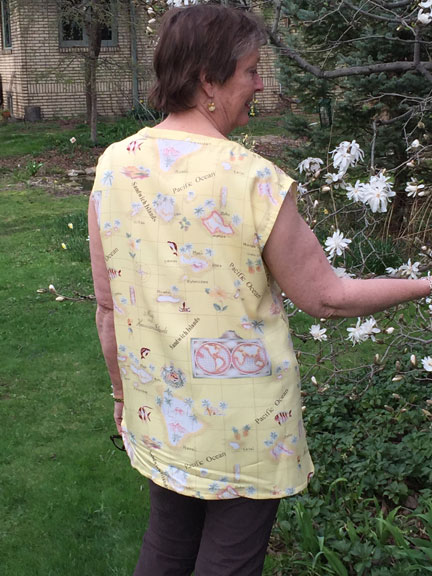
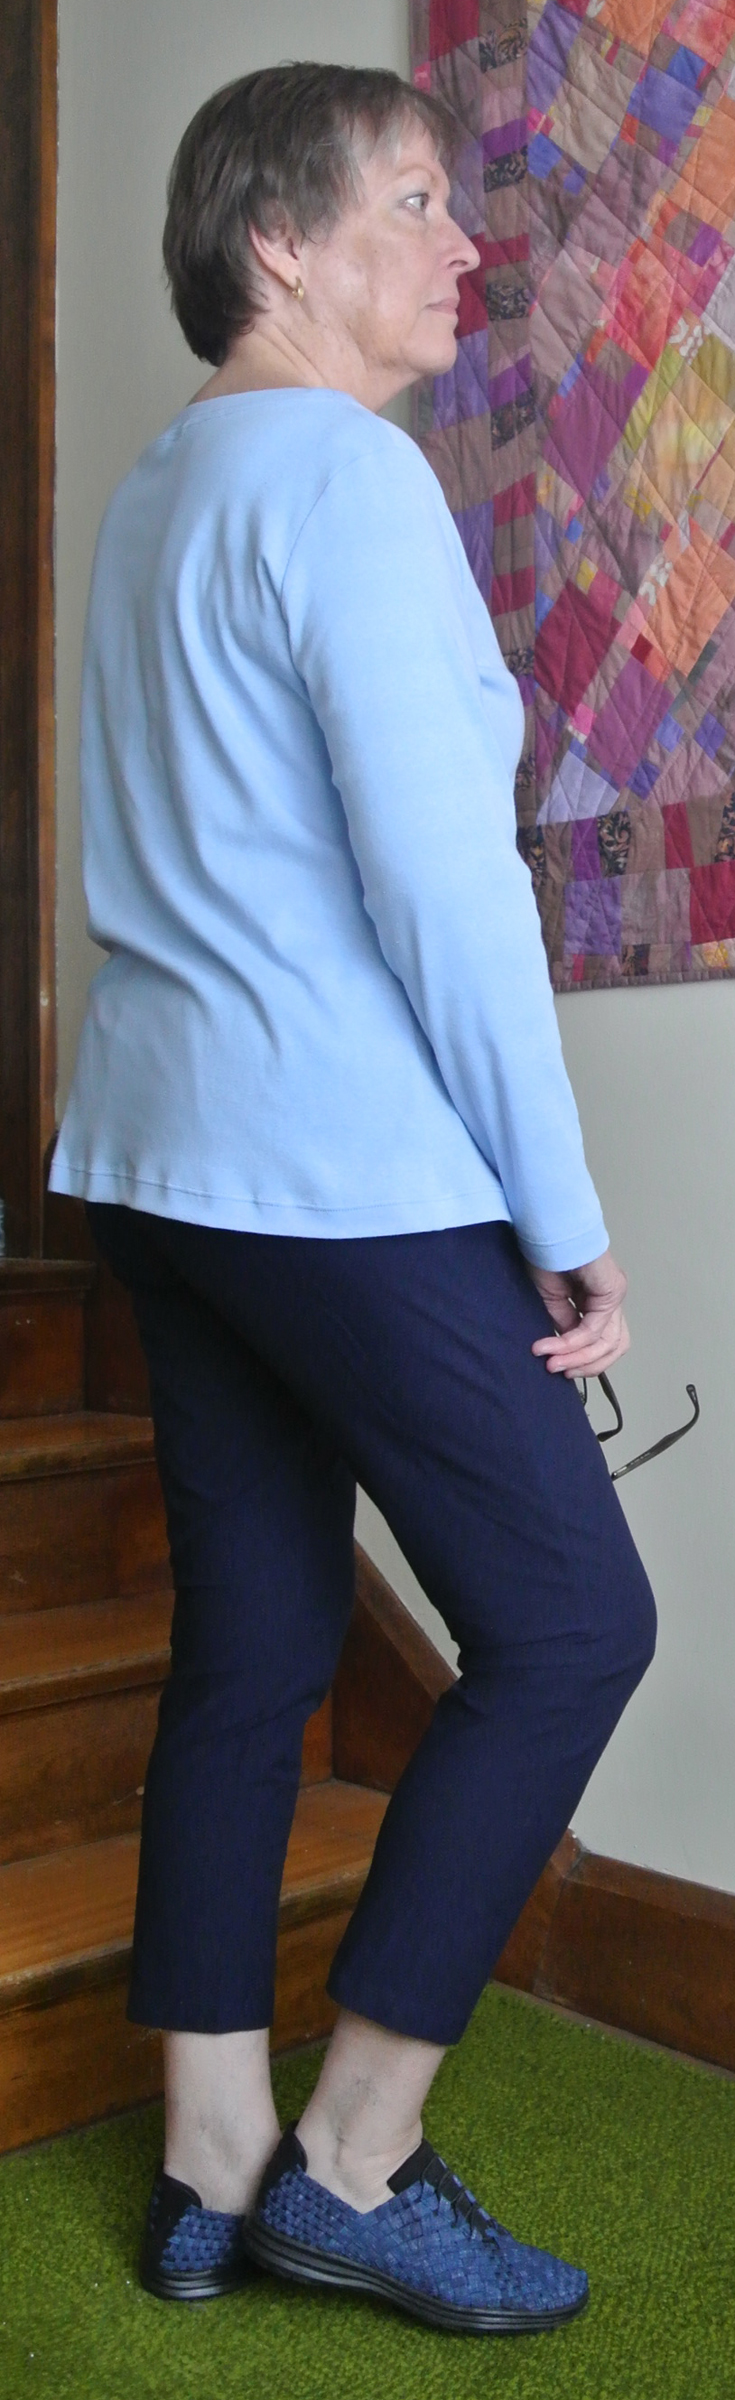
Back View
(From the pattern page) “Bonnie is a slouchy hobo-style bag featuring a recessed zipper main closure and exterior double welt pocket. Display two different fabric prints on the exterior, or give her a store-bought look by using one fabric for the exterior with contrasting top stitching. The oval-shaped bottom allows room for nearly anything!”
Pattern Sizing: O/S – Finished size: 14″ wide (at top); 12″ tall; 6″ deep
Did it look like the photo/drawing on the pattern envelope once you were done sewing with it? Yes

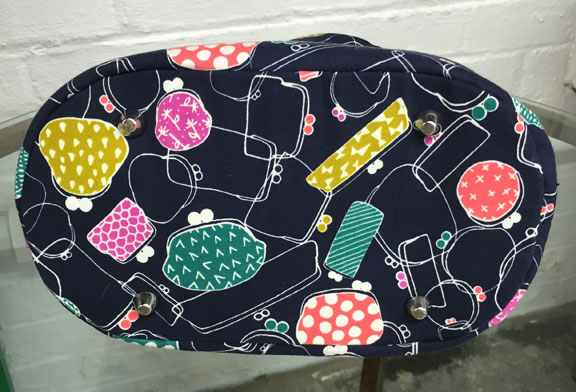
She has feet!!
Yes
What did you particularly like or dislike about the pattern? Clear, straightforward instructions; professional finish touches. I feel I could have found this bag in any high-end store.
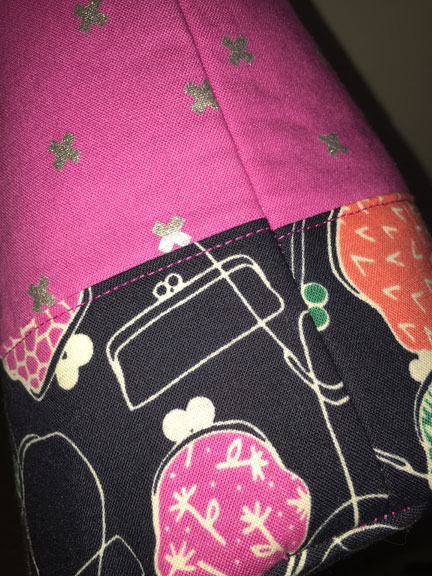
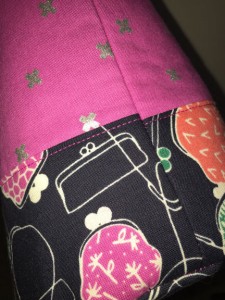
Fabric Used: Exterior: Cotton+Steel Mochi Navy Gamaguchi and Cotton+Steel Basic Plummy XOXO; Lining; Several hand-dyed pinks from Janet A. Smith at TextileArt.com. These fabulous hand-dyes have been in my stash for 12 years; the artist appears to no longer be offering her beautiful wares. A good alternative appears to be DyeSmithy on Etsy.
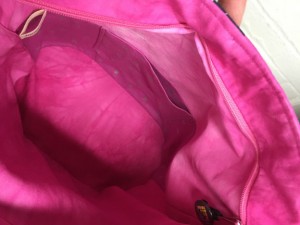
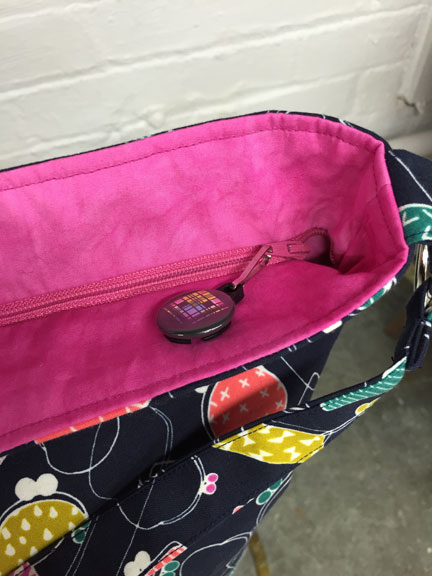
Interior pocket – that lining is a whole lotta Pepto-Bismol!
I added a small interior pocket as I’m always losing my keys. I cut a rectangle, approximately 6″x8″, folded it in half, sewed with ¼” seam, and turned right-side out, then topstitched into place.
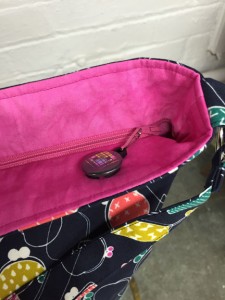
The Etsy Zipit Store now has great zipper pulls.
As I’ve made several other designers’ bags lately, and because I was using quilting-weight cottons rather than vinyl or leather for Bonnie, I was concerned that she needed a little more oomph in her body, besides just the interfacing. So I used the fusible fleece that I had used in the
Amy Butler Reversible Sunday Sling that I made a few months ago. In doing so, I made the inserting of the zippered welt pocket on the bag front more difficult for myself. The fabric plus the fleece plus the interfacing, plus the two layers of fabric and interfacing for the welt, plus the zipper … argh, too much to expertly topstitch around!! I ended up running two layers of satin stitch around the pocket to hide the wonky topstitching. Next time—if I choose to use the fusible fleece again—I will remove the fleece from the area of the pocket or else I’ll put the fleece on the lining. Or I’ll skip the zipper!
Final step was to protect with Scotchgard™, inside and out.
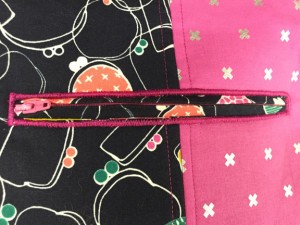
My overstitched welt pocket.

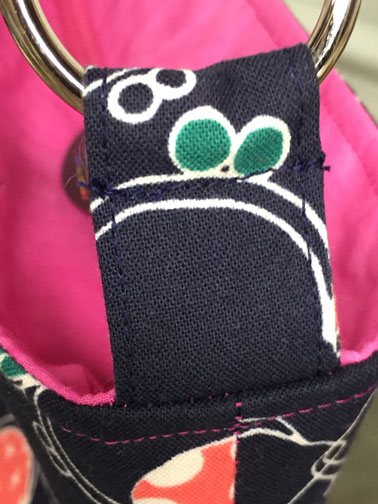
Sturdy connectors for the shoulder strap.
Absolutely will do again. Absolutely would recommend.
Conclusion: If you’re a fairly new bag sewist, Bonnie is a great place to start. And Swoon is a great design house to settle into. I cannot heap enough praise on the Swoon Patterns Group on Facebook. A nicer and more encouraging group of fellow bag sewists cannot be found, I believe. Stumped on something? They’ll help you figure it out. Just need to vent? Have at it and they’ll cheer you up. This group “has your back” at all times and on all issues.
I did have an oops and an almost-oops.
 First, my oops. I didn’t pay enough attention to the bottom strip, to ensuring the front and back strips met at the sides. So not like me!! Won’t do that again.
And my almost-oops: I’ve made a number of little zippered bags over the past 18 months or so. (Yes, these will be available when I get the website up and running.) I hadn’t paid attention to the fact that Bonnie featured a zippered closure at the top. I followed the perfect directions for inserting the zipper and had these little zippered bags in my brain. The instructions didn’t match what was in my brain. I looked at the illustration and read the instructions several times. Still no “aha”. As a last resort, I opened up the Bonnie web page and clicked on each and every bag photo on the page. There’s that “aha!” As soon as the Jazzman left for his Friday night pub crawl with his pals, I ran back downstairs and finished up the zipper and the lining.
So the moral of that story is: don’t think you know what you don’t know!!!
And now I can hear you asking, “So, Jan, when’s this store going to open. I want one of your bags and I want one for my sister’s birthday and my ….”
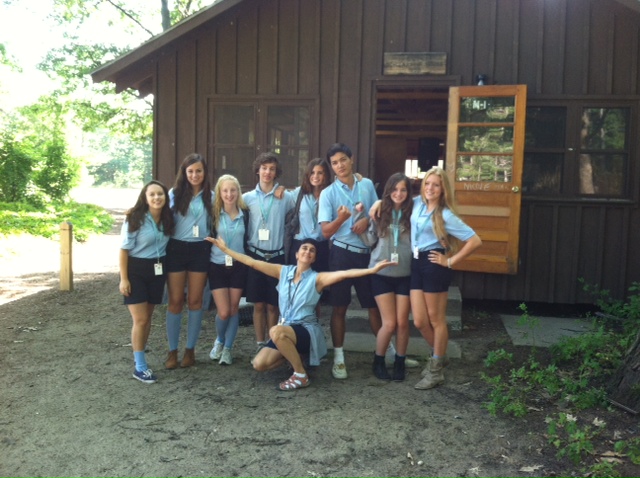
In two months I leave for six weeks where my focus will be on creating great summer camp musical theatre experiences for middle and high school campers at Interlochen. Although I’ll take my sewing machine along, I won’t have the time to focus on either sewing or shipping any textile treasures I might sell. So I have four months to get up to speed, develop my website, establish my brand, and be ready to entice you to buy lovely bags.
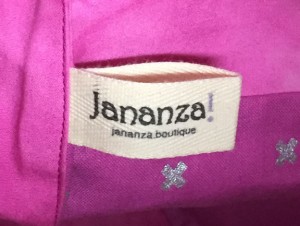 Step one was deciding on a name. I think it’s significant that the name was given to me during the summer of 2014 when my son, my grandchildren, and I visited Interlochen and my son’s partner encouraged me to follow my dream and apply to Interlochen as a collaborative pianist. This was also the first time I had met her then-3yo daughter, who decided I would be called “Jananza.” So Jananza! it is. I smile everytime I think of it. Thanks, Miss C, for my new name.
<Note> My labels come from Mountain Street Arts’ Etsy store. I highly recommend this vendor. Pam’s customer service is wonderful. Her communication is quick and clear. She’s generous with sharing her product knowledge to help you have a positive experience. I’m so happy with my labels and will be buying more from her as this new effort develops its own sense of style.
<One more note> I think you’re probably wondering how much a bag like this will set you back. (I can already hear my Tucson friend, Jill, thinking ….) The bag contains high quality quilting cottons that sell for over $10/yard, interfacing, heavy stabilizer for the base, bag hardware (feet, O-rings), zippers, zipper pulls, thread, a new sewing machine needle, fabric protector, labels, hours of cutting and construction time, wear and tear on the machine, …. Bonnie would sell for around $75.00.
So, despite all that, how do you like Bonnie?