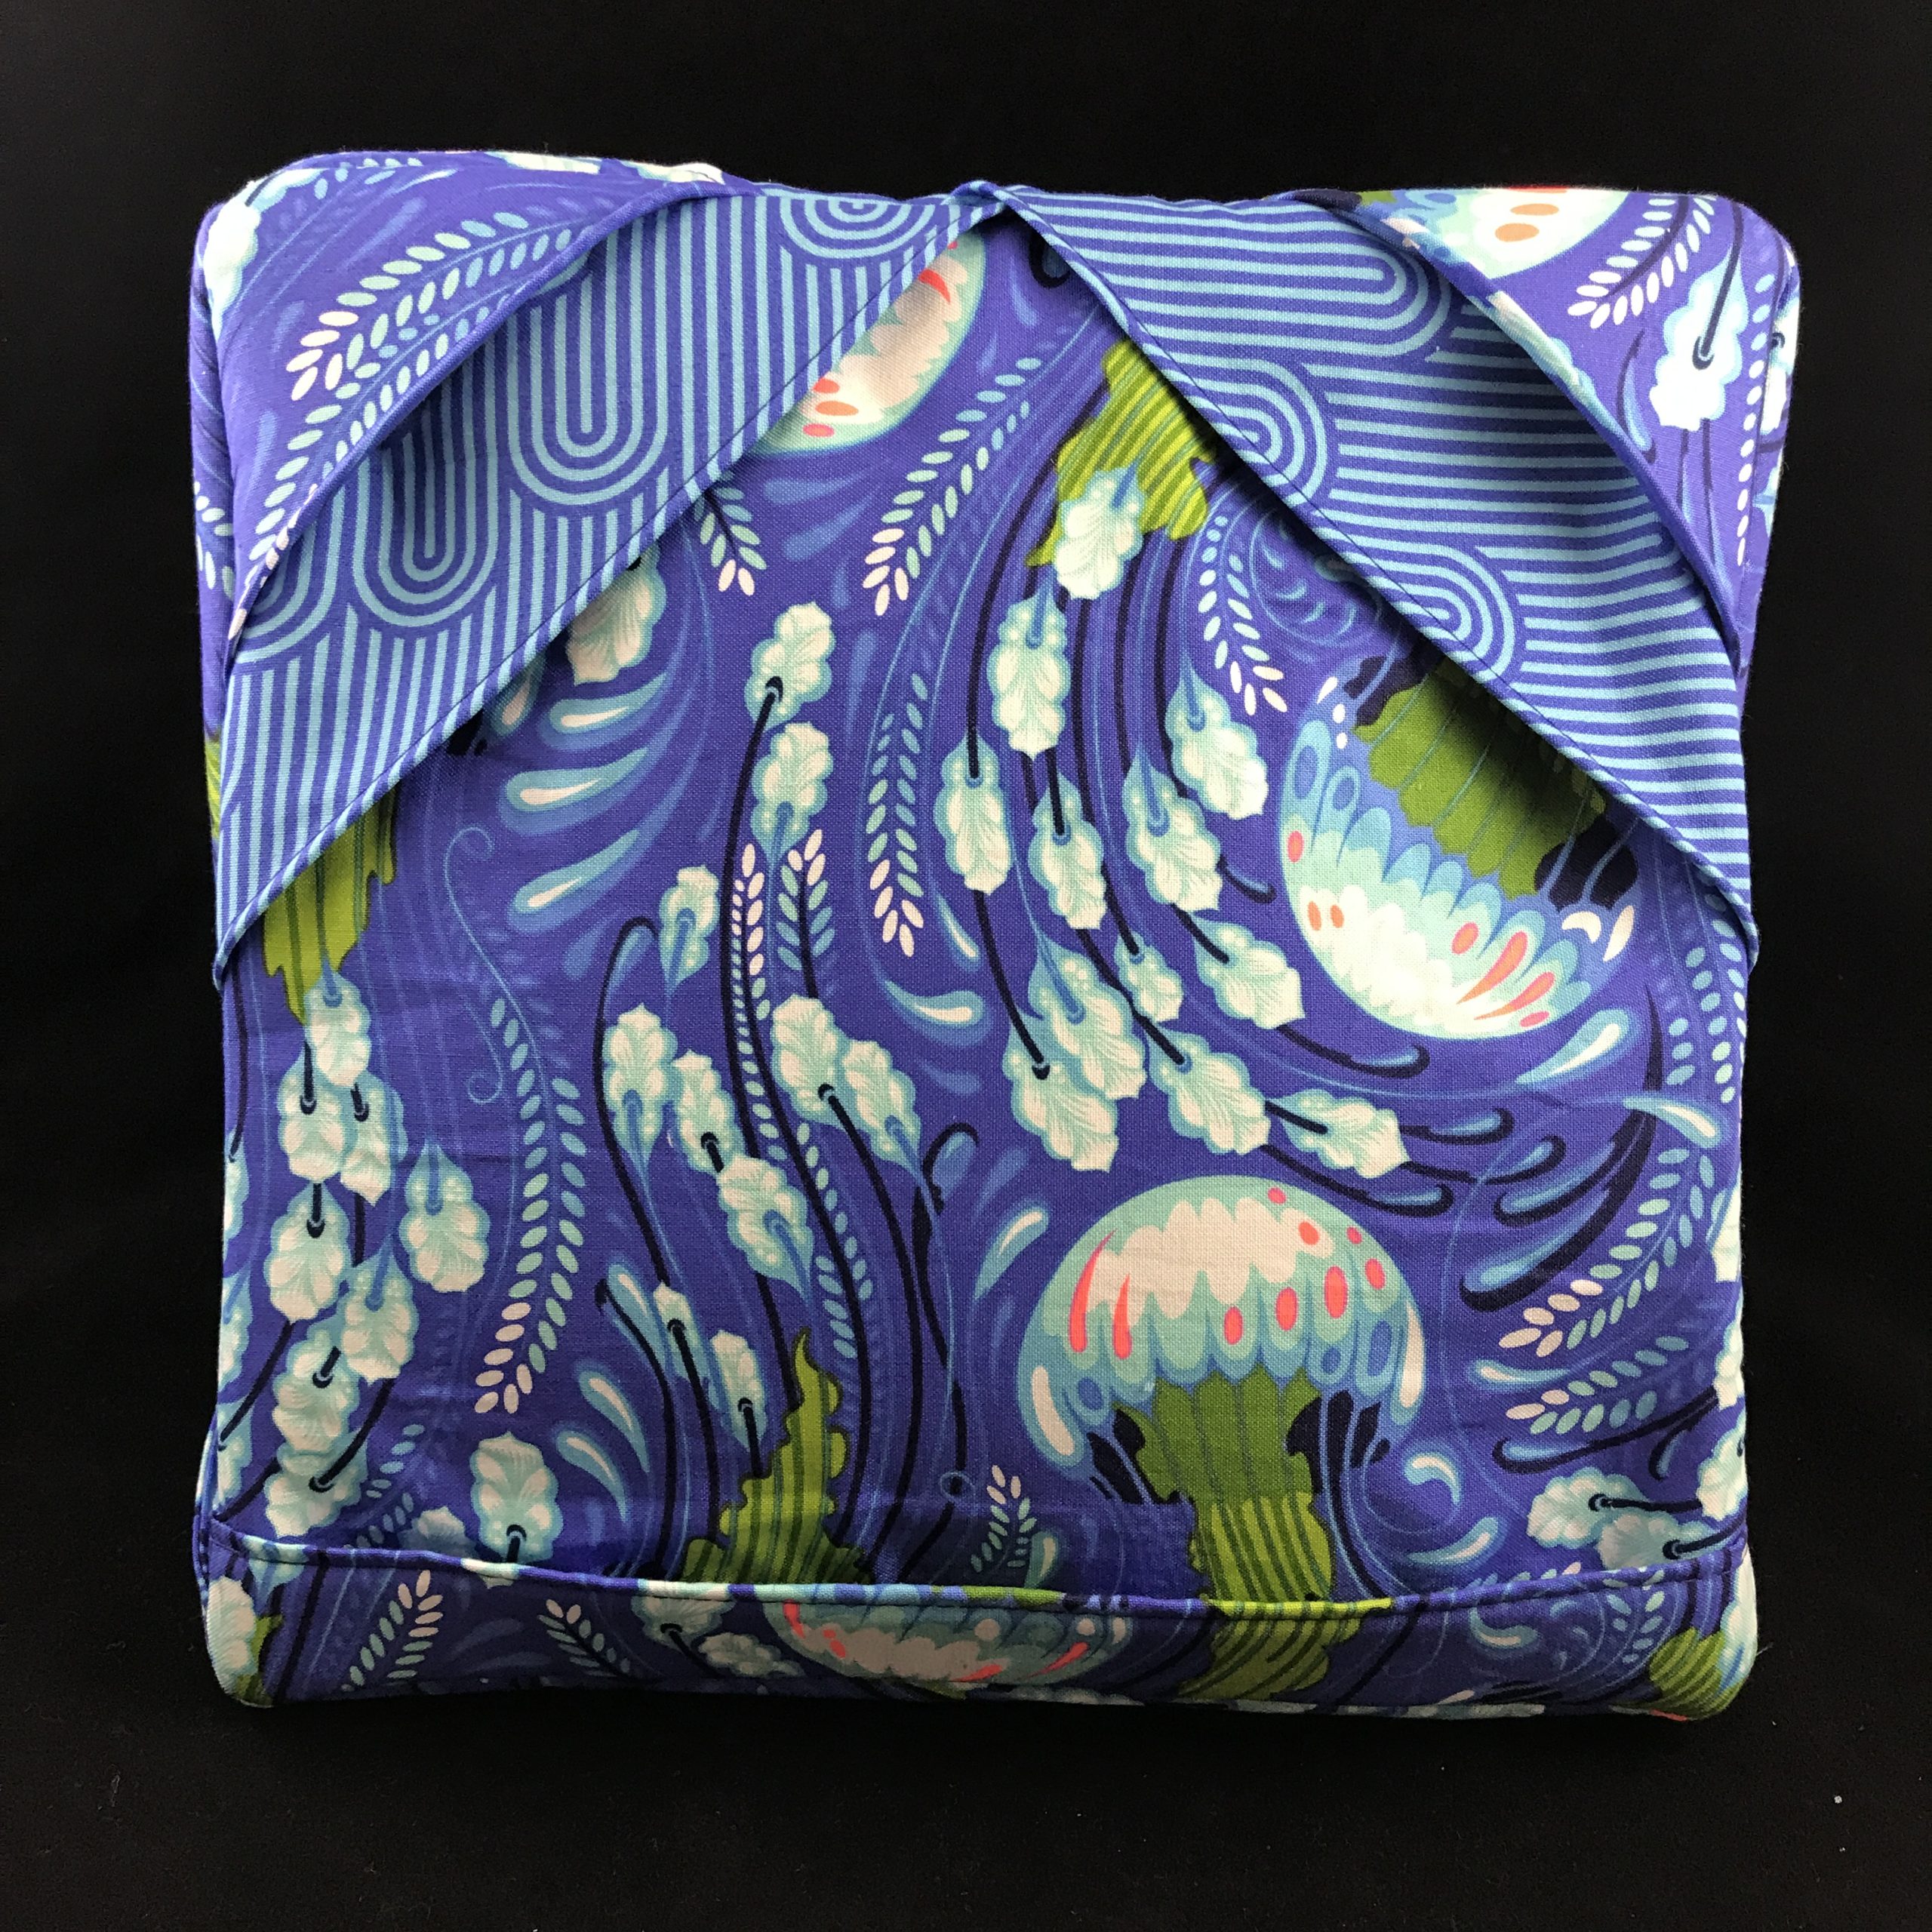
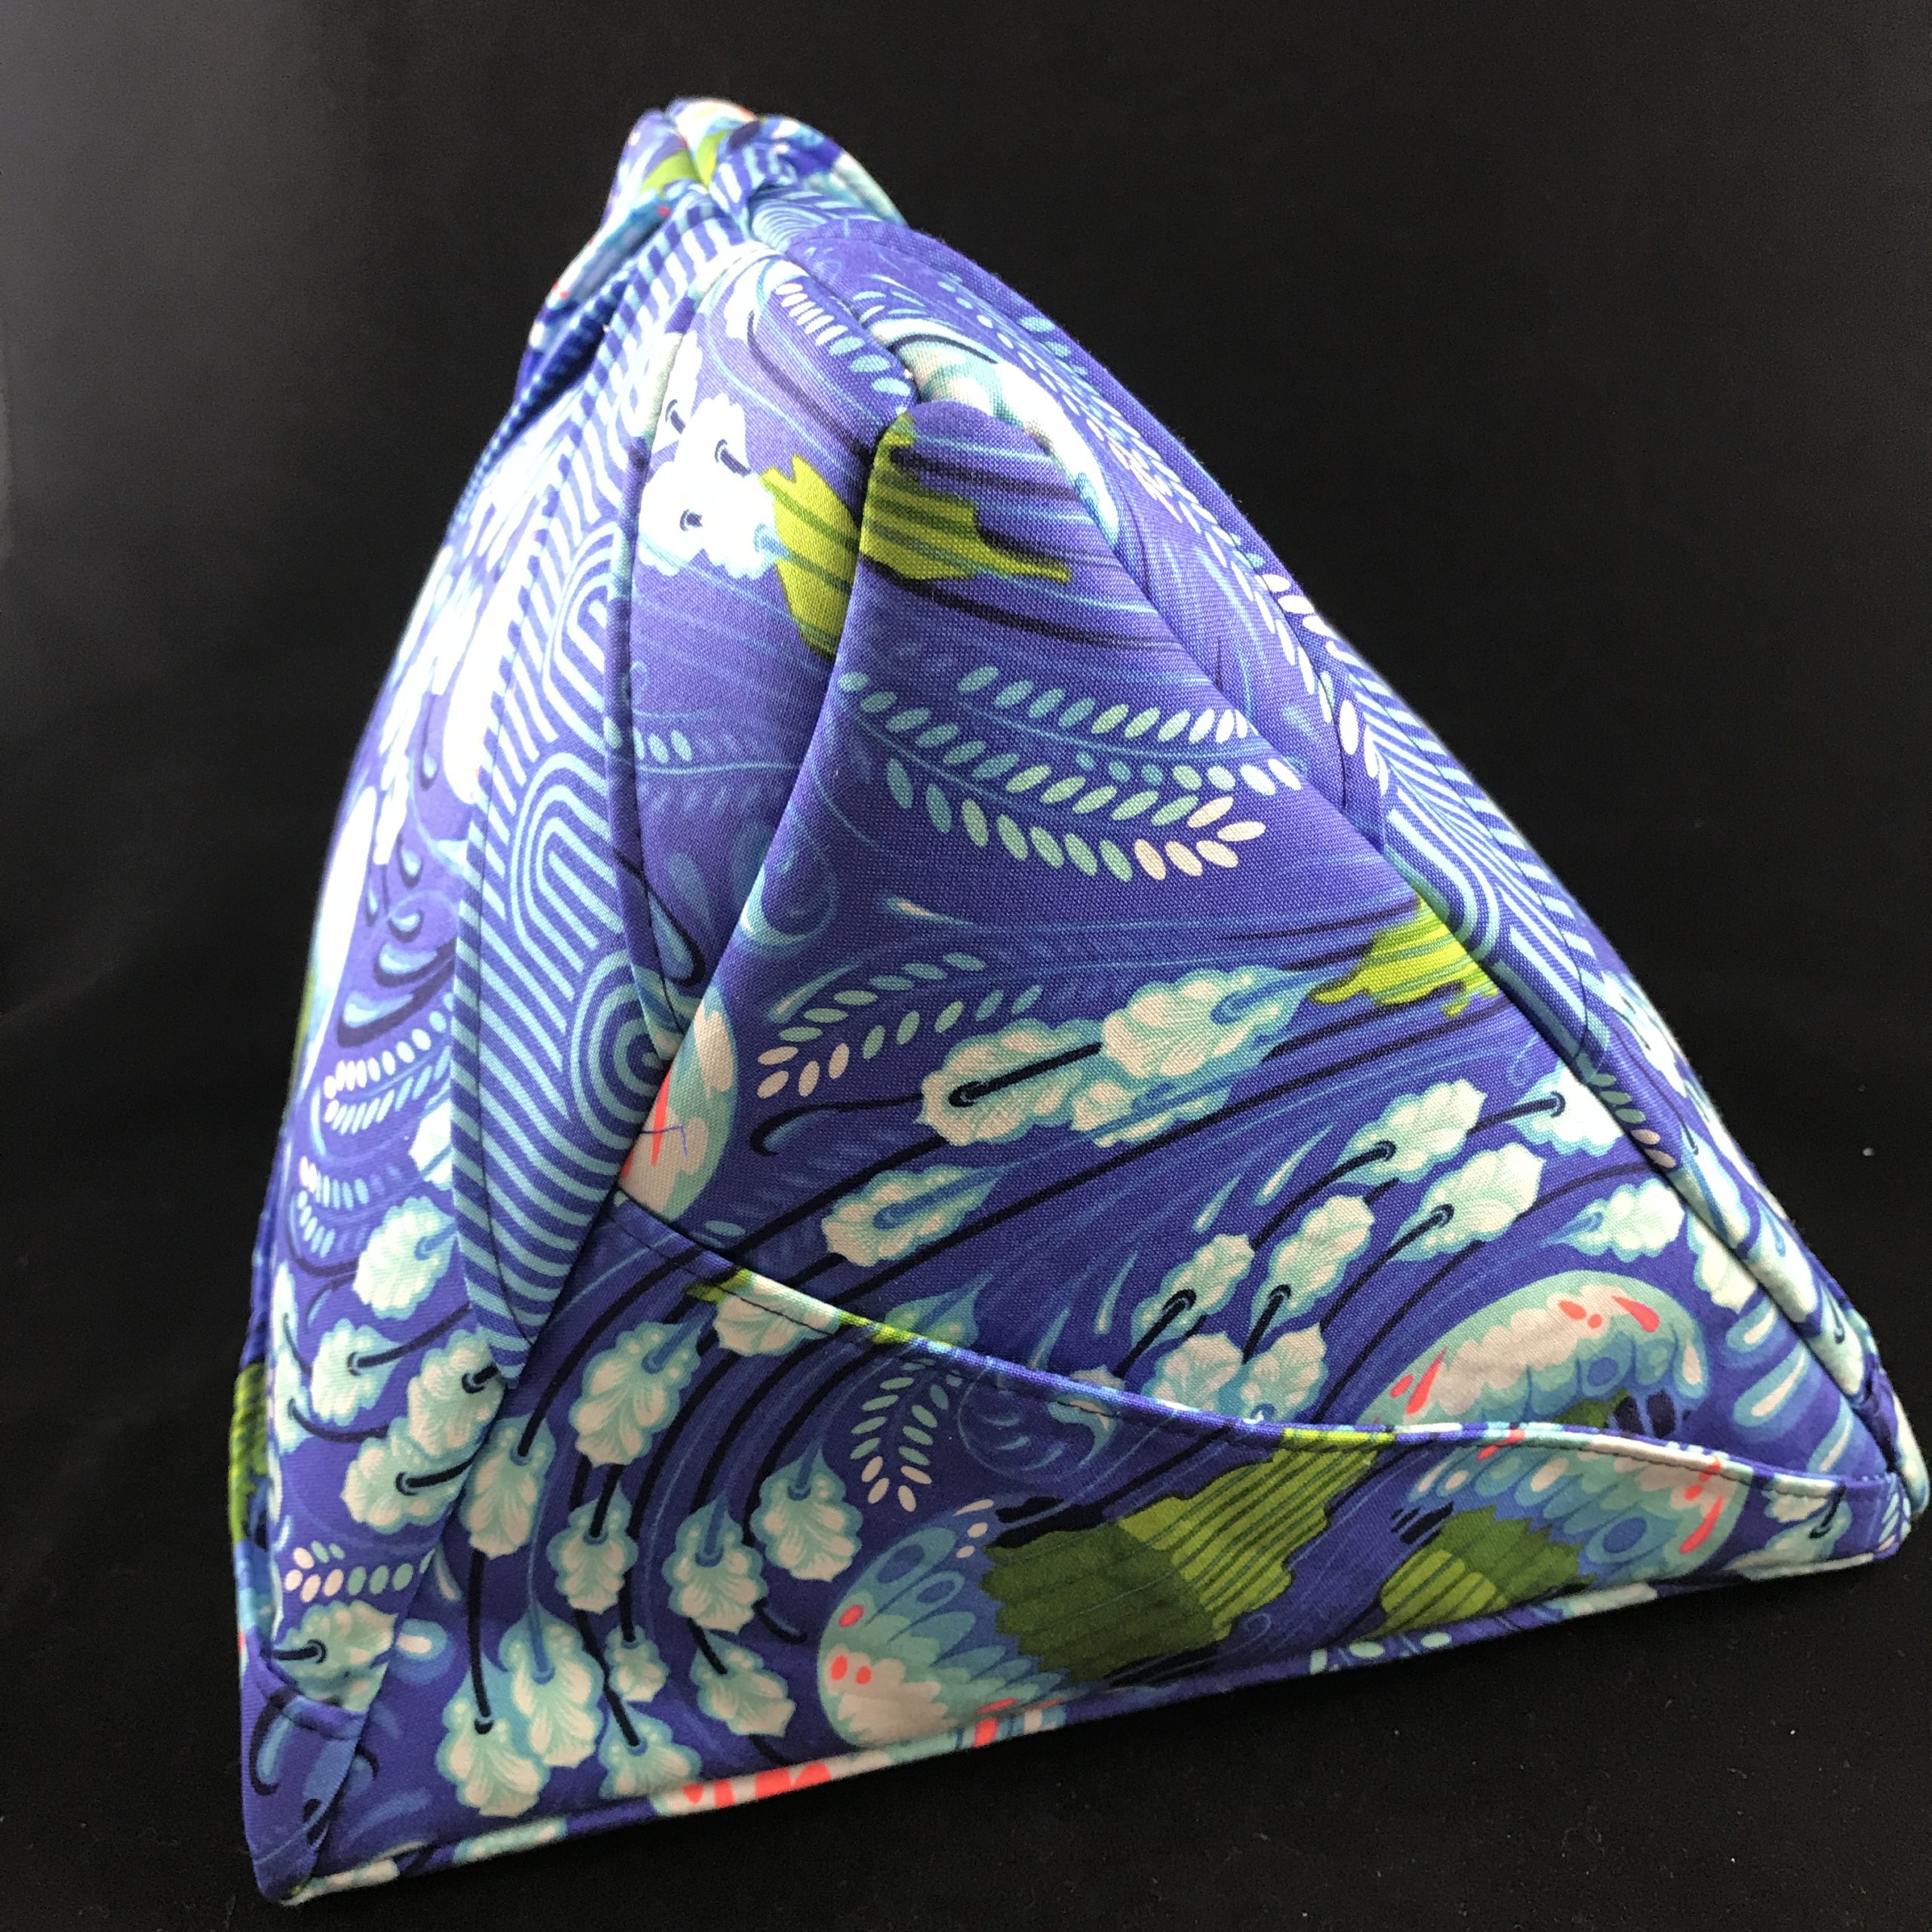
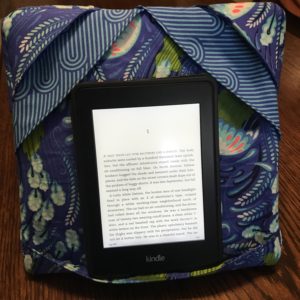
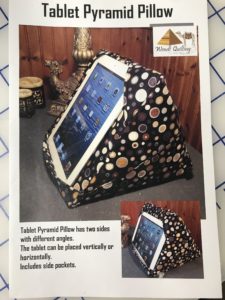
 Meet my sister’s Christmas present—the Tablet Pyramid Pillow.
Here’s the funny story about this pattern. I saw it at a favorite quilting shop, Sew Deja Vu in Stow, Ohio, about eight months ago. I grabbed it with the idea of making it for my sister. But then I had a water leak in my sewing room and had to move everything out into the main area of the basement while that was repaired and the floor cleaned. And then summer came and brought with it much music to be made. And when I started looking for the pattern to make it for my sister’s early July birthday, it was nowhere to be found.

This side holds the tablet in portrait mode.
Then the fall semester arrived and took off with a bang. I suddenly had eleven students to accompany and the “Cabaret” score to learn and rehearsals every night of the week and music to find and prepare for a Christmas revue. And, uh oh, Christmas is almost here and what can I do for my sister and where the heck is that pattern? So I started googling and trying to figure out what the pattern’s name was and who designed it and where I could buy another copy.

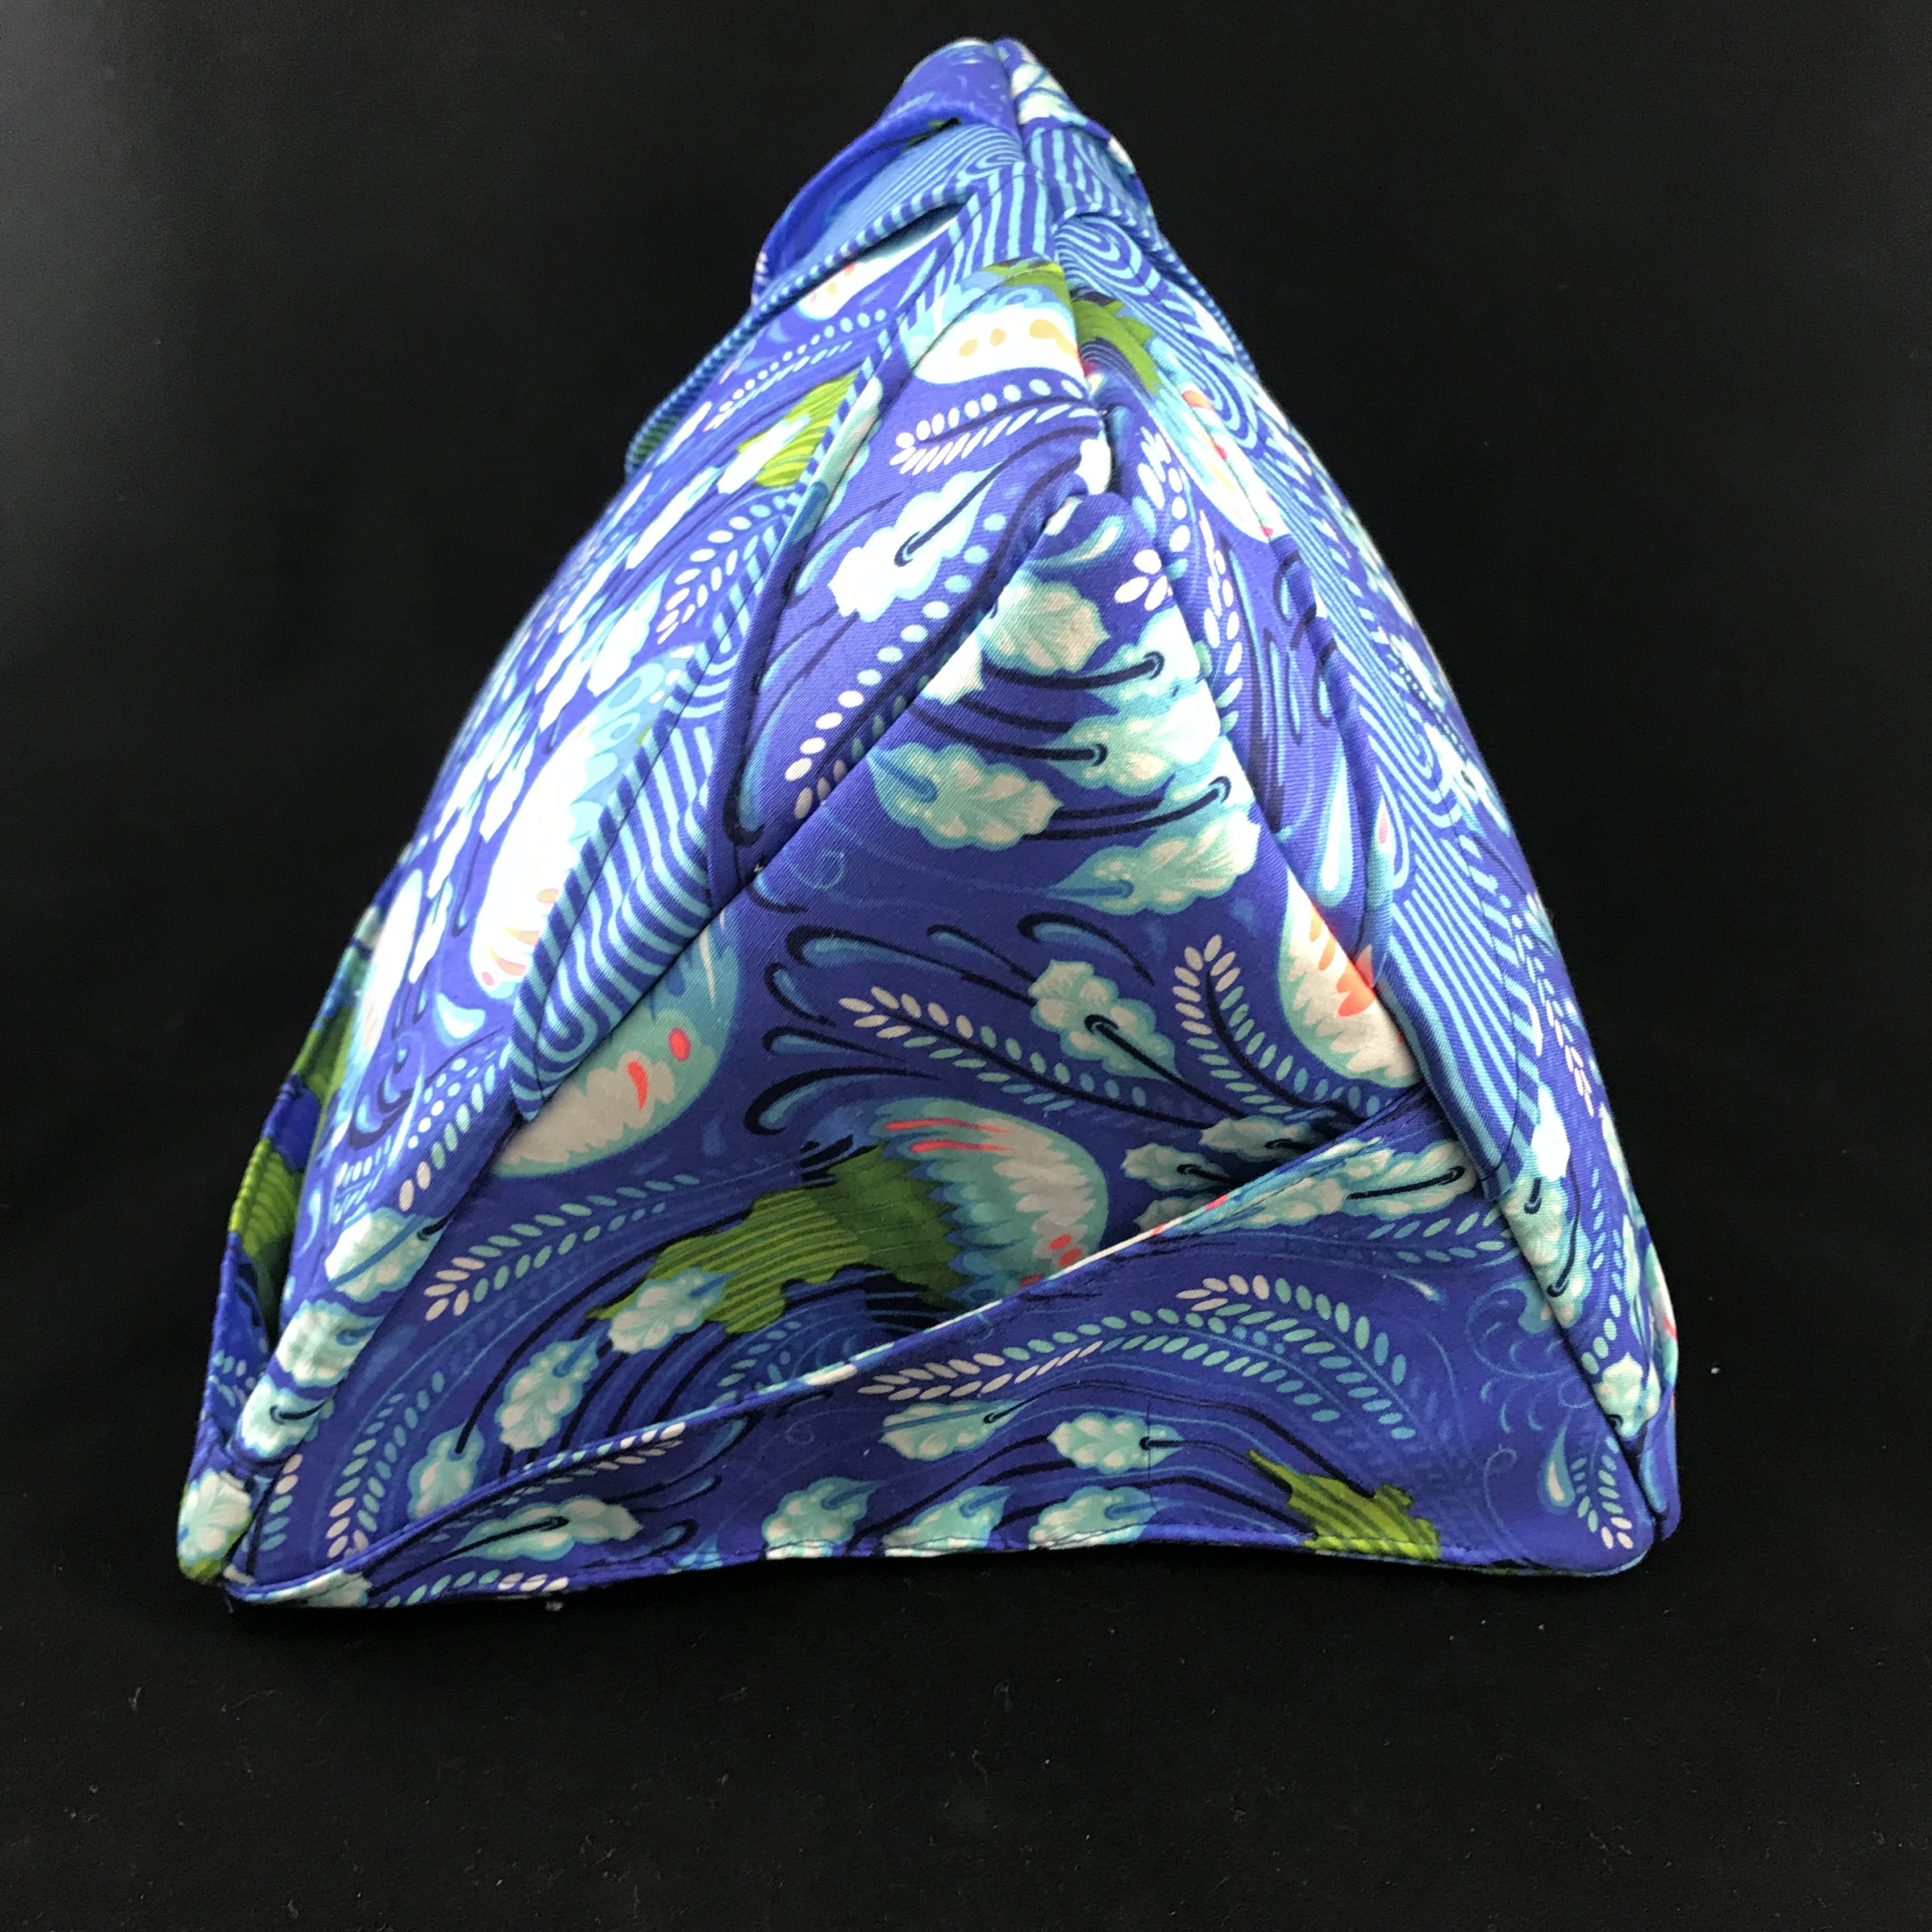
A side pocket to hold one’s phone or earbuds or a small notebook and pen.
I found and bought the pattern, and a couple of days later it arrived. I pulled from my stash the beautiful fabric in my sister’s favorite colors that I had chosen for this project several months earlier. And I kept making music. My final Christmas performance was on Sunday, December 22. On Monday I went to JoAnn’s to buy a cool container of Guterman thread for my niece and (discover they didn’t carry the poly pellets I needed, so on) to Michael’s to get the pellets that are used to weight the bottom of the pillow. Late Monday afternoon and evening I cut out all the fabric and interfacing and did all the fusing and basting. When I went to bed Monday night, my cutting table held the five rectangles that would become the finished pillow.

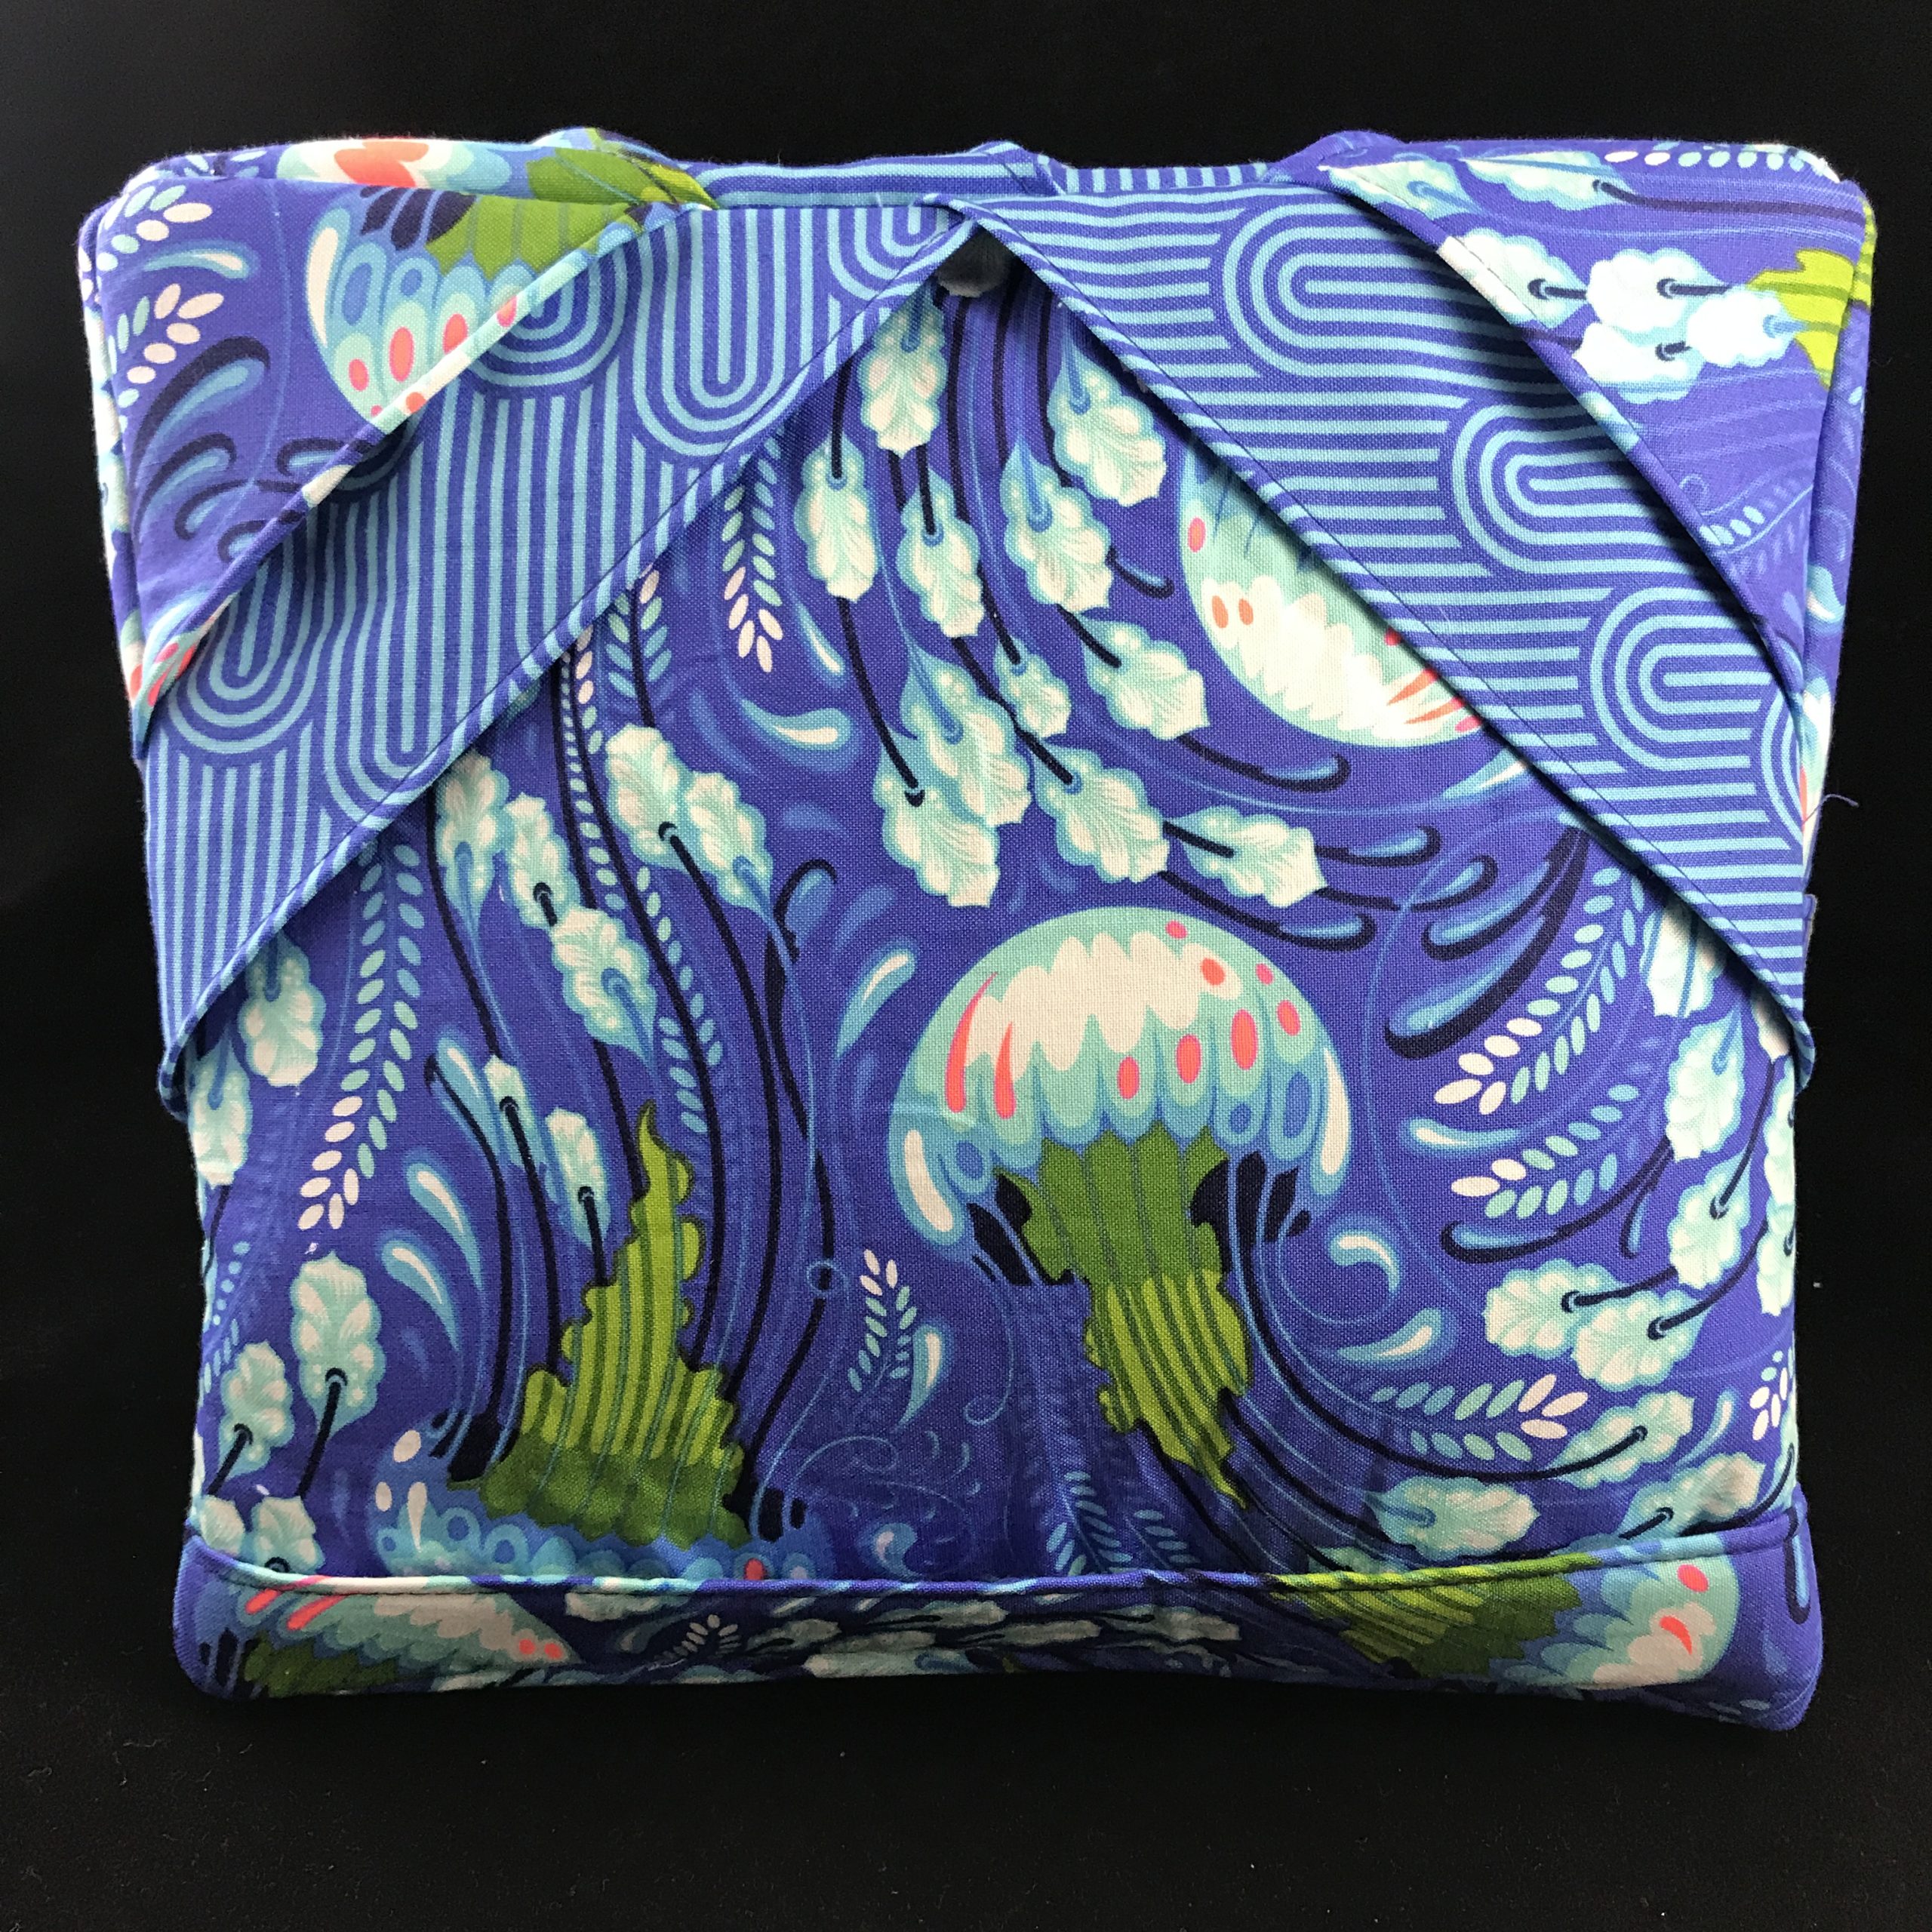
The other side holds the tablet in landscape mode.
Tuesday morning, I was downstairs by 5:30 and assembling the pillow. Once the pillow is together, with a hole in one seam left to stuff it, you make an 8” square flat pillow out of muslin or a scrap of fabric and fill that pillow with 1½ cups of the poly pellets.
 Then came the problem. I realized that the materials list on the pattern envelope hadn’t mentioned the stuffing to sit on top of the poly pellet pillow and help the pillow support the tablet. So I started digging around the basement for the large black plastic tub that I knew held leftovers from other stuffing projects. In my flurry of activity to finish this present so I could leave for the 75-minute drive to my sister’s house, I wasn’t finding the container. And then voila! I saw a plastic grocery bag filled with the excess stuffing from a bed pillow a friend had bought and then taken apart in an attempt to make it more comfortable, afterwards giving me the leftovers. I grabbed it and began stuffing handfuls of this nasty stick-to-everything stuffing into the open hole.

One more pocket to hold accessories.
I normally prefer hand-sewing for closing the holes one leaves in a seam for the purpose of turning a bag or stuffing a pillow. But time was soooo of the essence in this project. The fog was scheduled to lift at 10:00 a.m. (It didn’t. It lasted until Christmas morning!) And I had miles to go to deliver my gifts and spend a little sister time. So I did my best to turn the edges of the seam allowance and topstitch the opening by machine. It’s not pretty, but it’s done.
I snapped photos, grabbed my coat, had Siri ask my sister what she and my niece wanted for lunch from Red Lobster in Akron, and set out for my drive to Medina with a riveting murder mystery playing on my sound system.
And she loved it! It doesn’t work well with the thick protective case on her iPad. (The picture at the top of this post shows the pillow with my Kindle Paperwhite, a smaller device.) If I were making another, I might make that bottom horizontal strip wider than an inch—maybe cut the piece 4” wide rather than 2” and fold it to a finished 2” (minus the ¼” seam allowance).
Note: If you are planning for this pillow to be used with a smaller device like my little Kindle, there is a third strap you can add to the construction process that will hold the smaller device in place securely.
The details: The fabric is designed by Tula Pink for Free Spirit. The collection is Zuma. The color is Aqua Marine. The main fabric is Sea Bloom, and the accent is Tower 7. The pattern is Tablet Pyramid Pillow by Debbie Wendt for Wendt Quilting.
What would I do differently? See the accent fabric in the pillow, the larger inner strip to hold a smaller device in place? Oops. I didn’t pay close enough attention to those stripes. I should have folded two of those the other way. Oh well.
Mantra of the day: Perfectionism. It’s a heavy burden to bear.
<Postscript On>
As I’m finishing this post, it’s the morning of the 26th. I left home at 4:00 yesterday afternoon, missing Dinner With Friends. I picked up my 18yo granddaughter, the love of my life, and drove her to the Pittsburgh airport for her first ever solo flight. I had gotten a room for us to share at the Hyatt. After check-in, we walked from our room over to the terminal and she figured out what route to take and how to navigate what would be a very busy airport at 5:00 a.m. the next morning. I explained how the TSA line works and what she should have in hand to show the agent and what to do when she’ll undoubtedly have to check her bag at the gate. (Group 9! You know the overheads are going to be full when they get to Group 9.) I showed her where she gets on the train that will take her to the airside terminal and explained how the two levels of escalators will take her up to the shopping area and how she has to find which of the four concourses X-ing out from the shopping and dining area is American’s concourse. Think of all the information you need if every other time you’ve flown has been with your parent, who already knew all that stuff.
After our lesson time, we went back to the Hyatt and had dinner at the excellent bellfarm Kitchen|Bar farm-to-table restaurant. (She looked at the menu and said, “Grandma, it’s so expensive.” I smiled and assured her it was okay. And as I write this, I have tears in my eyes that my precious baby has grown up and I don’t know where the years went.)
And then we were back in our room, making memories. Both my heart and my Good Grandma points account are overflowing. 😊
<Postscript Off>


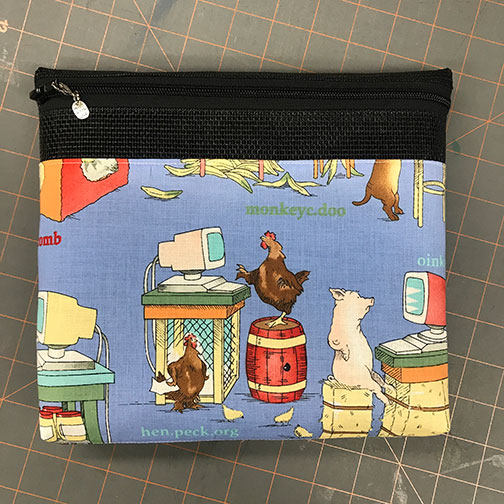
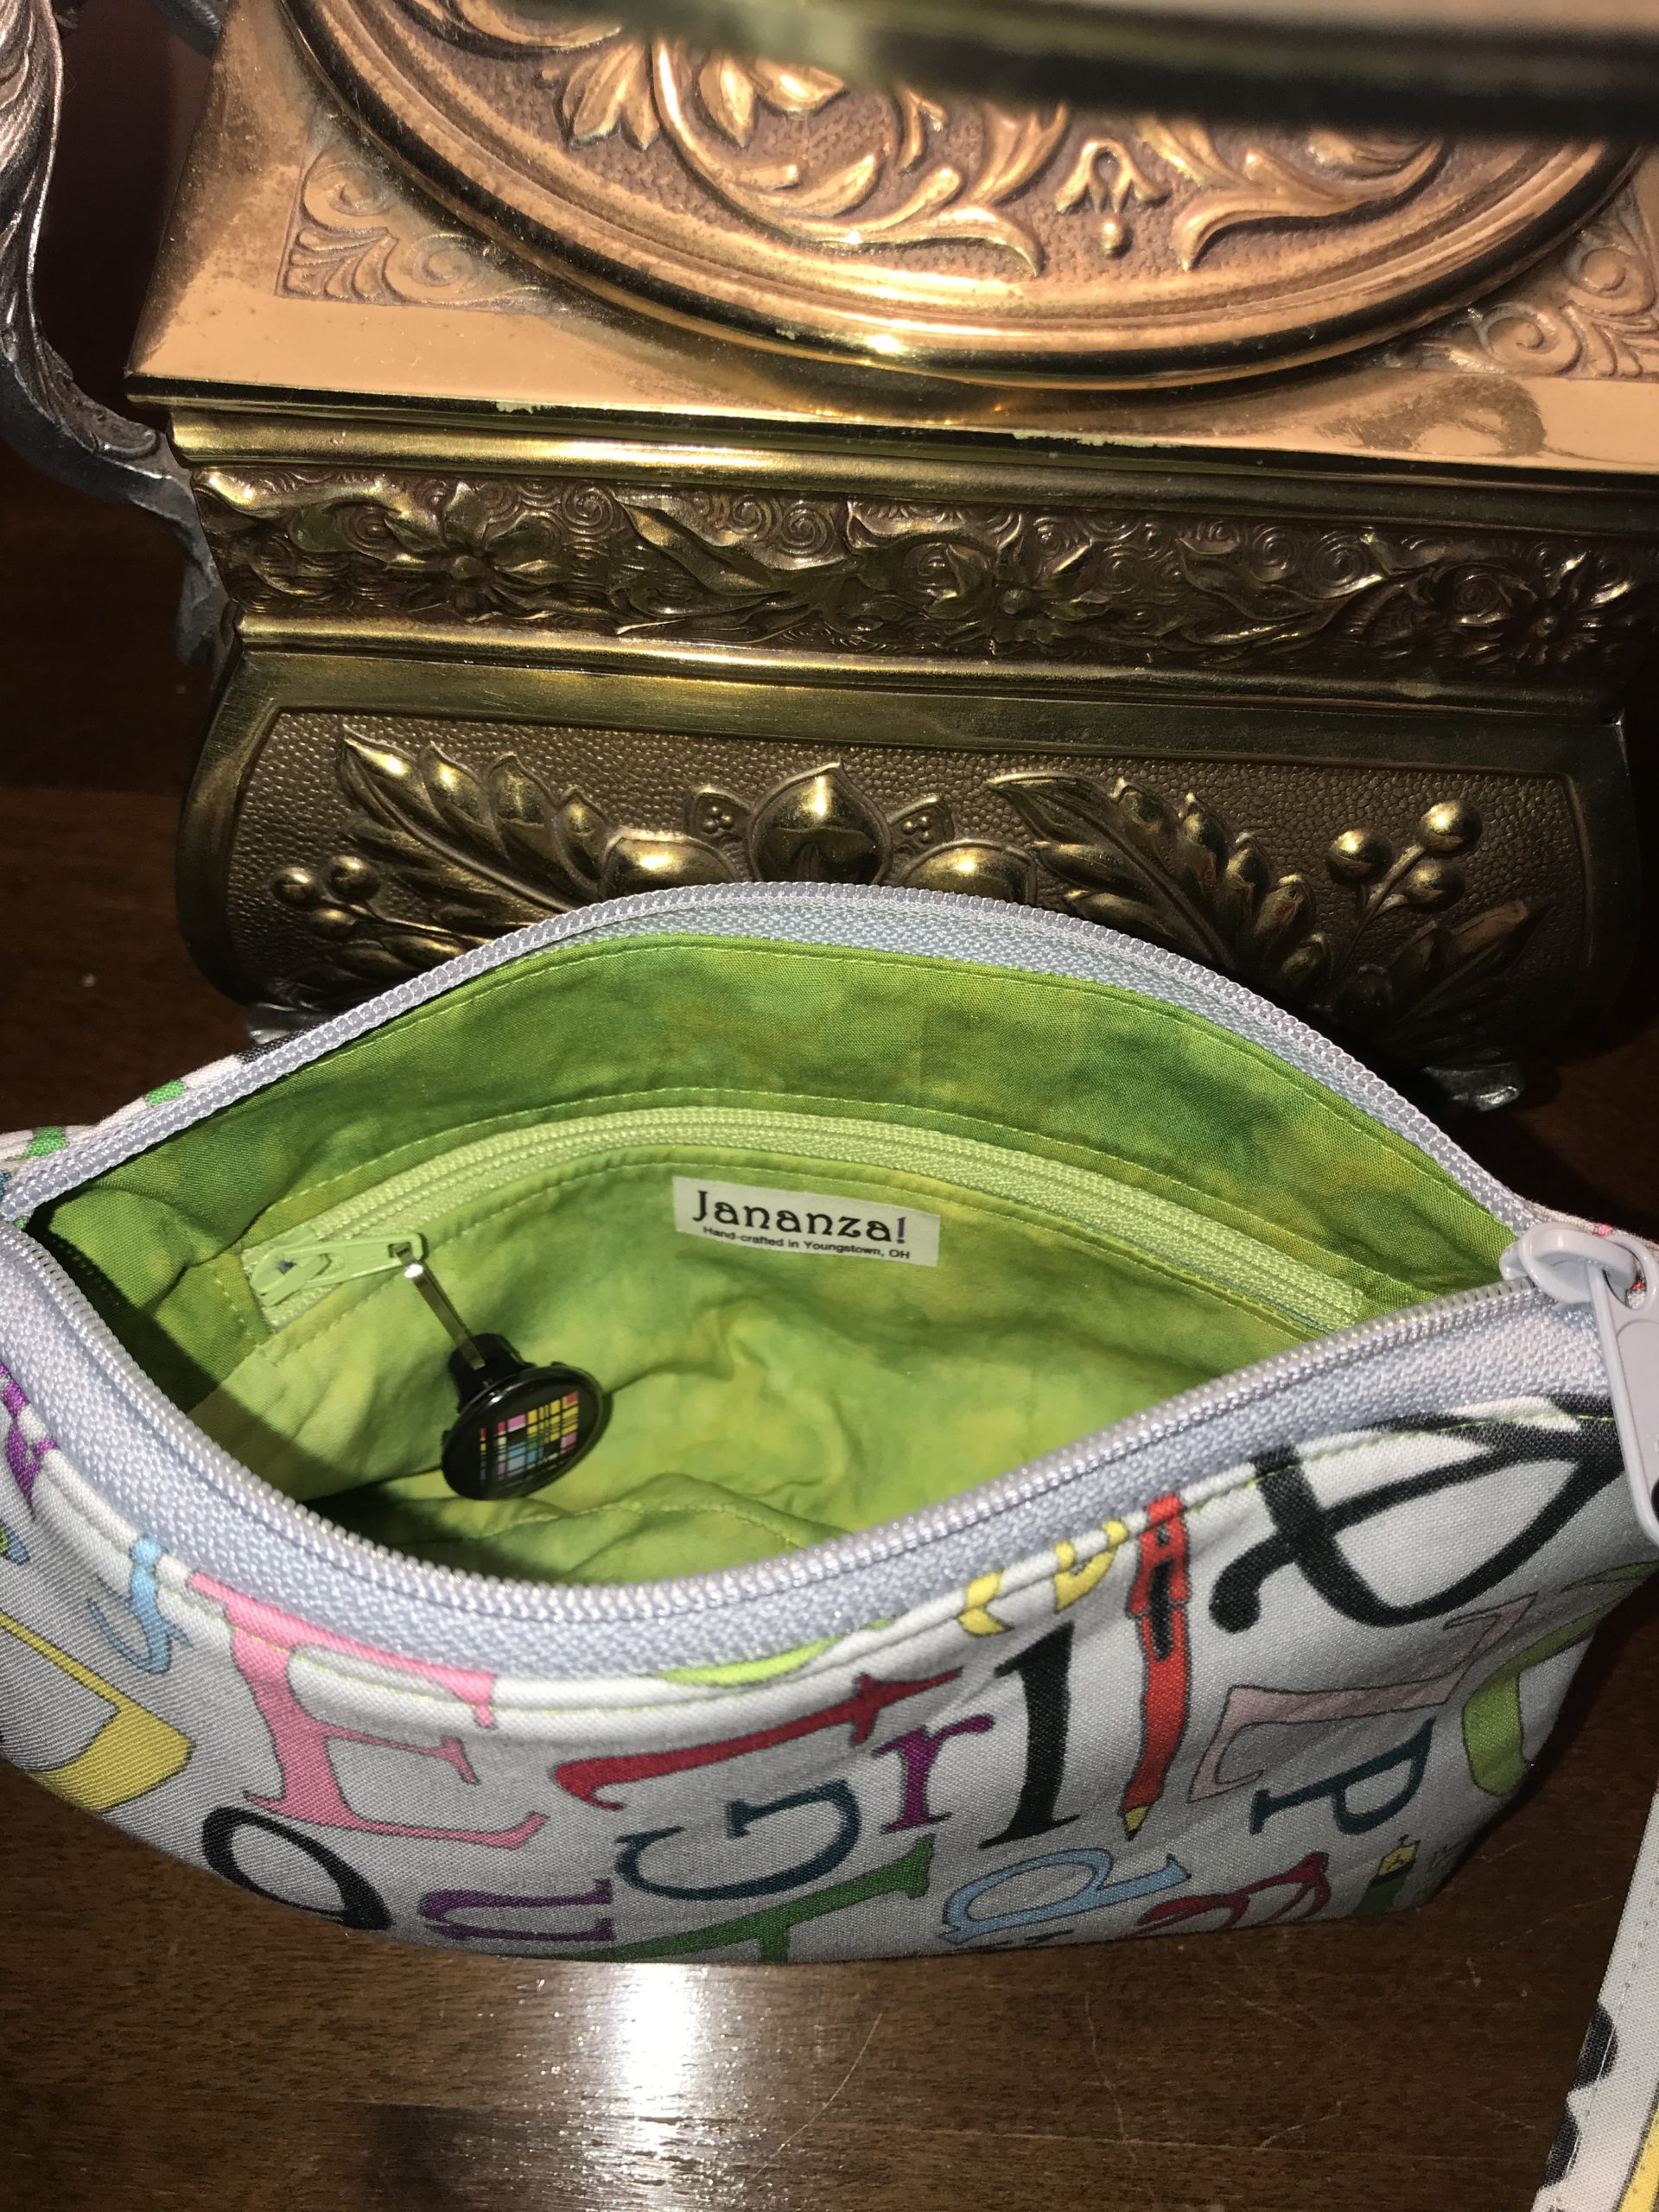
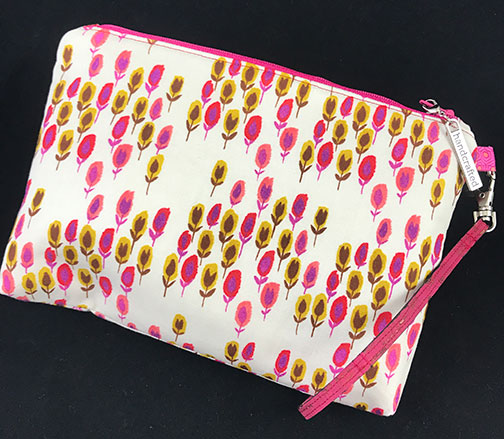
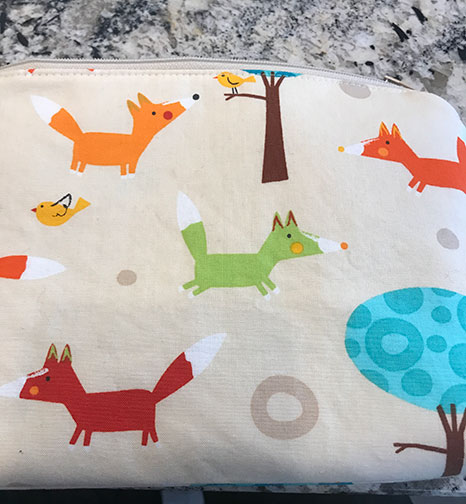
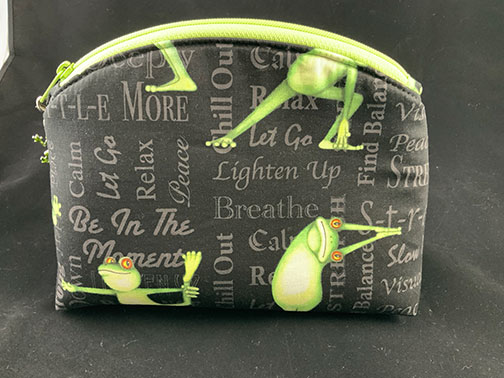
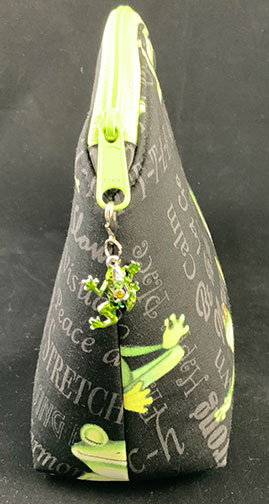
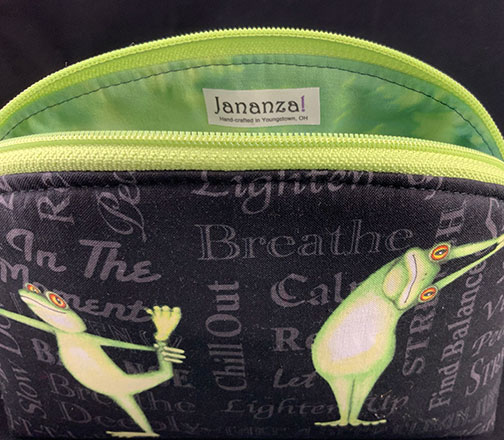
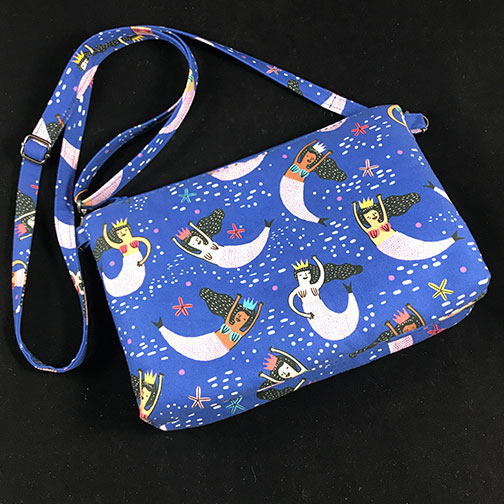 What happens when you want a new bag to take along on your beach vacation and then you run out of time? You get a cute bag to add to the stock in your Etsy shop.
  Sara Lawson’s Sew Sweetness Paladin Pouch is a brilliant little multi-purpose bag. It comes in three sizes, Small (7” long x 5” tall x 2½” deep), Medium (9” long x 6½” tall x 3” deep), and Large (10½” long x 8” tall x 3½” deep). Sizes Medium and Large have an interior zippered pocket. All of them have a single exterior zipper that encloses all three pockets. You can purchase an instructional video where you can sew along with Sara as she constructs the bag—for this bag, I highly recommend watching the video. There are some tricks to making this bag that are not intuitive. And when you join Sara’s user group on Facebook, you’ll find likeminded “Bag Ladies” and “Bag Dudes” who are constantly supporting you and also finding ways to hack the patterns to make the bags their own.
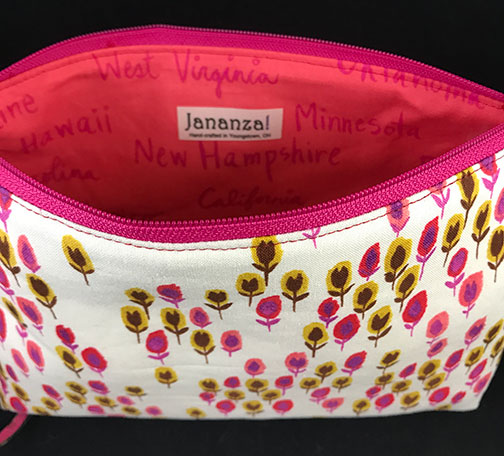
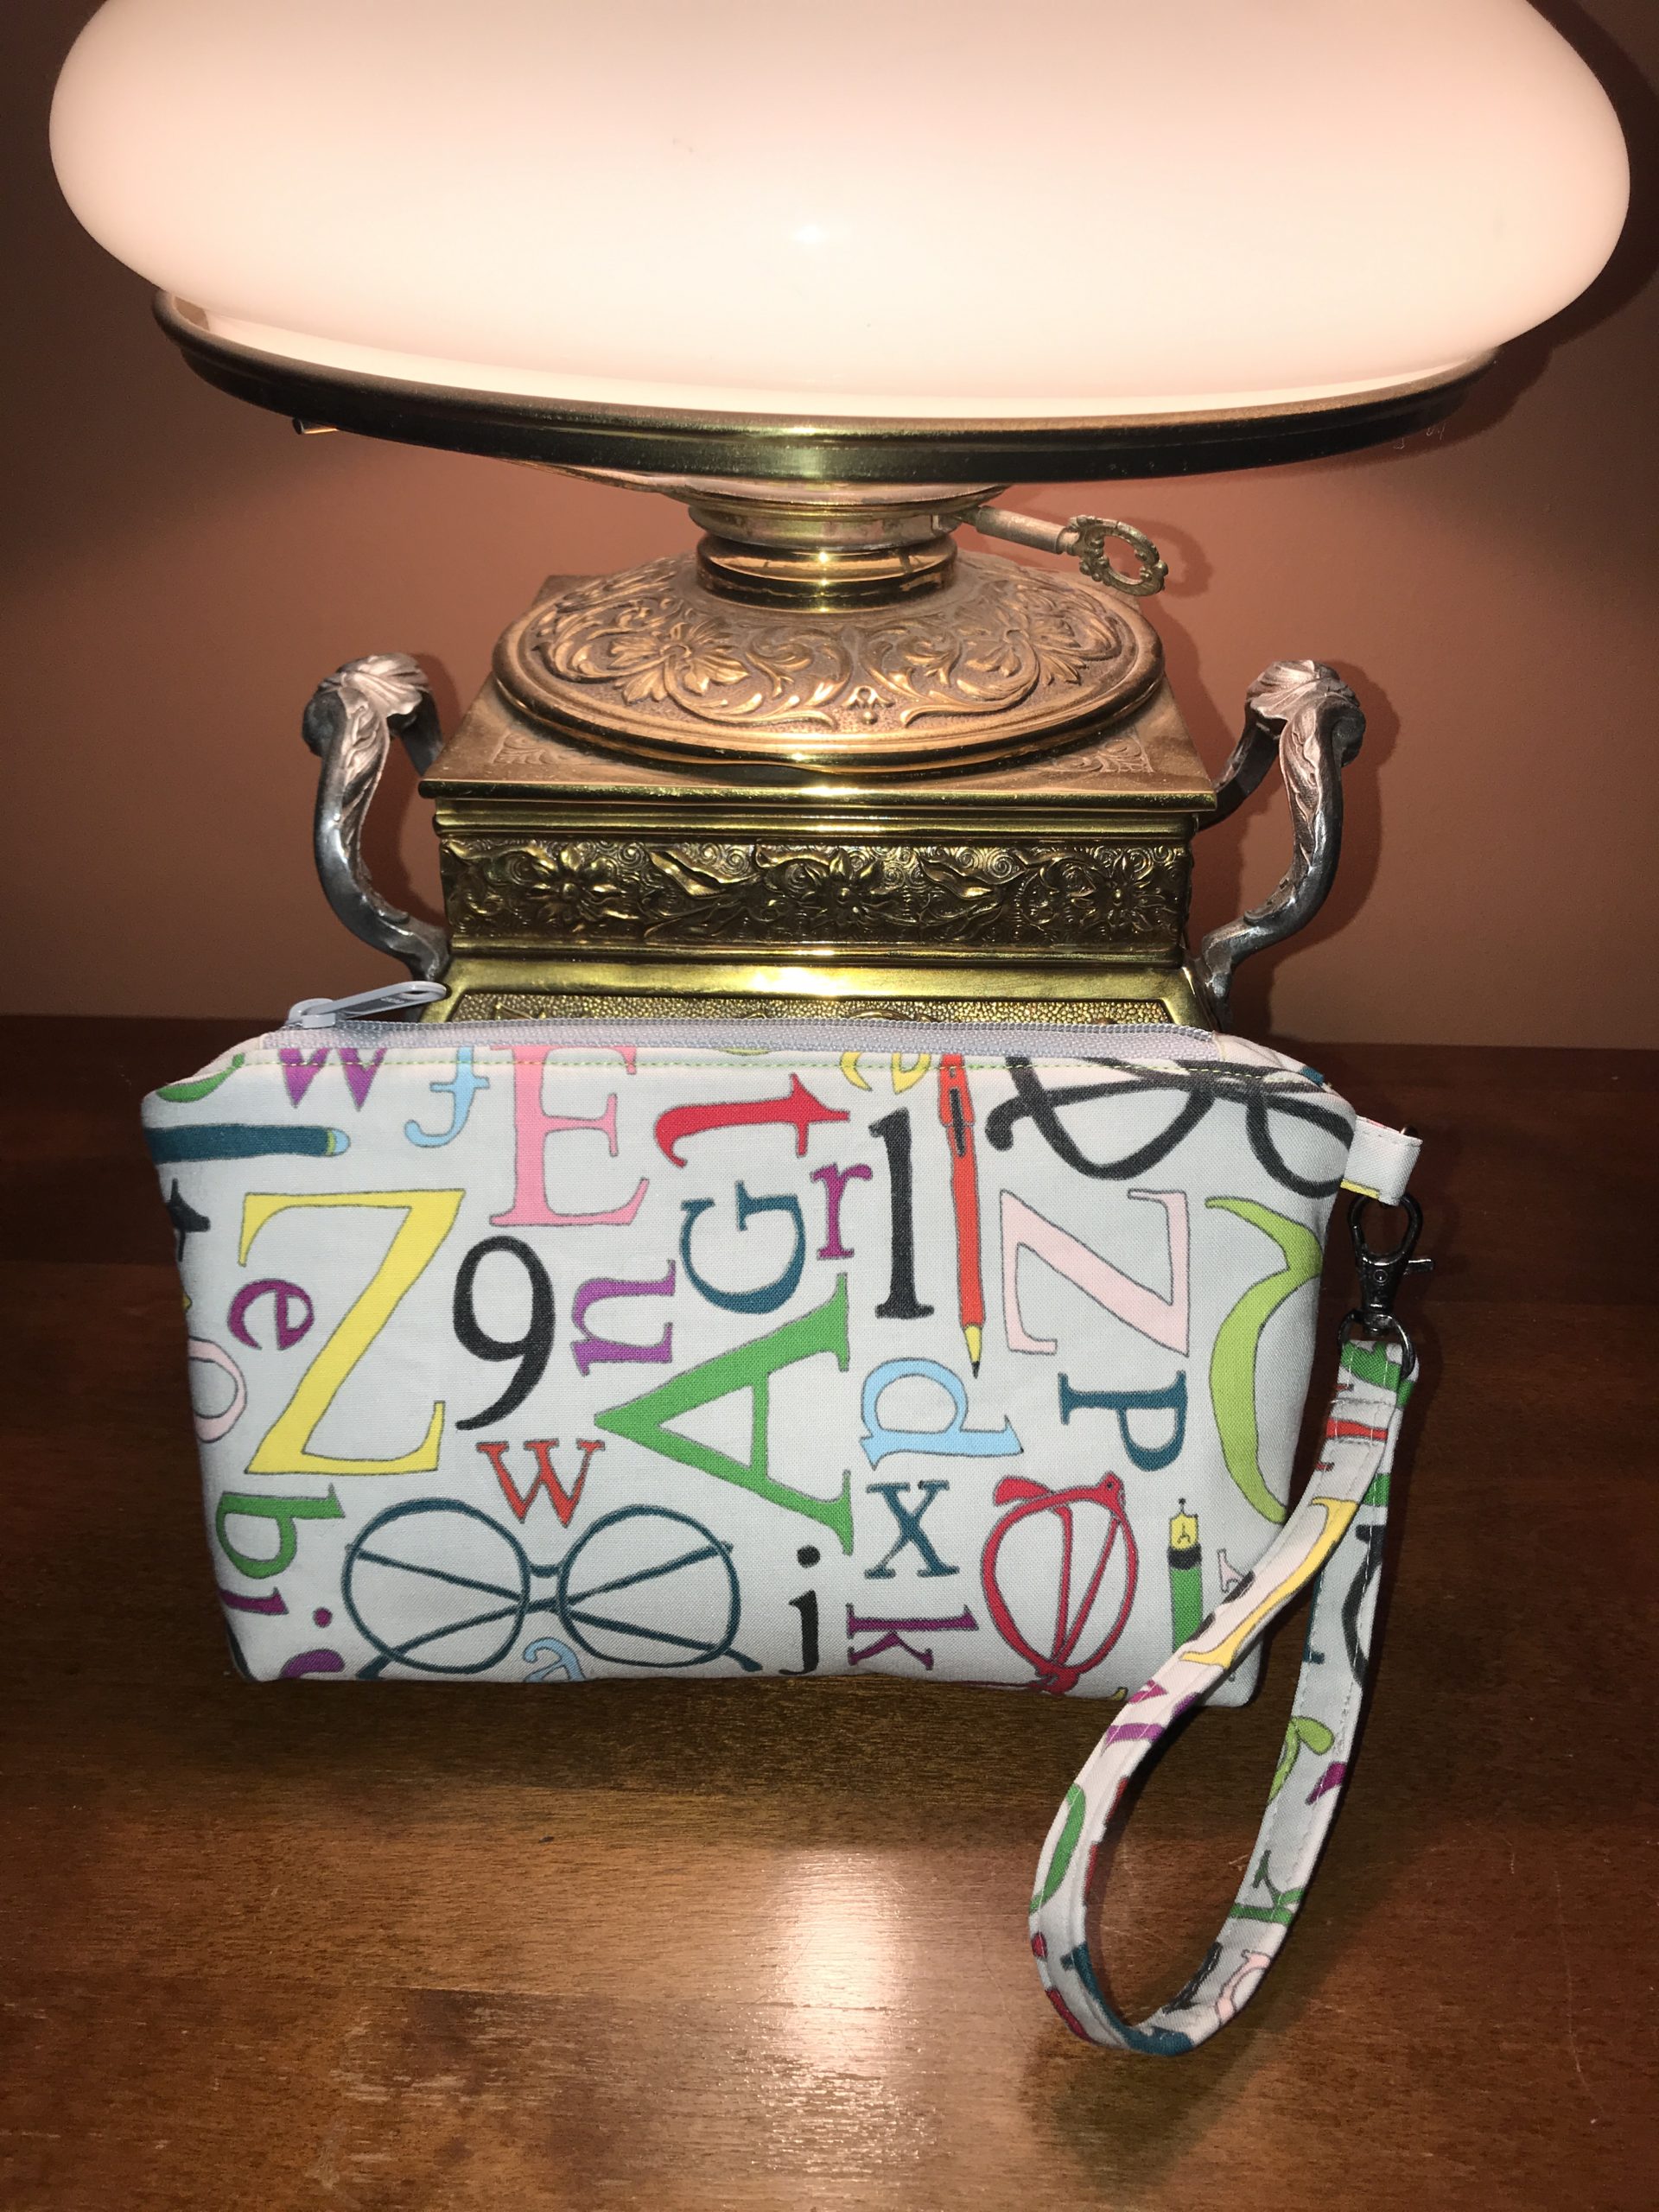
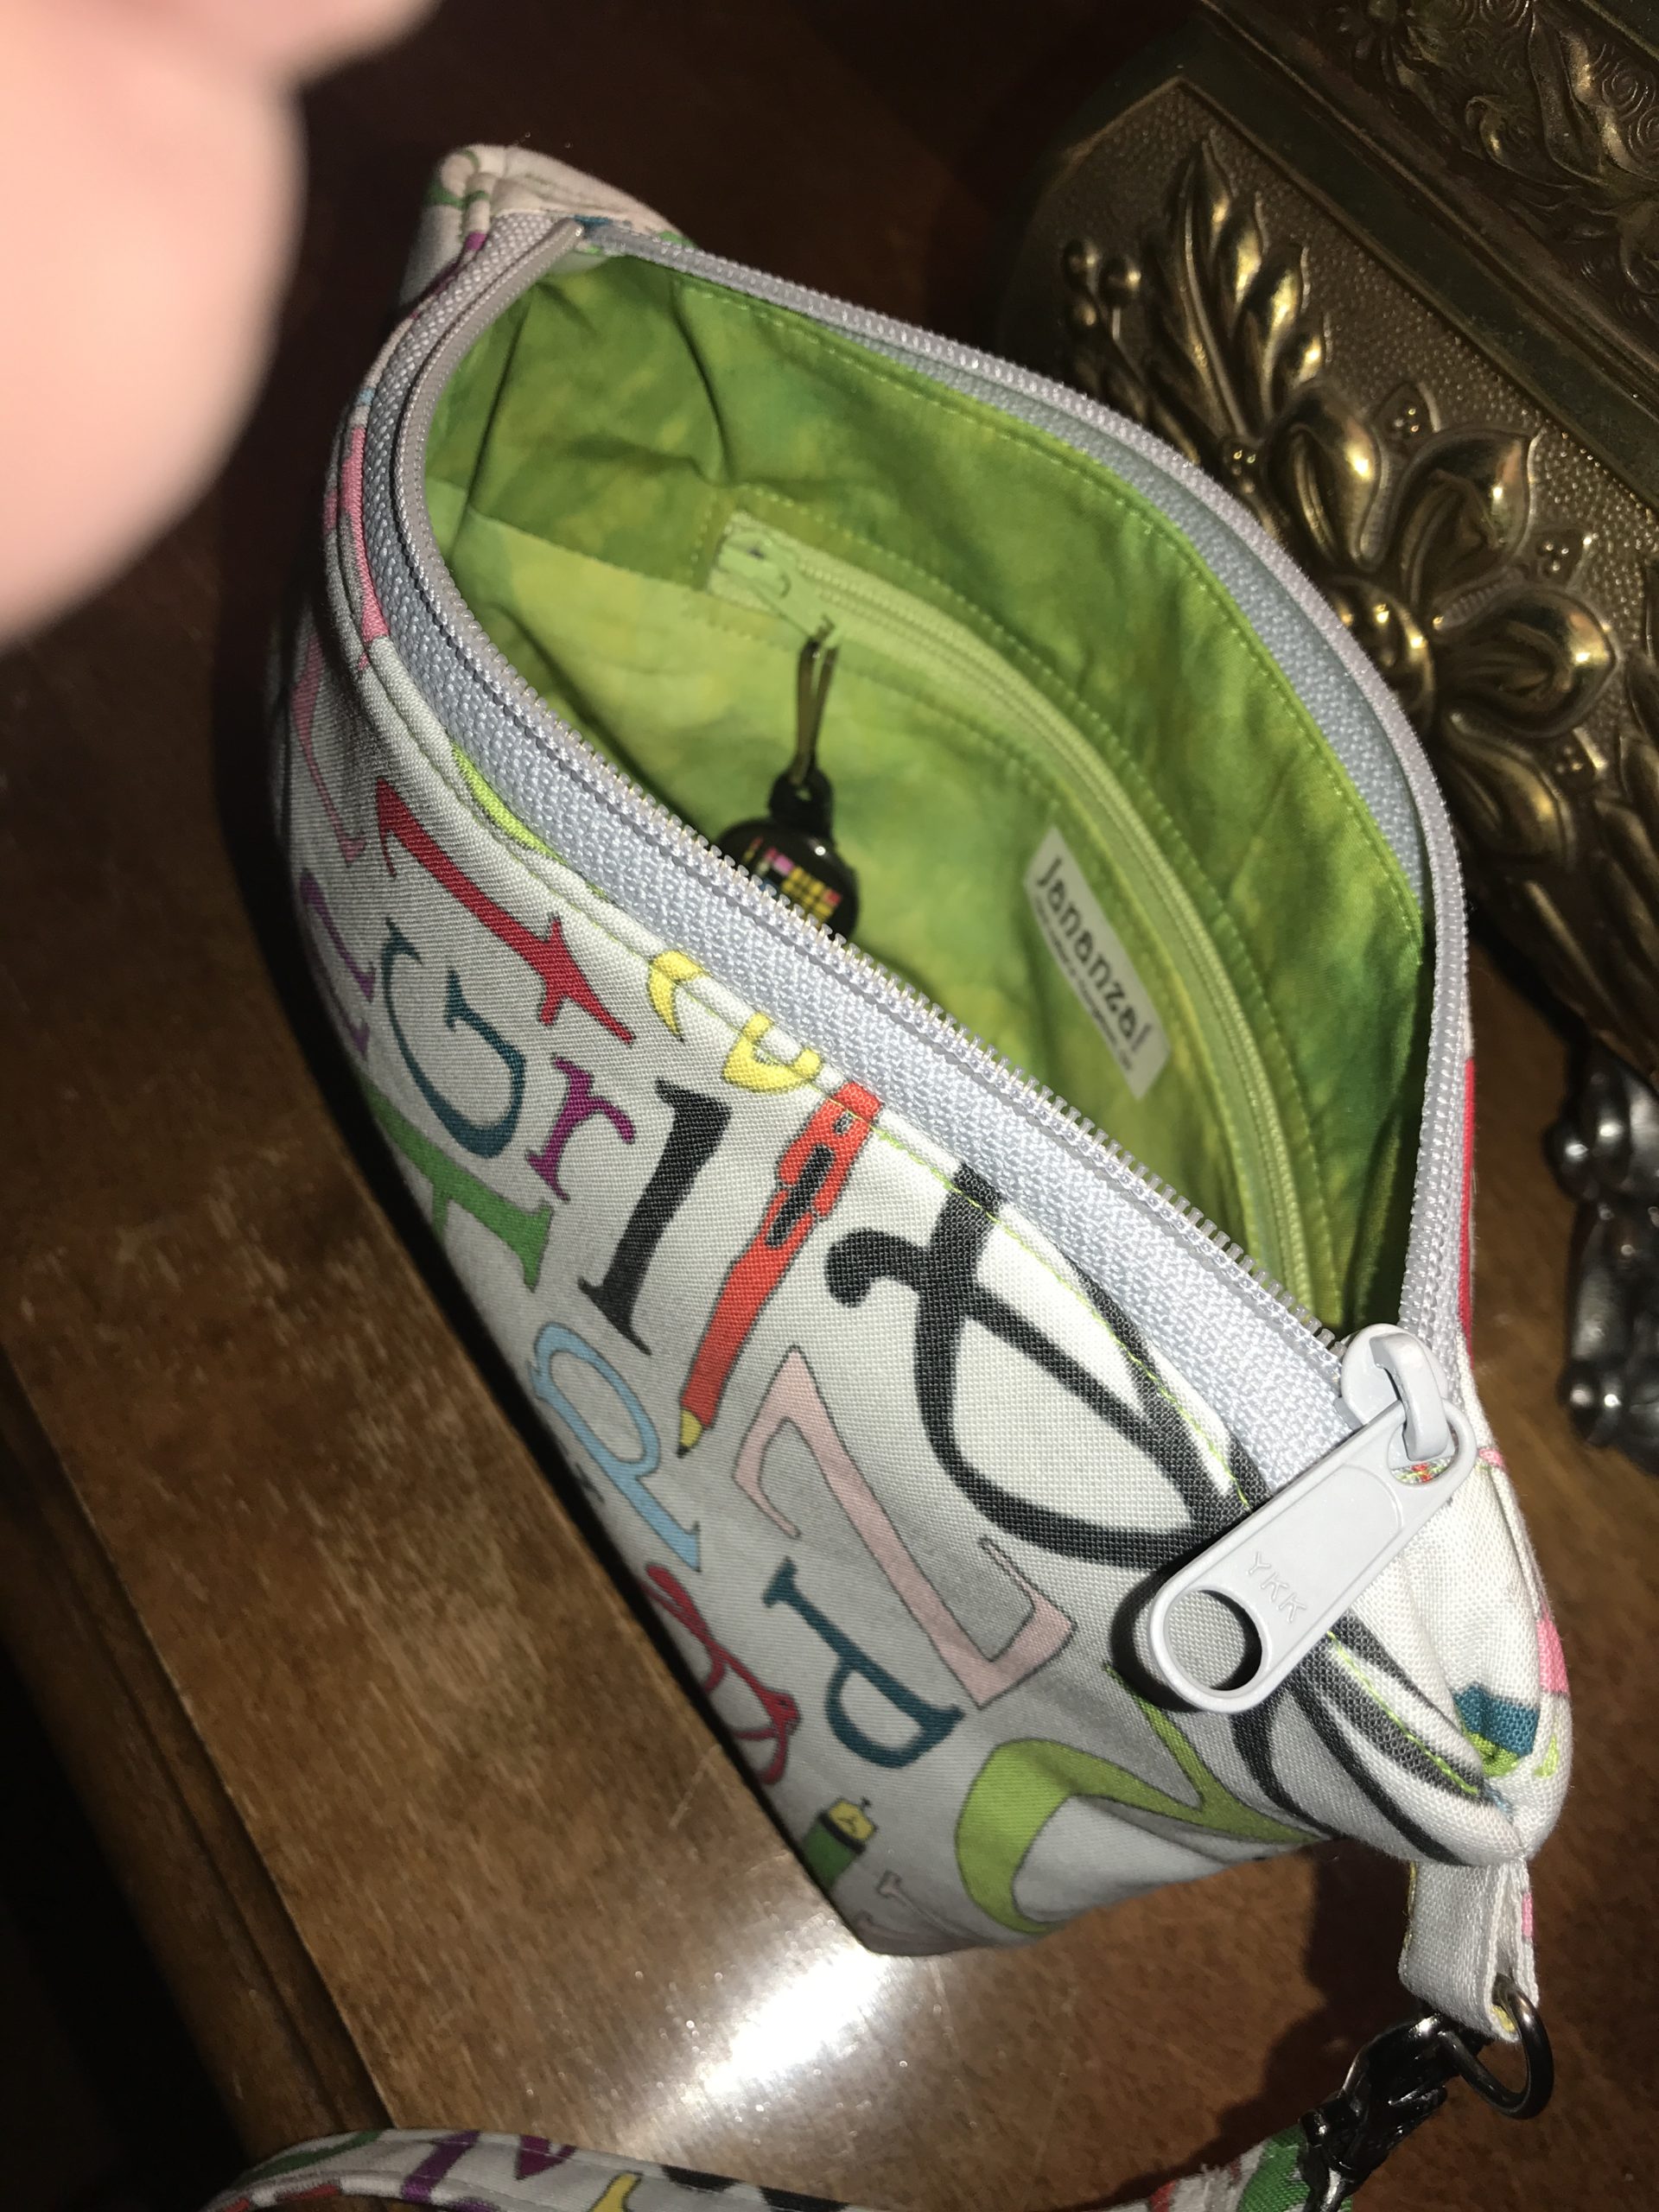
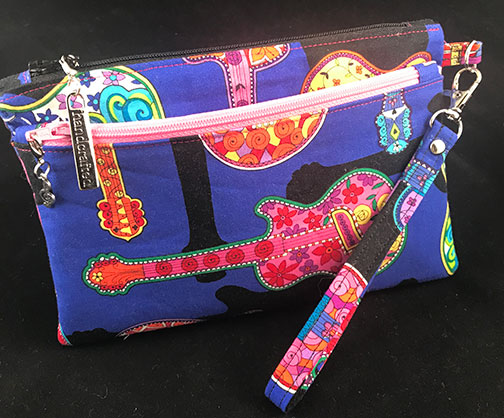
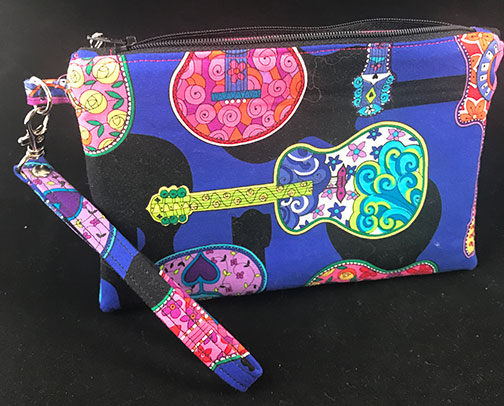
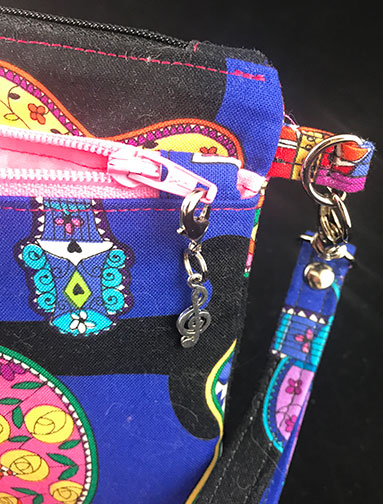
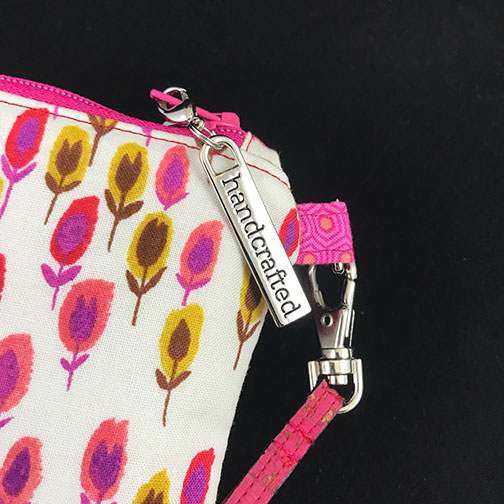
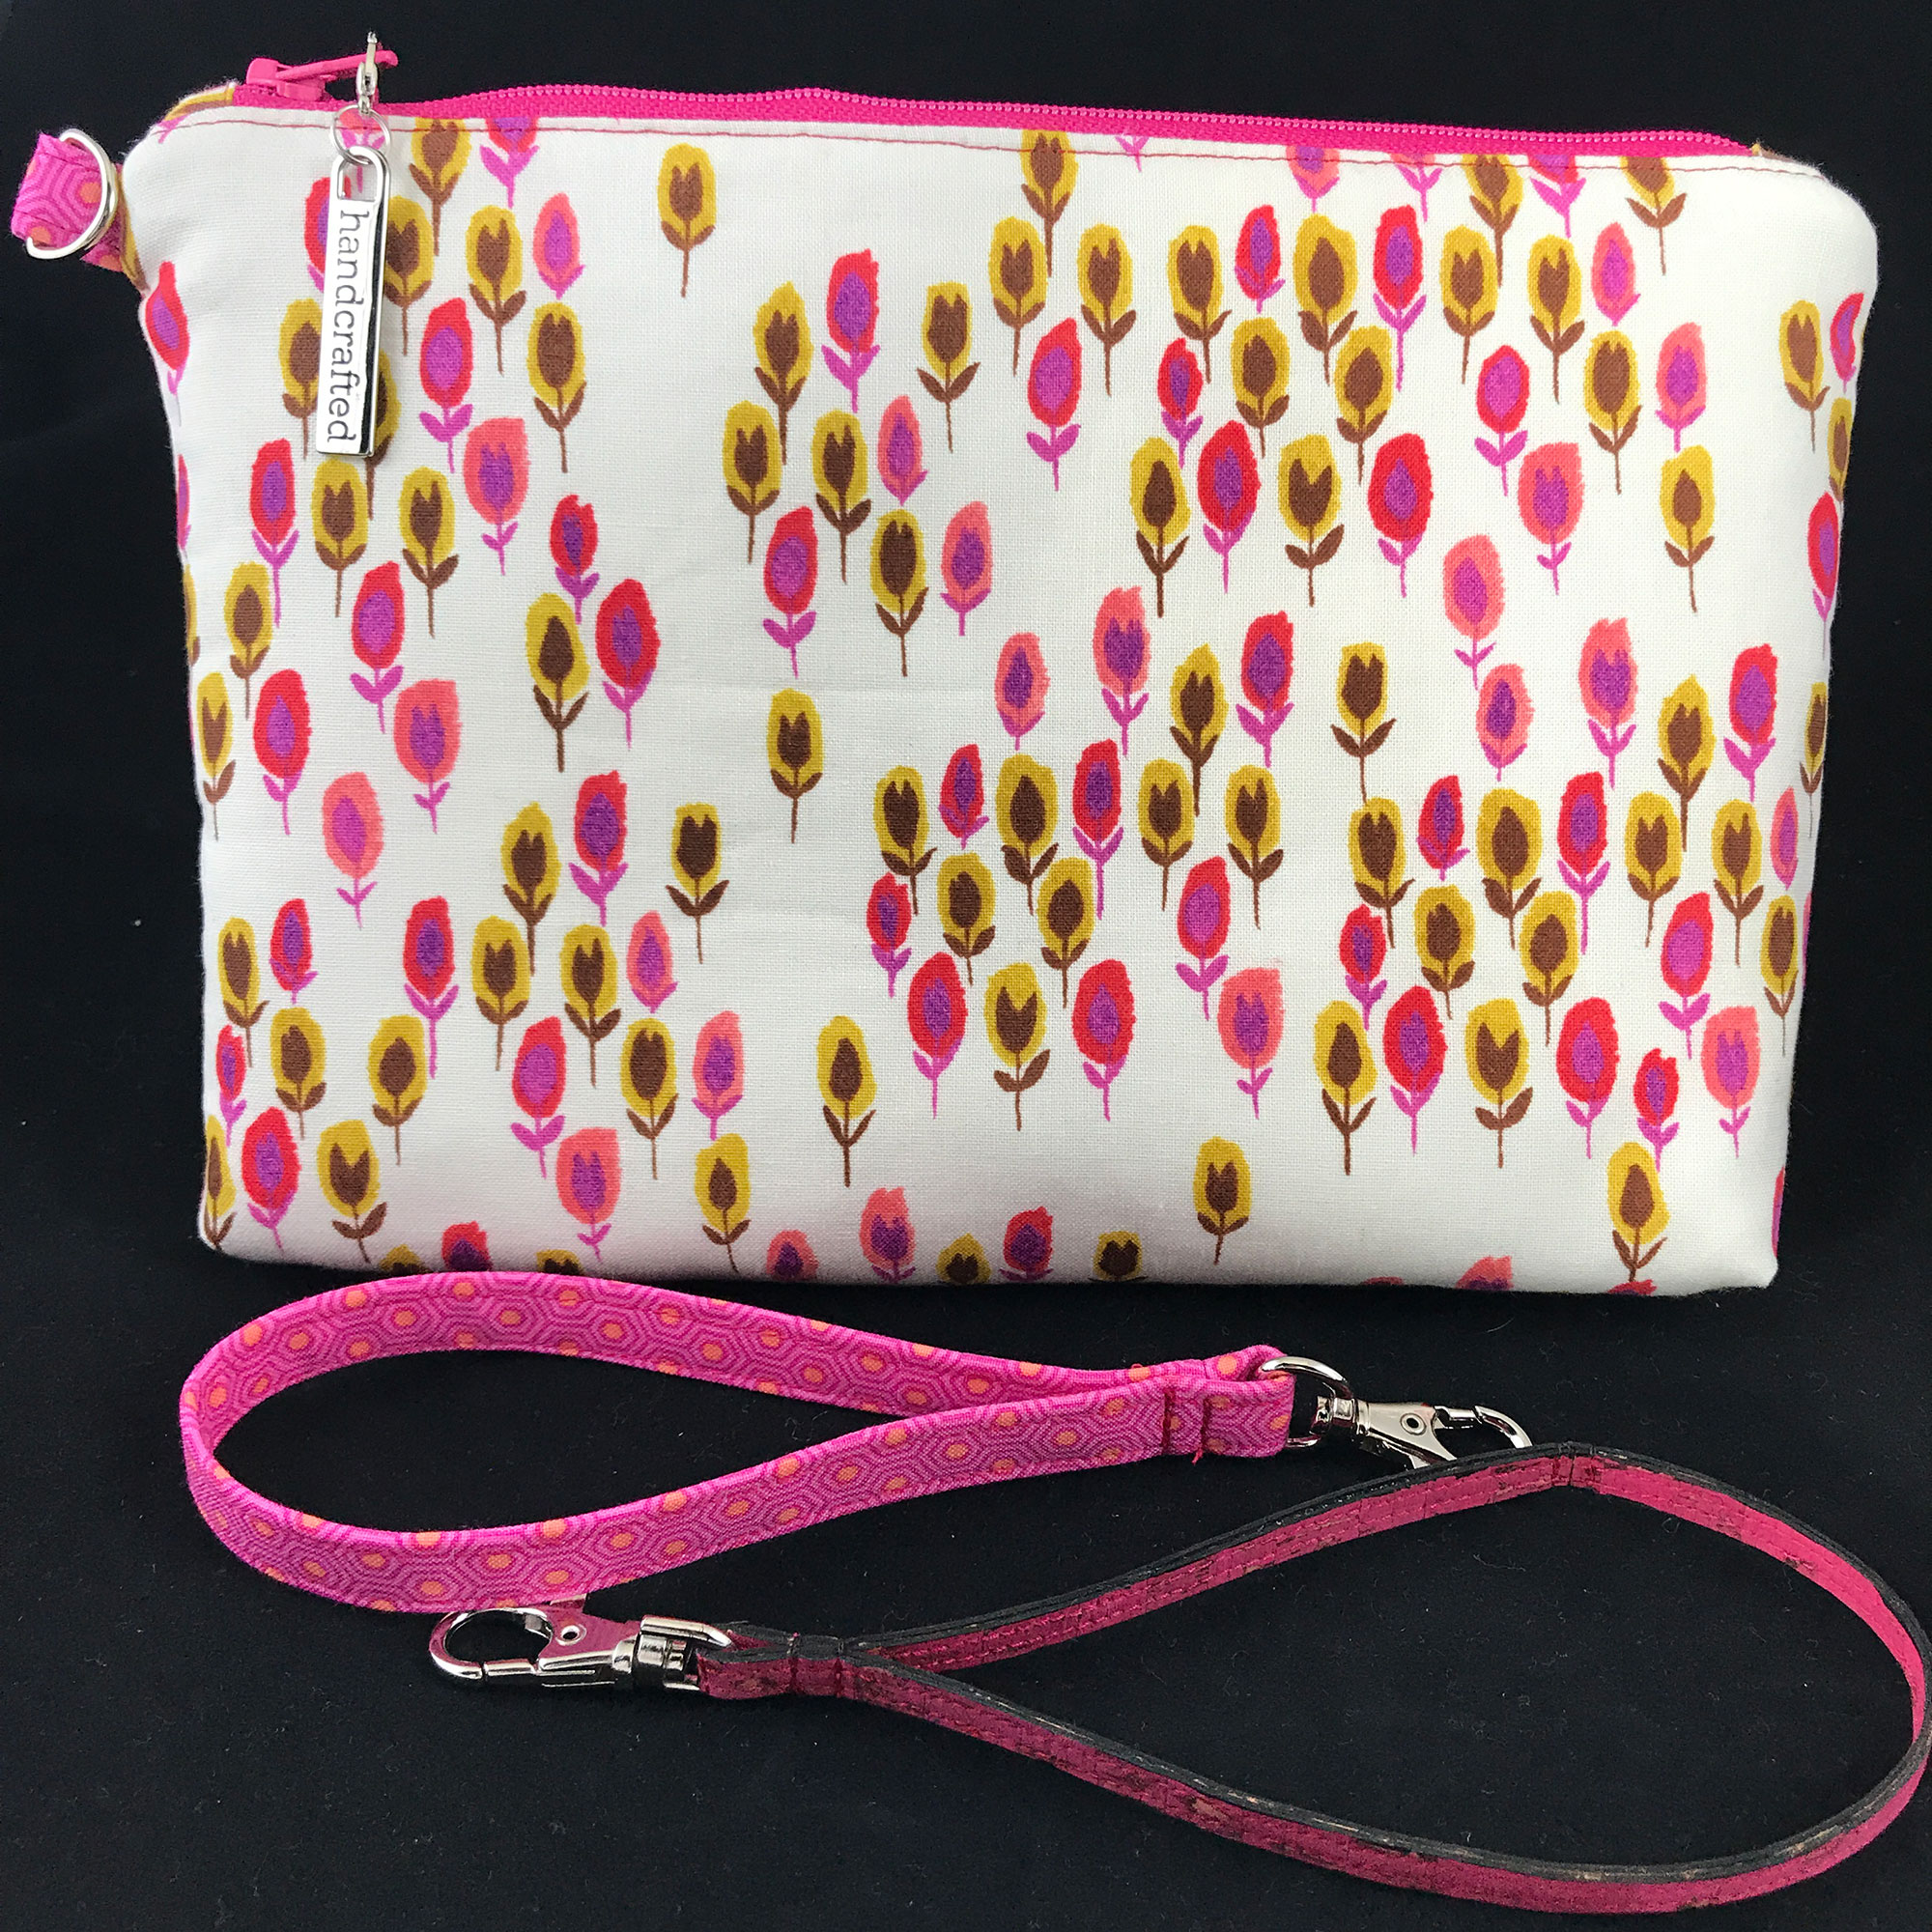
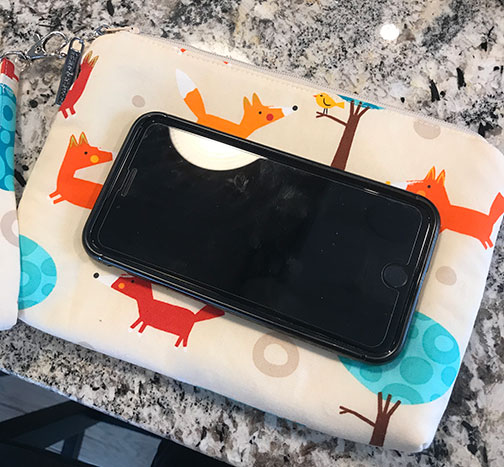
 As I stated above, the Paladin Pouch pattern has a zipper that spans all the pockets, and Sara’s design has that zipper extend out past the edge of the bag by a couple of inches, making it extremely easy to access all the goodies you’ve stashed into the pockets. I didn’t think someone carrying the bag crossbody would want that zipper hanging out there. (Getting dirty, in my mind ….) So I decided to put zipper tabs on both ends of the zipper, which would be only as long as the bag was wide. The zipper was then sewn into place such that both ends were enclosed. (Again, if you’re stumped, leave me a comment and I’ll help you out.)
 Is there a moral to this story? I guess it’s that there’s a solution to every problem you can create. And that every problem you solve makes you a more creative sewist. And that makes me happy.